



What Actually Makes or Breaks a Backyard Movie Night
Most planning guides focus on which projector to buy. The harder problems are the ones you discover at 8:45 PM: the extension cord won't reach, the garage door looks blurry, and the image is still washed out because the sun hasn't fully set. This guide is built around those real friction points — power, surface, timing, and ground conditions — with specific numbers attached to each decision.
This guide is for: homeowners and renters with outdoor space, parents setting up family movie nights, RV and camping enthusiasts, and social hosts who want a repeatable setup they can pull off without a tech crew. For more on this topic, see Mastering Outdoor Movie Nights: The 2026 Portable Projector Handbook.
This guide is not for: permanent outdoor theater installations, commercial venue operators, or anyone looking for a dedicated 4K laser cinema rig. Those setups involve fixed wiring, weatherproof enclosures, and professional calibration that fall outside the scope of a portable backyard event.

Powering Your Projector Without Running Cables Across the Yard
Power is the first decision tree, and it branches quickly. You have three realistic options outdoors: a projector with a built-in battery, a projector paired with a high-capacity USB-C power bank, or a long outdoor-rated extension cord from a GFCI outlet. For more on this topic, see How to Re-pair Projector Remote Control After Battery Replacement o....
Built-In Battery: The Cleanest Option
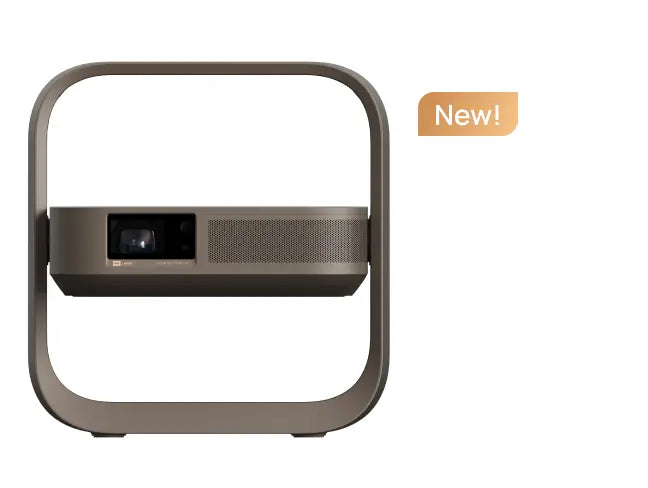
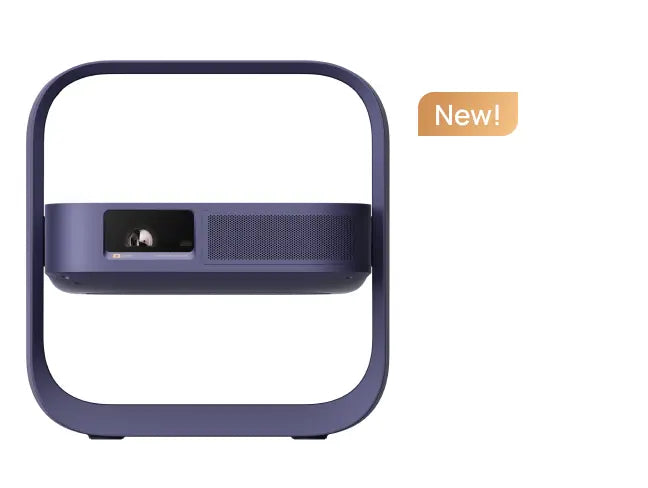
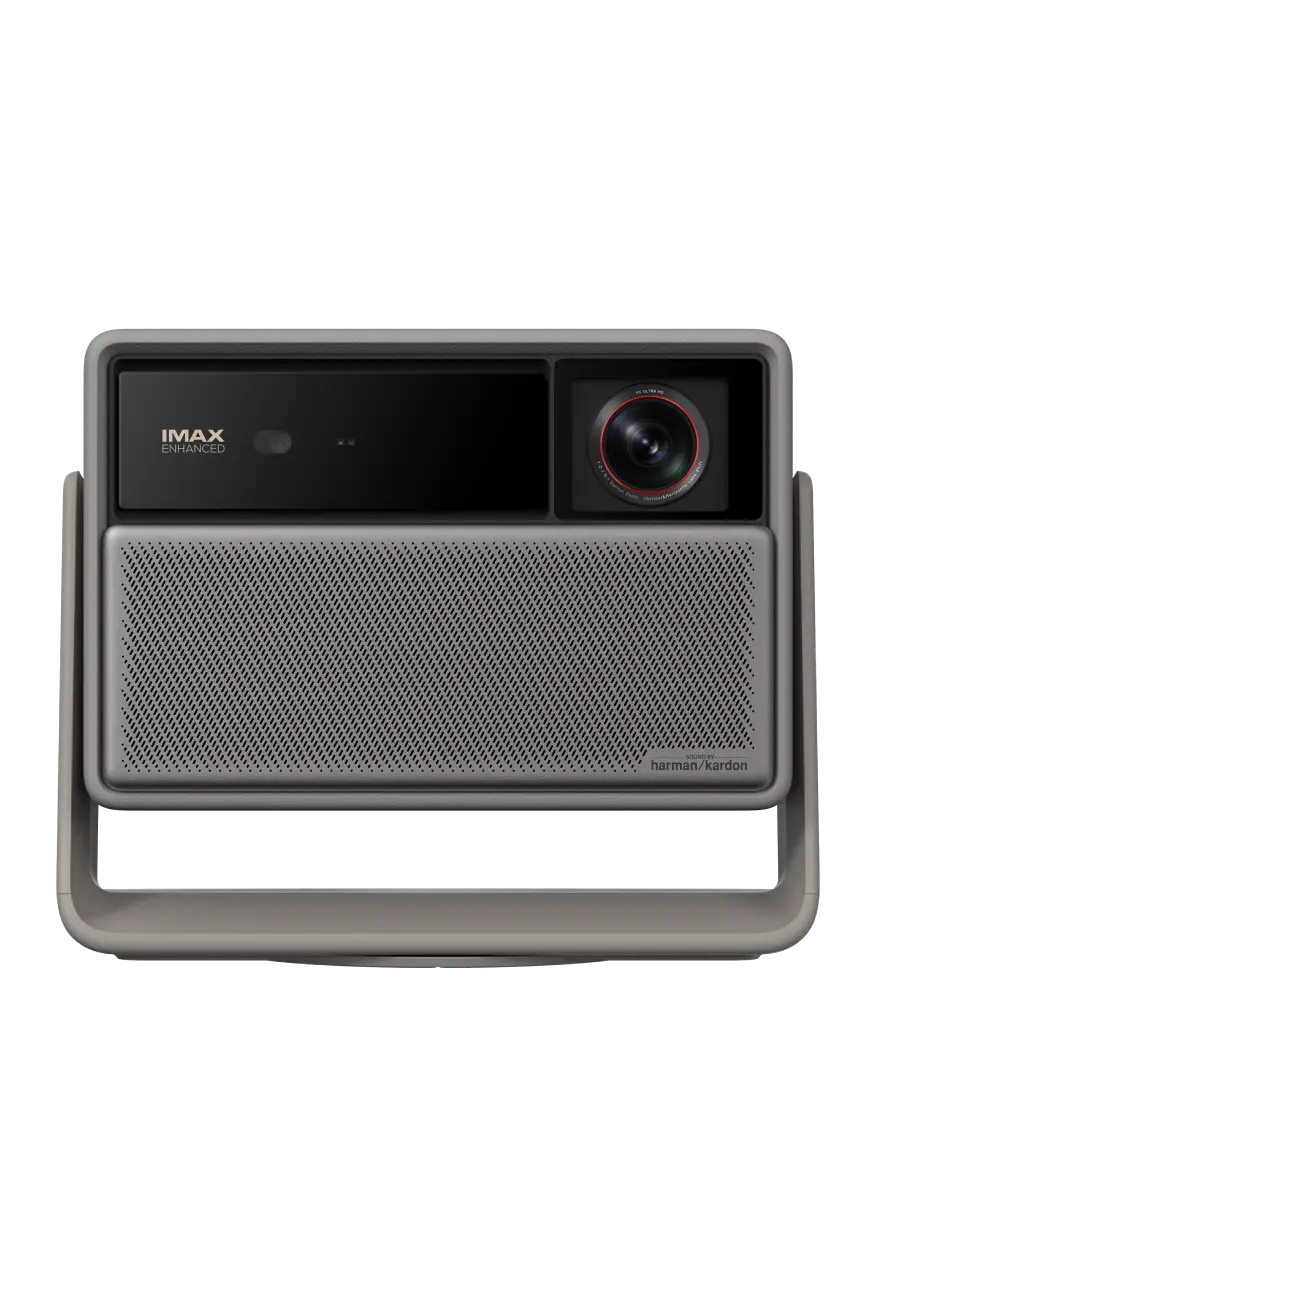
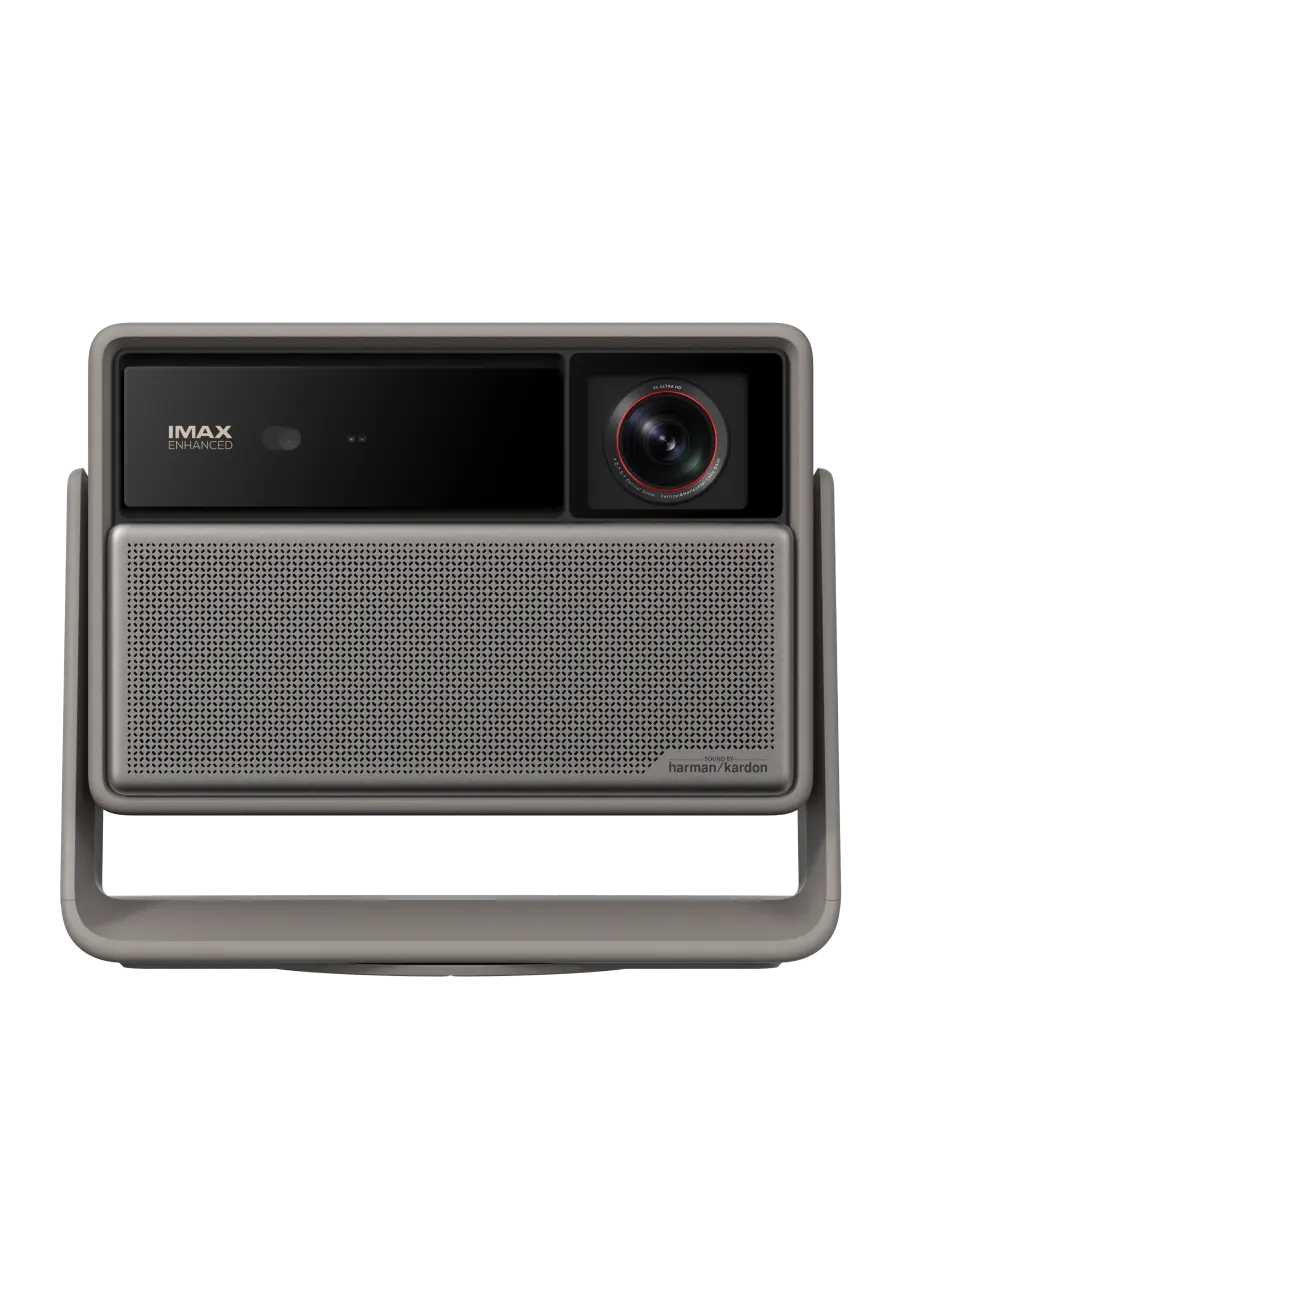
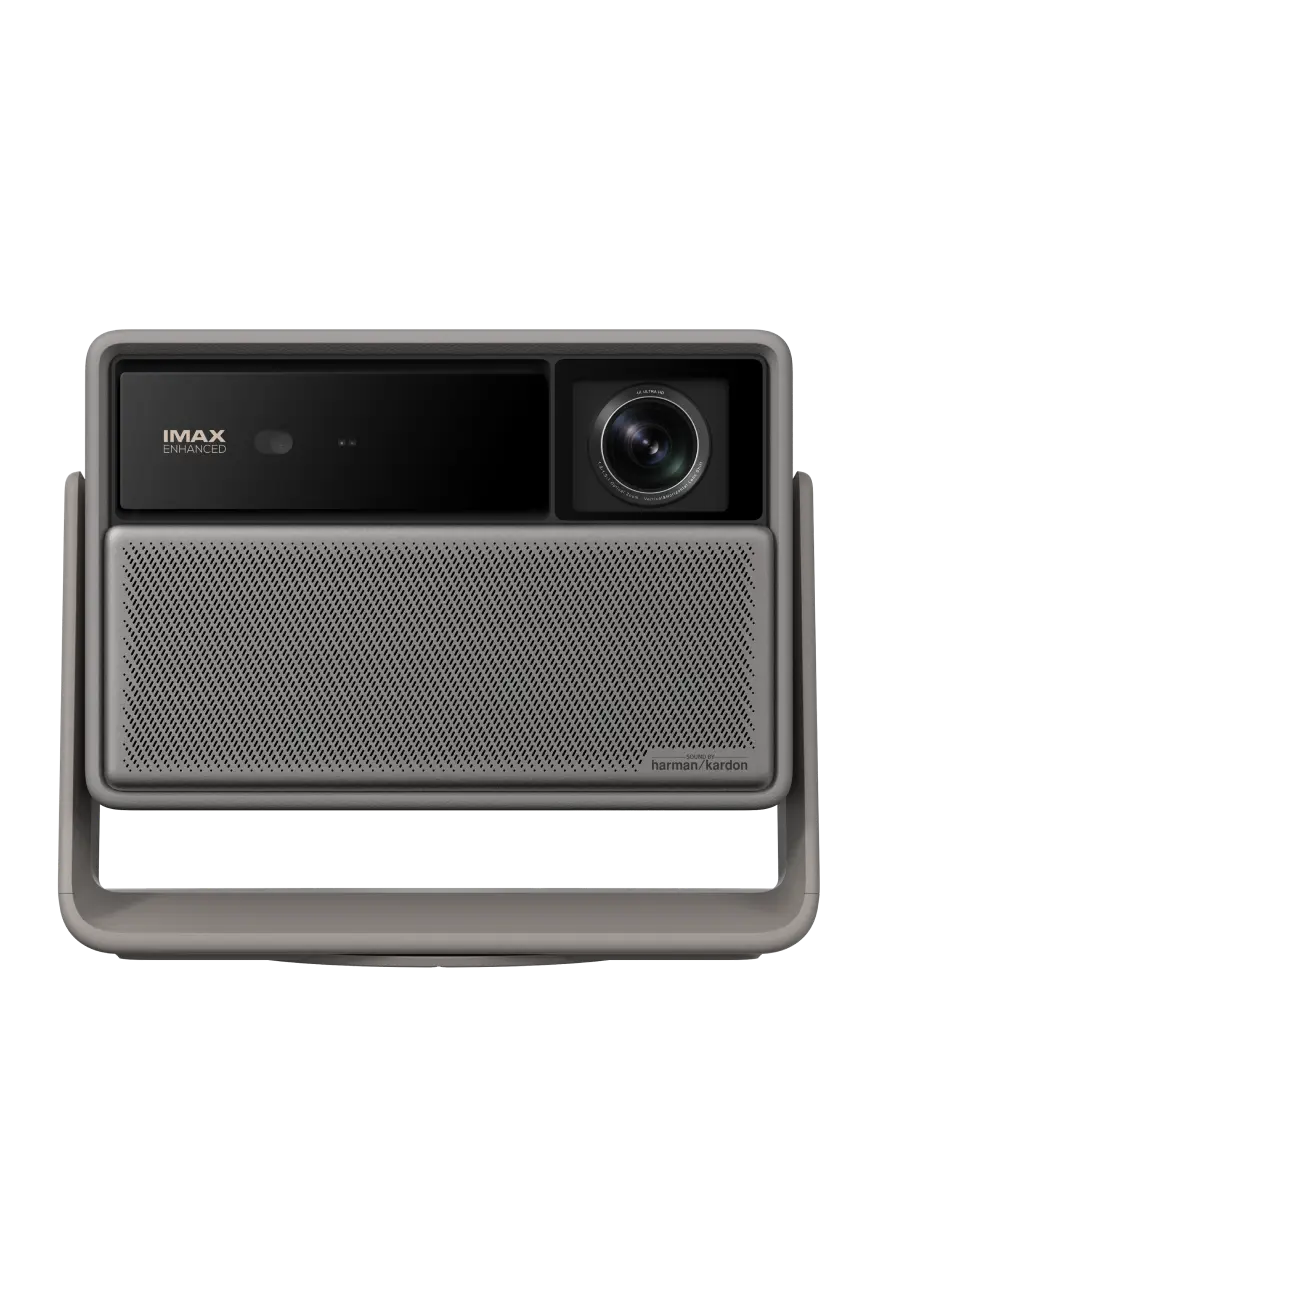
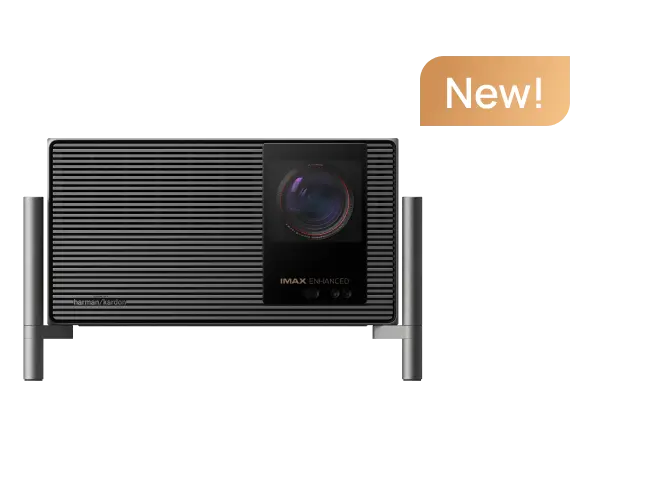
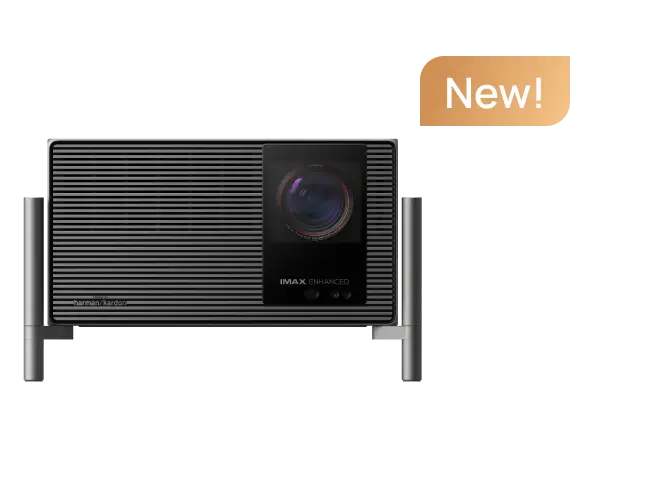
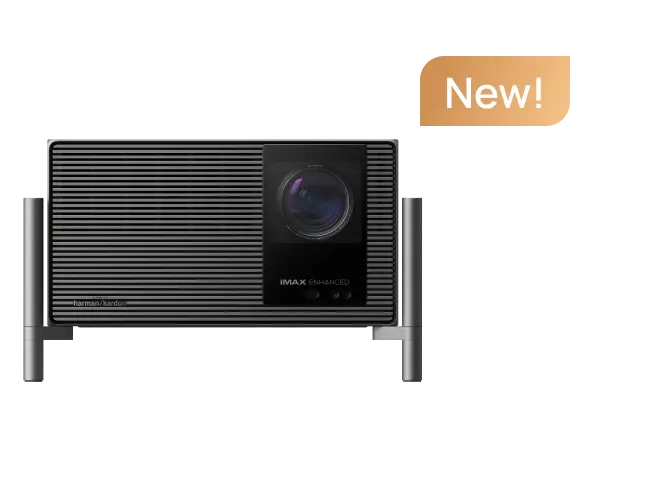
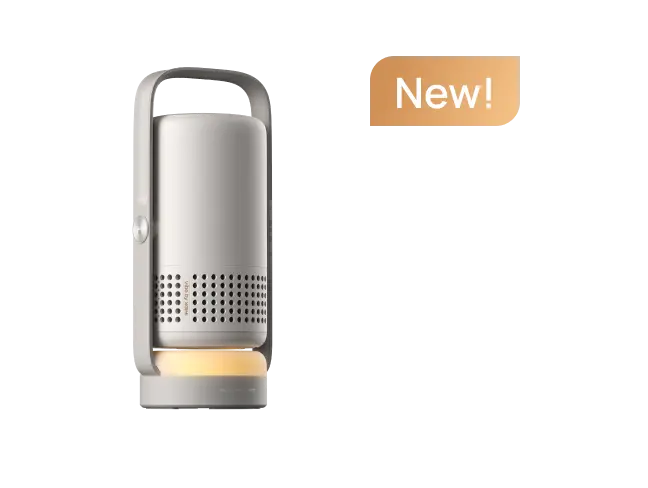
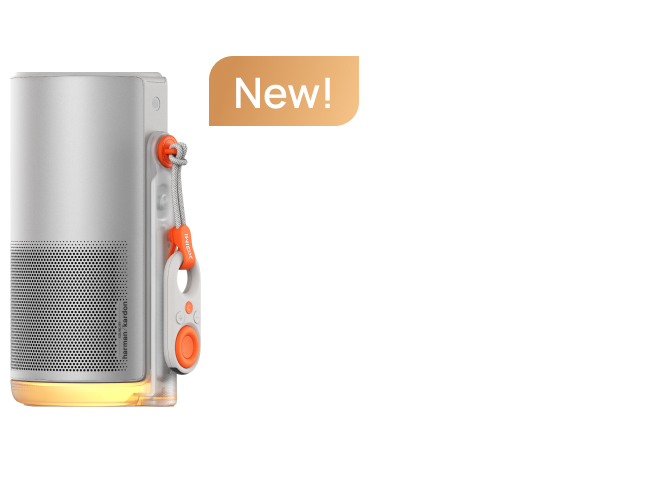
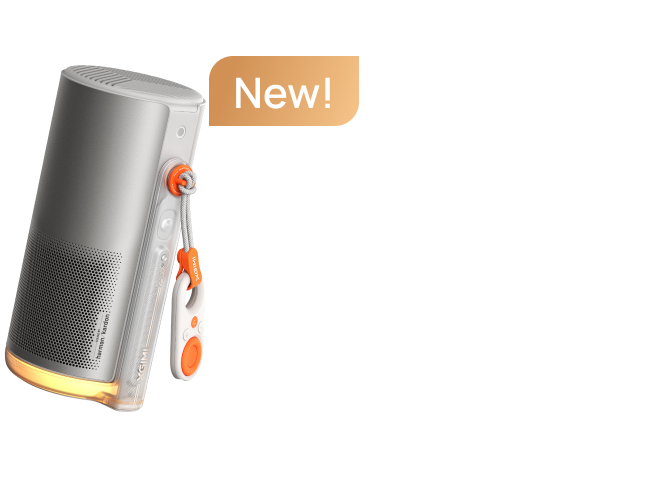
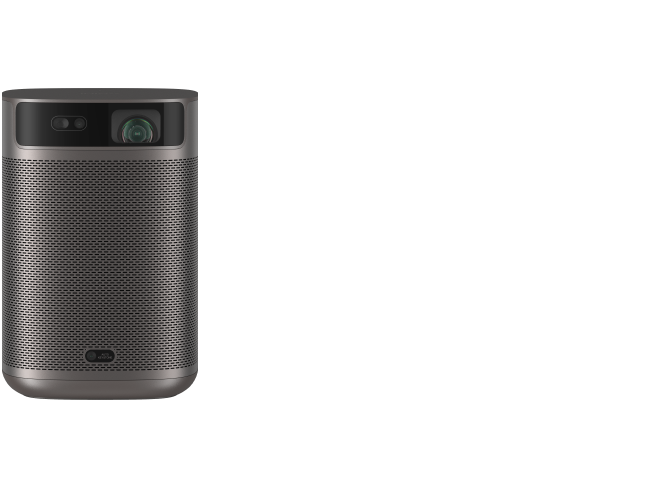
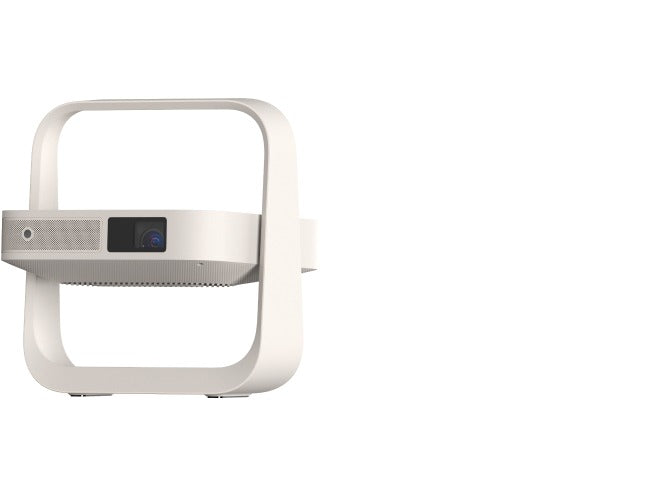
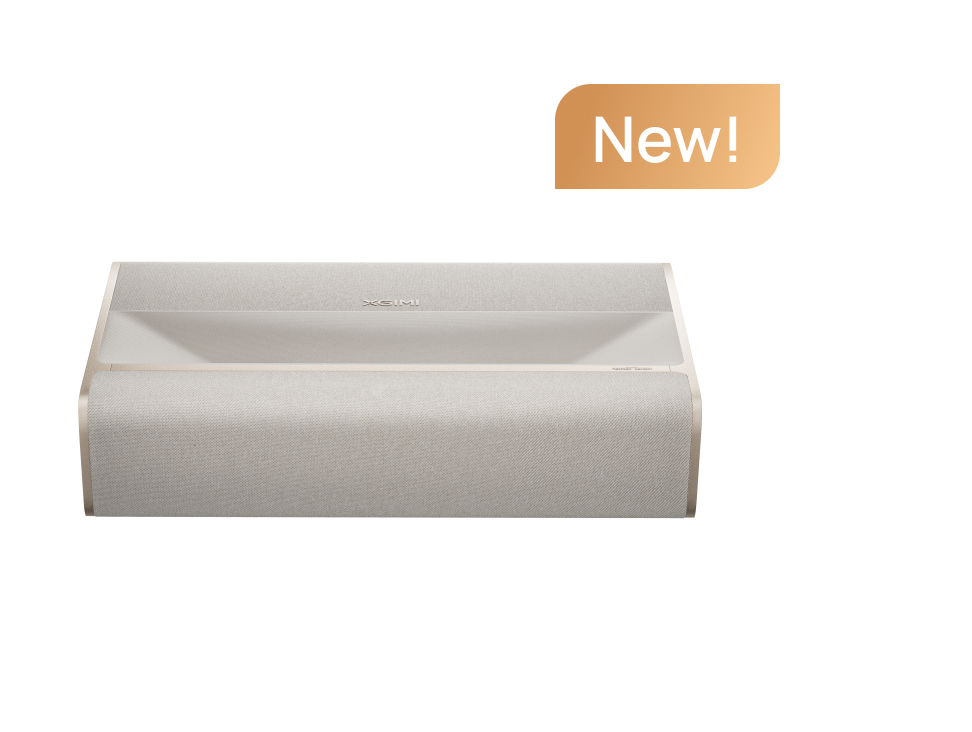
The XGIMI Halo+ carries a 59.45Wh built-in battery rated for up to 2.5 hours of playback — enough for most feature films. At 700 ISO Lumens, it's also the brightest battery-powered option in the XGIMI portable lineup, which matters more outdoors than indoors. The MoGo 4 Laser also includes a built-in battery with a 2.5-hour Eco mode runtime, though its 550 ISO Lumens output is lower. Both projectors handle the power problem completely on their own.
Evidence: The Halo+ (New) carries a 59.45Wh battery with up to 2.5 hours playtime at 700 ISO Lumens. The MoGo 4 Laser's built-in battery delivers 2.5 hours in Eco mode at 550 ISO Lumens. Neither requires an external power source for a standard 2-hour film. — XGIMI Halo+ product page, MoGo 4 Laser product page
The honest caveat: 2.5 hours is the ceiling, not a guarantee. Running at full brightness, with active Wi-Fi streaming and audio, will shorten runtime. If your film runs long or you want buffer time for previews and setup, plan for a 90-minute comfortable window on battery alone, or bring a supplemental power bank.
Power Bank Route: More Flexibility, More Research Required
The XGIMI MoGo 2 Pro and MoGo 3 Pro don't include built-in batteries — they run from USB-C power delivery. The MoGo 2 Pro requires a 65W USB-C power bank. For a 2-hour runtime at roughly 30W draw, a 65–100Wh power bank is a reasonable starting point, though actual consumption varies by brightness setting and audio load. Look for power banks explicitly rated for 65W PD output — not all high-capacity banks support that delivery rate simultaneously.
Logic Summary: Portable projectors in the 400–550 ISO Lumen range typically draw 25–45W under normal streaming conditions. A 100Wh power bank at 65W output can sustain roughly 2–2.5 hours before voltage drop triggers low-power warnings. This is a rule of thumb; actual results depend on the bank's efficiency rating and the projector's brightness mode. Always verify the power bank supports 65W PD output, not just 65W total capacity.
Extension Cord: Simple but Messy
A 12-gauge outdoor-rated extension cord from a GFCI outlet works reliably, but creates a tripping hazard across a lawn and limits where you can place the projector. If you go this route, run the cord along a fence line and use cable stakes to keep it flat. This approach suits the MoGo 2 Pro or MoGo 3 Pro when you have a nearby outlet and don't need full freedom of placement.

The Screen Decision: Why Your Garage Door Is Working Against You
The most common outdoor movie night mistake is projecting onto a garage door or painted wall and wondering why the image looks soft. Wall texture, even when painted smooth, creates subtle patterns in the image — and garage doors compound this with horizontal panel lines, slight surface warping, and reflective paint that creates hotspots.
A portable projector screen solves all of these at once. The surface is flat, matte, and calibrated for uniform light reflection. As XGIMI's own buying guide notes, a portable screen "will be superior to a wall in most situations" for outdoor use, providing a noticeably cleaner image.
What to Look for in an Outdoor Portable Screen
For backyard use, prioritize these characteristics in order:
- Matte white surface — reflects light evenly without hotspots; avoid high-gain screens outdoors because they narrow the viewing angle and create brightness falloff for guests sitting to the sides
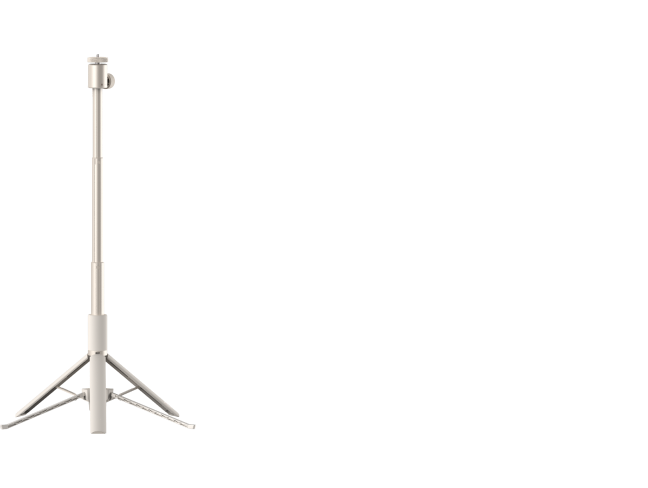
- Tensioned frame or tripod design — loose fabric sags and ripples in even light wind, creating the same distortion problems as a textured wall
- 80–120 inch diagonal — matches the recommended output range of most portable projectors (the Halo+ and MoGo 4 Laser both perform well at 80–120 inches)
- Stable base — outdoor ground is rarely level; a screen with adjustable feet or a weighted tripod base prevents tipping
Evidence: XGIMI's official guidance on outdoor setups recommends setting up the screen before anything else, and positioning the projector as close to the screen's center height as possible to minimize keystone correction. — Outdoor Movie Night Setup Checklist For more on this topic, see How Intelligent Screen Adaption (ISA) is Eliminating Projector Setu....

Brightness Reality Check: What 700 Lumens Actually Looks Like Outside
The SERP consensus says "you need 3,000+ lumens for outdoor use." That's true if you're projecting in twilight or with significant ambient light from streetlamps. But it's not the whole picture.
Portable projectors measure brightness in ISO Lumens, which accounts for color accuracy — a more rigorous standard than the raw lumen figures often cited in roundup articles. The Halo+ at 700 ISO Lumens and the MoGo 4 Laser at 550 ISO Lumens are not equivalent to 700 or 550 ANSI lumens from a budget projector; the ISO measurement methodology, governed by ISO 21118:2020, produces numbers that more accurately reflect real-world perceived brightness. For more on this topic, see How to Use a Tripod as a Temporary Projector Stand for Backyard Movies.
In practice, here's what the brightness tiers mean for outdoor use:
- 700 ISO Lumens (Halo+): Usable starting roughly 20–30 minutes after local sunset, with no competing light sources nearby. Streetlights or lit windows within the projection cone will cause visible washout.
- 550 ISO Lumens (MoGo 4 Laser): Best after full darkness, approximately 40–50 minutes post-sunset. Eco mode extends battery but reduces brightness further.
- 450 ISO Lumens (MoGo 3 Pro): Requires near-complete darkness. Best suited for camping setups away from urban light pollution.
None of these models will compete with residual daylight, because ambient light raises the black level of a projected image and reduces contrast — a fundamental limitation described in display and projection optics research. If your backyard faces west and the horizon is still glowing, wait. The image will look dramatically better after 15 more minutes of patience.
Timing Your Event: The Dusk Window and What Comes After
The ideal outdoor movie night window is narrower than most hosts expect. Start too early and the image is washed out. Start too late and you're fighting dew, fatigue, and insects.
The practical schedule:
- Check local sunset time the day of the event (weather apps show this)
- Begin setup 45–60 minutes before sunset — screen assembly, projector placement, power connection, and ISA calibration all take time on uneven ground
- Start the film 25–35 minutes after sunset — this is when 600–700 ISO Lumen projectors produce a satisfying outdoor image
- Plan to wrap by 11 PM in most climates — dew typically begins forming 2–3 hours after sunset when temperatures drop toward the dew point, and electronics left outdoors past this window accumulate moisture on lenses and vents
Dew is a genuine concern, not a theoretical one. When surface temperatures fall below the local dew point — which varies by humidity but commonly occurs 10–15°F below the ambient air temperature — condensation forms on cool surfaces including projector lenses. Bring the projector indoors or into a bag as soon as the film ends.
Setting Up on Uneven Ground Without Losing Image Quality
Grass, patio pavers, and sloped yards all create the same problem: the projector tilts, the image keystones, and ISA correction kicks in to compensate. This is where the difference between projectors with and without intelligent setup assistance becomes tangible.
The Halo+, MoGo 4 Laser, and MoGo 3 Pro all include ISA (Intelligent Screen Adaptation) technology — automatic keystone correction, autofocus, and screen alignment that runs in seconds after placement. On uneven ground, this means you place the projector, it corrects itself, and you're watching in under a minute rather than manually adjusting until the image looks right.
The important caveat: digital keystone correction works by cropping and scaling the image, which reduces effective resolution. XGIMI's own documentation notes that "digital correction might cause a slight loss of sharpness in extreme cases." The practical rule is to minimize the correction angle needed — keep the projector as level as possible using a small wedge, folded towel, or adjustable tripod, and let ISA handle the remaining fine-tuning rather than the heavy lifting.
Evidence: Auto keystone correction handles a maximum of approximately 40 degrees vertical and 30 degrees horizontal. Beyond those angles, the projector needs to be physically repositioned. — Smart Projector Setup Features
Choosing Your Projector: A Practical Comparison
| Model | Brightness | Battery | Power Input | Best For |
|---|---|---|---|---|
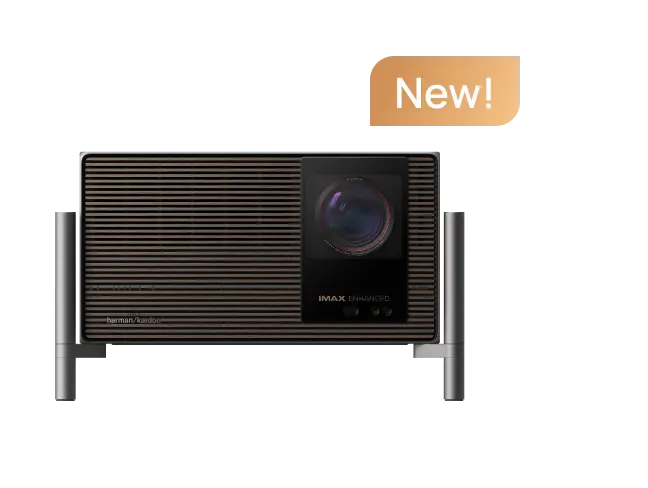
| Halo+ (New) | 700 ISO Lumens | Built-in 59.45Wh (~2.5 hrs) | USB-C or AC | Backyard movie nights, camping, travel |
| MoGo 4 Laser | 550 ISO Lumens | Built-in (~2.5 hrs Eco) | USB-C or AC | Casual outdoor use, lighter travel |
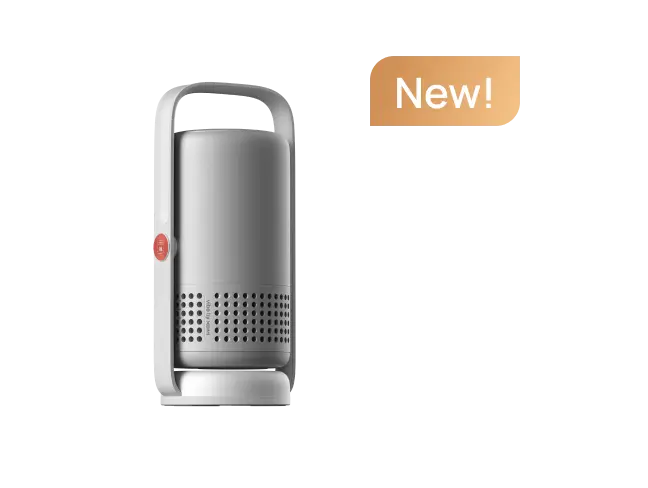
| MoGo 3 Pro | 450 ISO Lumens | None (PowerBase sold separately) | USB-C PD 3.0 | Camping with power bank, indoor/outdoor flex |
| MoGo 2 Pro | 400 ISO Lumens | None | 65W USB-C | Budget outdoor use with power bank |
Logic Summary: The Halo+ is the strongest all-around choice for backyard movie nights because it combines the highest brightness in the portable lineup with a self-contained battery — eliminating both the power access problem and the brightness compromise. The MoGo 4 Laser is a lighter, more travel-friendly alternative when maximum brightness isn't the priority. The MoGo 3 Pro and MoGo 2 Pro suit users who already own a compatible power bank and want to keep costs lower.
Your Pre-Event Checklist
Run through this the afternoon before your backyard screening:
Power
- ☐ Confirm projector battery is fully charged (or power bank is charged and rated for 65W PD output)
- ☐ If using extension cord: verify it's outdoor-rated and GFCI-protected
Screen
- ☐ Portable screen assembled and tensioned — no visible sag or wrinkles
- ☐ Screen positioned with back to any ambient light sources (streetlights, lit windows)
- ☐ Screen height adjusted so center aligns with projector lens height
Projector placement
- ☐ Projector placed on stable, level surface (use a wedge or small tripod if ground is uneven)
- ☐ Throw distance checked: 80–100 inch image typically requires 8–10 feet from screen at 1.2:1 throw ratio
- ☐ ISA auto-correction run and confirmed before guests arrive
Timing
- ☐ Local sunset time noted; film start scheduled 25–35 minutes after
- ☐ Film runtime checked — confirm it fits within battery window or power bank capacity
- ☐ Plan to bring projector indoors within 30 minutes of film ending (dew risk)
Comfort
- ☐ Insect repellent and seating arranged
- ☐ Audio checked — built-in speakers are adequate for groups of 4–6; larger groups benefit from a paired Bluetooth speaker
When the Garage Door Is Your Only Option
If a portable screen isn't available, a flat, painted garage door is better than a textured stucco wall — but you'll still see the panel seams as faint horizontal lines in the image. To minimize this: project at a size where the seams fall between rows of pixels rather than across them (typically 80–90 inches works better than 120 inches on a standard two-car door), and use a projector with wall color adaptation if the door isn't pure white. The XGIMI guide on choosing a projector screen notes that projector paint applied to a smooth surface comes close to standard screen performance — a worthwhile investment if your garage door is your permanent outdoor theater wall. For more on this topic, see Sim Racing on a 100-Inch Screen: The Ultimate Projector Setup Guide.
Conclusion: Set Your Backyard Stage
A memorable backyard movie night isn't about having the most expensive, permanent outdoor theater setup; it's about anticipating the small friction points. By planning your power source, organizing a tensioned screen, timing the playback to dodge ambient light and dew, and leaning on smart projection features like ISA when on uneven ground, you guarantee the movie itself is the focus. Grab your Halo+ or MoGo series projector, check off your simple pre-event checklist, and enjoy the ultimate outdoor cinema experience.


