


Edge Blur Is a Setup Problem, Not a Defect — Here's the Fastest Fix
If your projector image looks sharp in the center but soft or distorted at the edges, the cause is almost always related to setup conditions rather than a hardware defect. In most real-world cases, edge blur comes from one of three factors:
- Digital keystone correction reshaping the image
- Autofocus operating outside its optimal calibration range
- The projection surface introducing texture artifacts
Hardware failures that cause only edge blur while leaving the center sharp are relatively rare.
Quick self-check:
If you disable keystone correction entirely and the edge blur disappears, digital correction is likely the cause. If blur persists even on a flat white wall with the projector placed perpendicular to the surface, then focus calibration or lens alignment is the more likely explanation.
This guide is based on general projection engineering principles and publicly available documentation from projector manufacturers and industry resources.

What Digital Keystone Correction Actually Does to Your Image
Keystone distortion occurs whenever the projector's lens axis is not perpendicular to the projection surface. Instead of producing a rectangle, the projected image appears as a trapezoid.
Digital keystone correction restores the rectangular shape by remapping the image geometry through interpolation algorithms.
The trade-off is that interpolation is inherently lossy. The projector must mathematically reconstruct pixel information while reshaping the image, which can introduce softness or reduced detail in some areas of the frame.
Industry resources such as ProjectorCentral's guide to keystone correction explain that digital keystone correction works by re-scaling and reprocessing the projected image, which can reduce sharpness compared with proper optical alignment.
Projector manufacturers also acknowledge the trade-off. For example, the XGIMI smart projector setup features guide notes that digital correction improves placement flexibility but may introduce slight sharpness loss when correction angles become large.
The Angle–Quality Trade-Off
Digital keystone correction works similarly to digital zoom on a camera. It allows flexible placement but requires image processing that can affect native pixel precision.
For best image quality, try to keep correction below roughly 10–15° whenever possible. Larger angles can still produce watchable images, but edge clarity may be slightly reduced when displaying detailed 4K content.
According to Texas Instruments' overview of DLP projection technology, maintaining proper optical alignment between the projector and screen is the most effective way to preserve full image detail in projection systems. For more on this topic, see How Much Does Viewing Distance Actually Matter for Perceiving 4K De....

Autofocus Calibration: The Distance Requirement Many Users Overlook
Modern projectors often rely on Time-of-Flight (ToF) sensors or similar distance-sensing systems to perform autofocus.
These systems measure the distance to the projection surface and automatically adjust the focus plane. However, autofocus systems typically perform best within a certain operating range defined by the projector's optical design.
If the projector is placed significantly closer or farther than the expected projection distance, the autofocus system may still lock focus but not optimize the entire image plane perfectly. This can sometimes result in a center-sharp image with softer edges.
When troubleshooting edge blur:
- Measure the distance between the projector and the wall or screen.
- Verify that the distance falls within the recommended projection range.
- If your projector supports manual focus adjustment, test whether manual calibration improves edge sharpness.
If you're unsure about optimal placement distances, many manufacturers provide detailed setup advice in resources such as the home projector buying guide and product documentation.
Maintaining a distance within the projector's intended throw range usually provides the most consistent edge-to-edge focus.

Projection Surfaces: The Hidden Cause Most Guides Ignore
Many troubleshooting guides stop at keystone correction and focus. However, the projection surface itself can also contribute to edge softness.
Even walls that appear smooth often contain micro-texture that becomes visible under high-resolution projection.
As explained in ProjectorCentral's guide to projection screen paint and wall surfaces, wall textures can scatter projected light and introduce visible artifacts, particularly when displaying detailed images or when the light strikes the surface at shallow angles.
This effect becomes more noticeable when:
- Projecting 4K content
- Viewing from close distances
- The projected light hits the wall at an oblique angle
Common surfaces that may cause visible artifacts include:
- Heavy orange-peel paint textures
- Brick or stone walls
- Embossed wallpaper
- Walls with patch repairs or uneven paint layers
A smooth matte wall performs significantly better than textured surfaces. In many cases, a dedicated screen provides the most consistent image quality. For renters or temporary setups, even a lightweight option discussed in the portable projector screen guide can noticeably improve projection clarity.

Diagnosing Your Setup: A Practical Decision Framework
Rather than guessing, work through these questions step by step.
1. Is the blur across the entire image or only at the edges?
Full-frame blur usually indicates focus issues.
Edge-only blur typically points to keystone correction, surface texture, or projection alignment.
2. Does disabling keystone correction improve edge sharpness?
If yes, digital geometry correction is likely contributing to the softness.
Reducing the correction angle by repositioning the projector usually improves edge clarity.
3. Is the projector positioned within its intended projection range?
Check your model's specifications and confirm the throw distance falls within the recommended range.
4. What surface are you projecting onto?
Run your hand across the wall. If you can feel texture, that texture may be visible in high-resolution projection.
When Your Room Leaves No Perfect Options
Small apartments and rental spaces often limit placement flexibility. In these environments, projectors may need to sit off-center or at an angle relative to the wall.
When horizontal or vertical correction becomes unavoidable, modern automatic alignment systems can still produce usable images — but some edge softness may remain.
The most effective workaround is usually reducing correction angle wherever possible and projecting onto a smoother surface.
Portable projection screens are a common solution for renters because they improve surface quality while allowing flexible placement. Many setup recommendations in guides like the home projector setup guide highlight screen choice as one of the most impactful upgrades for improving image consistency.
Setup Scenarios Where Edge Blur Is Most Likely
Certain room configurations naturally increase the chance of edge blur.
Corner placement
Projectors positioned at the side of a room often require significant horizontal keystone correction. This can produce softness along one edge of the image.
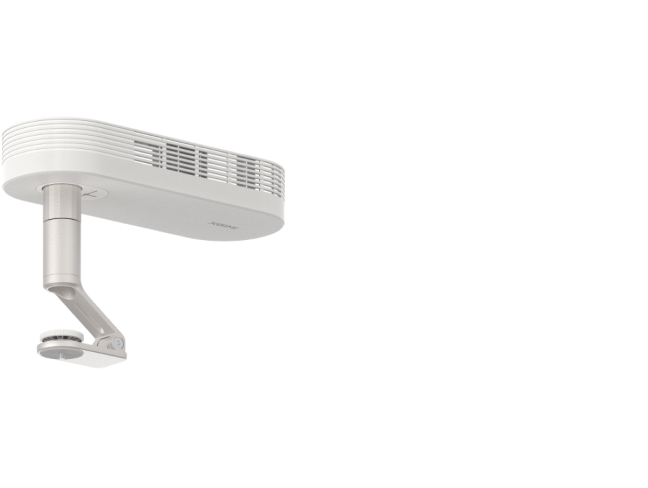
Ceiling tilt setups
Projectors angled upward toward a higher wall position may introduce vertical correction that slightly reduces sharpness across parts of the frame.
Textured walls
Walls that appear visually smooth can still reveal texture when illuminated by high-resolution projected images.
Ultra-short-throw projection on walls
Ultra-short-throw (UST) projectors project light upward at extremely steep angles. Because of this geometry, they are particularly sensitive to surface imperfections. For more on this topic, see Projector Throw Ratio Explained: Standard vs. Short Throw vs. Ultra....
Industry resources such as ProjectorCentral's UST screen guide note that UST projectors typically perform best with rigid flat screens designed specifically for UST optics, since even small wall irregularities can produce visible distortion.
Practical Fixes Ranked by Impact
- Reduce keystone correction angle by repositioning the projector closer to perpendicular alignment.
- Verify projection distance to ensure it falls within the projector's recommended range.
- Project onto a smoother surface such as a dedicated projection screen.
- Use optical zoom instead of digital zoom when available.
- Enable wall color calibration features when projecting onto off-white walls.
For additional optimization tips — including ambient light control, projector positioning, and surface selection — you can review the detailed recommendations in how to get the best projection image.