


Outdoor night screenings create unforgettable entertainment, but condensation from dew, rising humidity, and evening temperature drops can quickly damage sensitive optics, vents, and electronics. The key is preventing surfaces from reaching the dew point while maintaining proper ventilation and using protective accessories strategically. By checking local conditions, allowing acclimation time, and choosing elevated, sheltered placements, most backyard and camping users can enjoy reliable performance without long-term issues. For more on this topic, see How to Match Screen Gain Specifications to Your Room's Ambient Ligh....

Condensation forms when a surface cools to or below the dew point, so outdoor night screenings become riskier as air cools after sunset and moisture settles on exposed gear. This EPA moisture control guidance explains that dew point is often more relevant for planning than air temperature alone. Dew point is the temperature below which moisture condenses out of the air. When your projector lens, housing, or vents drop below that threshold, fogging and internal moisture become real concerns.
Humidity matters because condensation can create reliability problems for electrical equipment. Keeping the projector and its surroundings away from condensing conditions helps reduce moisture-related damage to electronics. Rapid temperature changes can increase condensation risk when warm equipment meets cooler outdoor air. Professional observing sites use strict humidity checks and trend monitoring before continuing operations near moisture risk, offering a useful analogy for careful outdoor electronics use.
Understanding Condensation Risk in Outdoor Setups
Nighttime conditions often bring falling temperatures and rising relative humidity, especially in spring, fall, or near bodies of water. A projector stored indoors at 72°F moved directly outside when the air is 55°F and 75% humidity faces an immediate dew-point crossing. Surfaces cool rapidly, pulling moisture from the air onto the lens and vents. This fogging reduces image quality immediately and, if moisture migrates inside, can trigger shutdowns or leave residue that shortens component life over repeated exposures.
The risk is not uniform across all outdoor movie nights. Stable backyard setups where the projector remains outside for hours in moderate conditions tend to stay safer. In contrast, frequent transitions between warm indoor spaces and cool, damp night air dramatically increase the chance of condensation. Camping or glamping adds further challenges because temperature swings are harder to predict and protection options are limited. For more on this topic, see The Ultimate Backyard Movie Night Setup: Power, Screens, and Portab....
Exact projector-safe humidity, storage, and operating-temperature limits must come from the device's own manual or specification sheet, not from general weather guidance. Always consult your specific model's documentation first.

Scenario-Based Risk Assessment
Risk levels change significantly depending on how you transition the projector and what the local weather does after sunset. The primary triggers are large temperature deltas combined with high humidity. A modest 5–8°F evening drop in dry air (below 50% relative humidity) usually stays manageable. Once humidity climbs above 70% and the temperature swing exceeds 12–15°F, the probability of visible condensation and potential performance interruptions rises sharply.
Here is an illustrative visualization of how humidity and cooling interact to influence condensation risk. The chart uses heuristic categories (0 = low risk, 1 = medium caution, 2 = avoid or take extra precautions) based on typical evening conditions. It is not based on laboratory measurements and should only guide planning, not replace your manual or local weather observations.
Illustrative Condensation Risk by Humidity and Night Cooling
Illustrative scenario matrix for condensation risk; not real measurements.
View chart data
| Category | 5°F drop | 10°F drop | 15°F drop | 20°F drop |
|---|---|---|---|---|
| 40% RH | 0.0 | 0.0 | 1.0 | 1.0 |
| 50% RH | 0.0 | 1.0 | 1.0 | 2.0 |
| 60% RH | 1.0 | 1.0 | 2.0 | 2.0 |
| 70% RH | 1.0 | 2.0 | 2.0 | 2.0 |
| 80% RH | 2.0 | 2.0 | 2.0 | 2.0 |
| 90% RH | 2.0 | 2.0 | 2.0 | 2.0 |
Heuristic/illustrative risk mapping only, based on article context about dew point checks, humidity, and rapid evening cooling. Ordinal categories only: 0=Low Risk, 1=Medium, 2=Avoid. Not real measurements.
In high-risk scenarios—such as moving a warm projector into cool, humid night air or operating during expected heavy dew—postpone the screening or add multiple layers of protection. Accessories can reduce exposure but do not eliminate dew-point risk if the fundamental conditions are poor.
Practical Checklist: Before You Set Up
Follow these steps to minimize moisture damage during outdoor movie nights:
-
Check the forecast for temperature, humidity, and dew point at least two hours before showtime. If humidity exceeds 70% and a 12°F or greater drop is expected, plan extra precautions or move indoors.
-
Allow the projector to acclimate. Bring it outside at least 30–60 minutes before powering on so its internal temperature can equalize with the outdoor air. Avoid powering on immediately after a large indoor-to-outdoor transition.
-
Choose elevated, sheltered placement. Position the projector on a sturdy stand or table at least 12–18 inches off the ground and away from damp grass. Use a canopy, pop-up tent side, or awning to block settling dew while still allowing airflow. Never place it directly on the ground or against a wall that blocks vents.
-
Ensure full ventilation. Keep at least 6–12 inches of clear space around intake and exhaust vents. Overheating from blocked airflow combined with moisture creates a double risk of shutdown or internal condensation.
-
Protect cables and connections. Use weather-resistant covers or elevate power cords and HDMI cables to prevent them from collecting dew that could wick into ports.
-
Monitor during the event. If you notice fogging on the lens, power off immediately, allow cooldown in a dry area, and gently wipe external surfaces only after the unit reaches room temperature.
These heuristics are drawn from general electronics moisture management principles. Your specific projector may have tighter or more lenient tolerances, so refer to the user manual.
Choosing and Using Protective Accessories
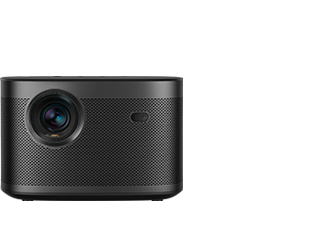
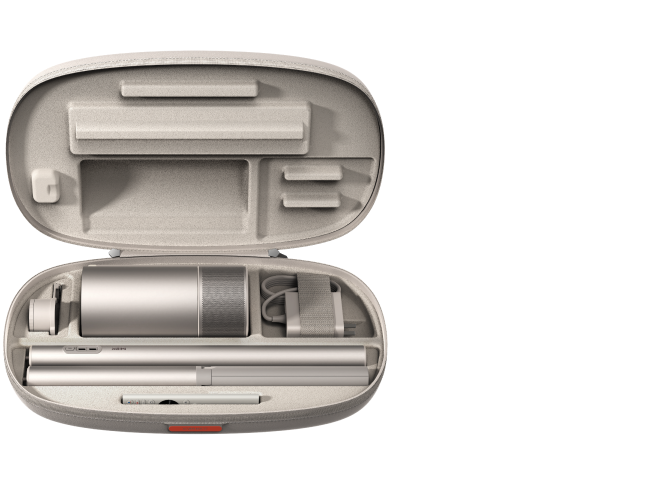
Quality carrying cases and covers make a meaningful difference when used correctly. Look for models with water-resistant exteriors, shock-absorbing interiors, and dedicated compartments that keep the projector separated from damp accessories. XGIMI offers several options designed for portable models that double as travel and storage protection. For more on this topic, see The Best Carrying Cases for Protecting Your Portable Projector Duri....
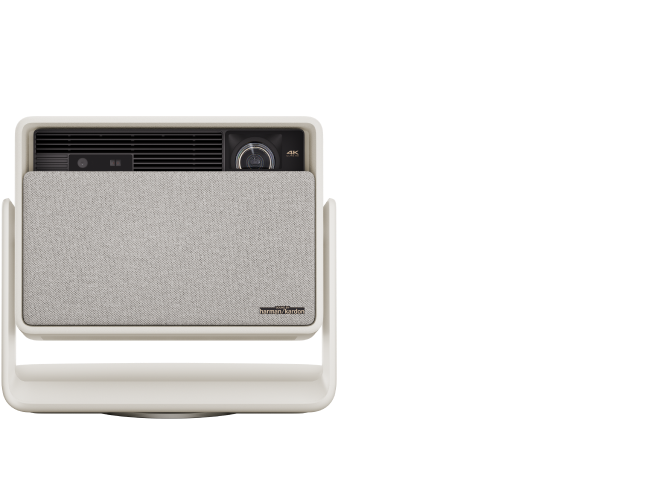
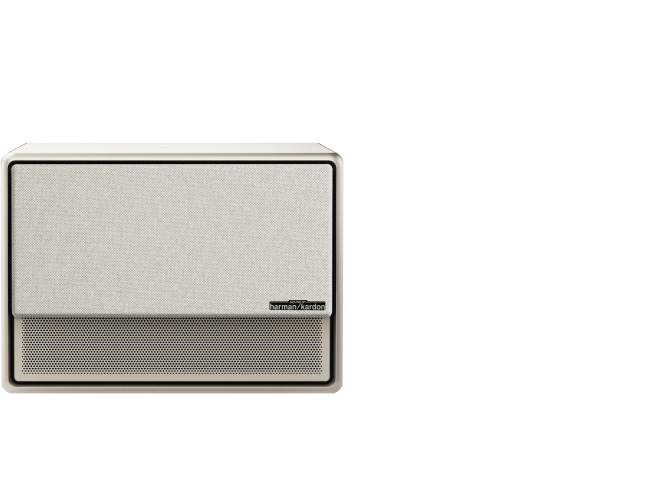
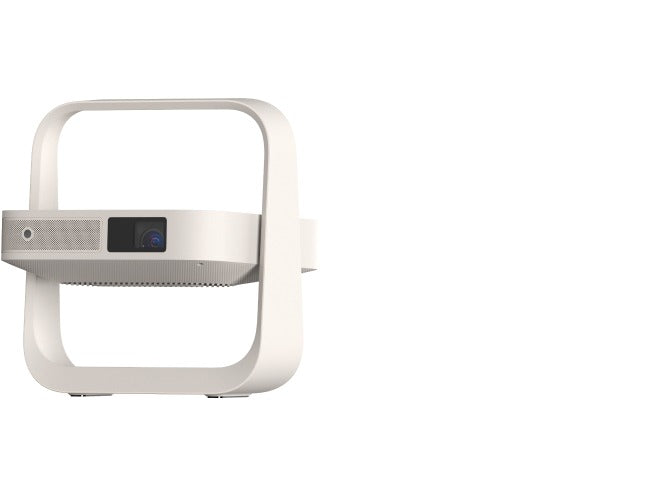
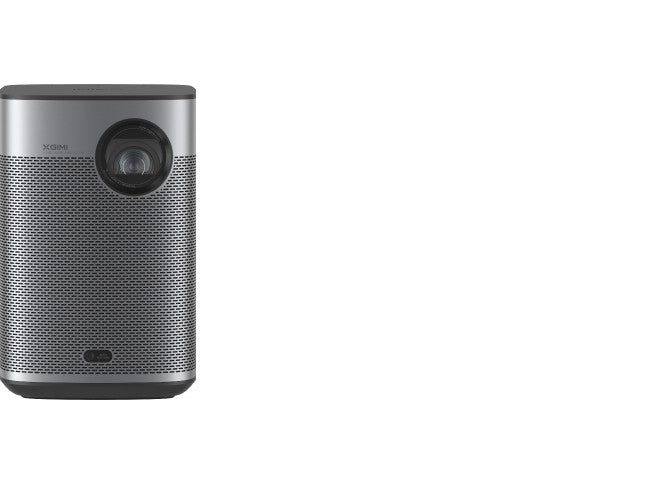
For example, the Halo/ HORIZON Series Carrying Case provides durable, portable protection for travel or storage. Similarly, the MoGo Series Carrying Case offers dust-proof and shock-proof features ideal for outdoor use. Browse the full Cases collection to match your projector model.
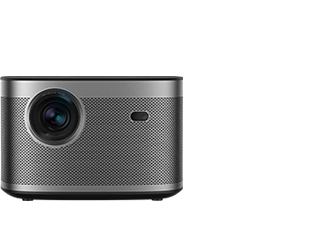
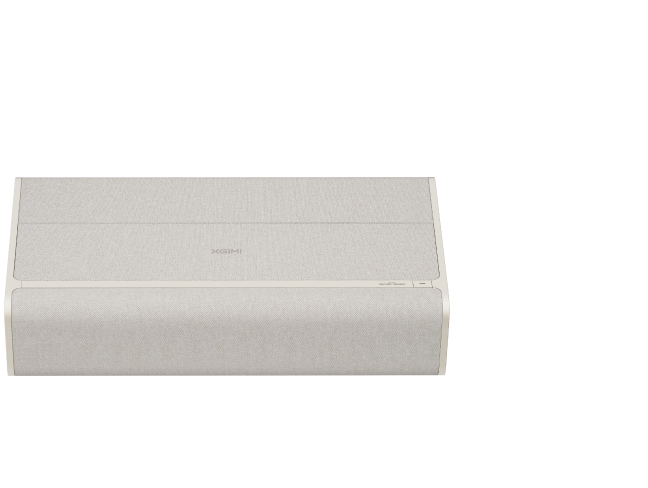
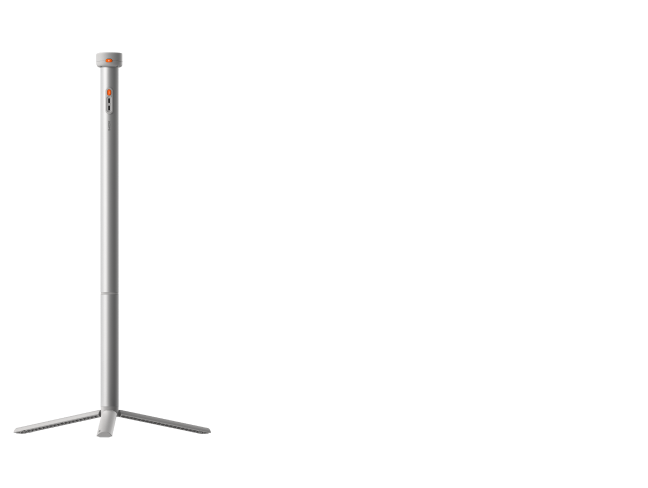
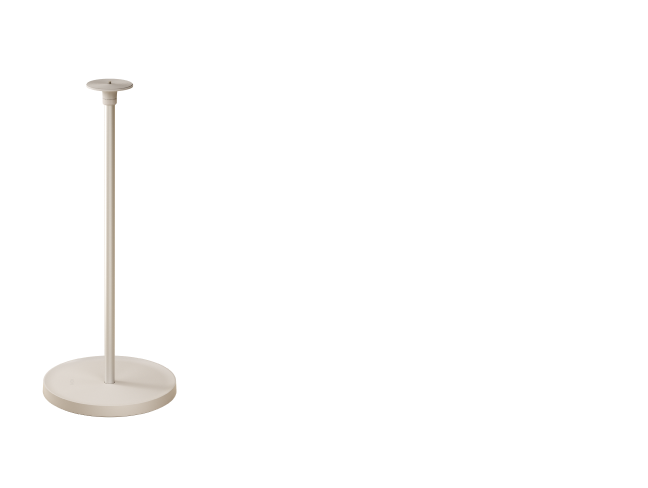
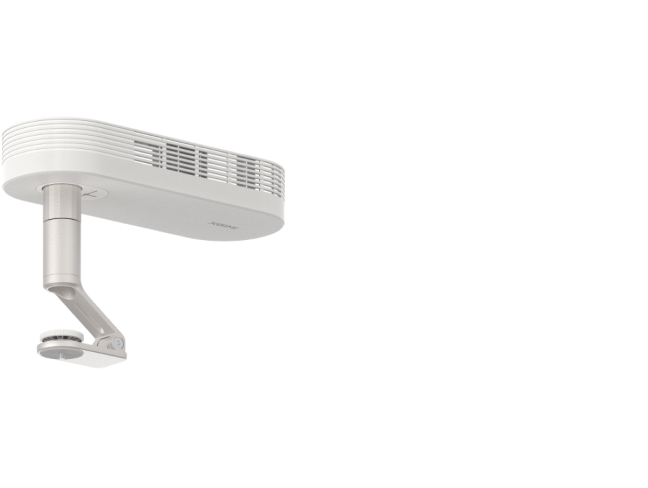
A XGIMI Portable Outdoor Screen paired with a proper stand also helps by keeping the entire setup elevated and organized. For complete outdoor kits, consider collections like the MoGo 4 Laser Outdoor Collection that include protective cases and stands.
Remember that cases should only be used after the projector has fully cooled and dried. Sealing a warm or slightly damp unit inside a bag traps moisture and can worsen condensation damage during transport home.
Setup Tips for Different Outdoor Scenes
Backyard movie nights usually offer the most control. Use a fixed elevated platform under a patio cover or temporary canopy. Run a quick dew-point check using a weather app that reports humidity and calculated dew point. Position the projector so prevailing breezes help with ventilation rather than blowing mist toward the vents.
Camping and RV setups require more caution. Temperature swings are often larger and shelter options fewer. Bring the projector out early to acclimate, use a dedicated weather shelter or large umbrella for overhead protection, and keep a dry microfiber cloth and silica gel packs inside the carrying case for emergency moisture absorption. Consider shorter screening times to reduce cumulative exposure.
Seasonal shoulder nights in spring or fall frequently produce the highest dew risk. Evening cooling is rapid and humidity tends to climb. In these conditions, treat every setup as potentially high-risk and prioritize full acclimation plus physical barriers.
Our related guides on How to Set up the Perfect Outdoor Movie Night With a Smart Projector and the Backyard Movie Night Checklist (Portable Edition) provide additional ideas for integrating protection into your overall workflow.
Teardown and Storage Best Practices
Proper cooldown and drying are just as important as setup. When the movie ends:
- Power off the projector and allow the fan to run until it stops completely.
- Wait an additional 15–30 minutes for the unit to reach ambient outdoor temperature.
- Gently wipe any external condensation using a clean, dry microfiber cloth. Never use paper towels or force air into vents.
- Move the projector to a dry indoor space and allow it to warm up slightly before sealing it in a carrying case.
- Store in a climate-controlled environment with moderate humidity whenever possible.
Following these steps significantly reduces the chance that overnight moisture will remain trapped inside the device.
Common Myths and Mistakes to Avoid
Many users assume any protective case makes the projector fully weatherproof. Most cases are designed for dust, shock, and light splashes, not continuous exposure to heavy dew or rain. Using a projector directly in visible mist or rain almost always exceeds intended use and may void warranty coverage.
Another misconception is that running the projector will “dry itself out.” Internal fans move air but cannot overcome a large temperature differential that keeps pulling moisture inward. It is safer to prevent condensation than to try removing it after the fact.
Finally, some believe cold weather alone is the problem. In reality, the combination of temperature drop and humidity determines the dew point. A cold but very dry night can be safer than a milder but humid one.
When to Skip the Outdoor Screening
If you observe any of the following, consider postponing:
- Visible dew already forming on grass, cars, or other surfaces
- Forecast humidity above 80% with a temperature drop greater than 15°F
- Inability to provide overhead shelter and elevated placement
- Recent indoor storage with no time for acclimation
- Any sign of lens fogging during initial testing
These are conservative guidelines intended to protect your investment. When in doubt, move the experience indoors or wait for clearer, drier conditions.
This article discusses comfort and setup advice for outdoor projector use. It does not constitute technical specifications, warranty guidance, or instructions that override your owner’s manual. Projectors are not inherently waterproof or moisture-proof devices. If you experience persistent issues, unusual shutdowns, or visible internal moisture, consult the manufacturer support or a qualified technician. For eye comfort or other health concerns related to prolonged screen time, speak with a healthcare professional.
Protecting your projector from dew, humidity, and temperature drops requires attention to timing, placement, and accessories rather than a single magic solution. By understanding dew point, checking conditions in advance, allowing proper acclimation, and using carrying cases and stands thoughtfully, you can safely enjoy many nights of outdoor cinema. Start with your next forecast, prepare your setup area with elevation and shelter in mind, and always prioritize manufacturer guidance for your specific model. Your equipment will last longer and deliver consistent performance when you treat weather as a key part of the planning process.
For more outdoor cinema ideas, explore our Portable Projectors collection or the Accessories range designed to support safe, flexible viewing anywhere.


