




Creating a safe and stable projector setup inside a moving vehicle like a van, RV, or car transforms road trips into memorable mobile cinema experiences. The key is prioritizing secure mounting that withstands vibration and sudden stops, combined with quick image alignment tools and careful attention to power, ventilation, and cable management. When done correctly, this setup keeps equipment protected while delivering enjoyable viewing in parked or low-speed scenarios, though it requires choosing the right mounting method for your specific vehicle and projector.

Proper mounting prevents the projector from shifting, falling, or suffering damage from road vibrations. Official installation guidance warns against mounting equipment on structures prone to vibration, movement, or impact, making vehicle-specific choices critical for safety. Always test your setup thoroughly before travel and never operate the projector while driving, as it could create dangerous distractions.
Understanding the Challenges of In-Vehicle Projector Use
Vehicle environments introduce unique issues compared to home setups. Constant motion, even when parked at campsites, can cause screen wobble, image blur, and mechanical stress on the projector. Sudden stops or bumps amplify these risks, potentially leading to loose components or equipment failure. Confined spaces also complicate power supply, heat dissipation, and cable routing, while uneven parking surfaces demand fast image realignment.
Families on long-distance trips or vanlife enthusiasts often seek entertainment during rest stops or overnight stays. However, improper installation can result in damaged projectors, tangled wires posing trip hazards, or unstable projections that frustrate rather than entertain. Understanding these risks helps guide better decisions about mounts, projectors, and accessories.
Choosing the Right Mounting Method for Vehicles
Selecting a mounting approach depends on your vehicle type, available space, and tolerance for permanent modifications. Common options include tension rods, clamps, dedicated ceiling mounts, and portable stands or tripods. Each has tradeoffs in stability, installation ease, and suitability for road use.
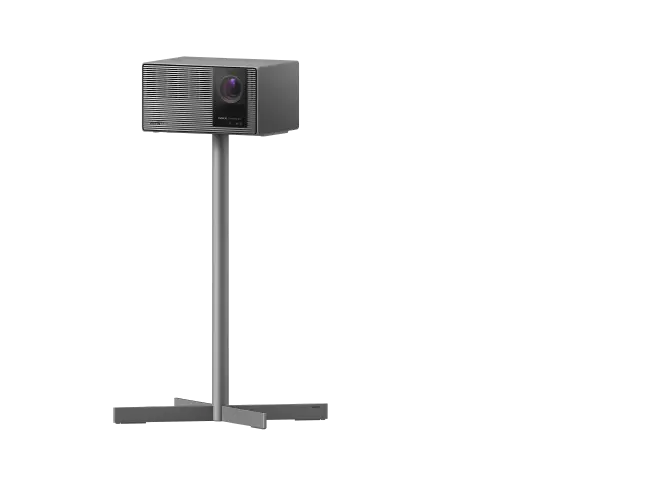
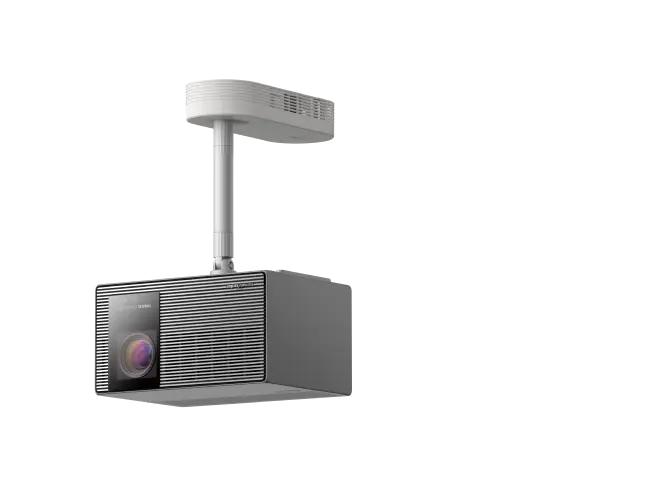
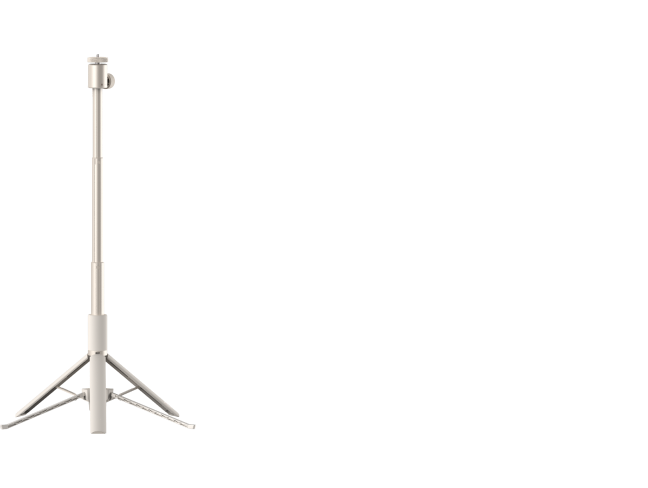
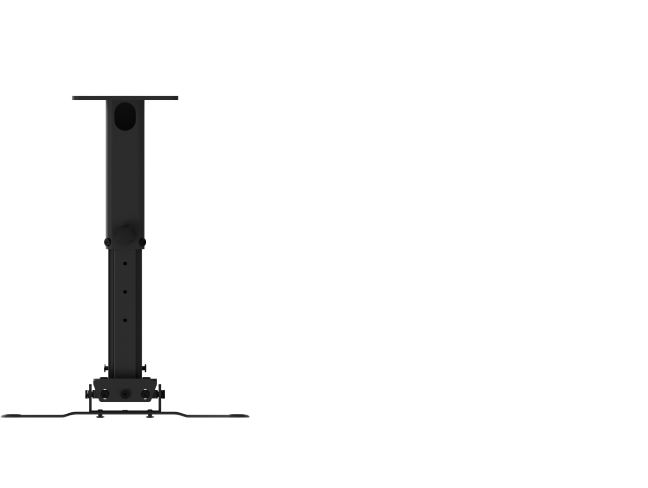
Tension rods offer a no-drill solution by expanding between vehicle surfaces like walls or ceilings, providing moderate stability for lighter projectors. Clamps attach to existing structures such as headrests or shelves but require careful positioning to avoid slippage. Ceiling mounts deliver the most secure fixed installation when properly anchored to stable roof points, though they demand precise fitting. Portable stands and tripods excel in quick setup and takedown but offer the least resistance to vibration. For more on this topic, see How to Use a Tripod as a Temporary Projector Stand for Backyard Movies. For more on this topic, see Ceiling Mount vs Floor Stand: Best Projector Setup.
This heuristic radar chart compares these options for parked van or RV use:
Heuristic Suitability of Mounting Options for Vehicle Use
Illustrative comparison for parked van/RV use only. Scores are bounded heuristic judgments, not measured performance.
View chart data
| Series | Vibration Stability | Installation Safety | Vibration Resistance | Portability |
|---|---|---|---|---|
| Tension Rod | 3.0 | 3.0 | 2.0 | 4.0 |
| Clamp | 3.0 | 3.0 | 3.0 | 3.0 |
| Ceiling Mount | 5.0 | 4.0 | 5.0 | 1.0 |
| Portable Stand / Tripod | 1.0 | 5.0 | 1.0 | 5.0 |
Heuristic chart based on targeted search results and general mount-use reasoning: ceiling/projector mount listings emphasize secure installation and load-bearing; tripod/stand sources emphasize portability and quick setup; vehicle-use guidance and vibration-isolating references support higher stability for fixed mounts than free-standing options. No false precision intended.
As this official installation guide emphasizes, mounts should only attach to stable structures. Ceiling mounts often rank highest for vibration resistance when installed correctly, while portable stands provide flexibility for different stopping spots.

Step-by-Step Guide to Safe Mounting
Begin by assessing your vehicle's interior for stable, flat mounting points away from windows or high-traffic areas. Measure clearance to ensure the projector won't obstruct movement or views. For no-drill options, tension rods work well between parallel surfaces—clean the contact points thoroughly and apply non-slip padding for better grip.
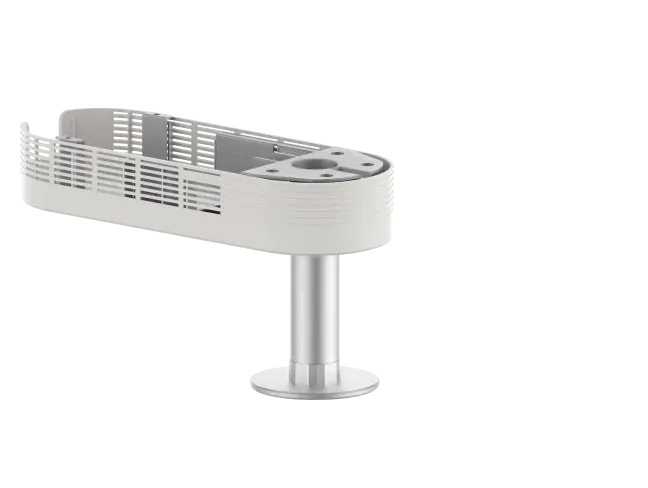
Install the mount according to manufacturer instructions, double-checking that all hardware is tightened against vibration. Secure the projector using compatible brackets or straps rated for its weight. XGIMI's Ceiling Mount offers a durable aluminum design suitable for compatible models, with hidden cable storage for cleaner installs.
Route cables along vehicle contours using clips or ties to prevent snags or loosening. As some installation sheets note, incorporating cable-management steps reduces risks in compact spaces. Leave adequate clearance around vents for proper airflow, following general user guidance to avoid blocking intake or exhaust areas.
Test the setup by gently shaking the vehicle or simulating bumps. Adjust as needed before loading for a trip. For families, consider lower mounting positions in RVs to minimize fall risks.
Stabilizing Against Vibration and Motion
Vibration control is essential even when parked, as idling engines or wind can affect image quality. Use rubber isolation pads or dampening feet between the mount and projector where possible. Avoid placing the unit on unstable shelves or directly on vehicle floors that transmit road noise. For more on this topic, see How to Re-pair Projector Remote Control After Battery Replacement o....
For optimal stability during slow movement or at campsites, choose projectors with built-in features that compensate for minor positioning shifts. XGIMI models incorporate Intelligent Screen Adaption (ISA) technology, which includes autofocus, auto keystone correction, obstacle avoidance, and intelligent screen alignment to speed up setup on uneven surfaces. Official support materials describe these as effective aids for quick realignment after repositioning.
When the vehicle is stationary, these features allow rapid adjustments without manual fiddling, reducing frustration in roadside viewing scenarios. However, they do not eliminate the need for a physically secure base—combine them with proper mounting for best results.
Power, Cable Management, and Ventilation Best Practices
Vehicle power sources like 12V outlets or portable batteries require secure connections that won't dislodge during travel. Use strain-relief clips and check cables regularly. Keep all wiring tidy and away from footpaths to prevent accidents.
Ventilation remains crucial in enclosed spaces. Position the projector to allow unrestricted airflow, monitoring for overheating during longer sessions. User guides consistently advise maintaining clearance around vents, especially important in warm climates or during summer road trips. For more on this topic, see The Importance of Ventilation: How to Position Your Projector to Pr....
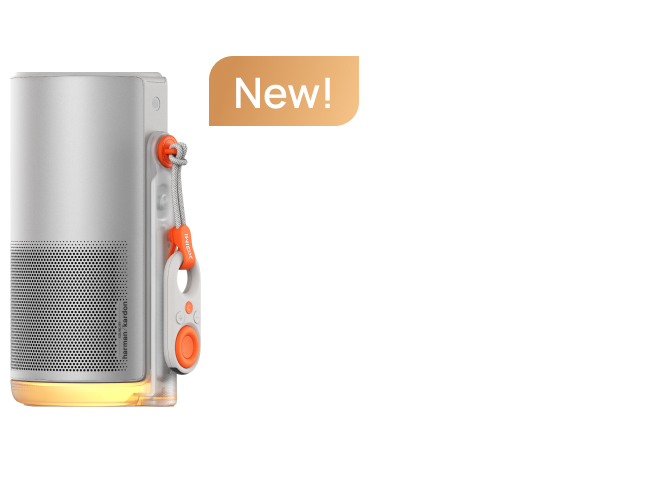
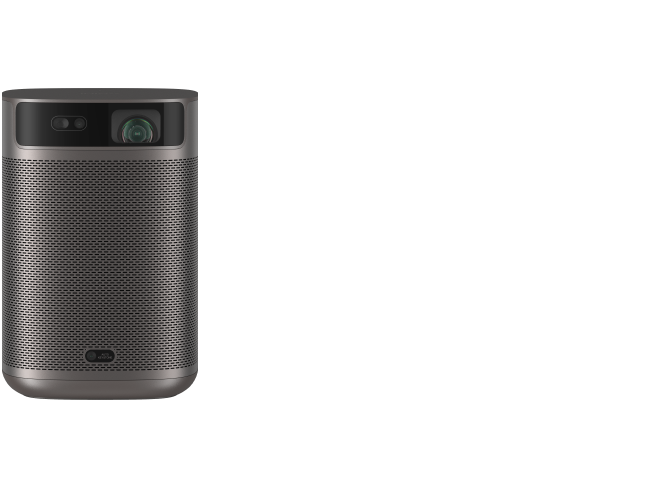
Consider battery-powered portable projectors to reduce reliance on vehicle systems. Models like the XGIMI MoGo 4 feature integrated rechargeable batteries, making them ideal for off-grid camping without constant plugging in.
Selecting the Best Portable Projector for Road Trips
Not all projectors suit vehicle use. Prioritize compact, lightweight designs with durable builds, long battery life, and robust auto-setup features. Look for units under 5 pounds with at least 2 hours of battery runtime for flexibility. For more on this topic, see How to Calculate Real Battery Runtime for Outdoor Projection Sessions.
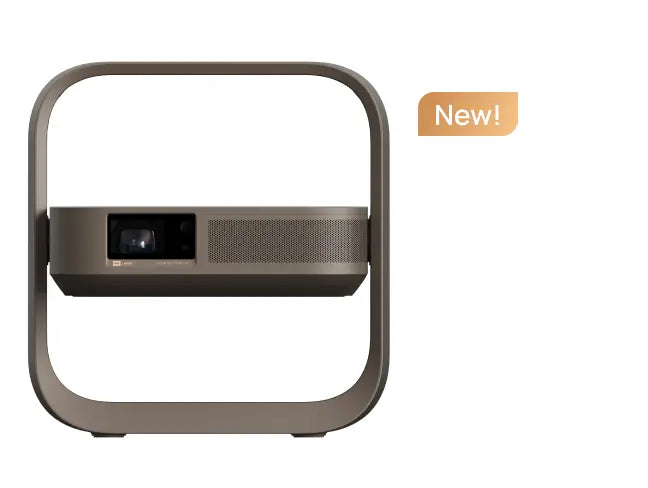
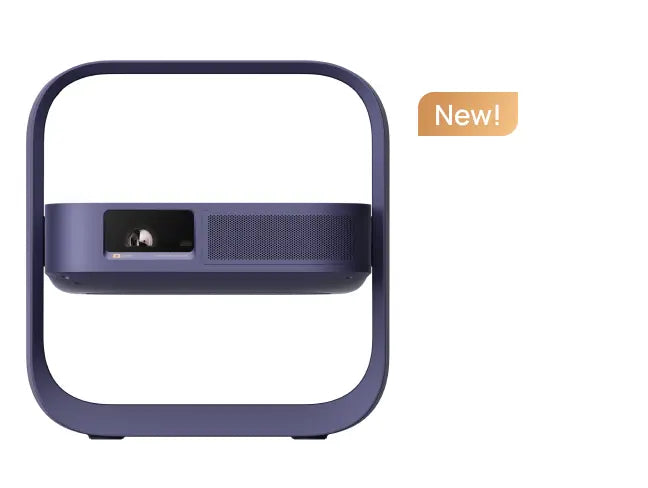
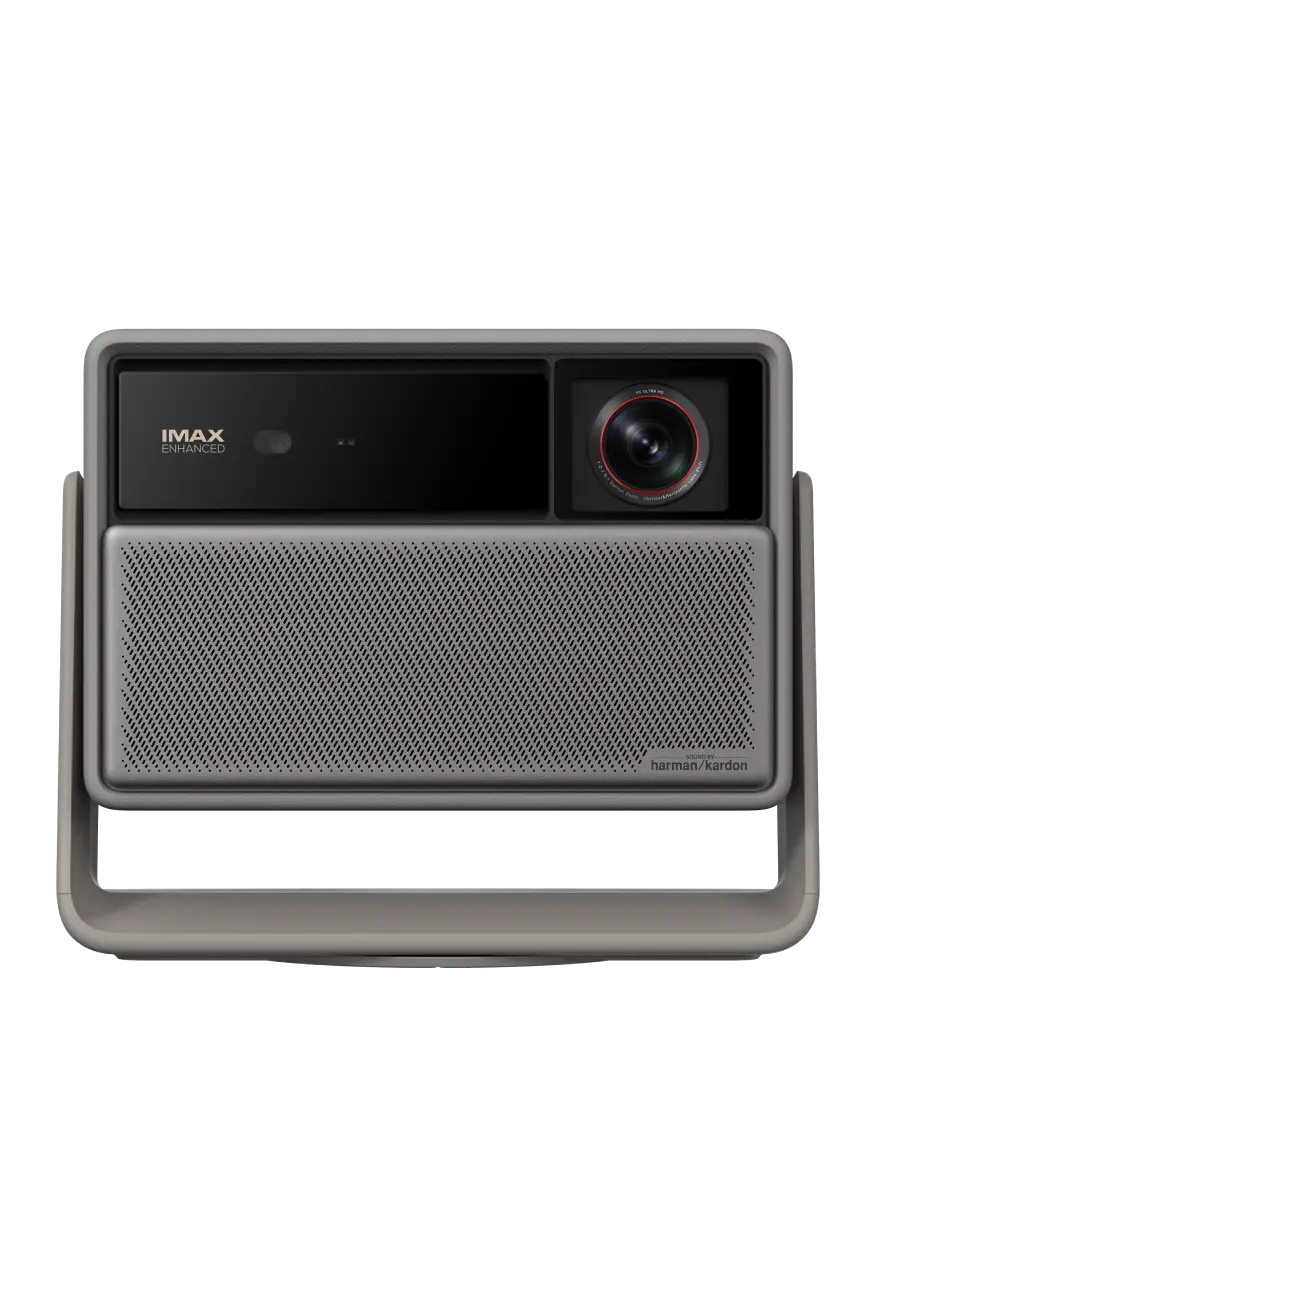
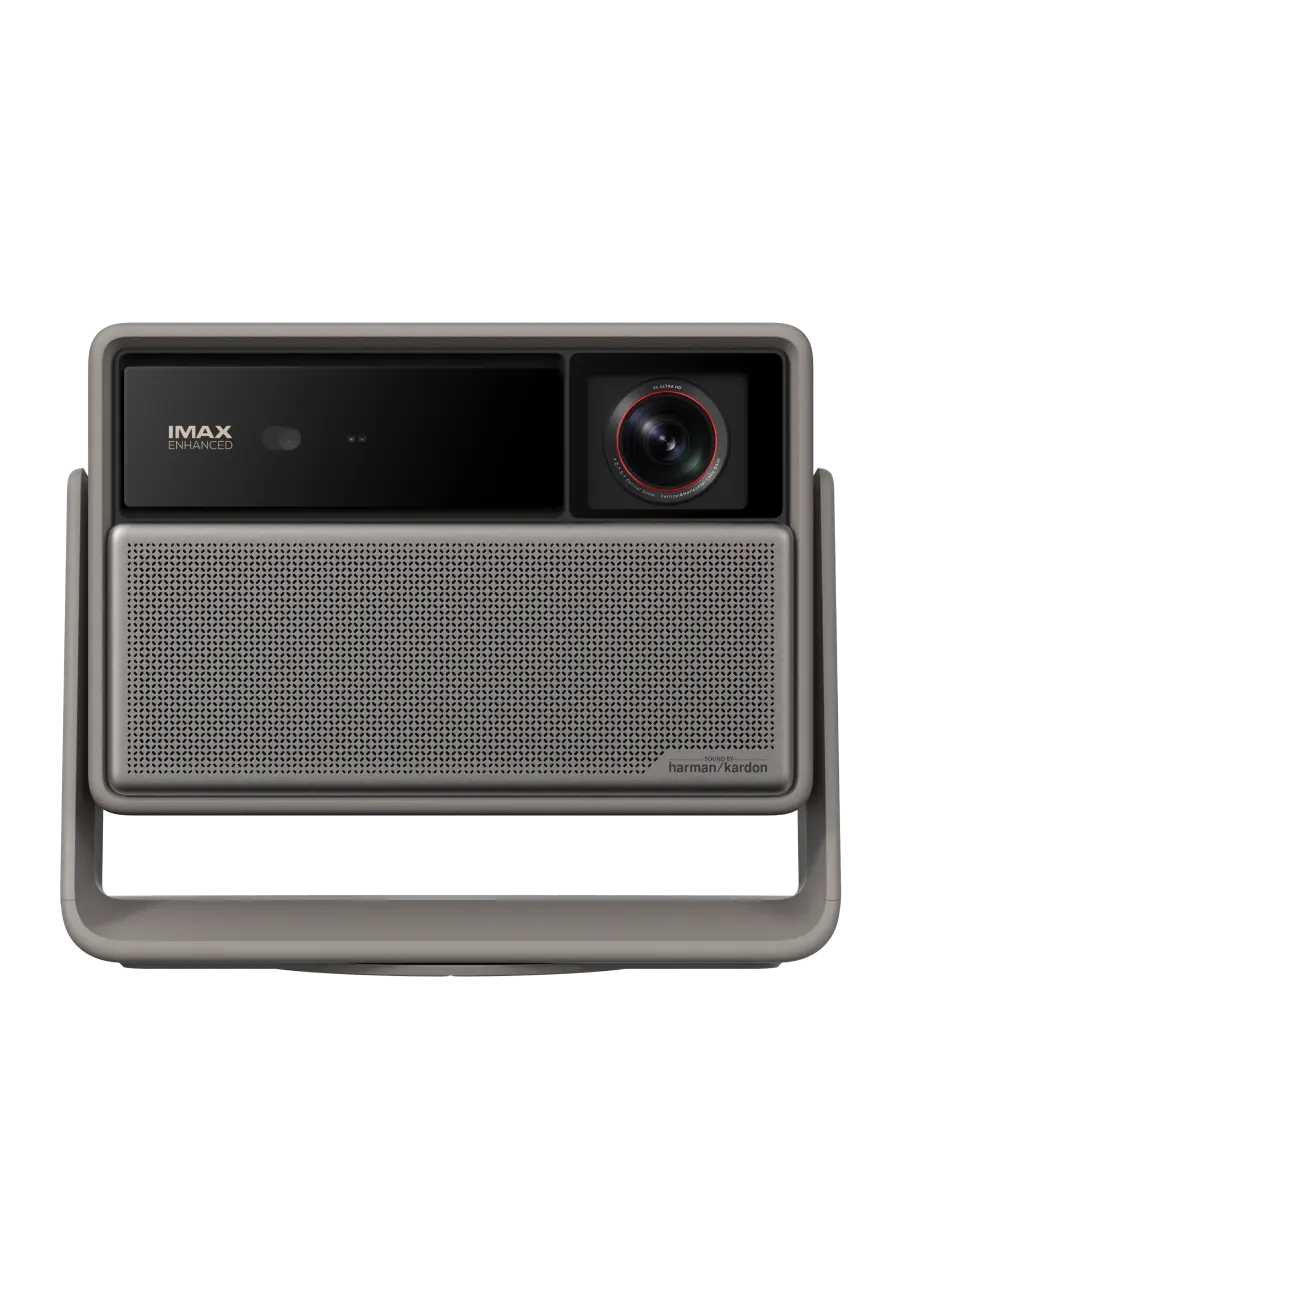
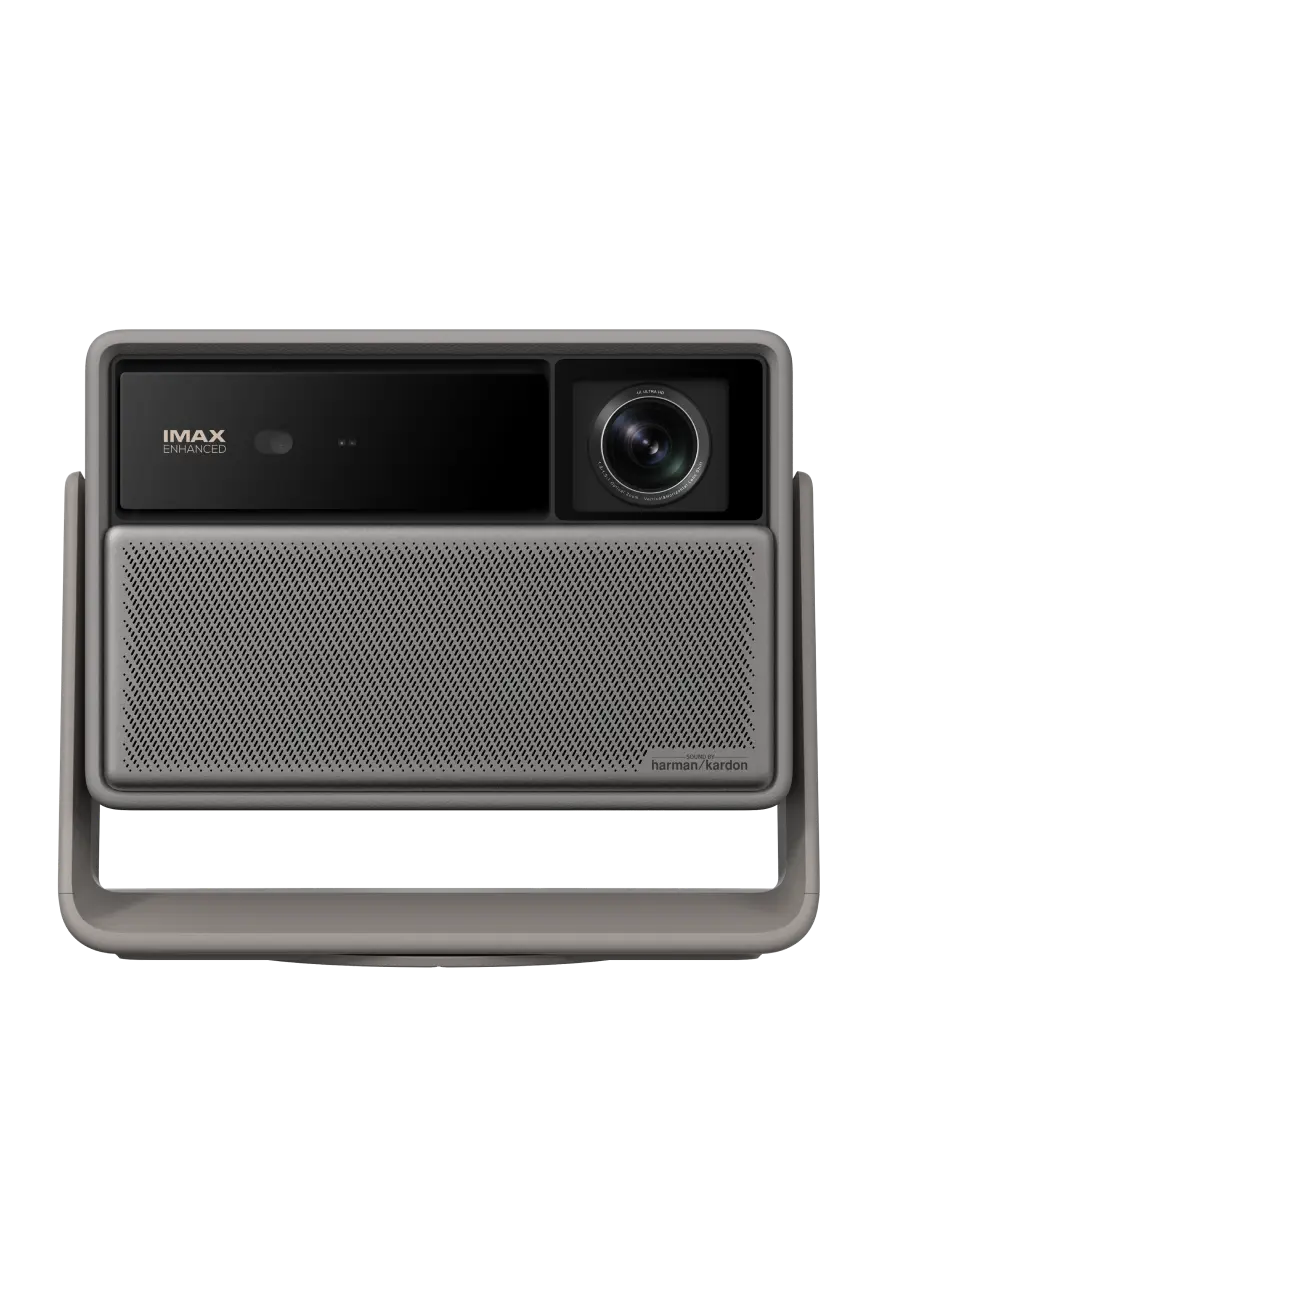
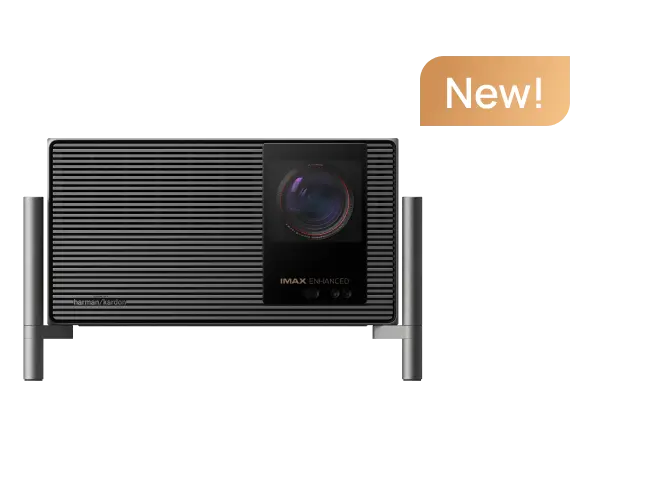
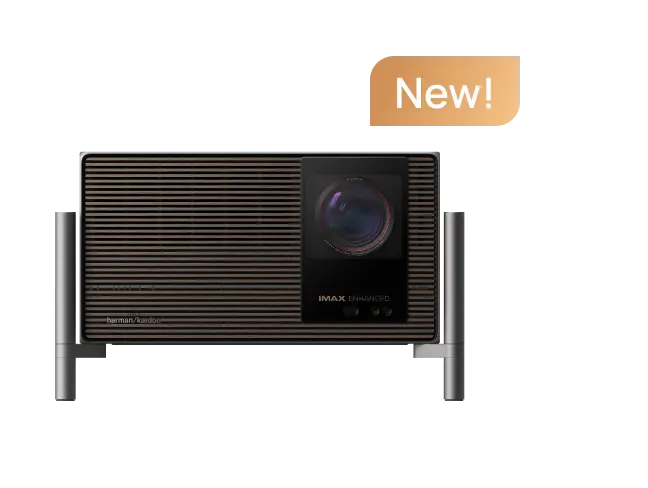
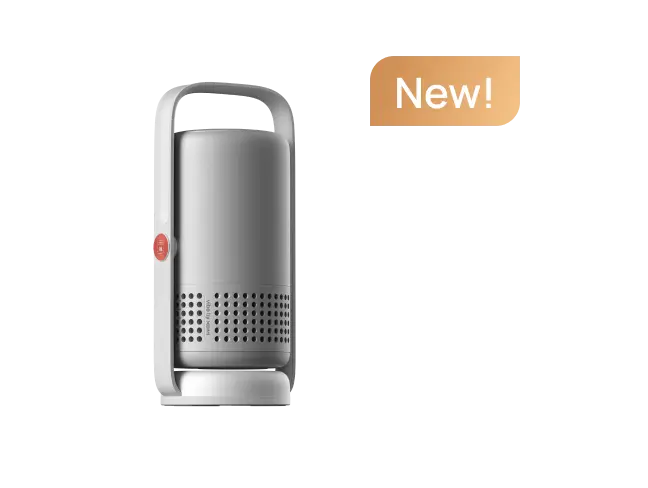
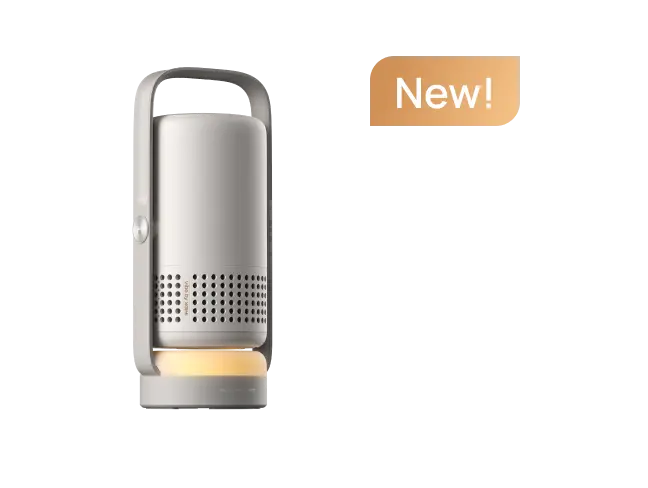
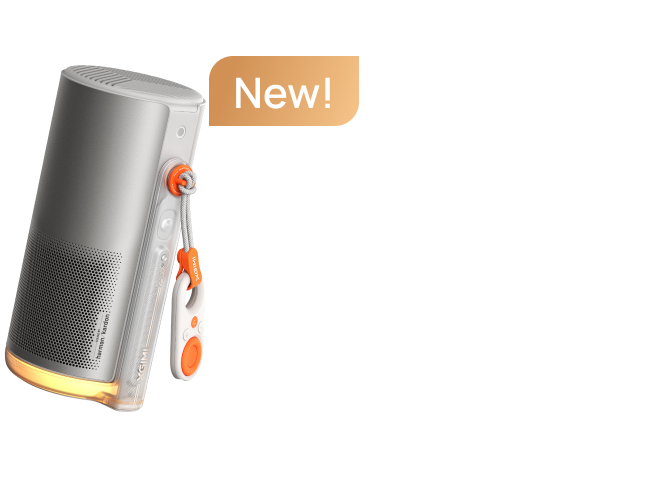
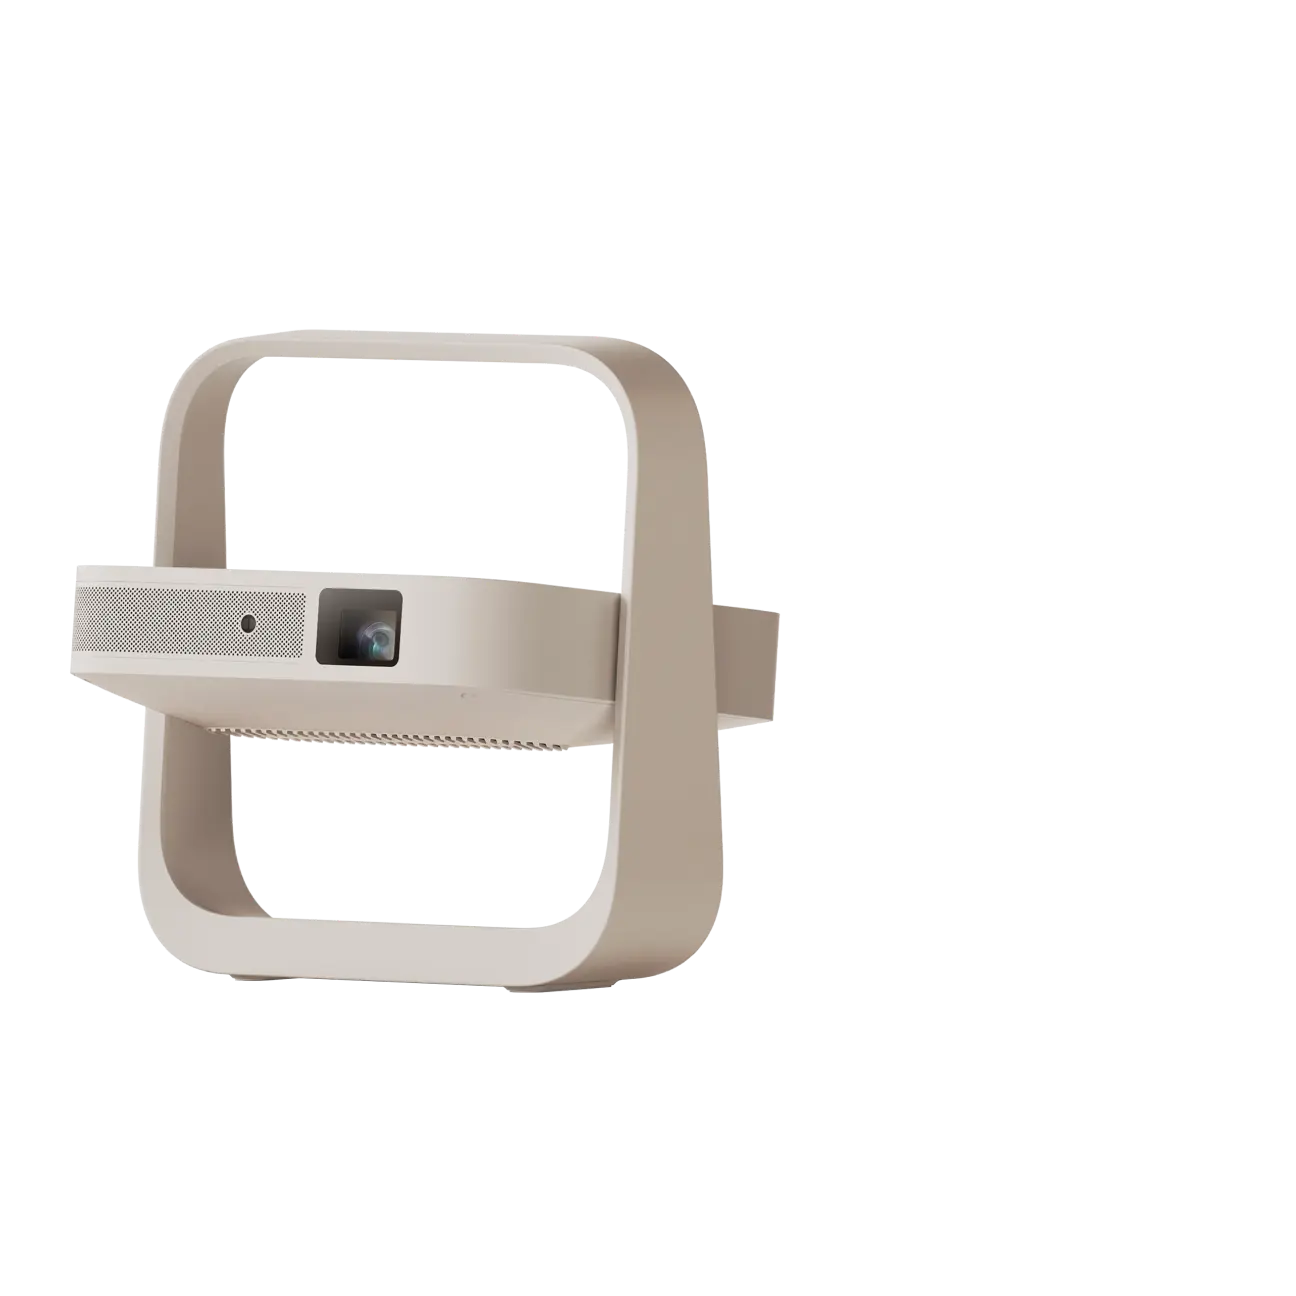
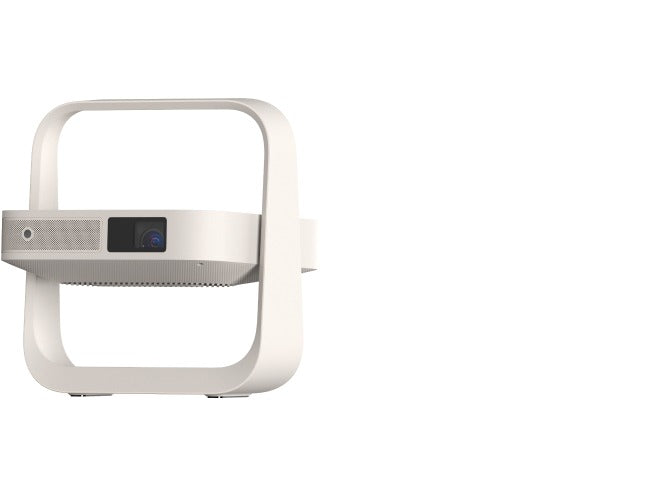
XGIMI's portable lineup excels here. The MoGo 4 delivers 1080p resolution, Harman Kardon sound, and a built-in battery in a highly portable form factor perfect for vans. Similarly, the Halo+ combines 1080p visuals with auto-focus and 2.5-hour battery life, supporting outdoor and in-vehicle cinema.
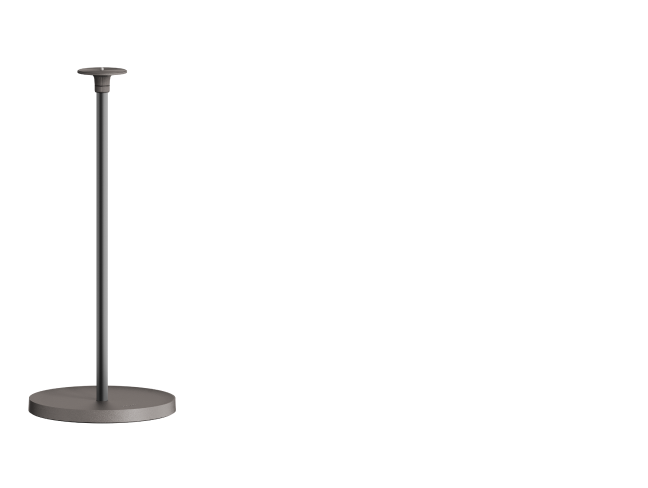
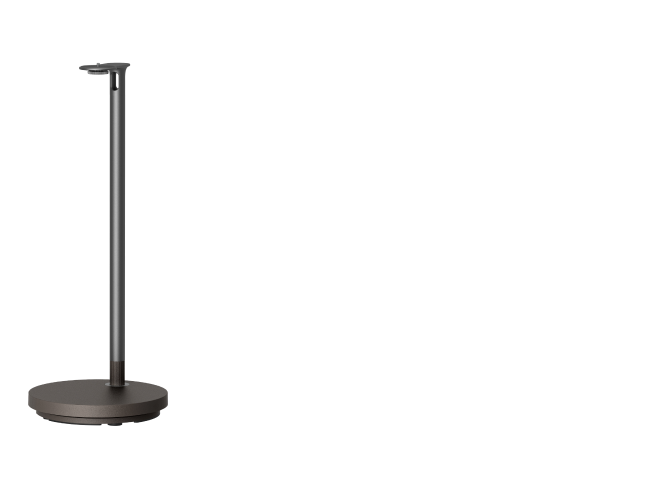
For advanced performance, the MoGo 4 Laser provides brighter triple-laser projection suitable for varied lighting conditions during road trips. Pair any with the Portable Stand for quick, adjustable positioning when fixed mounts aren't practical.
Explore the full Portable Projectors collection to match your needs.
Quick Image Alignment on Uneven Surfaces
Parking on slanted or bumpy ground often misaligns projections. Traditional manual adjustments take time, but modern intelligent features streamline the process. ISA technology automates much of this, using autofocus and keystone correction to achieve a rectangular image rapidly.
After mounting and parking, power on the projector and let its sensors handle initial setup. Fine-tune only if needed. This capability proves especially valuable for frequent stops on road trips, minimizing setup time so you can focus on enjoying content.
Safety Checklist and Common Mistakes to Avoid
Before every trip, run through this checklist:
- Verify all mounting hardware is tight and rated for the projector's weight.
- Confirm the mounting surface is stable and free from excessive vibration points.
- Secure cables with ties and route them safely.
- Ensure ventilation clearance of at least 4-6 inches around the unit.
- Test image stability by simulating motion.
- Pack a security cable lock if leaving the vehicle unattended.
- Carry spare mounting pads or straps for adjustments.
Avoid drilling into unapproved vehicle structures, overloading mounts, or ignoring heat buildup. Never use the projector while the vehicle is in motion. If your setup involves children or frequent travel, opt for lower, more accessible mounting to reduce risks.
Common regrets include choosing overly complex permanent mounts that limit flexibility or selecting heavy projectors unsuitable for portable use. Start simple with a tension rod or stand setup and upgrade based on real-world testing.
When a Vehicle Projector Setup May Not Be Ideal
This approach works best for parked viewing rather than constant motion. If your travels involve mostly driving with limited stopping time, a tablet or built-in vehicle screen might prove more practical. Those with very small cars lacking stable interior surfaces should consider outdoor alternatives instead.
In extremely rough terrain or high-vibration RVs, even the best mounts may struggle without additional damping. Always consult your vehicle manual for approved modification points and prioritize safety over convenience.
Important Safety Note: This article provides general comfort and setup guidance for projector mounting in vehicles. It does not constitute professional installation advice, mechanical recommendations, or medical guidance regarding eye strain or motion sensitivity. Improper mounting can create safety hazards. If you experience persistent discomfort, have existing health conditions, or are unsure about vehicle modifications, consult qualified professionals such as certified installers or mechanics. Test all setups thoroughly in controlled conditions before use on the road.
By following these practices and selecting appropriate equipment, you can build a reliable mobile entertainment system. Portable projectors from XGIMI, paired with thoughtful mounting, offer a low-friction way to enjoy movies during your adventures. Check out related resources like how to mount a projector to the ceiling for additional home-inspired techniques adaptable to vehicles, or explore XGIMI MoGo 4 portable projector options for your next road trip.
With careful planning, your vehicle can become a safe, stable cinema on wheels—enhancing family bonding and outdoor lifestyle experiences without compromising security.


