


A Drill-Free Home Theater Is Possible — Here's the Honest Setup Map
The short answer: yes, you can get a genuinely cinematic experience in a rental apartment without touching a wall with a drill. The longer answer involves knowing exactly where the limits are — because a projector on a coffee table pointed at a beige wall at 35° is not the same as a properly positioned unit on a stable tripod facing a matte white surface.
This guide is written for apartment renters, short-term leaseholders, and anyone whose lease explicitly prohibits permanent wall modifications. If you own your home and can mount a ceiling bracket, most of this advice still applies, but the drill-free constraints that shape every recommendation here won't be your primary concern.
Who this is not for: homeowners planning a dedicated theater room, anyone building a permanent ceiling-mount installation, or renters who have already received landlord approval for wall anchors. Those setups have different trade-off profiles and different product requirements.

The Four Barriers Renters Actually Face (and What Solves Each One)
Most projector guides skip the renter-specific friction entirely. Here's a direct map of each problem and its solution before diving into the details.
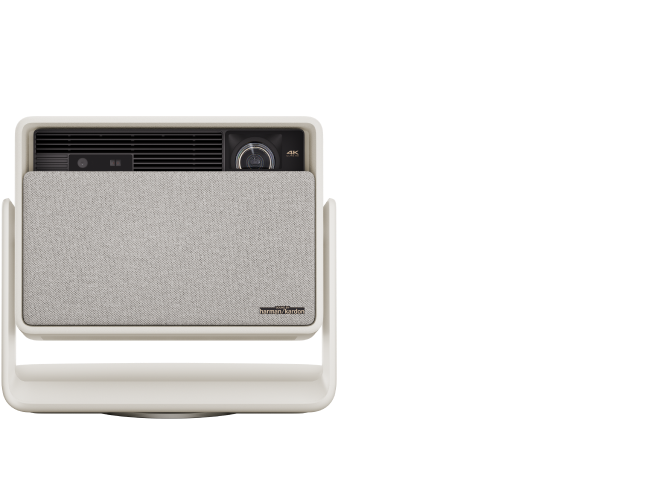
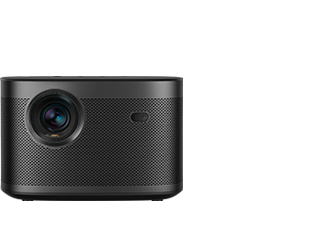
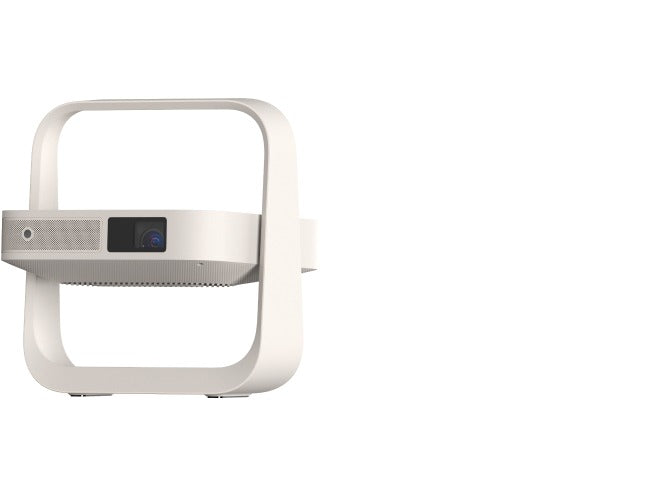
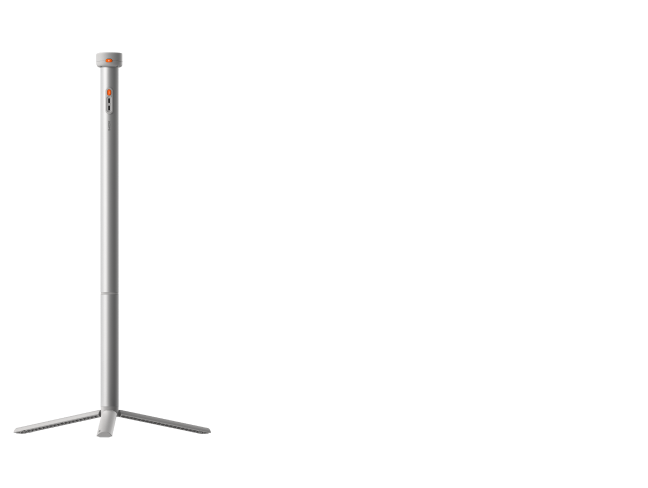
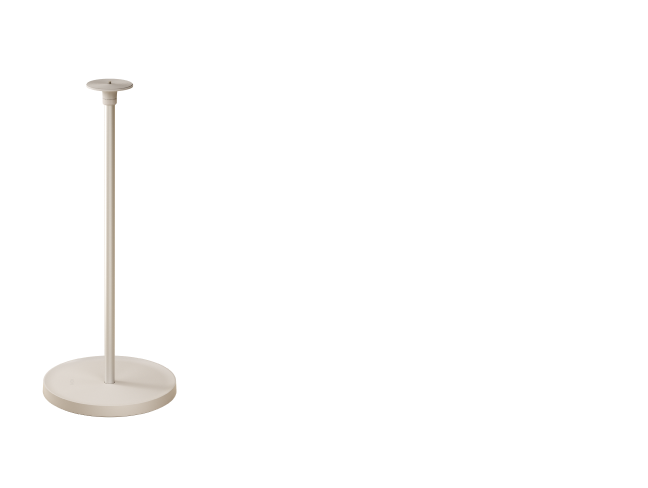
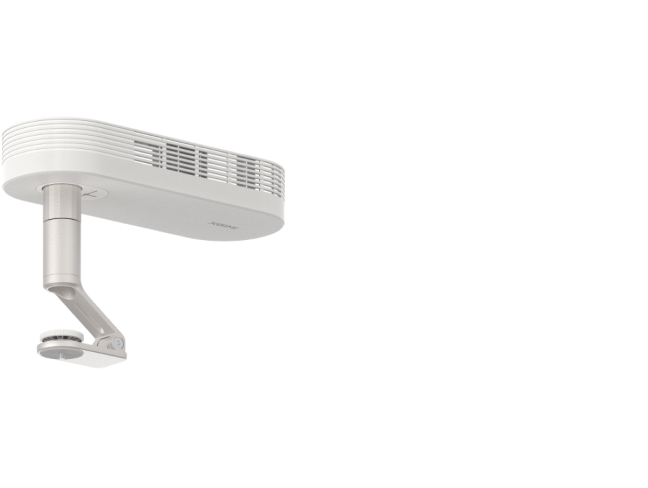
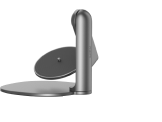
Stable placement without wall or ceiling mounts — A portable tripod with a 1/4"-20 thread mount solves this for most standard-throw projectors. The compact MoGo 4 Laser and portable Halo+ both ship with adjustable bases that provide ±360° rotation, letting you dial in the angle from a bookshelf, side table, or dedicated floor stand without any wall contact.
Screen alignment on colored or textured rental walls — ISA (Intelligent Screen Adaptation) technology handles auto keystone, autofocus, and wall-color correction automatically. The Wall Color Adaption feature on HORIZON-series projectors calibrates across a color temperature range of 3000K–15000K, which covers most beige, cream, and off-white rental wall tones. The caveat: calibration works best in dimly lit environments, and it does not support wallpaper, visible dirt, or decorative wall treatments.
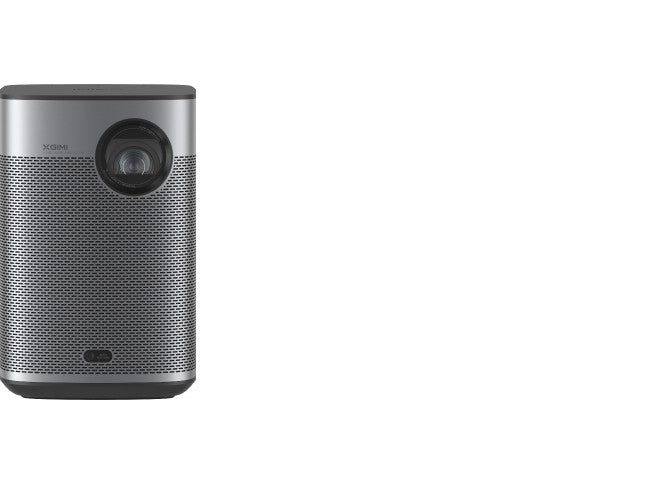
Cable and power management — For truly wireless setups, the MoGo 4 Laser's built-in battery delivers 2.5 hours of runtime in Eco mode — enough for a feature film without hunting for an outlet. The Halo+ carries a 59.45Wh battery rated at 2.5 hours of playtime. For longer sessions, a 65W USB-C PD power bank keeps either unit running indefinitely without running cables across the floor.
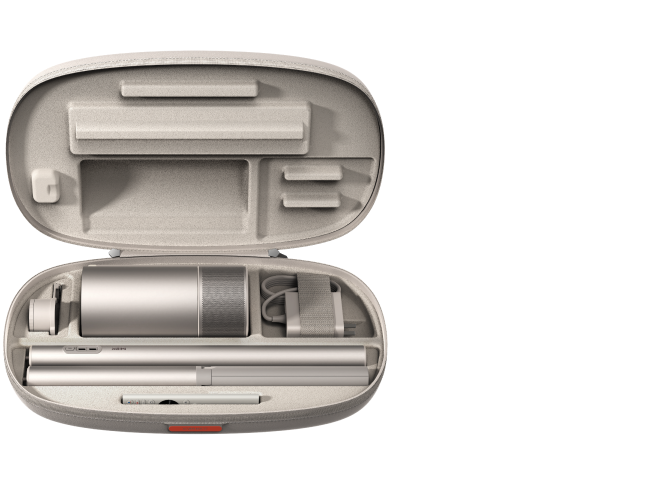
Portability when moving — Both units weigh under 1.6 kg and pack into a backpack. The MoGo 4 Laser is 1.3 kg (about 2.9 lbs). When the lease ends, the entire setup fits in a single bag.

What Your Rental Wall Actually Does to the Image
This is the section most buying guides omit entirely, and it's where renters get the most unpleasant surprises.
A smooth, matte-painted white wall retains roughly 85–90% of projected brightness and introduces only minor uniformity variance (around ±15% across the image area). For casual streaming, that's acceptable. However, contrast takes a meaningful hit — expect 35–45% contrast loss compared to a dedicated projector screen, according to XGIMI's home projector screen buying guide and contrast principles outlined by INFOCOMM/ANSI standards.
Evidence: XGIMI's official documentation states: "Wall texture, even when painted smooth, creates subtle patterns in the image." For 4K content specifically, these micro-shadow patterns become visible during slow panning shots or dark scenes with fine detail. The effect is more pronounced on walls with texture amplitude above roughly 0.5mm.
Beige and off-white walls compound the problem. The warm reflectance of a beige surface shifts whites toward yellow and compresses blue saturation. Wall-color correction can compensate, but it comes with a brightness penalty of roughly 25–30% after calibration, and residual color cast can appear in shadow regions. The practical threshold: if your wall is darker than a standard "antique white" paint chip, a portable screen will deliver noticeably better results than wall-color correction alone.
Textured walls — stucco, orange peel, or older plaster — are the hardest case. At 4K resolution, the texture creates moiré-like interference patterns on fine detail. This is not a projector defect; it's physics. A portable screen eliminates the problem entirely and costs far less than repainting. XGIMI's guide to portable projector screens confirms that a portable screen is "superior to a wall in most situations" and produces a cleaner image even when the wall appears smooth to the naked eye.

The Angle Limits You Must Know Before Choosing a Placement Spot
Auto keystone correction is genuinely useful, but it has hard limits that determine whether your furniture arrangement will work.
ISA technology's smart setup features handle a maximum of 40° vertical and 30° horizontal correction. Beyond those angles, the system cannot compensate — you'll need to physically reposition the projector. Most projectors only support keystone correction within a limited angle range before image quality degradation becomes visible, as documented in ProjectorCentral's explanation of lens offset and keystone correction. This is the single most important spec for renters in awkward floor plans.
Digital correction also carries a sharpness cost. As explained in ProjectorCentral's technical guide to keystone correction, digital keystone works by scaling the image, which can introduce artifacts and reduce brightness when the projector is significantly off-axis. At moderate angles (around 30° horizontal), expect a 15–20% reduction in effective sharpness and minor geometric distortion at the image edges. At extreme angles approaching the 30°/40° limits, the penalty increases. The practical rule: keep the projector within 20° of the screen center axis whenever possible, and treat the 30°/40° limits as emergency fallbacks rather than target positions.
Logic Summary: These angle thresholds apply to ISA-equipped XGIMI models. Non-ISA projectors using manual keystone correction will show greater sharpness loss at the same angles because they lack the sensor-driven geometric compensation. If your room forces a side-angle projection, prioritize a model with full ISA rather than a higher-lumen unit without it.
Choosing Your Surface: A Decision Checklist for Renters
Work through these questions in order before deciding between wall projection and a portable screen.
1. Is the wall matte-painted and close to pure white?
If yes, wall projection is viable for casual viewing. Expect reduced contrast but acceptable brightness. Follow the bedroom projector setup guide recommendation: matte finish in bright white or light gray, never glossy — glossy paint creates hotspots that no software correction can fix.
2. Is the wall beige, cream, or any non-neutral tone?
Enable Wall Color Adaption and dim the room lights below roughly 50 lux. If the room has track lighting or large windows that can't be covered, a portable screen will consistently outperform software correction.
3. Does the wall have visible texture (orange peel, stucco, plaster relief)?
Skip wall projection for anything above 1080p content. A portable screen is the right call. The texture patterns become distracting during cinematic content even if they're invisible under normal room lighting.
4. Can you dim the room to near-darkness?
If yes, a gray portable screen boosts perceived contrast significantly by absorbing ambient light that bounces off light-colored furniture and ceilings. XGIMI's screen guide notes that gray screens "help when you cannot achieve complete darkness" but warns of a trade-off: slightly less vivid colors and darker whites compared to a white screen in a fully controlled environment.
5. Is the viewing distance under 2 meters?
At short throw distances, a 40–80 inch portable screen keeps the image within the projector's optimal focus range and avoids the need for extreme keystone correction.
Renter Scenarios: From Studio Apartments to Shared Lofts
The following situations represent the most common rental configurations and the specific adjustments each requires.
The studio apartment with beige walls and track lighting. This is the scenario where wall-color correction earns its keep — but only partially. The Halo+ at 700 ISO Lumens has enough output to push through the brightness penalty from color calibration and still deliver a watchable image in dim conditions. For daytime viewing, blackout curtains matter more than any projector spec; as XGIMI's official guidance states, ambient light "washes out projected images quickly," and no portable projector in this brightness class overcomes 500+ lux of daylight without an ALR screen.
The shared apartment where the living room doubles as a workspace. The biggest friction here is setup and teardown time. Marking floor positions with removable tape gives repeatable placement that the projector's auto-calibration can lock onto in under 60 seconds. The Halo+'s quick-boot Google TV interface and auto-keystone mean the gap between "projector in bag" and "movie playing" is under three minutes in a practiced routine.
The 6-month sublet with awkward furniture placement. If the only available projector position is off-axis, stay within the 20° horizontal sweet spot where digital correction sharpness loss is minimal. If the layout forces a wider angle, a floor-standing portable screen repositioned to face the projector directly is a better solution than pushing the keystone correction to its limits.
The older building with popcorn ceilings and textured walls. Ceiling projection onto a popcorn surface produces visible noise during slow pans. The better approach is a compact projector on a side table or bookshelf aimed at a portable screen placed against the wall — no ceiling contact required, no texture interference.
Community discussions on r/projectors and r/hometheater consistently surface the same frustration: renters discover wall texture issues after buying, during their first movie night. The consensus workaround is a tension-rod-mounted or floor-standing portable screen, which requires zero wall contact and can be stored flat under a bed.
MoGo 4 Laser vs. Halo+: Which Fits Your Rental Situation
Both projectors are designed for exactly this use case, but they serve different rental profiles.
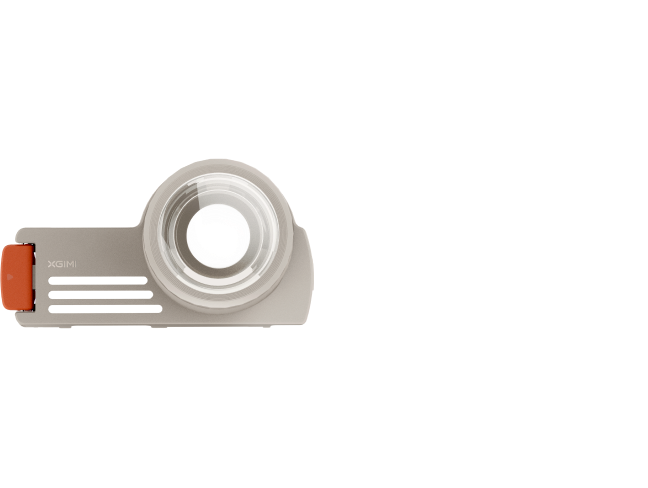
The MoGo 4 Laser prioritizes maximum portability: 1.3 kg, 550 ISO Lumens, 2.5-hour built-in battery, and a 360° adjustable arm that lets it project from almost any surface without a separate tripod. The laser light source delivers sharper color than LED at this brightness tier. The trade-off is that 550 ISO Lumens requires a reasonably dark room — aim for under 30 lux ambient light for comfortable viewing.
The Halo+ steps up to 700 ISO Lumens with the same 2.5-hour battery in a slightly larger 1.6 kg body. That 27% brightness increase matters in rental spaces where light control is imperfect — a roommate leaving a kitchen light on, a streetlight through thin curtains, or a landlord-installed overhead fixture that can't be removed. Google TV with licensed Netflix is included on the current model, removing the need for a streaming stick.
Evidence: ISO Lumens is the measurement standard used by XGIMI for both models. ISO 21118 defines the measurement methodology for projector luminous flux, providing a standardized comparison basis. ANSI Lumens (defined under ANSI/INFOCOMM 3M-2011) uses a similar 9-point measurement grid; in practice, ISO and ANSI figures are close but not identical for the same unit.
Neither projector is the right choice for a dedicated home theater room with controlled lighting and a fixed screen — the HORIZON series serves that use case. Both are the wrong choice for daytime viewing in a sun-filled room without blackout curtains or an ALR screen.
Cable Management Without Conduit or Wall Clips
Permanent cable clips and conduit require wall contact. The renter-safe alternatives:
- Removable adhesive cable clips (3M Command-style, rated for light loads) route HDMI or USB-C cables along baseboards without adhesive residue damage when removed correctly.
- Wireless streaming via Chromecast built-in (present on both MoGo 4 Laser and Halo+) eliminates the HDMI cable entirely for most streaming use cases.
- Battery operation removes the power cable for sessions under 2.5 hours, leaving zero cables on the floor.
- Cable sleeves laid along the floor edge under a rug create a clean path for power cables in longer sessions without any wall contact.
For audio, both projectors include Harman Kardon speakers (dual 6W on MoGo 4 Laser, dual 5W on Halo+) that are adequate for a single-room setup. Bluetooth pairing to a portable speaker adds volume without running speaker wire.
The Honest Trade-Offs: What You're Accepting With a Drill-Free Setup
Transparency matters here. A drill-free renter setup is genuinely good — but it is not identical to a fixed installation.
Digital keystone correction at moderate angles introduces a measurable sharpness reduction. A tripod on a carpeted floor can develop minor vibration artifacts at low frequencies (foot traffic, HVAC). Wall projection on a non-white surface requires calibration that works best in dim conditions and still carries a residual color penalty in shadows. These are real compromises, not hypothetical edge cases.
The practical ceiling for a well-executed renter setup — stable tripod, matte white wall or portable screen, room dimmed to under 30 lux — is roughly 90–95% of the image quality achievable with a fixed installation at the same projector spec level. For the vast majority of streaming, gaming, and casual movie watching, that gap is imperceptible. For critical 4K HDR viewing where shadow detail and color accuracy are paramount, a portable screen and careful room darkening close most of the remaining gap.
For tips on getting the best image quality in any environment, XGIMI's official tutorial covers ambient light reduction, surface selection, and focus calibration in detail.


