





Window glare and direct sunlight are the top reasons daytime projector images look washed out and unusable in living rooms and apartments. The most effective fix starts with strategic projector and screen placement that keeps both out of direct sun paths and strong reflections, followed by smart window treatments. When those steps are not enough, upgrading to a higher-lumen model or an ambient light rejection screen often restores usable contrast without turning the room into a cave.

Positioning your projector and screen correctly can dramatically reduce the impact of ambient light. The goal is to treat the room as a contrast-management problem: any bright surface or beam of sunlight that reaches the screen area lowers perceived black levels and makes colors look pale. By mapping sunlight movement through your space at different times of day, you can place the screen on a wall that receives the least direct exposure and orient the projector so its lens does not catch reflections.
Why Window Glare Ruins Projector Images
Direct sunlight and bright window reflections create visual discomfort and wash out the image by flooding the screen with uncontrolled light. This reduces contrast and makes even bright projectors look dim. As official guidance on measuring discomfort from glare explains, direct sunlight and window glare can make daytime viewing harder, so place the screen and projector to avoid direct sun paths whenever possible.
Ambient light hitting the screen lowers perceived contrast, turning deep blacks into shades of gray. In multi-use living rooms with large windows, this effect is most noticeable during afternoon hours when the sun is lower. Apartment dwellers often face added challenges because they have limited ability to modify window orientation or add architectural shading.
Map Sunlight Paths Before Choosing a Wall
Start by observing how sunlight moves through your room over the course of a day. Note which walls receive direct beams in the morning, midday, or late afternoon. The ideal screen wall is the one that stays in relative shade during your typical viewing hours.
If the only available wall faces a large window, consider rearranging furniture so the screen is perpendicular to the windows rather than directly opposite them. This simple change prevents the brightest reflections from landing on the projection surface. Window placement and solar exposure are recognized as drivers of glare problems in interior spaces, supporting the logic of changing layout to avoid the brightest reflected light.
For renters or those in open-concept apartments, avoid placing the screen on a wall that receives full afternoon sun. Instead, use the shortest-throw option available so the projector can sit close to the screen and away from the light source.
Optimal Projector Placement Options
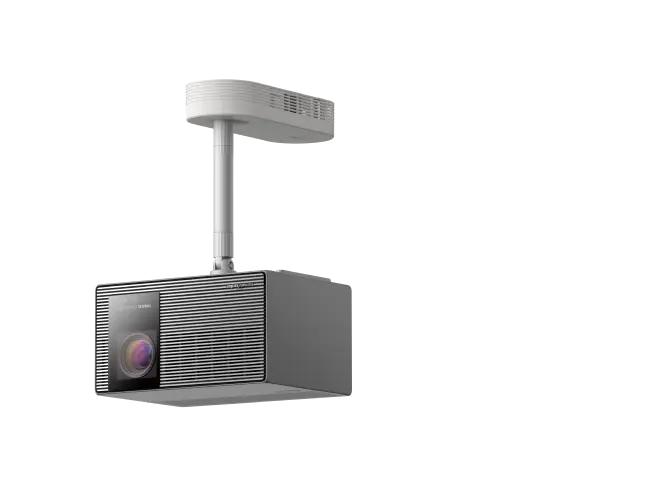
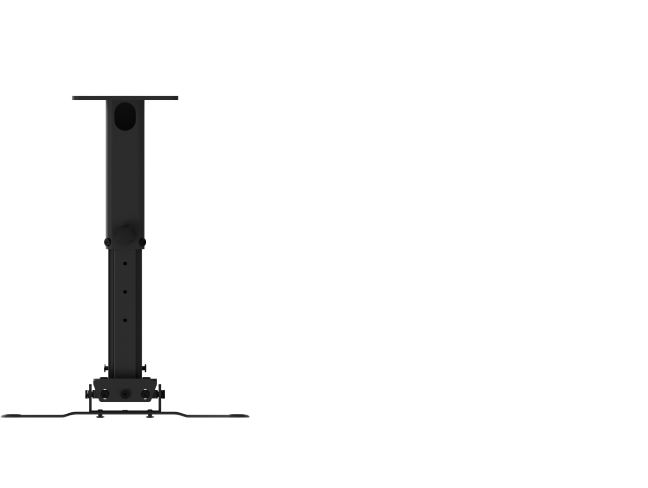
Ceiling mount offers the cleanest look and keeps the projector high and out of foot traffic. Mount it on the ceiling so the lens points away from windows and the projected beam does not cross the brightest part of the room. This works well in living rooms where the screen wall is opposite the windows.
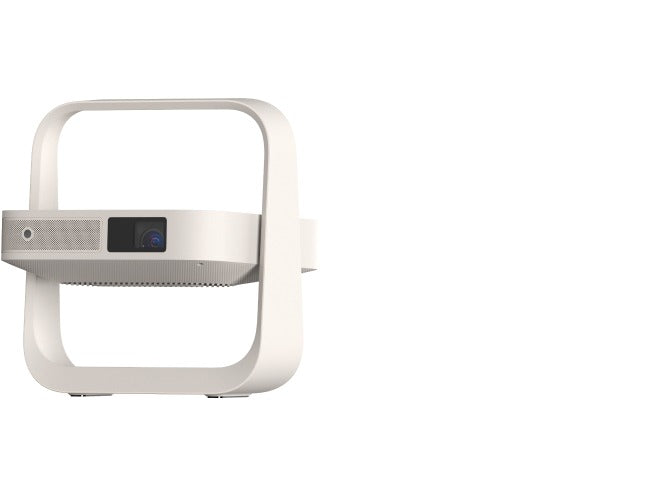
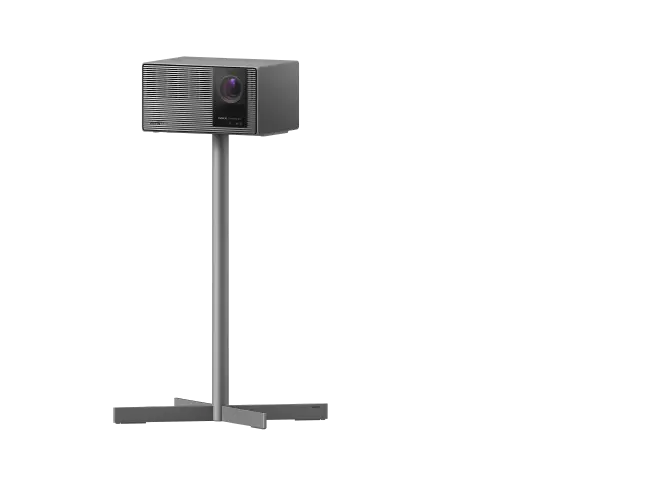
Tabletop or shelf placement is the most flexible for testing different angles. Place the projector on a low console or media stand positioned perpendicular to the windows. This orientation prevents sunlight from hitting the lens directly and reduces hot spots on the screen. Our projector setup guide details the pros and cons of ceiling versus tabletop setups and includes throw distance calculations.
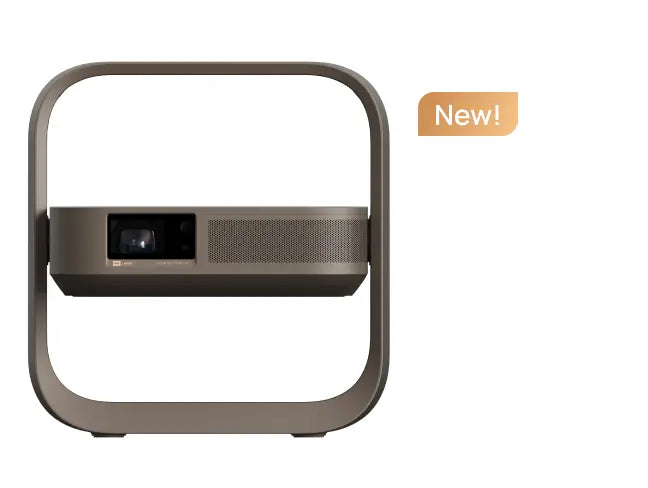
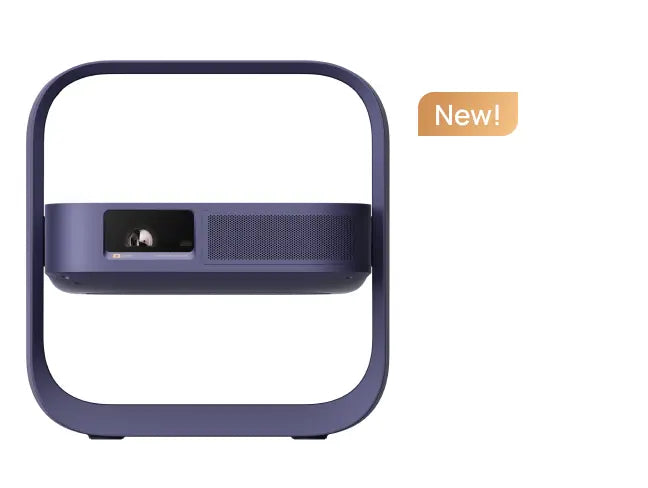
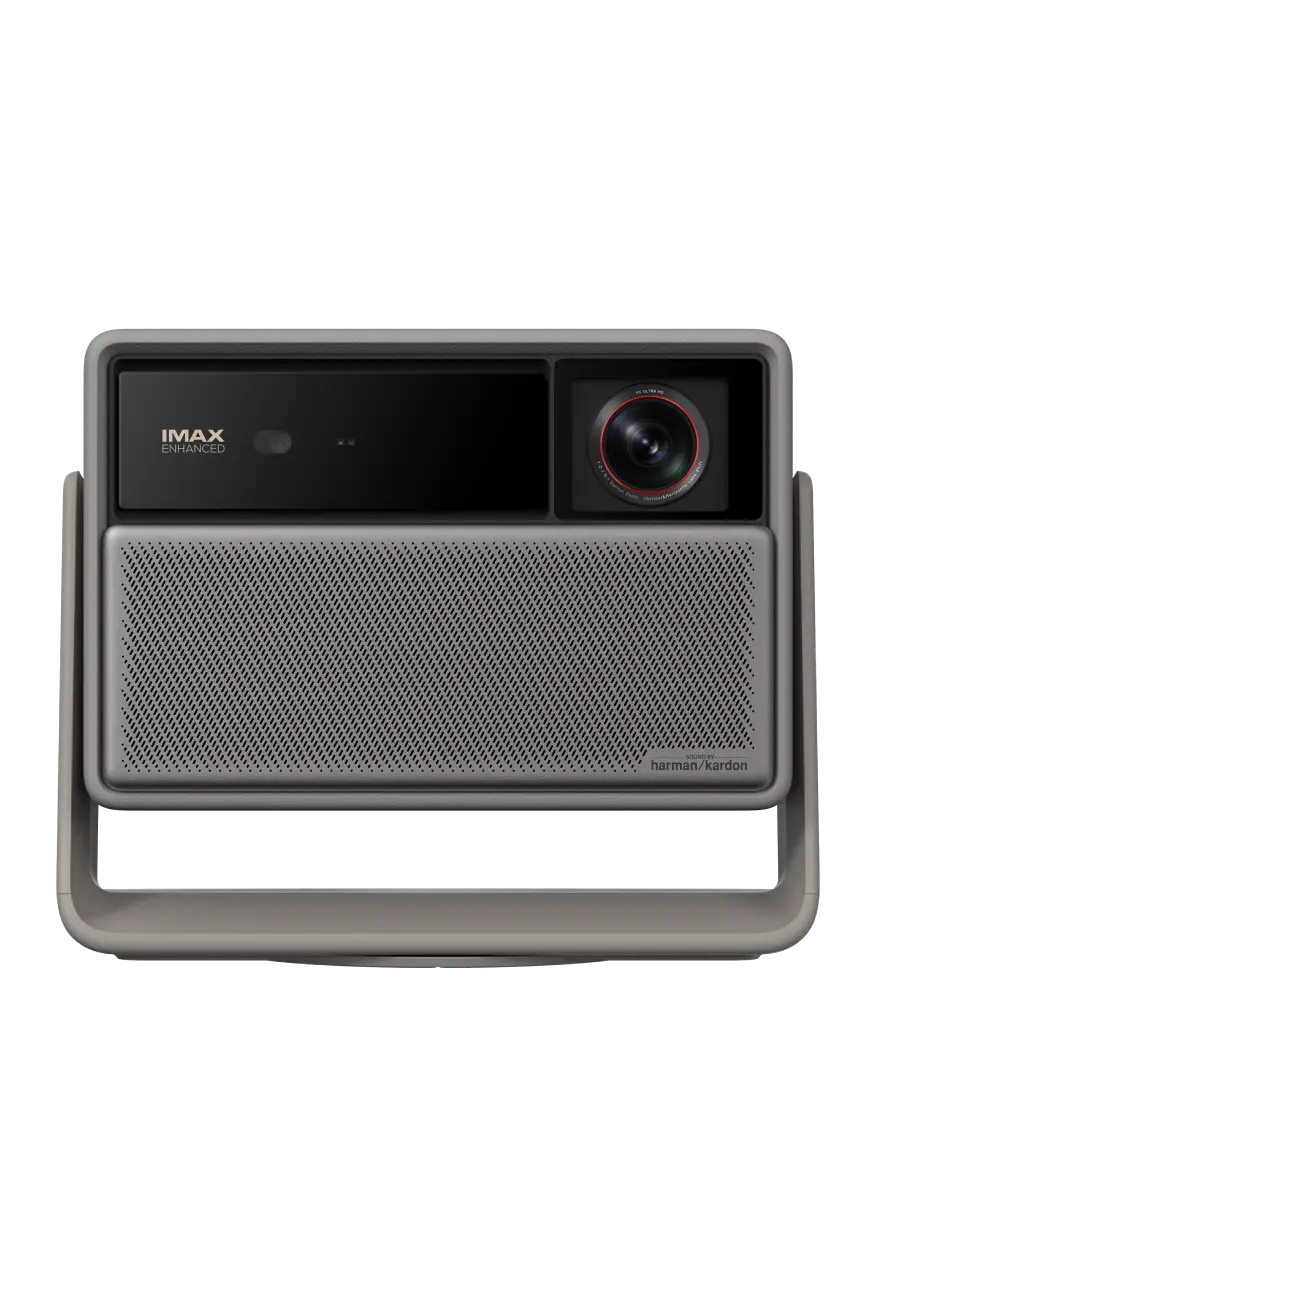
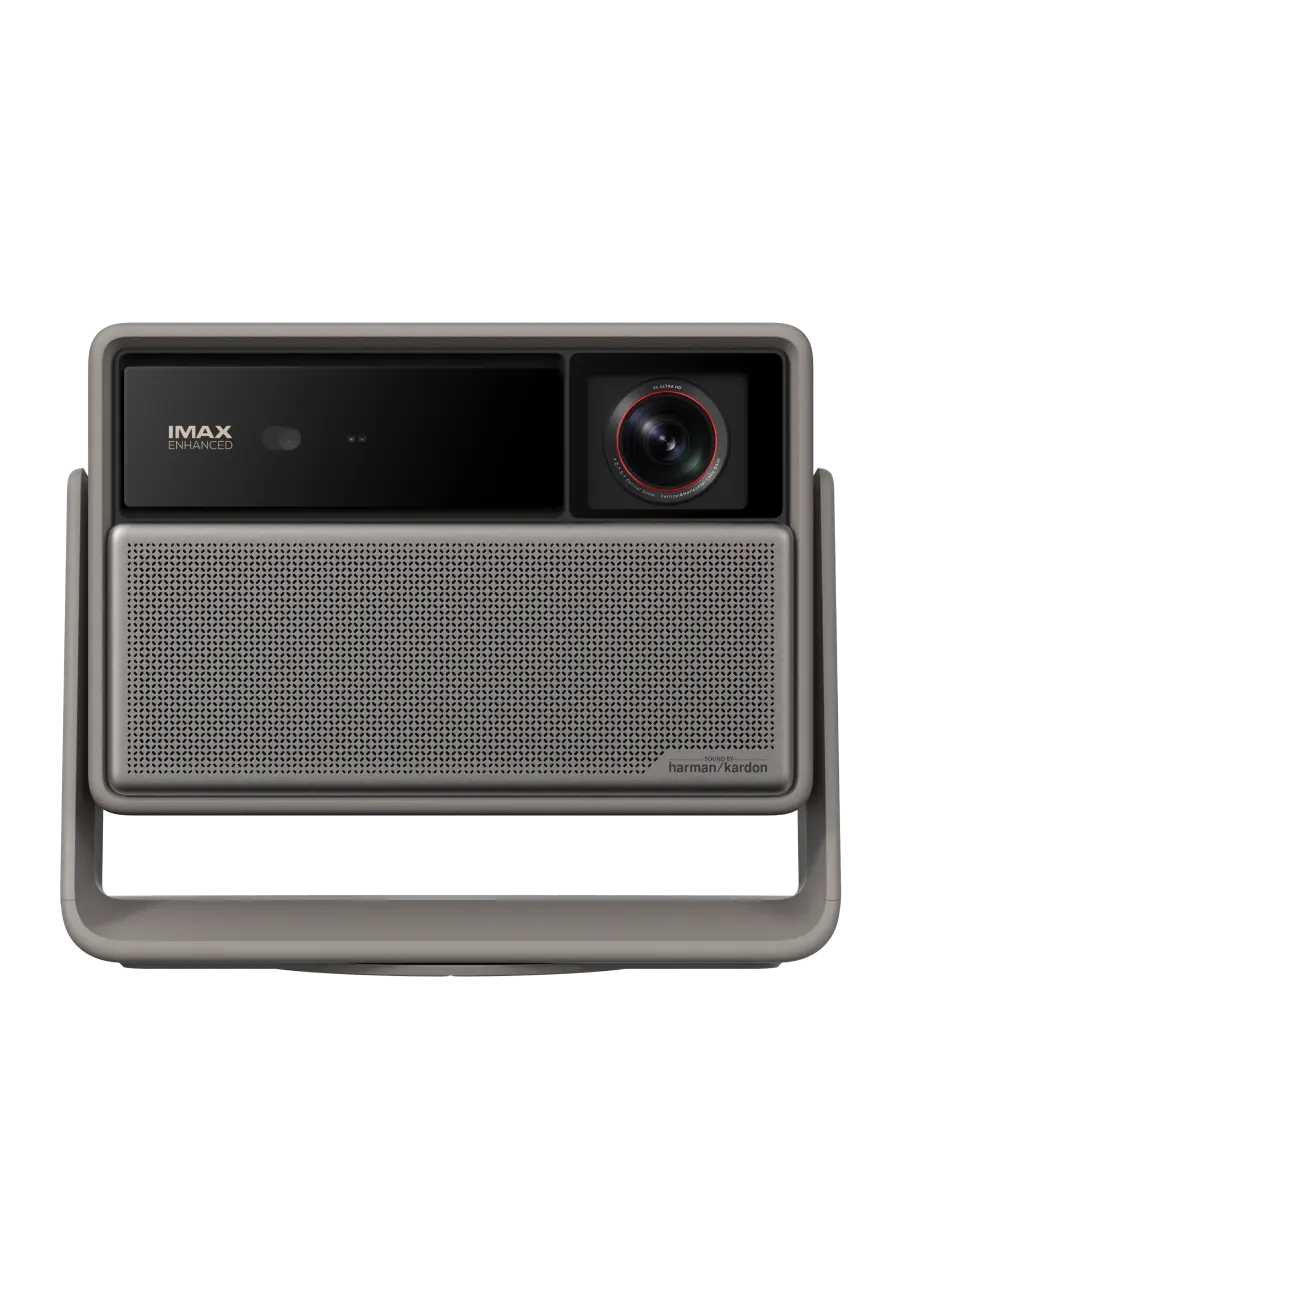
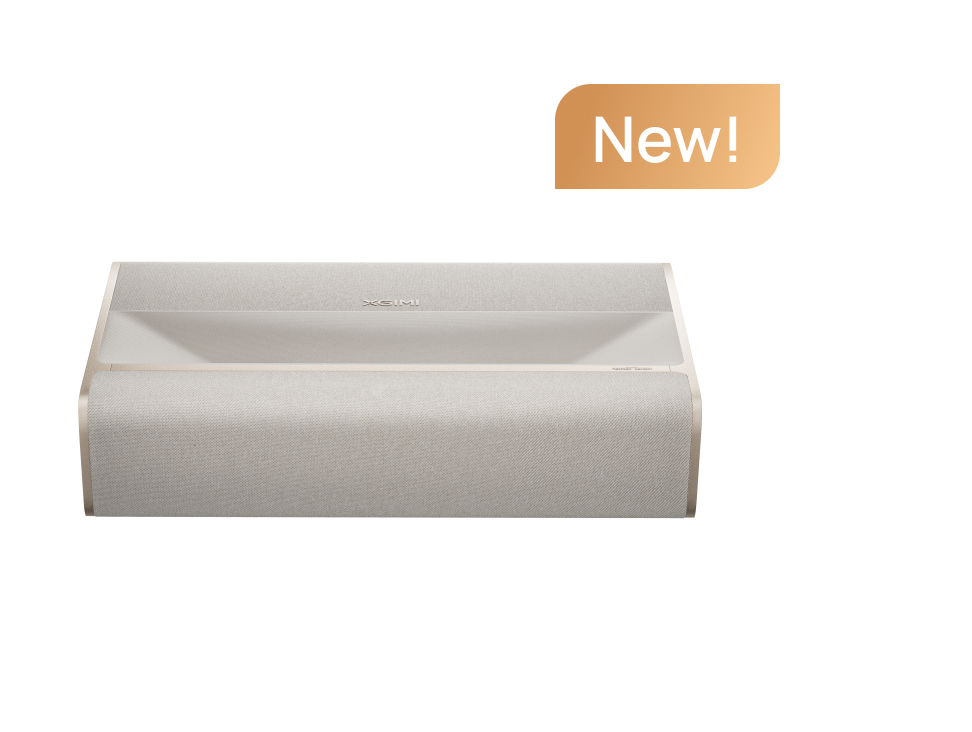
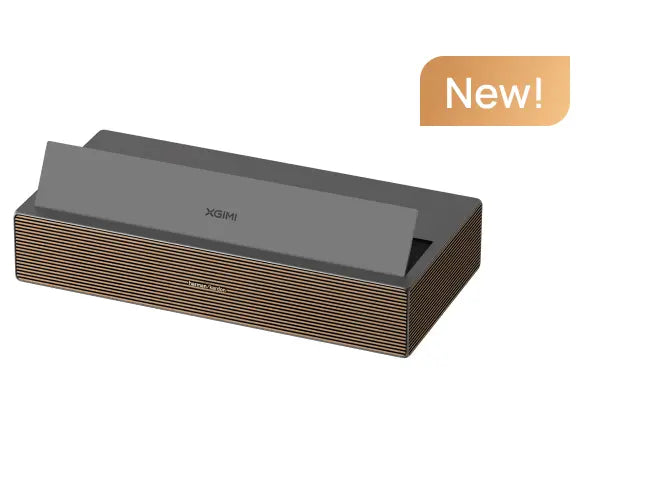
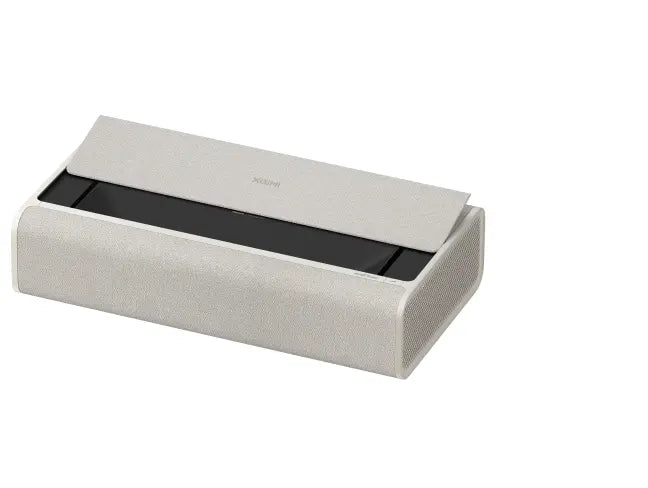
Ultra-short-throw (UST) projectors excel in bright rooms because they sit very close to the wall or screen. Positioning an UST model directly in front of the screen keeps the entire light path short and away from side windows. Models like the AURA 2 allow a large image from just inches away, minimizing the chance of glare interfering with the beam.

Light-Control Tactics That Actually Work
Window shading is a standard way to manage sun exposure and glare, especially in rooms used during the day. Blinds or shades can cut direct sunlight and reduce glare; partial window control is often the most effective first step before upgrading hardware.
Roller shades or cellular blinds with light-blocking properties work better than sheer curtains for projector rooms. Avoid glossy venetian blinds that can create patterned glare. If sunlight still penetrates the fabric, you may need to combine shades with layout changes and a brighter projector.
Blackout curtains offer the strongest control but can make the room feel dark during non-viewing hours. Many users prefer light-filtering or solar shades that reduce glare while still allowing natural light into the living space.
When Placement Alone Is Not Enough
In rooms with high daylight exposure, even optimal positioning and window treatments may not deliver a satisfying image. If the room stays bright, you may need both light control and a brighter projector for acceptable daytime viewing.
Partial shading may reduce glare but may not eliminate it completely. This is especially true in open-concept apartments or homes with skylights and multiple large windows. At that point, hardware upgrades become the practical next step.
Our guide on how to choose projectors in different ambient light explains how lumen output, screen size, and room brightness interact to determine real-world performance.
Choosing the Right Brightness Level for Your Room
Projector brightness needs scale with both ambient light and screen size. The chart below shows illustrative lumen benchmarks derived from common industry guidelines and XGIMI model performance. These numbers are heuristic and conservative; actual results depend on screen gain, wall color, and how effectively you control window light.
Illustrative Projector Lumens Needed by Ambient Light and Screen Size
Shows a conservative upgrade path: larger screens and brighter rooms need more lumens to reduce window glare impact.
View chart data
| Category | 100-inch screen | 150-inch screen |
|---|---|---|
| Low ambient light | 1200.0 | 1800.0 |
| Medium ambient light | 2300.0 | 3200.0 |
| High ambient light | 3000.0 | 4500.0 |
Illustrative benchmark only. Built from internal_resources and writer_evidence that mention: 1) 2000+ ISO lumens for very bright rooms or screens over 100 inches; 2) typical home-theater ranges around 1000-2500 lumens in dark rooms and 2300-4000 lumens with lights on sometimes; 3) model examples at 2300, 3100, 4100, and 5700 lumens as upgrade markers. Values are heuristic thresholds, not official measurements.
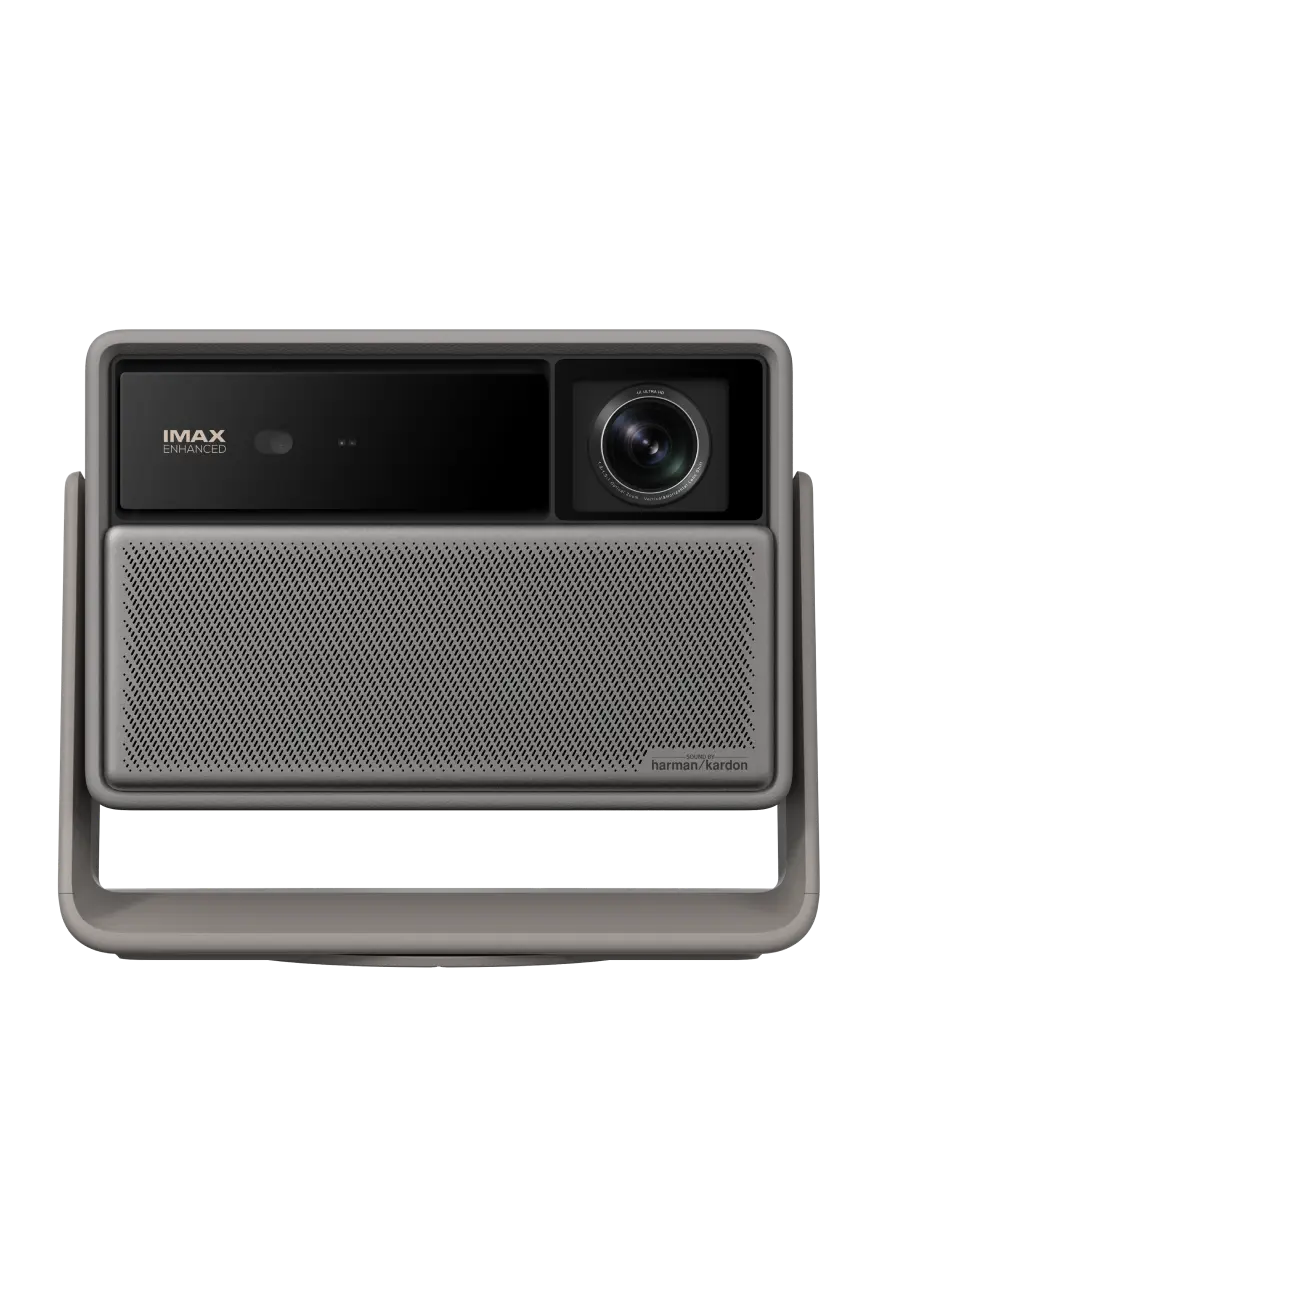
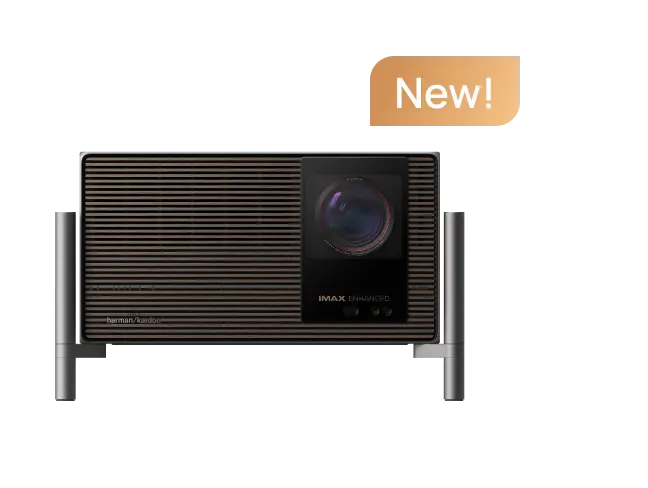
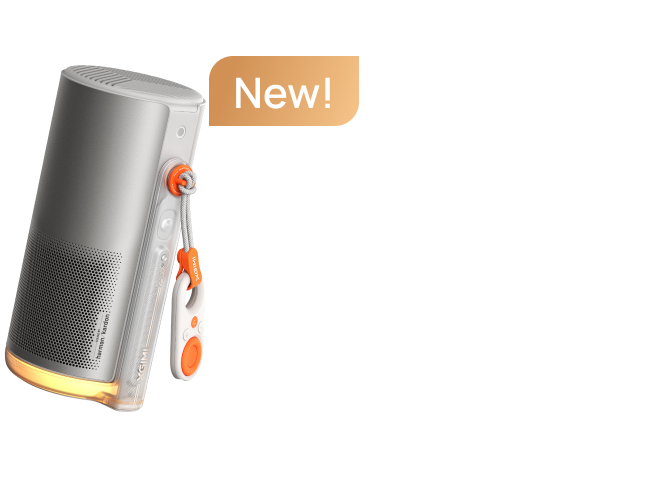
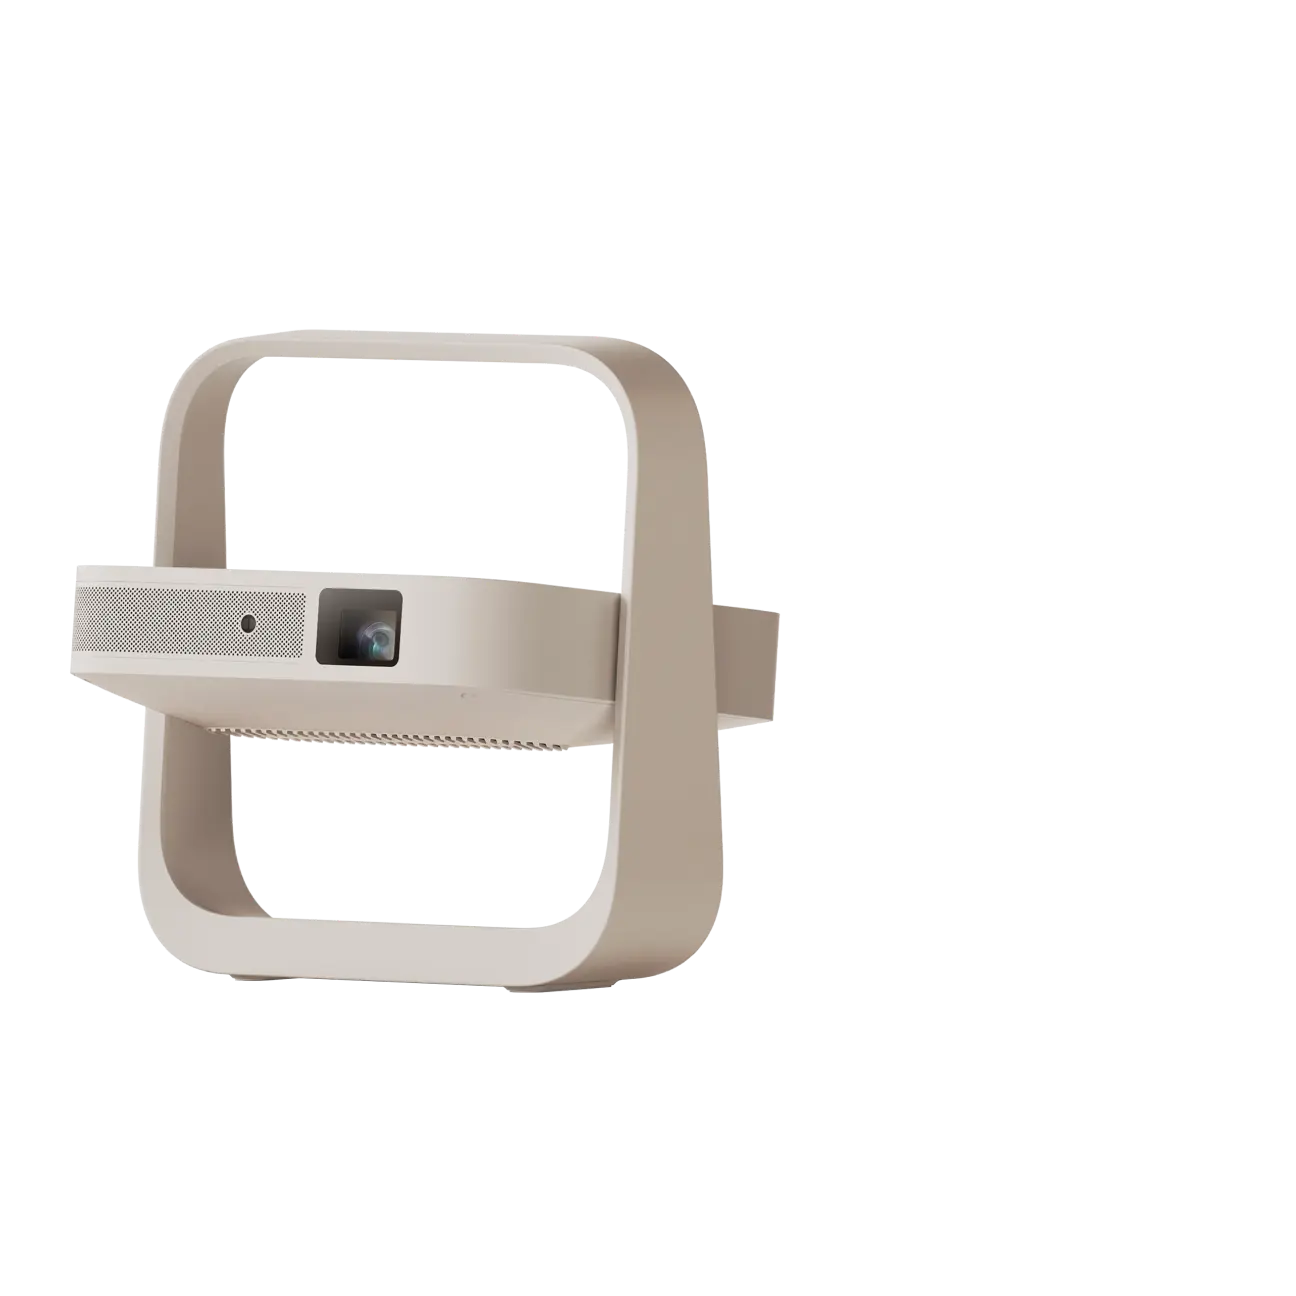
For high ambient light and larger screens, look at models delivering 3000 ISO lumens or more. The HORIZON 20 Max with 5700 ISO lumens, HORIZON 20 Pro at 4100 lumens, or HORIZON S Max at 3100 lumens provide headroom that keeps images clear even when some daylight remains.
Ambient Light Rejection Screens and Smart Features
When window treatments cannot be fully deployed, an ambient light rejection (ALR) screen becomes valuable. These screens reflect projector light toward the viewer while absorbing off-axis room light, preserving contrast in brighter conditions. The XGIMI 100" UST ALR Screen pairs particularly well with ultra-short-throw models for bright-room performance.
Modern projectors with Intelligent Screen Adaption (ISA) technology simplify placement in challenging rooms. Features like auto keystone correction, obstacle avoidance, and autofocus let you reposition the projector quickly without manual adjustments. Learn how XGIMI's ISA technology makes setup faster in any environment.
Practical Checklist for Your Room
Before finalizing placement, run through these checks:
- Observe sunlight at your main viewing times and mark the brightest spots on each wall.
- Choose a screen wall that receives the least direct light during those hours.
- Position the projector so its lens and the projection beam avoid crossing strong reflections.
- Install window shades or blinds that block or diffuse direct sun without creating new glare patterns.
- Test the image with your current projector; if blacks still look gray and colors appear washed out, calculate whether adding 1000–2000 more lumens would help.
- Consider an ALR screen or higher-lumen model if the room remains too bright after layout and shading improvements.
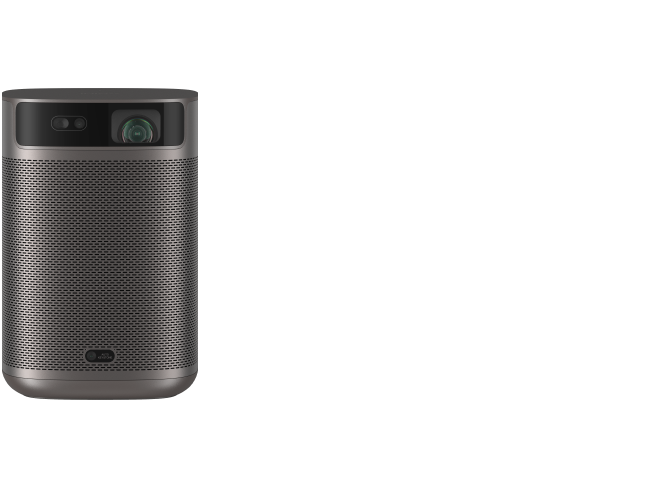
For renters seeking drill-free solutions, portable or tabletop projectors with strong auto-correction features offer flexibility. Our renter-friendly home theater guide shows how to create large images on ordinary walls without permanent installation.
Common Myths About Daytime Projector Use
Many assume that any projector will work fine during the day if you close the curtains. In reality, partial shading often leaves enough ambient light to degrade the image noticeably. Another myth is that higher resolution alone solves brightness problems; without sufficient lumens, even 4K projectors look dull in bright rooms.
Some believe ultra-short-throw projectors are only for dark rooms. In fact, many UST models with high lumen output and ALR screens perform better in bright conditions than traditional long-throw setups because the light path is shorter and easier to control.
Upgrade Path for Persistent Glare Problems
If you have already optimized placement and added window treatments but still experience washed-out images, it is time to evaluate hardware. Start by checking your current projector's lumen rating against the chart above. Models below 2000 ISO lumens often struggle in living rooms with moderate daylight.
Consider stepping up to laser projectors in the 3000+ lumen range for more consistent daytime performance. The HORIZON Ultra (2300 lumens) works well for medium-bright rooms, while the HORIZON 20 series offers higher output for challenging spaces. Pairing these with an ALR screen maximizes contrast without needing complete darkness.
Health and Comfort Note
This article discusses comfort and setup advice for projector viewing. It does not constitute medical advice, diagnosis, or treatment. If you experience persistent eye strain, headaches, or discomfort while viewing screens, consult a qualified eye care professional. Results vary by individual sensitivity, room conditions, and device quality.
Strategic projector placement, combined with thoughtful window control, delivers the biggest improvement for most users. When room constraints limit what positioning and shades can achieve, brighter projectors and specialized screens provide reliable upgrades. By following the sunlight-mapping and checklist steps above, you can create a more enjoyable viewing experience even in bright living spaces.
Explore our collection of home projectors or 4K projectors to find models suited to your ambient light conditions. For the latest in bright-room performance, see our guide on the best 4K projector for bright rooms.


