




- Author: SpykeSIK
- Original Link: XGIMI TITAN Noir Max — In-Depth Review
- Note: 45 min read
Other Reviews:
- XGIMI TITAN Noir Max Review: Real User Feedback from AVS Forum Community
- XGIMI TITAN Noir Max Projector Review and Comparison with TITAN
article_product1
Right now is an interesting time for DLP projectors — lasers keep getting more powerful, controllers faster, manufacturers are finally paying serious attention to contrast. Into this comes XGIMI’s new flagship, stacking almost every current technology into one chassis.
Start with the core. The 0.47‑inch DMD is built on TI’s SST platform — an updated micromirror architecture optimised specifically for laser illumination, with higher pixel density and better heat dissipation. Driving it is the DLPC8455 controller, currently the most powerful single-chip controller in TI’s lineup, which enables sub-1ms latency in certain modes and introduces a rolling-buffer architecture that draws the image line by line — fundamentally changing how motion behaves.
The feature with no real equivalent in consumer projectors in this class: a dedicated FPGA co-processor. The X-Vision chip is not an off-the-shelf video processor — it’s a programmable logic array that can, in principle, be taught almost anything: Lumagen-grade per-frame tone mapping, fine-grained per-scene iris and laser control, custom sharpening like Darbee, per-zone gamma adjustment. Whether any of this actually gets used depends entirely on XGIMI’s software ambitions, but the hardware is already inside every TITAN Noir Max (TNM).
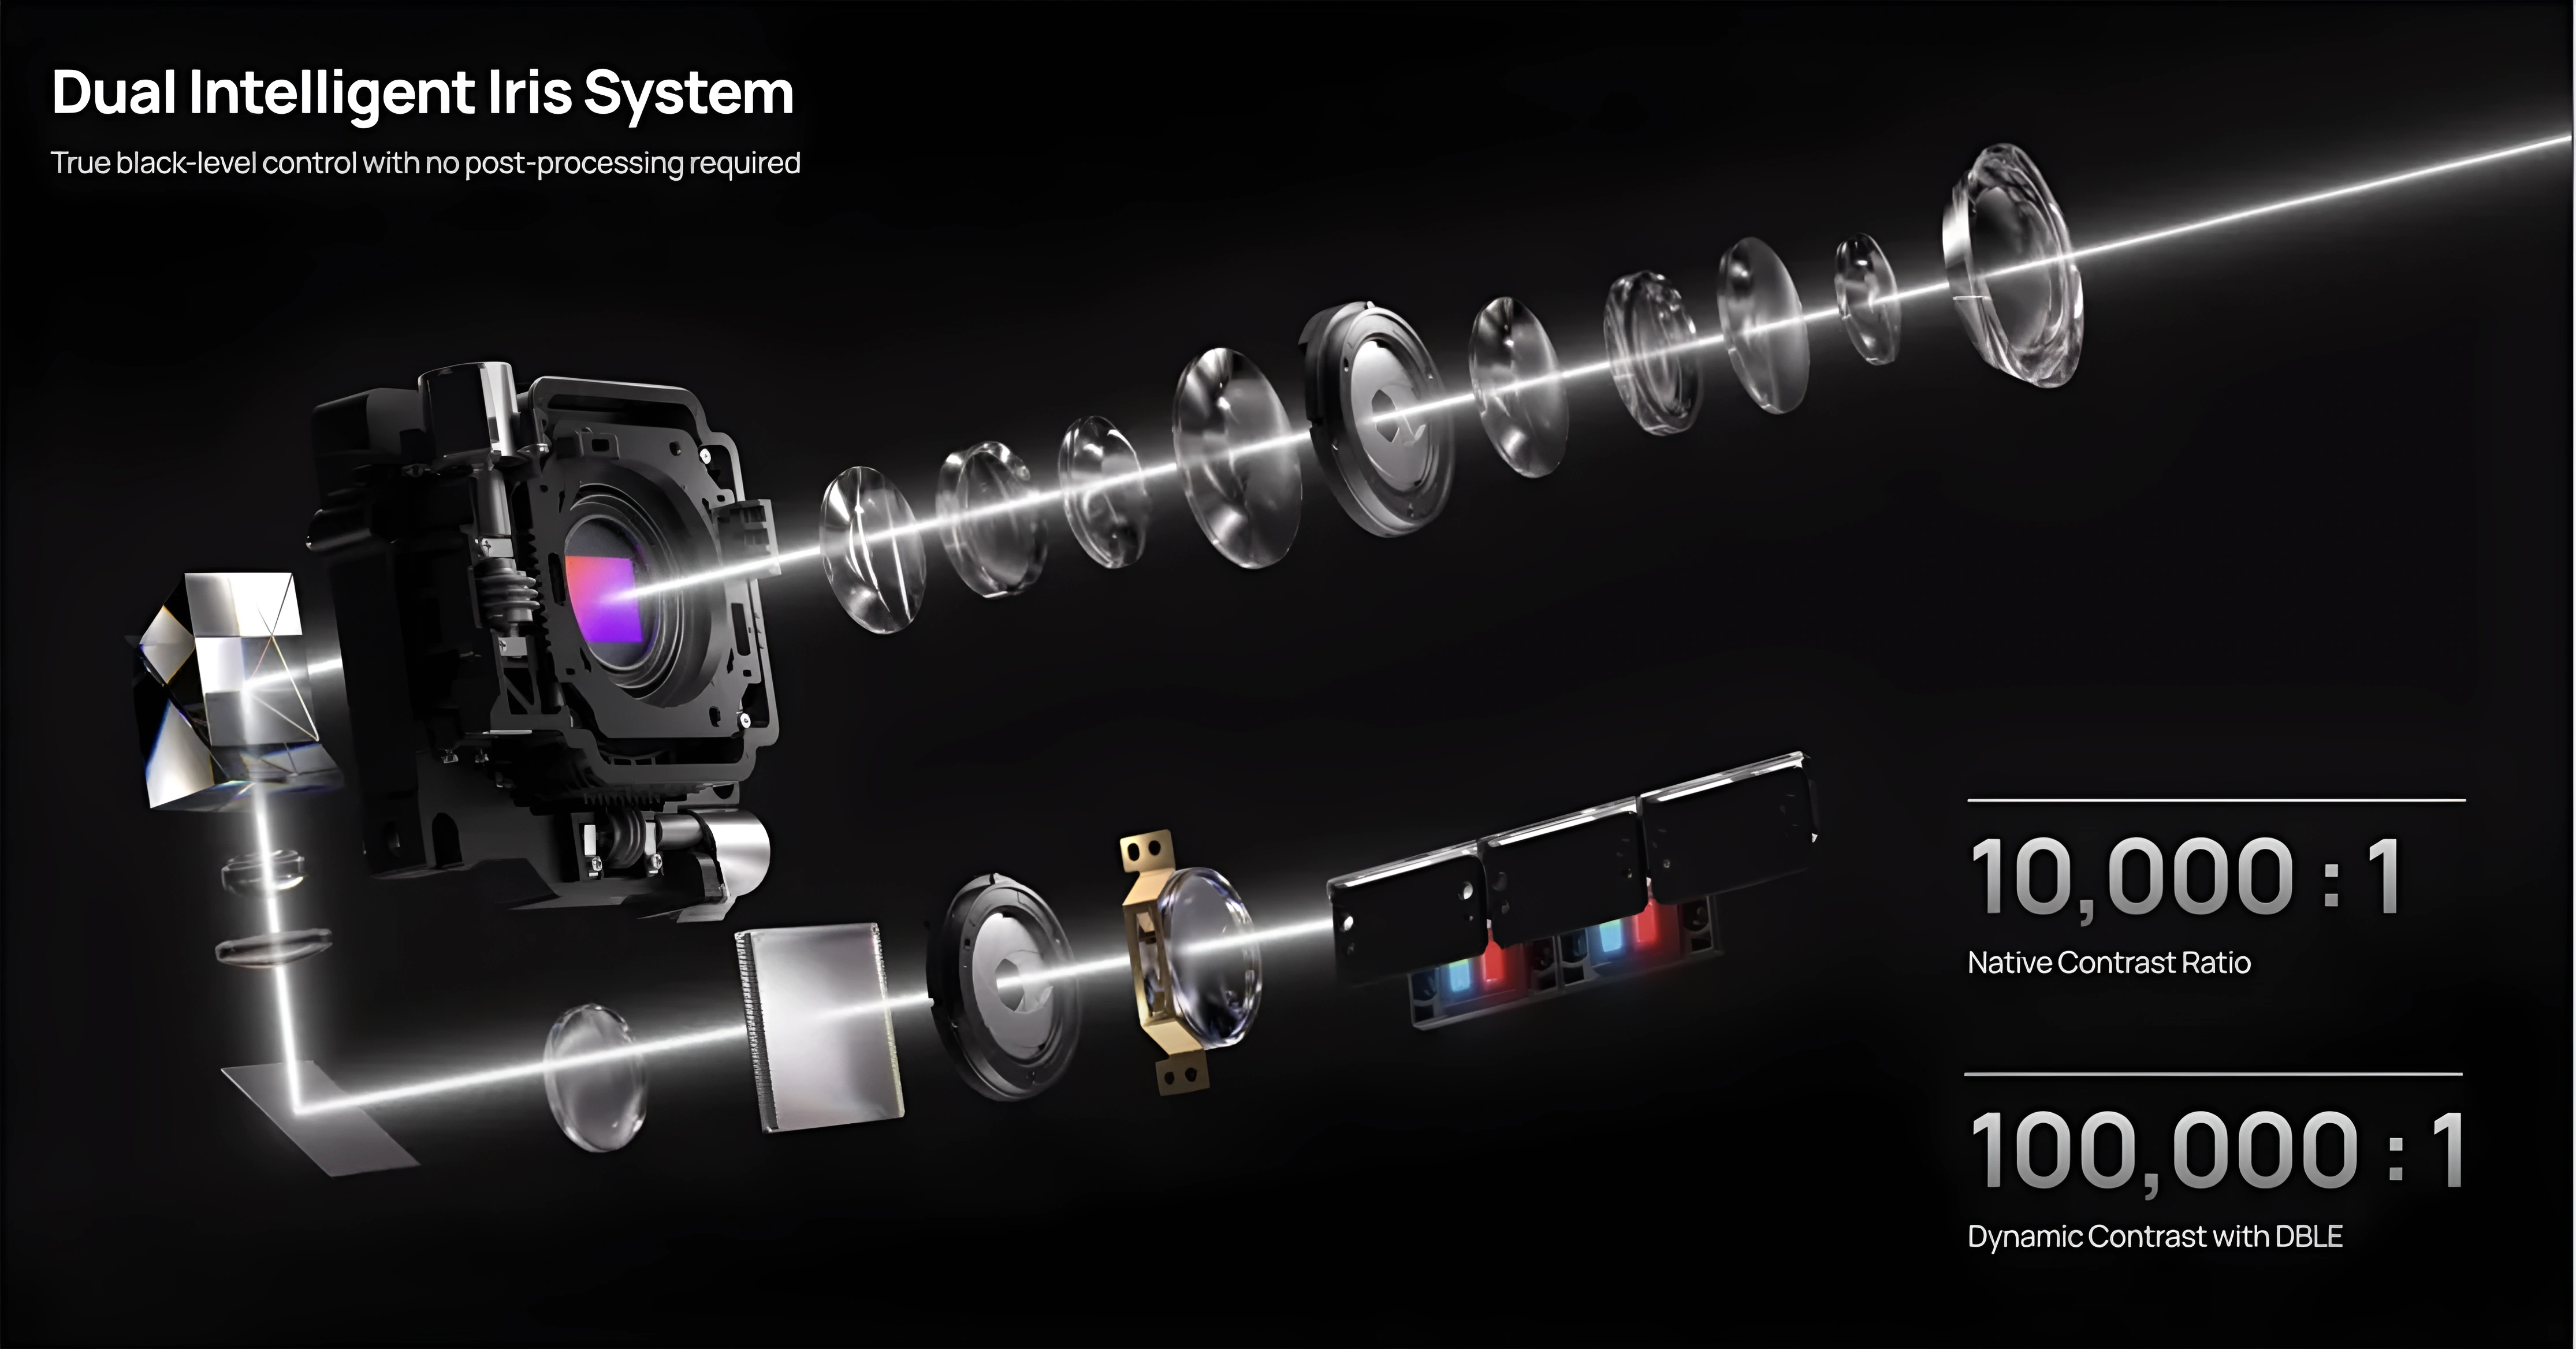
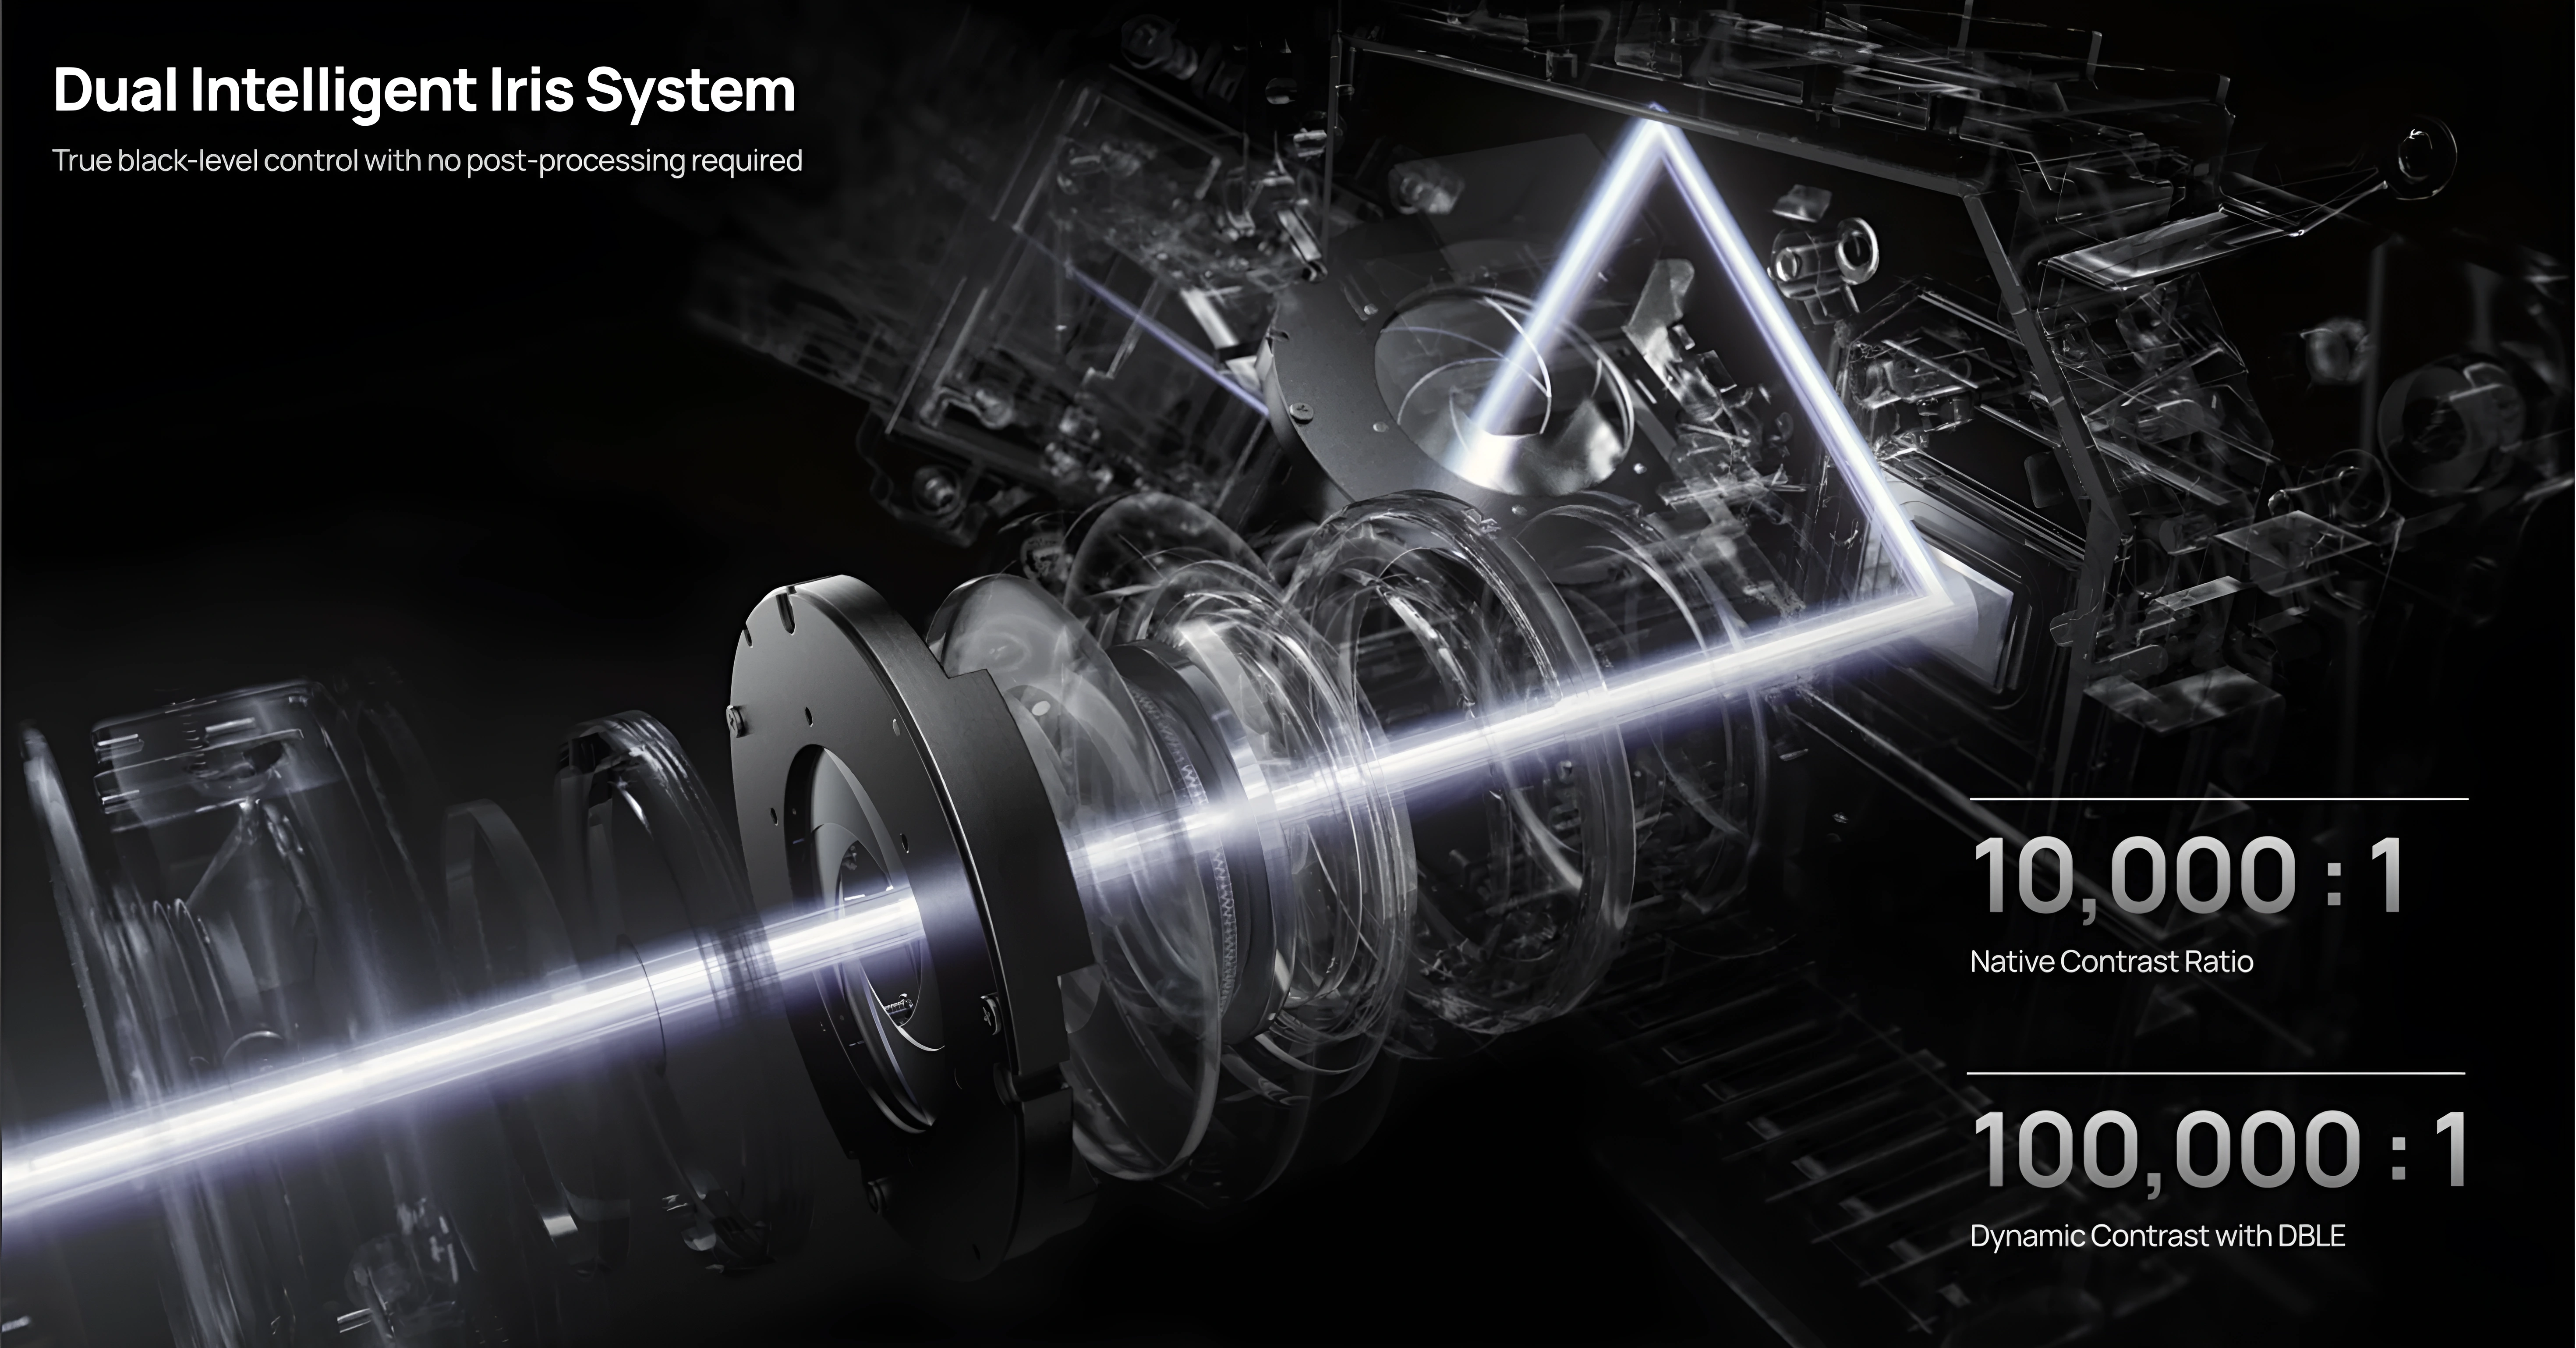
The optics are equally serious. A 15‑element all‑glass lens with multi‑layer anti‑reflective coatings, a 0.98–2.0:1 throw range (widest in its class), both vertical and horizontal lens shift that — even at half the brochure figures — still outpaces every direct competitor. Lens memory, rare on DLP projectors, is included. Contrast is handled by a dual-iris system: one static iris after the laser, one dynamic iris in the lens. DBLE (Dynamic Black Level Enhancement) handles the laser dimming.

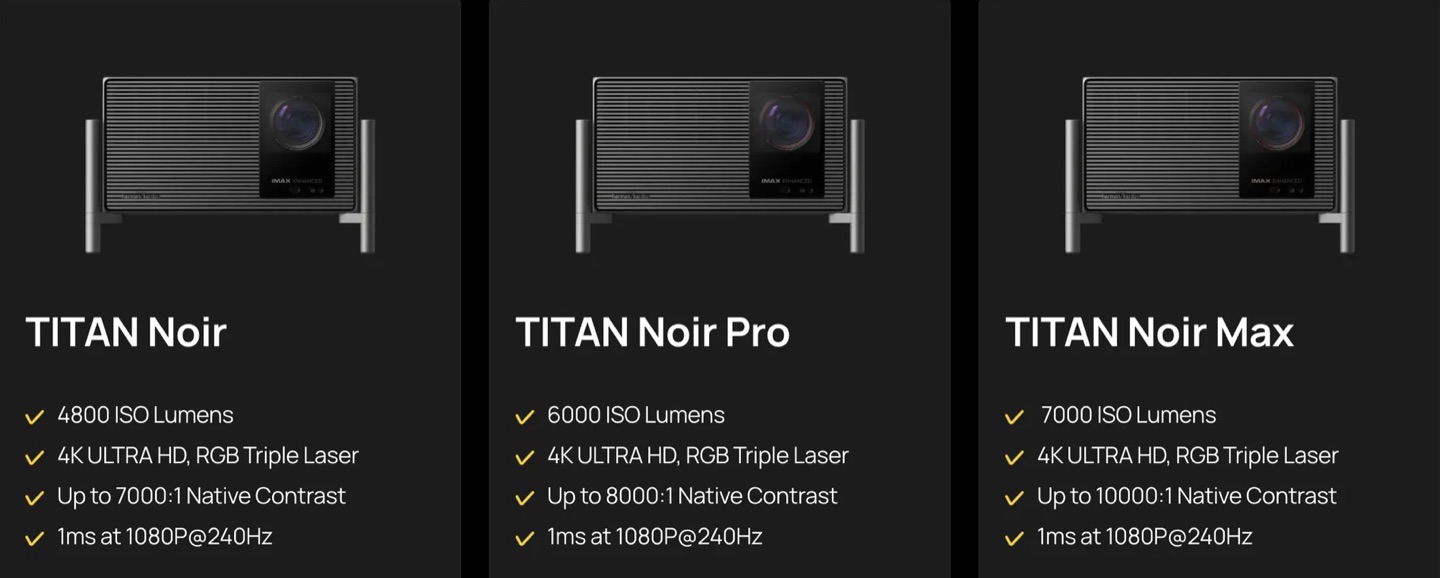
The TITAN Noir line 4K projector spans three tiers — base, Pro, and Max — all on the same dual-iris platform, scaling from 30 to 50 RGB laser diodes. The Max is rated at 7,000 ISO lumens. HDR covers HDR10, HDR10+, Dolby Vision, and IMAX Enhanced. Gaming: VRR, ALLM, 1080p/240 Hz at 1ms input lag. 4K/120 is accepted on input but output at 4K/60 — a ceiling imposed by the current single-controller architecture, shared by every projector in this class.
On the spec sheet, a genuinely unique projector. In this review, we’ll find out how much of that engineering shows up in real performance — and what the firmware still needs to catch up on.
1. Unboxing
The Outer Box
The projector arrived in a double-layered cardboard box with a custom foam insert — zero movement inside, everything sits dead still. The total shipping weight is substantial and you immediately feel that something serious is inside. The shipper marked the gross weight at 19.3 kg, but my own scale showed 17.5 kg. The box measures 43×50×59 cm. For reference, the projector’s net weight is around 8 kg and the chassis itself is 38×25×29 cm (W×D×H with feet). That leaves roughly 9.5 kg for the box, case and accessories.

1.1 The Carry Case
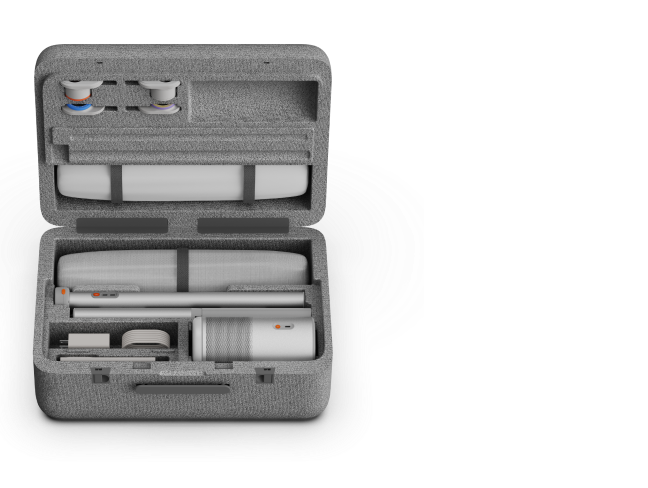
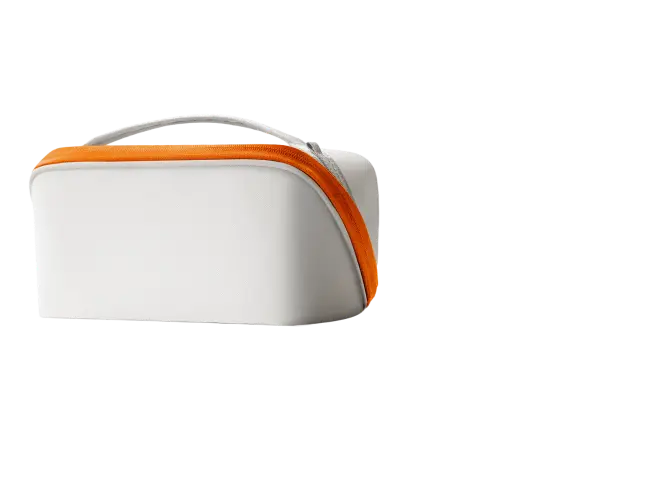
Inside the box sits a black leather-style carry case with a soft-touch fabric exterior, metal latches, and a solid handle.
- Carry case is a Max-only inclusion — the Pro and base models ship in standard foam packaging. It's part of what separates the flagship in the lineup.
The interior is precision-cut rigid foam. The projector sits in a custom-molded recess, and there’s a separate compartment on the bottom for accessories. If you ever need to transport the TNM, this case will survive pretty much anything. “It’ll get to the Moon” is not an exaggeration.

1.2 Design & Build
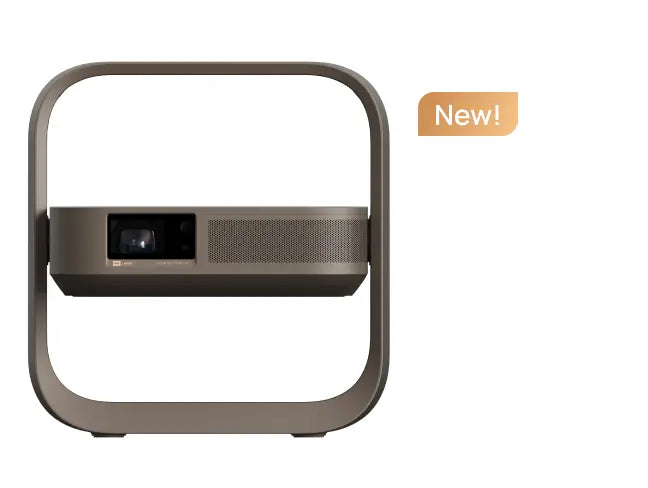
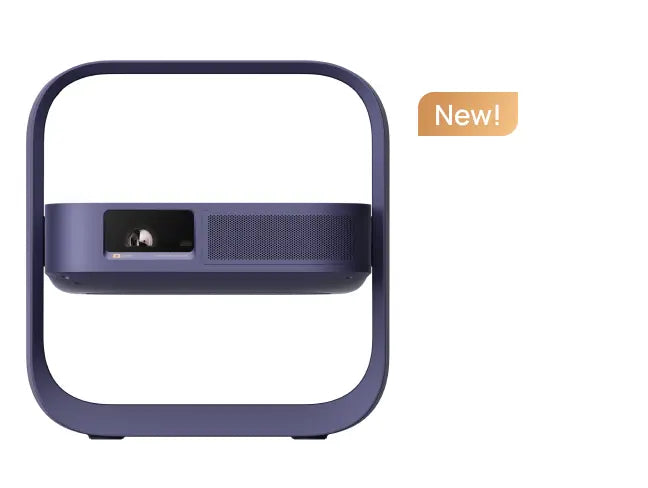
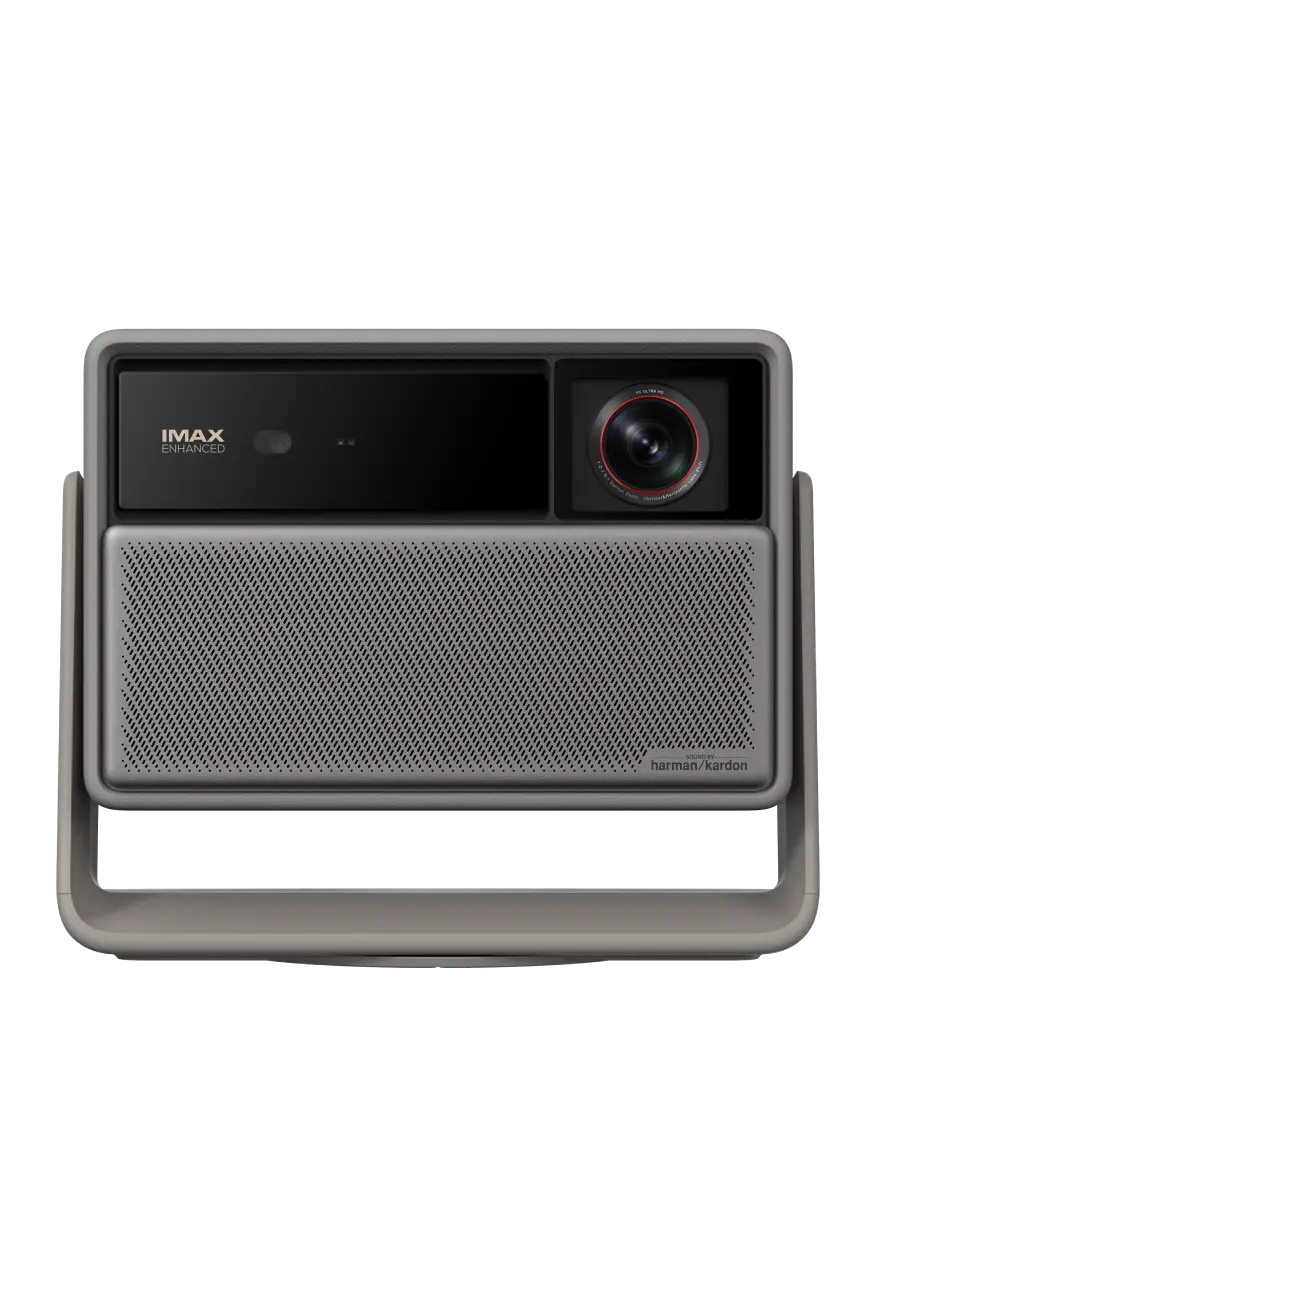
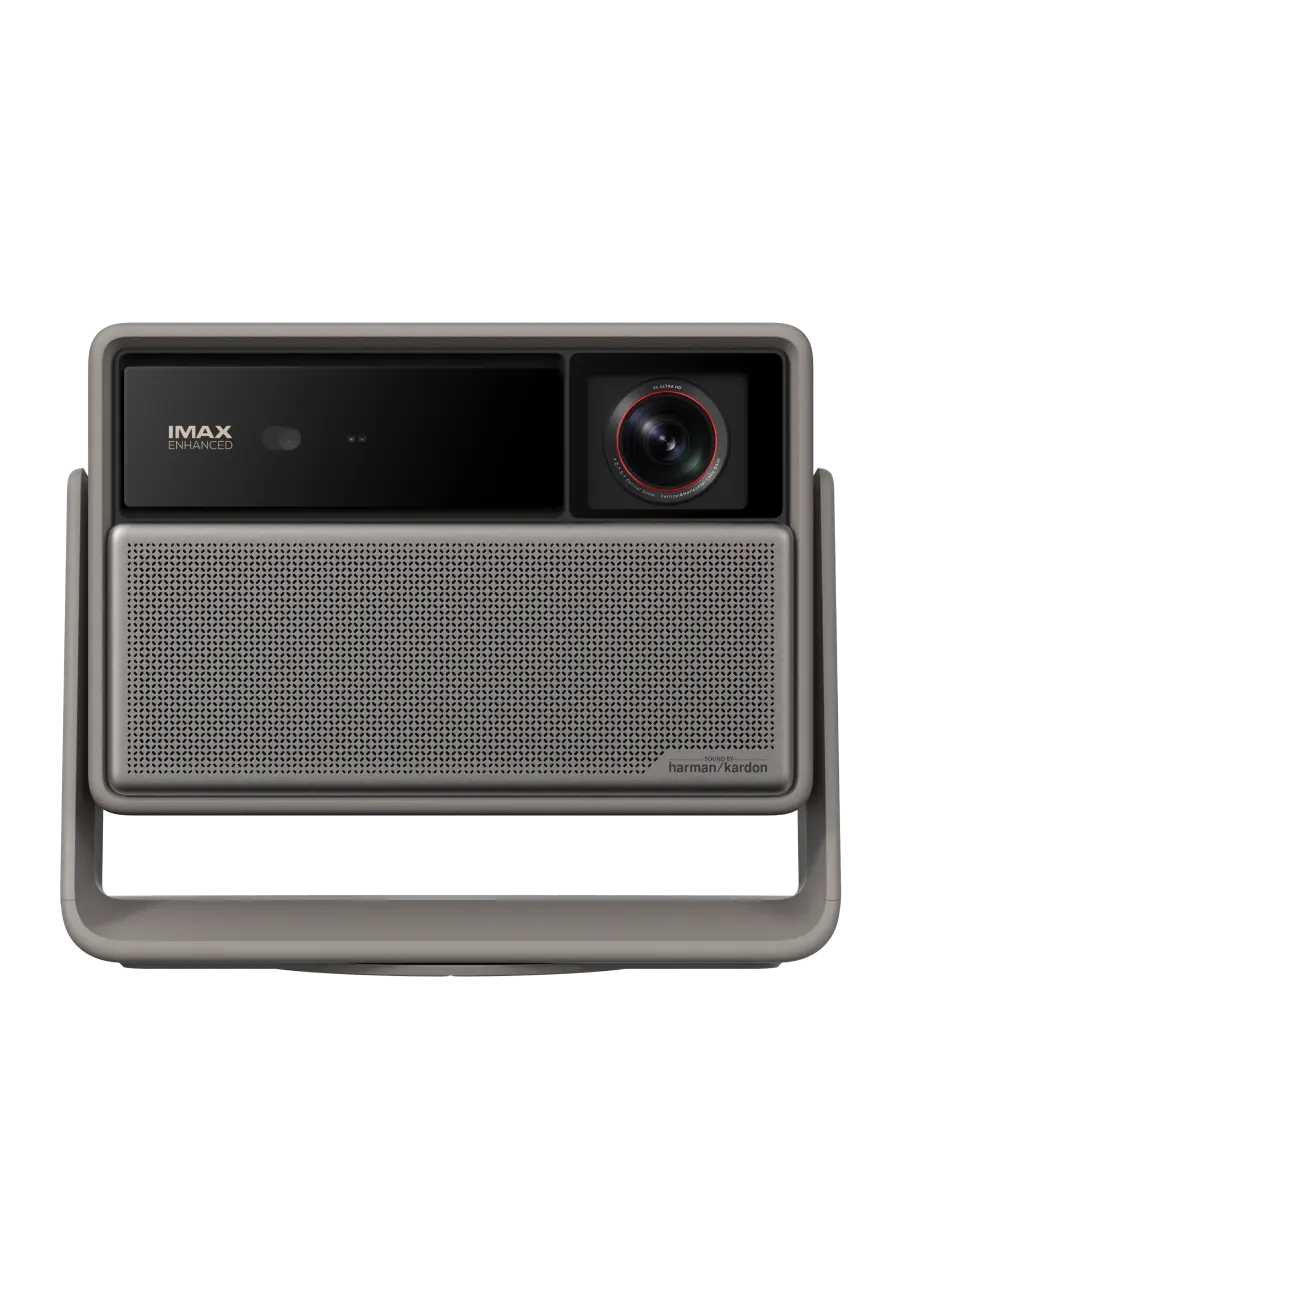
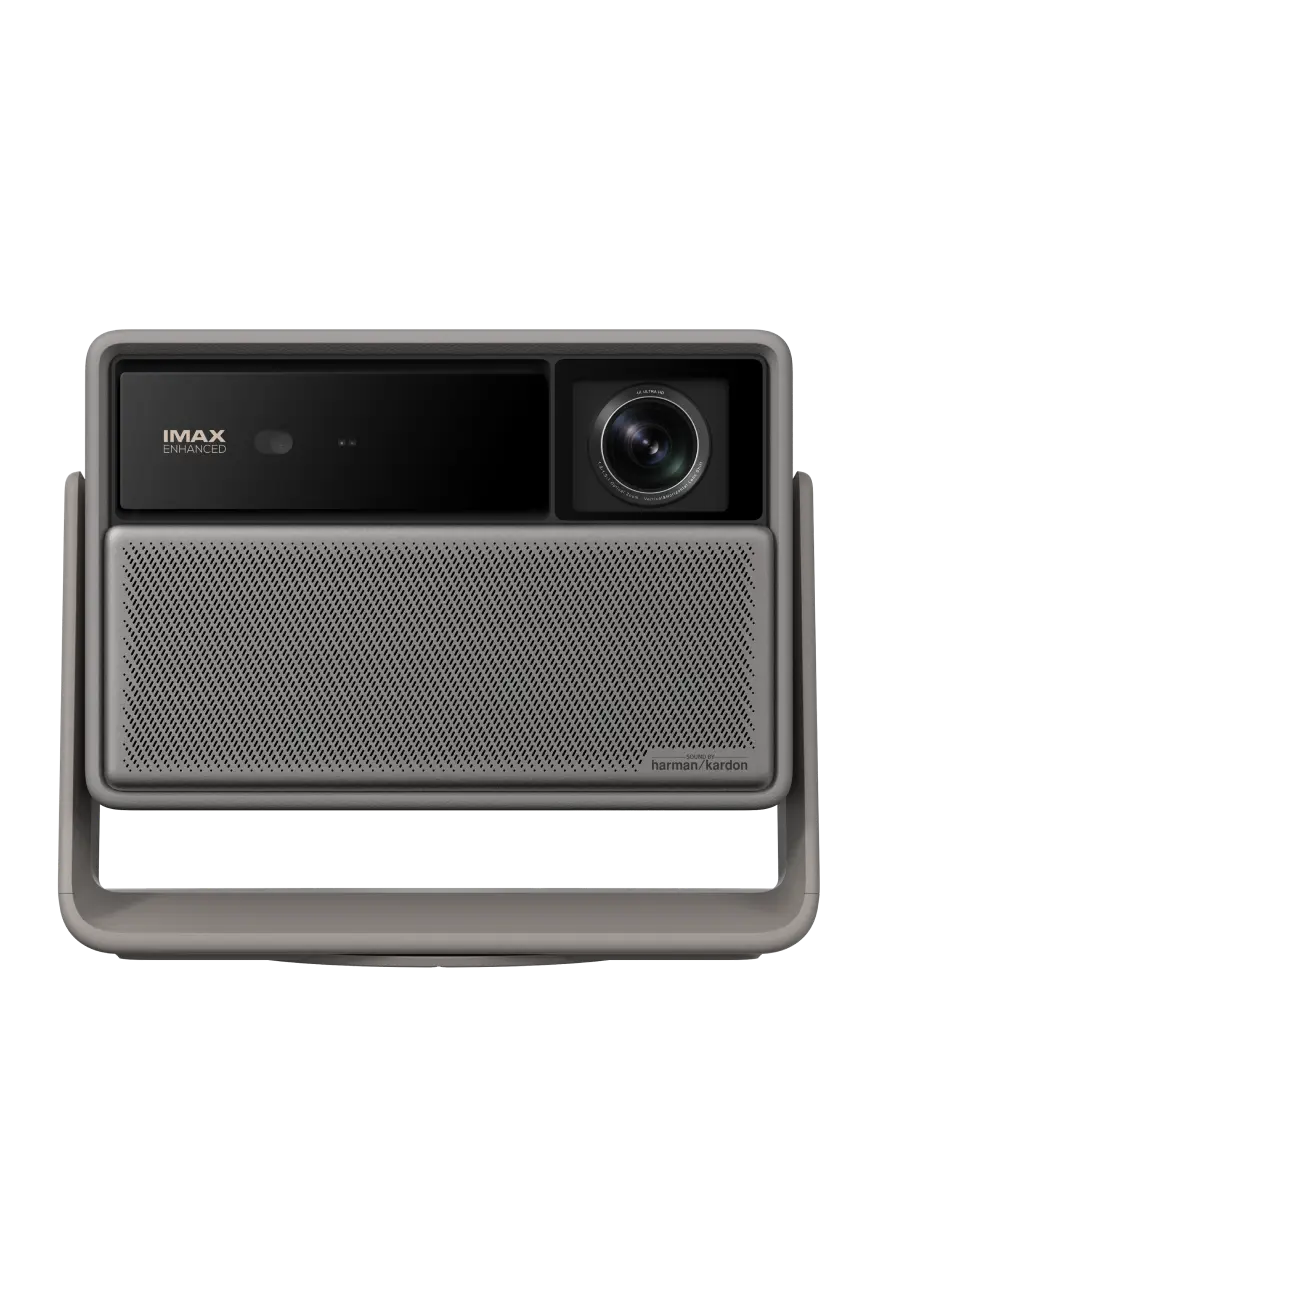
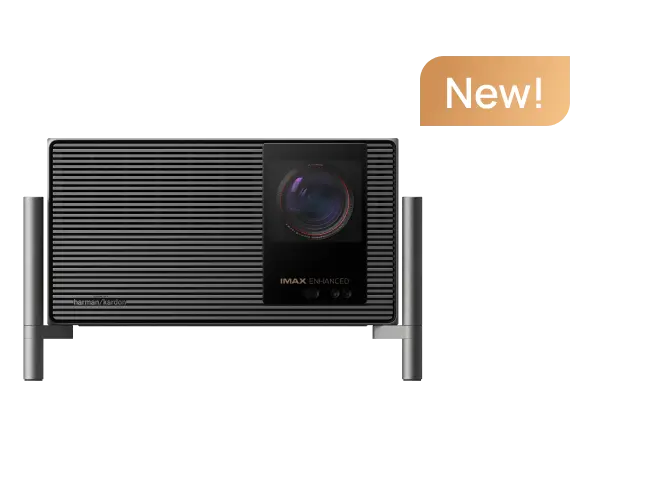
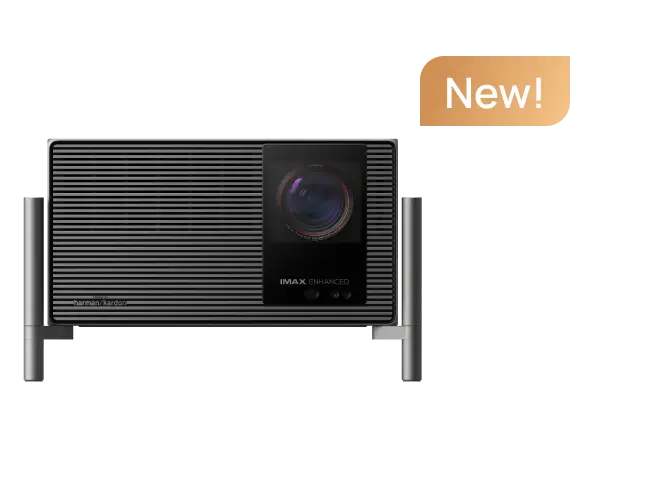
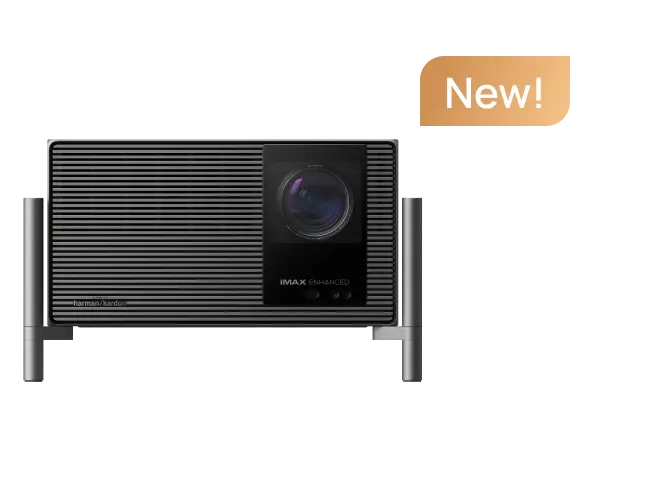
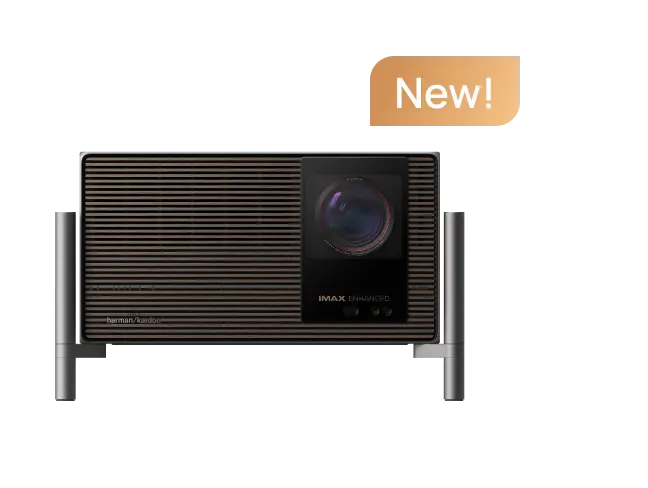
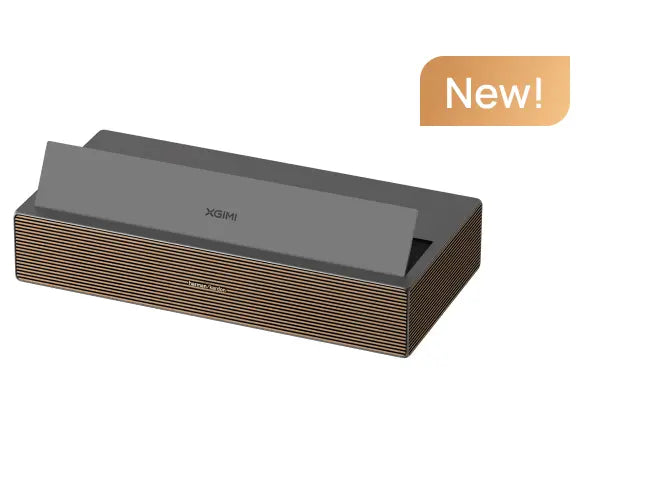
Now the main unit. Lifting the TNM out of the case, the first thing that hits you is the build quality. This is a serious piece of kit. The chassis is a silver-gray color, built in a way that makes it look like a single solid-cast piece — no visible seams between components. Even the rear I/O panel is integrated into the overall aesthetic, with no cheap plastic sticking out. Fit and finish are monolithic: no creaks, no flex, no rattles under torsion. For an 8 kg unit, it feels dense. The lens is protected by a sticker during shipping, which is a small but crucial detail.

Let’s talk about the design philosophy. I genuinely like what XGIMI has done here. Instead of the awful gimbal-foot designs or overly gamer aesthetics on so many Chinese projectors, the TNM is minimalist, serious, and functional — it looks like professional cinema equipment, not a toy. The Valerion Max, for instance, tried to feel premium. The TNM actually feels like it costs every dollar of its price. Given that the entire TITAN Noir lineup shares the same platform and build quality, this is a serious step forward for the whole segment and a new benchmark for competitors.
1.3 The Feet
The TNM uses four tubular metal legs with rubber pads, and this is probably my favorite design decision. Instead of the awful motorized gimbals that make projectors look like robot vacuum cleaners, the TNM has four massive cylindrical feet. These are threaded and allow you to adjust the angle to the desired position.
2. Setup
2.1 Airflow & Controls — Read This
Here’s where you need to read carefully. On a shelf you have to use the feet, as the TNM vents hot air downward. Without them, the projector simply can’t breathe properly. This significantly increases the total installed height. The same scheme was used on the original TITAN, and XGIMI carried it over to the TITANNoir.
- Ceiling mounting: the exhaust will point upward. If you strap the power brick directly to the projector (it's external and massive), it will get cooked from below by the TNM's hot air output. Mount the power supply separately, at a distance — otherwise you're shortening the lifespan of both devices.
And here’s something critical. There are no navigation buttons on the projector itself — just a hard power switch on the back. If you lose the remote, you can turn the unit off and on, but you cannot change inputs or open menus. Set up HDMI CEC from your player or keep a universal remote handy. Don’t learn this the hard way.
2.2 Accessories Box
The accessories box contains the power brick, manual and warranty card, a cable, and the remote. The 360W power brick is substantial — one of the largest I’ve seen on a modern DLP. For ceiling mounting, this is a real problem: hiding this beast won’t be easy, and it runs quite hot itself. Cable from PSU to projector: 1.22 m. Cable from wall to PSU: 1.39 m.

2.3 The Remote
The remote is made of aluminum, feels heavy and solid in the hand — not a plastic toy. The brushed metal finish adds a premium touch. Button tactile feedback is pleasant, clicks are crisp. My one gripe: the backlight only illuminates a few core keys; the rest stay dark. I honestly don’t understand why manufacturers can’t just backlight the entire thing — Valerion had the exact same issue. Still, the overall feel in the hand is excellent.
2.4 First Light: Brightness at 250 Inches
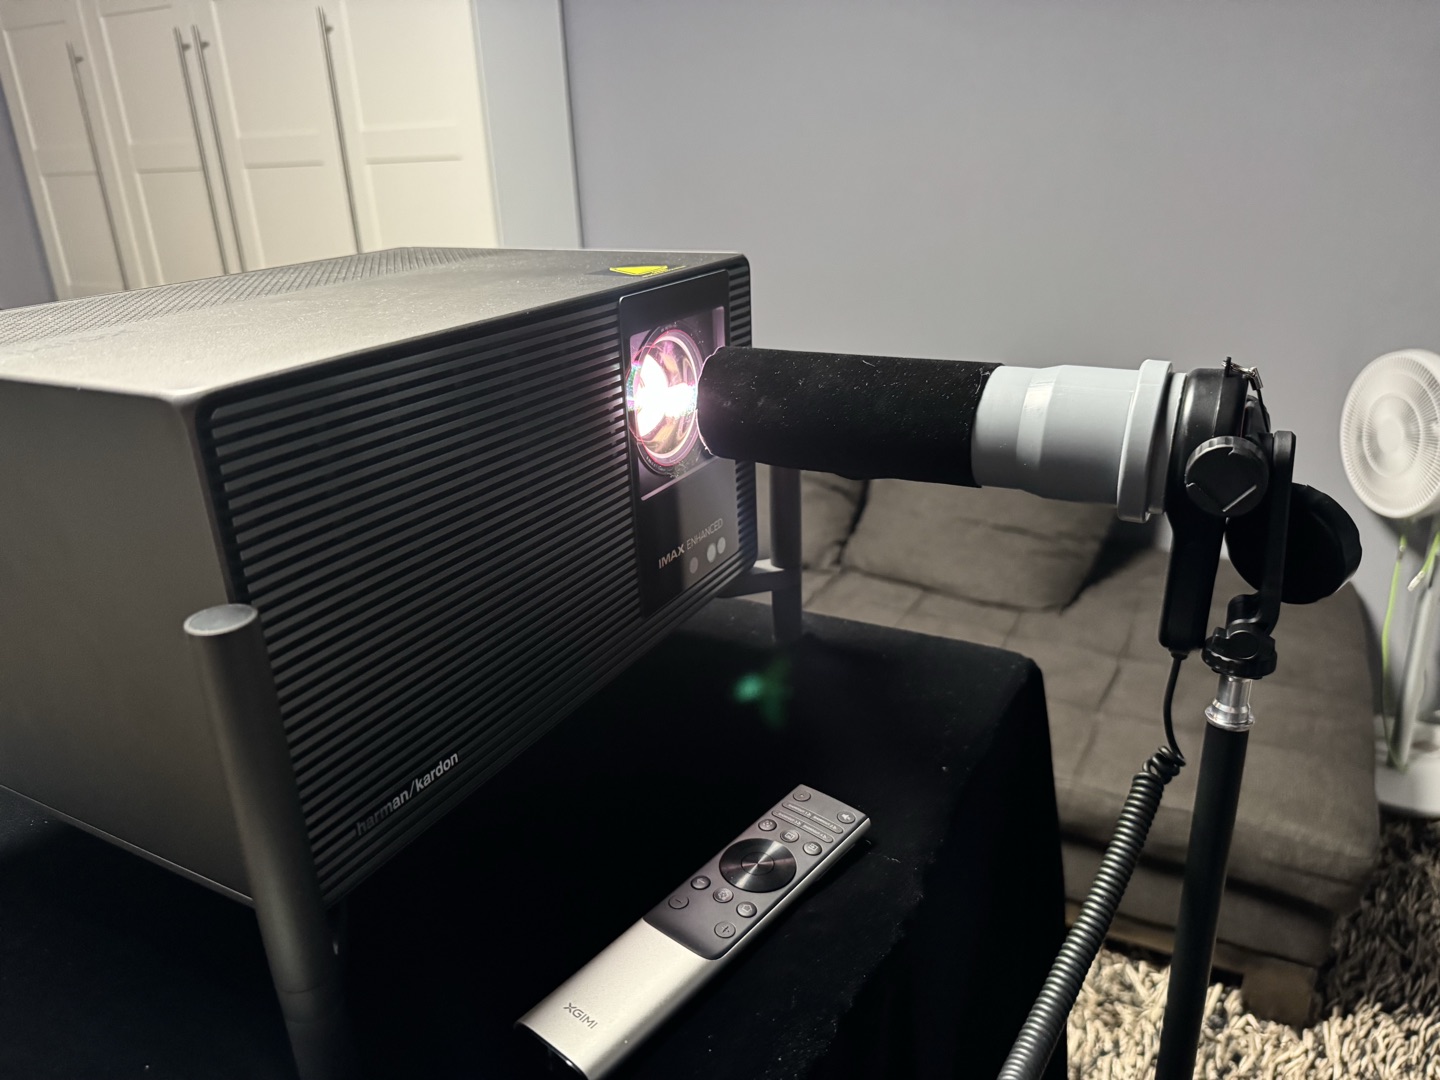
I couldn’t resist throwing a quick image onto a bare wall at roughly 250 inches.
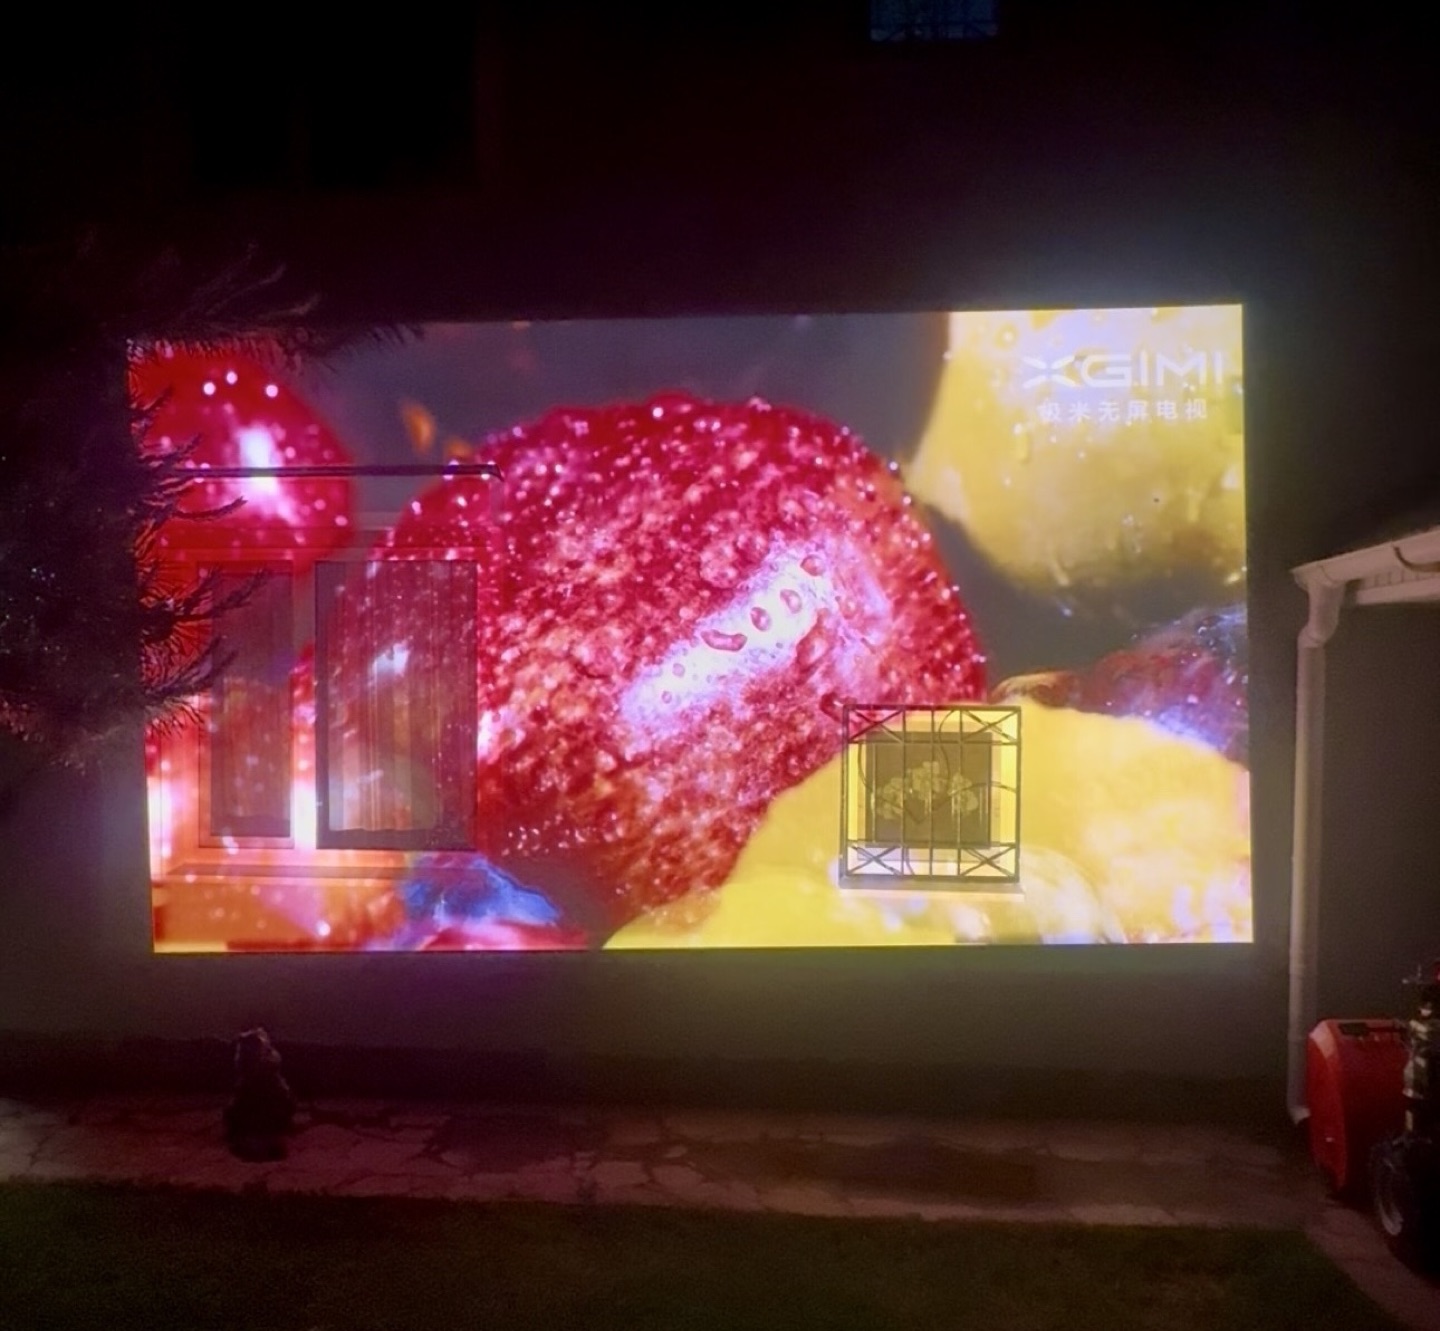
A quick ~250" throw onto a bare wall — no screen, just to gauge raw output.
The brightness is real. This kind of light output at laser 10+ genuinely opens up practical use cases: backyard movie nights, outdoor viewing at dusk, or commercial/event installations (bars, lofts, event spaces). For non-critical ambient viewing, you could run a massive screen without issues.
The size + brightness + quietness combination here is hard to overstate. And notably, it achieves this without water cooling like the Dangbei S7 uses — purely air-cooled. Insane.
3. Optics
3.1 The Lens
If you’re buying this version of the projector for the lens alone, you might not be wrong. Let’s dive in.
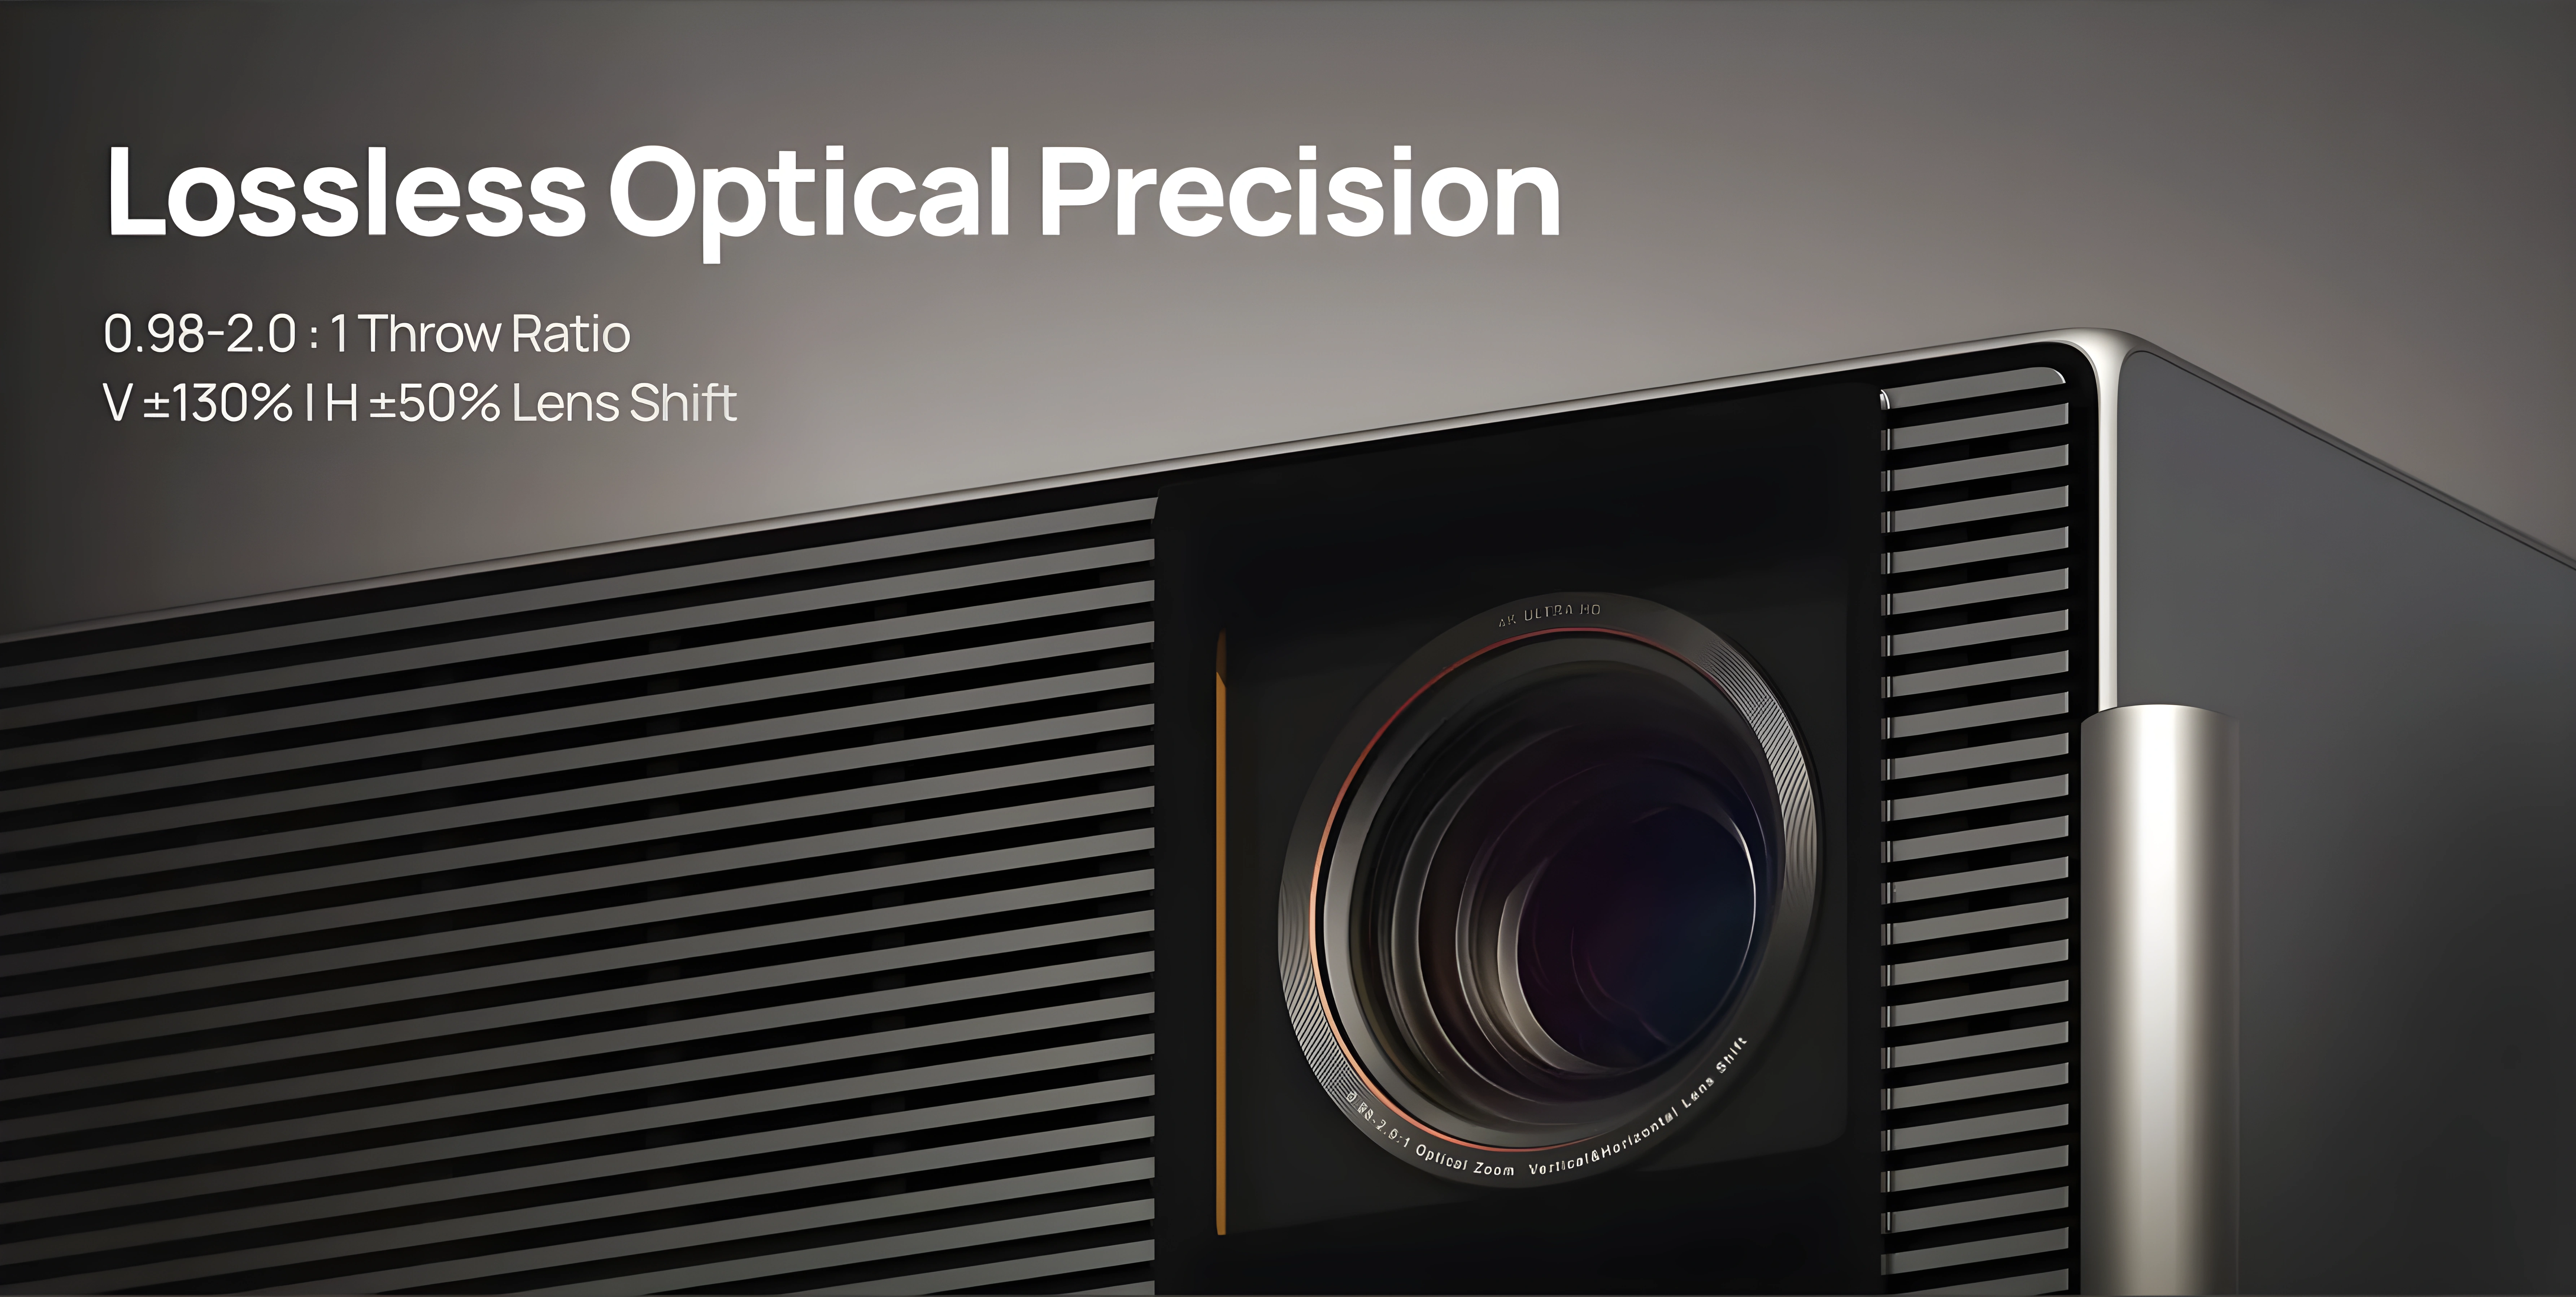
The TNM uses a high-end 15-element all-glass X-Master Red Ring Lens PRO with the signature red ring. The key upgrade is the throw ratio: 0.98 to 2.0× (extended to 2.1× with firmware 1.0.99). This is a genuine full-range zoom. For once, you don’t need to buy a separate long-throw lens or rule out this projector because your room is longer than a closet. Finally, manufacturers remembered that home theater enthusiasts with normal rooms exist.
- X-Master Red Ring Lens PRO is exclusive for the Pro and Max variants — the base model gets a simpler lens in terms of glass quality and coatings
Lens shift is also available on both horizontal and vertical axes, which makes installation dramatically more flexible. The front element is covered by a protective glass plate with the IMAX Enhanced logo in gold (the Pro version gets a silver logo). Below the lens there are sensors for automatic focus, ambient light detection for auto-brightness, and a human presence sensor that dims the laser if someone walks in front of the beam. All of these can be turned off in the menu.
XGIMI claims the optical block is sealed against dust. If true, the contrast numbers should stay stable over time, with no slow degradation from dust creeping onto the panels — a known killer on older DLP and LCOS designs.
One more important hardware note: the TNM uses a dual iris setup. This isn’t marketing fluff. The Dangbei S7 already proved how effective this can be for contrast, and it’s great to see the approach adopted here. There are some important interactions between the two irises, zoom position, and lens shift that I’ll cover in the measurements section.

Lens Memory
The long‑awaited lens memory function arrived with beta firmware 1.2.36. For owners of CinemaScope screens and anamorphic lenses, this is a genuinely useful addition that makes switching between aspect ratios a practical, one‑button operation rather than a tedious manual recalibration. Even users with standard 16:9 screens will find value here: it effectively eliminates black bars without cropping the picture.
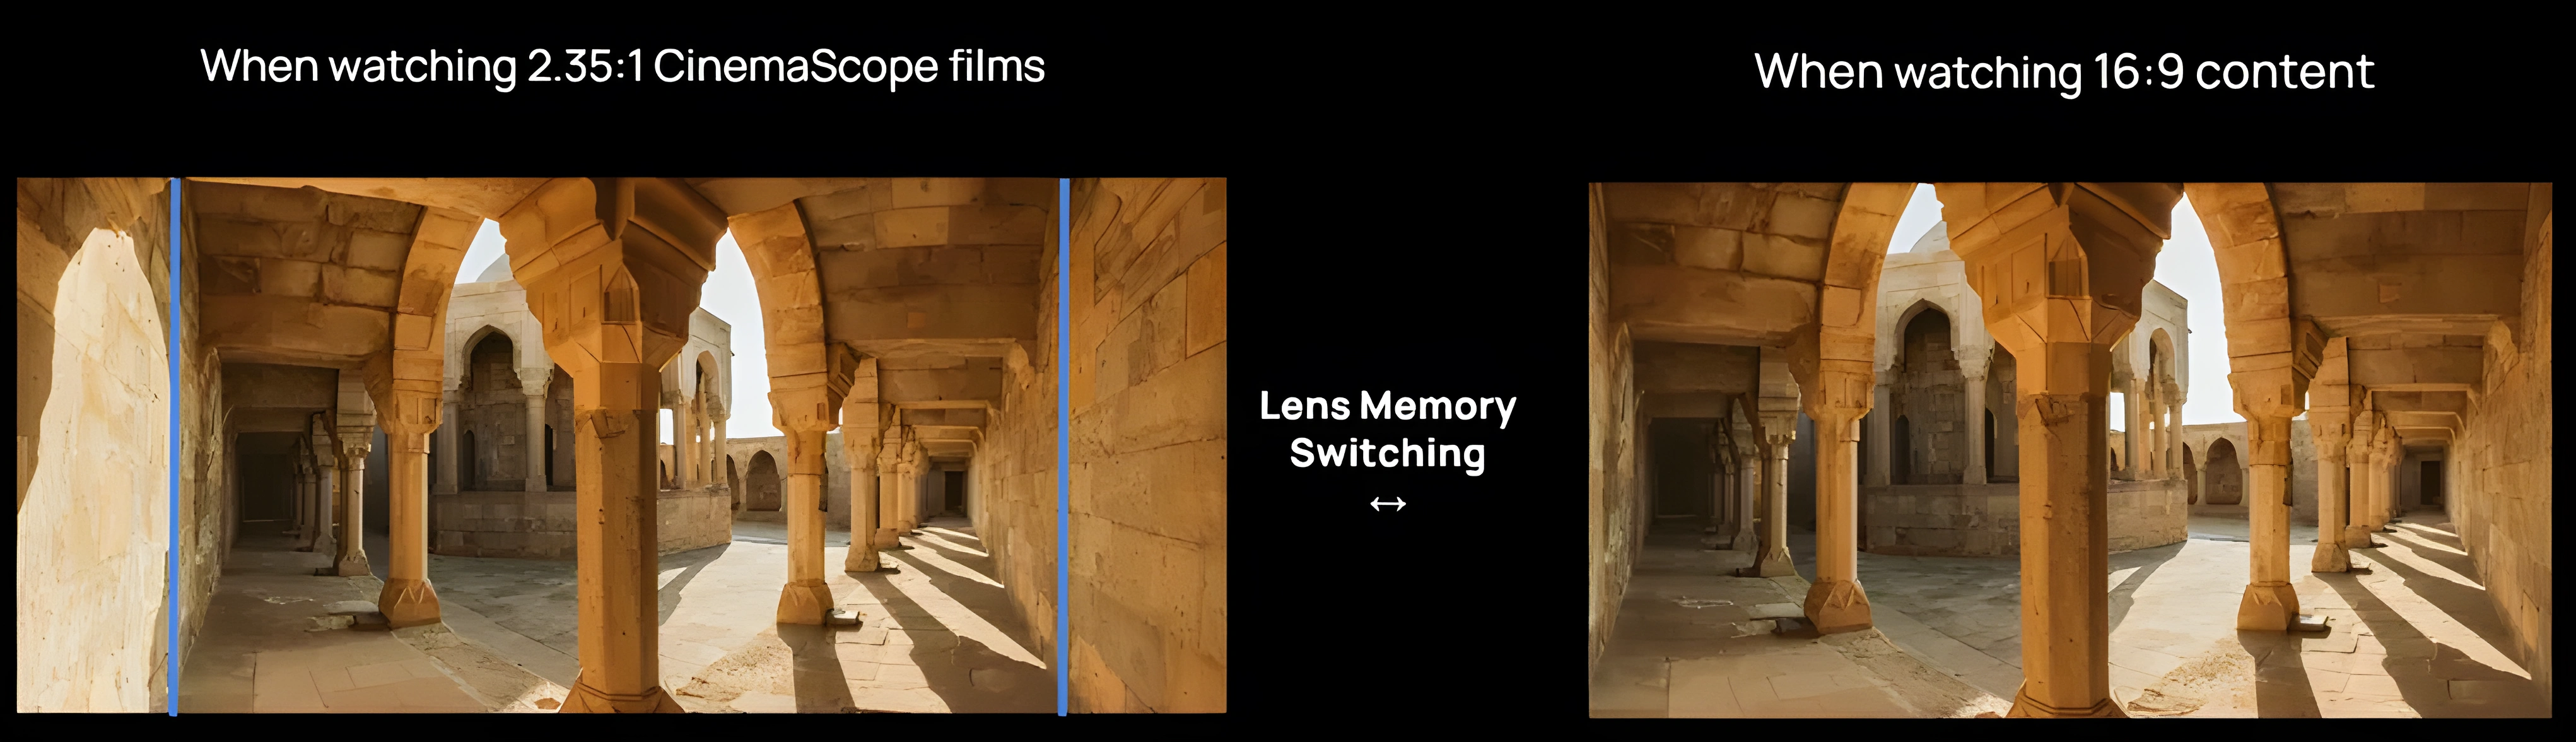
The implementation currently has two limitations worth noting. Focus position is not saved as part of the lens memory profile. After switching to a stored lens position, the projector triggers its autofocus routine, which requires manual correction more often than not. The autofocus result is not always reliable, so you will likely find yourself fine‑tuning focus by hand after every memory recall. The other issue is positional accuracy. The lens does not return to the exact same spot with pixel‑level precision; there is a small but visible drift between recalls. For a function that is all about repeatability, this needs tightening up.
Both of these are firmware‑correctable, and given how actively XGIMI has been iterating on the software, I expect refinements in future updates. Once the focus recall and positional accuracy are locked in, lens memory will be a genuinely polished feature. For now, it is functional and useful, just not as precise as it needs to be.
3.2 Distortion & Lens Shift
I tested the lens with a laser level against the screen edge. Even at maximum shift and minimum zoom, the lines stayed dead straight. No barrel distortion, no waviness, nothing like what we’ve seen from some competitors. There’s a very minor deviation near the center of the image, but it’s negligible. Geometry is solid.
Measured lens shift falls short of the advertised range — the actual shift came in at roughly half the advertised spec: 65% of the horizontal and about 25% of the vertical. The vertical number is particularly conservative because the mechanism appears to prioritize optical centering over extreme offset. Even so, this is still substantially more shift than any direct competitor provides, and it makes installation in real rooms far more forgiving than fixed-throw alternatives. Just don’t plan your mount location using the brochure figures alone.
One usability gripe: the zoom and shift adjustments use steps that are too large. Sometimes it’s hard to nail the sweet spot with such coarse control. XGIMI has indicated in community feedback that finer steps are being considered for a future firmware update. Also, there’s some light spilling from the lens onto the floor and ceiling. If you have a light-coloured ceiling and the projector is mounted fairly close, the scattered light can subtly lift the room’s ambient level in very dark scenes. Not a deal-breaker, but worth mentioning.

3.3 Zoom Range: Firmware 1.0.99
The maximum zoom has been extended from 2.0× to 2.1× on the latest firmware. But there’s a bug: sometimes I could dial in 2.1× without issue, and other times the on-screen indicator would reach 2.1× but the lens wouldn’t move, then the menu would snap back to 2.0× on its own. Inconsistent behaviour, likely a firmware-related bug. The built-in test pattern for zoom and focus is well designed, though I personally would have chosen a slightly different pattern for critical focus adjustments.
3.4 XPR-Shift & Screen-Door Effect
Despite the newer SST chip and revised controller, the XPR-Shift mechanism still operates at only 240 Hz — the same cadence as older projectors like the Valerion Max. The screen-door effect is consequently at the same level. If anything it’s marginally more noticeable here, because the TNM is significantly brighter and the lens resolves more detail. Hopefully XGIMI can push the shift frequency higher in a future firmware.
4. Image Quality
4.1 Sharpness & Optical Resolution
Lens sharpness is excellent — among the best I’ve seen in this category. No significant chromatic aberrations either; the image is very clean in that regard. On a line-intersection test pattern it resolves nearly the full 4K raster. Not quite pixel-perfect, but very close. In Game Mode, the QBF pattern looks razor-sharp. However, the 240 Hz XPR cycle means that with fast eye movement, you can briefly catch a drop in perceived resolution. I’m hoping the frequency can be increased via firmware, but that may be a hardware limitation.

Game mode Off (Left) and Game mode On (Right)
- Critical issue: forced sharpening is active even with the sharpness slider at 0. It adds halos around fine details, causes shimmering on some test patterns, and introduces visible blooming around small bright objects. A reference display shouldn't apply hidden processing. Hopefully XGIMI can fix this in a future update.
4.2 White Field Uniformity
My beta sample has some uniformity issues out of the box. The left edge leans pink, and the upper right corner has a greenish cast. It’s visible on a white field without squinting.
But uniformity is heavily dependent on zoom position, lens shift, iris setting, and even warm-up. The worst uniformity on my unit is at the extreme max zoom end (2.1× zoom). At around 1.3× zoom with a small amount of horizontal lens shift, the uniformity cleans up dramatically and becomes nearly perfect.
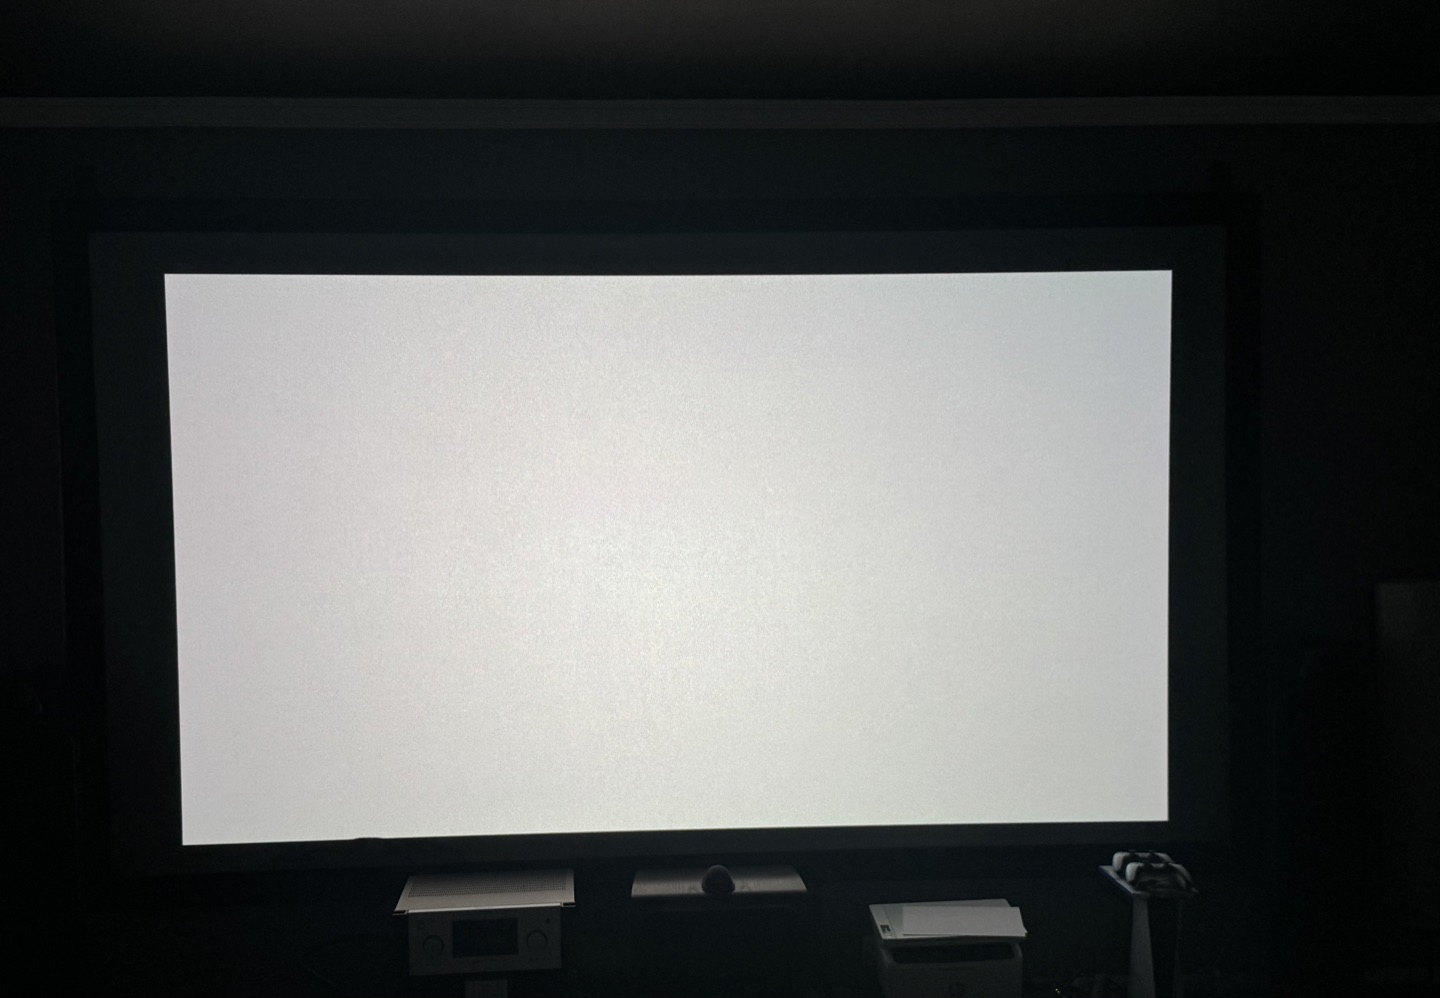
Good uniformity at my zoom/iris combination (a little bit green in the right upper corner)
- Practical takeaway: if you have some flexibility in projector placement, experiment. Move it around, try different zoom and shift combinations. You might be able to dial out most of the tint without waiting for a software fix.
4.3 Laser Speckle
Speckle is present, as with any triple-laser projector. On a standard white screen it’s visible in bright areas if you look for it. On my ALR screen it’s more apparent, since ALR surfaces exaggerate the angular reflectivity. I’ve installed an anti-speckle vibration motor on the screen frame, which helps significantly, and I’m testing bass shakers at different frequencies. At normal viewing distances with content playing, it’s not a dealbreaker, but it’s there if you’re sensitive. The speckle level is similar to my previous Valerion Max, though the TNM’s higher brightness can make it slightly more noticeable in bright modes.
If you want to eliminate speckle entirely, the right screen choice is the most reliable solution. Acoustically transparent screens in particular do an excellent job of breaking up the speckle pattern — with the right material you can get a completely clean image. That said, it’s more of a dedicated home theater option: AT screens require speakers behind the screen and a properly treated room to make the most of it.
5. Measurements
5.1 Brightness & Contrast Measurements
This section provides a detailed technical evaluation of the TITAN Noir Max’s brightness and contrast performance across different zoom positions and dual-iris settings. Using calibrated measurements, the original review examines brightness output, native and ANSI contrast, ADL contrast, laser throttling, brightness uniformity, and the behavior of the dynamic iris system. It also identifies the most balanced settings for achieving the best combination of brightness, contrast, and overall image quality.
To keep this article concise, we have omitted the full technical analysis here. For complete measurement data, charts, and detailed explanations, please refer to the original review via the link above.
5.2 Dual Iris: Summary
The dual‑iris system in the TNM is the most complex contrast mechanism I’ve measured in a consumer DLP. It rewards careful setup — zoom, iris, and lens shift all interact in ways that can make the difference between a 4 000:1 and a 6 500:1 real‑world experience. The absence of a true “F6.0” intermediate step is felt; a mode that sits between F5.5 and F7.0 could maintain a high contrast baseline while adding meaningful brightness. Based on the data, F6.0 would likely land around 5500–6000:1 native with 1 500–1 800 lumens — a very attractive operating point that I hope XGIMI considers.
If I had to sum up the TNM’s contrast personality in one line: it is a native 5 000–6 500:1 projector that can, in the right configuration, touch 8 000:1, but its real strength lies in how much control it gives the user over that trade‑off. No other 0.47″ DLP I’ve tested offers this level of tunability, and for a serious setup, that matters.
5.3 Power Consumption
Power draw on the TNM is variable. It starts around 180W depending on iris position and climbs above 200W in normal use. The actual draw shifts with warm-up time, projector temperature, ambient temperature, selected mode, and whether High Altitude mode is active.
Laser levels scale cleanly and nearly linearly — from 87.8W at Laser 1 up to 214.2W at Laser 10. Each step adds roughly 12–15W. Iris position at the same laser level has surprisingly little effect: F2.0 through Dynamic all sit within a 19W window at Laser 10, with the closed F7.0 aperture actually drawing the least (202.3W). The TNM actively limits the laser power to control the thermal load on the iris mechanism and the entire optical path. Notably, F3.0 and F4.0 draw slightly more than neighbouring positions — apparently because the partially closed post-laser iris offloads work from the lens iris, allowing a bit more total power. The most power-hungry setting of all is the dynamic iris at 221.5W.
At the top end, Performance mode hits 343W and the fan becomes intrusive — this mode exists to win lumen benchmarks, not for actual viewing. The fact that the 360W power brick and cooling system were engineered to survive Performance mode means Laser 10 runs comfortably within headroom, which likely explains the near-silent operation at standard brightness.
Without DBLE, power draw is essentially flat regardless of scene brightness — a full-black field and a full-white field consume nearly the same wattage. DBLE is what enables the dynamic reduction.
With DBLE active, draw drops dramatically on dark content. A full-black field at Laser 10 draws 58–60W. Real very dark scenes — near-black with minimal highlights — hover around 78–84W. Laser 10+ with a full-black field goes down to 69W. In practice these figures translate directly into deeper black levels when DBLE engages, though as covered in the DBLE section, real content rarely sustains full engagement.
One notable pattern: after extended dark scenes, power stays suppressed even when bright content returns. The laser takes time to ramp back up, which is the same throttling mechanism that affects sustained white-field measurements.
- Please refer to the original text for the detailed data tables.
6. Image Processing
6.1 DBLE (Dynamic Black Level Enhancement)
On the original firmware builds (1.0.56 and 1.0.99), DBLE was effectively non-functional for real content. It did almost nothing to the image, and the slightest bright object in the frame — even a cursor on an otherwise black screen — would disengage it entirely. In practice it was a test-pattern feature: impressive full-black numbers, native contrast the moment actual content appeared.
The 1.2.36 beta changes that. A great deal has moved forward here, and this section evaluates that newer, far more capable version of DBLE.
Full black: phenomenal. On a fully black field the result is spectacular. The projector dumps the laser to its physical limit to stop emitting almost entirely — on/off contrast climbs past advertised 100,000:1, with a subjective effect very close to a full-field-to-black (FFTB) dynamic. The laser is barely lit, the room plunges into near-total darkness. This is the hardware showing what it can do when the firmware lets it.
Real scenes: a different story. Where DBLE actually engages on real content, the quality is excellent — minimal clipping, almost no color shift, a clean picture. Color shift does appear in rare moments, but it’s easily corrected with a dedicated setting already present in the projector’s menu — a real plus that not all implementations can claim. If you treat the current behavior as a baseline “Low” mode, the implementation is good and the feature is ready for a first public retail firmware. What it needs is work on reaction speed and, further out, more aggressive modes that aren’t afraid to manipulate gamma at higher ADL. Those would pull far more real contrast from this hardware and let DBLE work across many more scenes.
What DBLE actually responds to
DBLE does not respond to average scene luminance (ADL). It responds to a peak luminance threshold — the brightest pixel or bright region in the frame. If that peak crosses the threshold, the system disengages, regardless of how dark the rest of the image is. If the peak stays below it, the system can engage even at quite high average brightness.
This matters in practice. A very dark scene with a single bright lamp in frame — DBLE off. A moderately bright, uniformly lit scene with no highlights — DBLE on. The system’s natural territory is not “dark scenes” in the intuitive sense; it is content with a compressed, uniform brightness range and no specular peaks.
Where it shines
The textbook case is Blade Runner 2049. The film’s visual character is deliberately narrow in dynamic range — scenes are tonally compressed, passed through a distinctive grade that suppresses both highlights and shadows into a kind of uniform, filtered palette. There are no hard specular peaks, no practical light sources blazing into the camera. DBLE works on this material almost constantly, including in scenes that read as moderately bright, because the peak luminance threshold almost never trips. The result is striking: on certain sequences — wide shots of the Las Vegas ruins at dusk, interior scenes with diffuse amber light — DBLE lifts the displayed contrast to roughly twice what one of the most contrast-capable projectors on the market, the JVC NZ500, delivers on the same content. That is the upside of the gamma-boost mechanism when material suits it.
Content that blocks the system is anything with specular highlights, hard practical light sources, or a wide dynamic range. A sunlit outdoor scene, a thriller with practicals in the frame, a sci-fi shot with a bright engine exhaust against black space — the threshold trips constantly and DBLE contributes little, even when most of the image is very dark.
Measurement methodology
The effectiveness analysis was conducted by separately measuring laser dimming and highlight brightness using a lux meter, across a defined set of film scenes spanning a wide range of ADL values. Performance was assessed as a function of scene ADL — how active DBLE was, how much it dimmed, and what the resulting contrast multiplier looked like across the range. Particular attention was paid to content below 5% ADL, as this is the perceptually most sensitive zone for black level — even small improvements here have an outsized effect on the perceived image.
- Please refer to the original text for the detailed data tables.
How the multiplier works
The contrast gain comes from two mechanisms working together: laser dimming and a dynamic gamma boost.
On real content in viewing-appropriate modes, the laser can dim by around 3.5×. But the contrast multiplier can run higher in theory than that, because gamma is doing work alongside it. DBLE uses the headroom that calibrated content leaves between the displayed white point and the laser’s physical ceiling to push highlights above their DBLE-off level — lifting the bright end rather than only lowering the dark end. The gap between black and white widens from both sides.
With the iris held static, the effective formula is:
multiplier = laser dimming × highlight compensation via gamma
This is measurable. On a 0.065% ADL scene, enabling DBLE raised the absolute brightness of highlights above the baseline — not reduced it. The lux meter read above what dimming alone would predict, confirming the gamma contribution at low ADL.
The key consequence: more aggressive gamma manipulation can yield a higher multiplier on real scenes at the same laser dimming level. That headroom is exactly what future Medium/High modes should exploit — accept some highlight clipping, manipulate gamma harder, and the projector returns far more real contrast across far more content.
Perceptually, the 5–7× range punches above its measured value. The eye evaluates contrast locally and adapts to scene luminance, so a well-behaved 5–7× dynamic system reads considerably better than raw lux ratios suggest.
Speed
Reaction speed is one of the core problems. The mechanism enters and exits dimming slowly. It behaves more like old lamp-projector dimming than a laser projector. That sluggishness has one real upside — it suppresses flicker — but the cost is that it filters out a large number of scenes where DBLE could otherwise be working.
It isn’t slow everywhere. The transition from a dark scene into a very bright one is almost instant and well-executed, with almost no clipping in those moments. The problem is the other direction: transitions into mid-brightness scenes are smooth but laggy, and the ramp into dark scenes is slow enough that brief dark moments come and go before the laser has fully responded.
Here is how that plays out in a real image. Say you’re playing a dark game, constantly swinging the camera between a black corridor and a dark room with one small bright object in it. DBLE simply won’t darken the corridor fast enough — so you sit in native contrast, watching dark grey instead of black, for much of the sequence. The bright object in the adjacent view disqualifies the frame via the luminance threshold, and the slow ramp finishes the job.
What holds it back, and what’s next
The limiting factor is architecture, not hardware: a binary, conservative engagement model with a slow ramp. Cross the luminance threshold and the system drops to zero dimming instead of rolling off gradually; sit in a dark scene and the ramp takes too long to arrive.
The fix is a firmware decision. Replace the hard cutoff with a continuous curve — dim aggressively at low luminance peaks, then reduce the dimming factor progressively as peak brightness rises instead of dropping to zero. Tighten the reaction speed so dark scenes engage promptly without reintroducing pumping. Layer Low/Medium/High modes on top, with higher modes accepting a little more highlight clipping in exchange for meaningful contrast across a wider range of content.
Summary. Firmware 1.2.36 turns DBLE from a non-functional placeholder into a genuinely working dynamic system. Full-black performance is phenomenal. Where it engages on real content — especially tonally compressed, uniform material — the result is outstanding, with minimal artifacts and a color-shift correction that’s one menu toggle away. As a first retail-ready baseline it’s a strong “Low” mode. The work that remains is speed and a smoother, more dynamic engagement model — and the hardware is comfortably capable of all of it.
6.2 Dynamic Tone Mapping (DTM)
The TNM’s onboard dynamic tone mapping is, in its current form, a genuinely effective tool for HDR content — once it has been properly dialed in. Out of the box it provides two user adjustments: screen size and screen gain. Each of these shifts a different part of the HDR luminance curve.
The default values, unfortunately, are not optimal, even when the correct diagonal and gain figures for a given screen are entered. Spending fifteen minutes experimenting with these two parameters transforms the picture. A carefully tuned DTM curve brings real punch to specular highlights, keeps shadow detail visible without grey‑out, and preserves strong colour saturation in mixed‑brightness scenes. The difference between a default‑settings DTM and a manually adjusted one is substantial, and the projector rewards the effort.
Looking ahead, the presence of the X‑Vision FPGA creates significant headroom for improvement. A custom tone‑mapping engine running on dedicated programmable logic could, in principle, offer per‑scene or even per‑frame analysis far beyond what the MediaTek SoC provides — potentially approaching the quality of external processors like Lumagen. Whether XGIMI pursues this path is an open question, but the hardware is already in place. For now, DTM on the TNM is a very capable implementation that needs a bit of user effort to unlock its full potential.
6.3 Anti-RBE
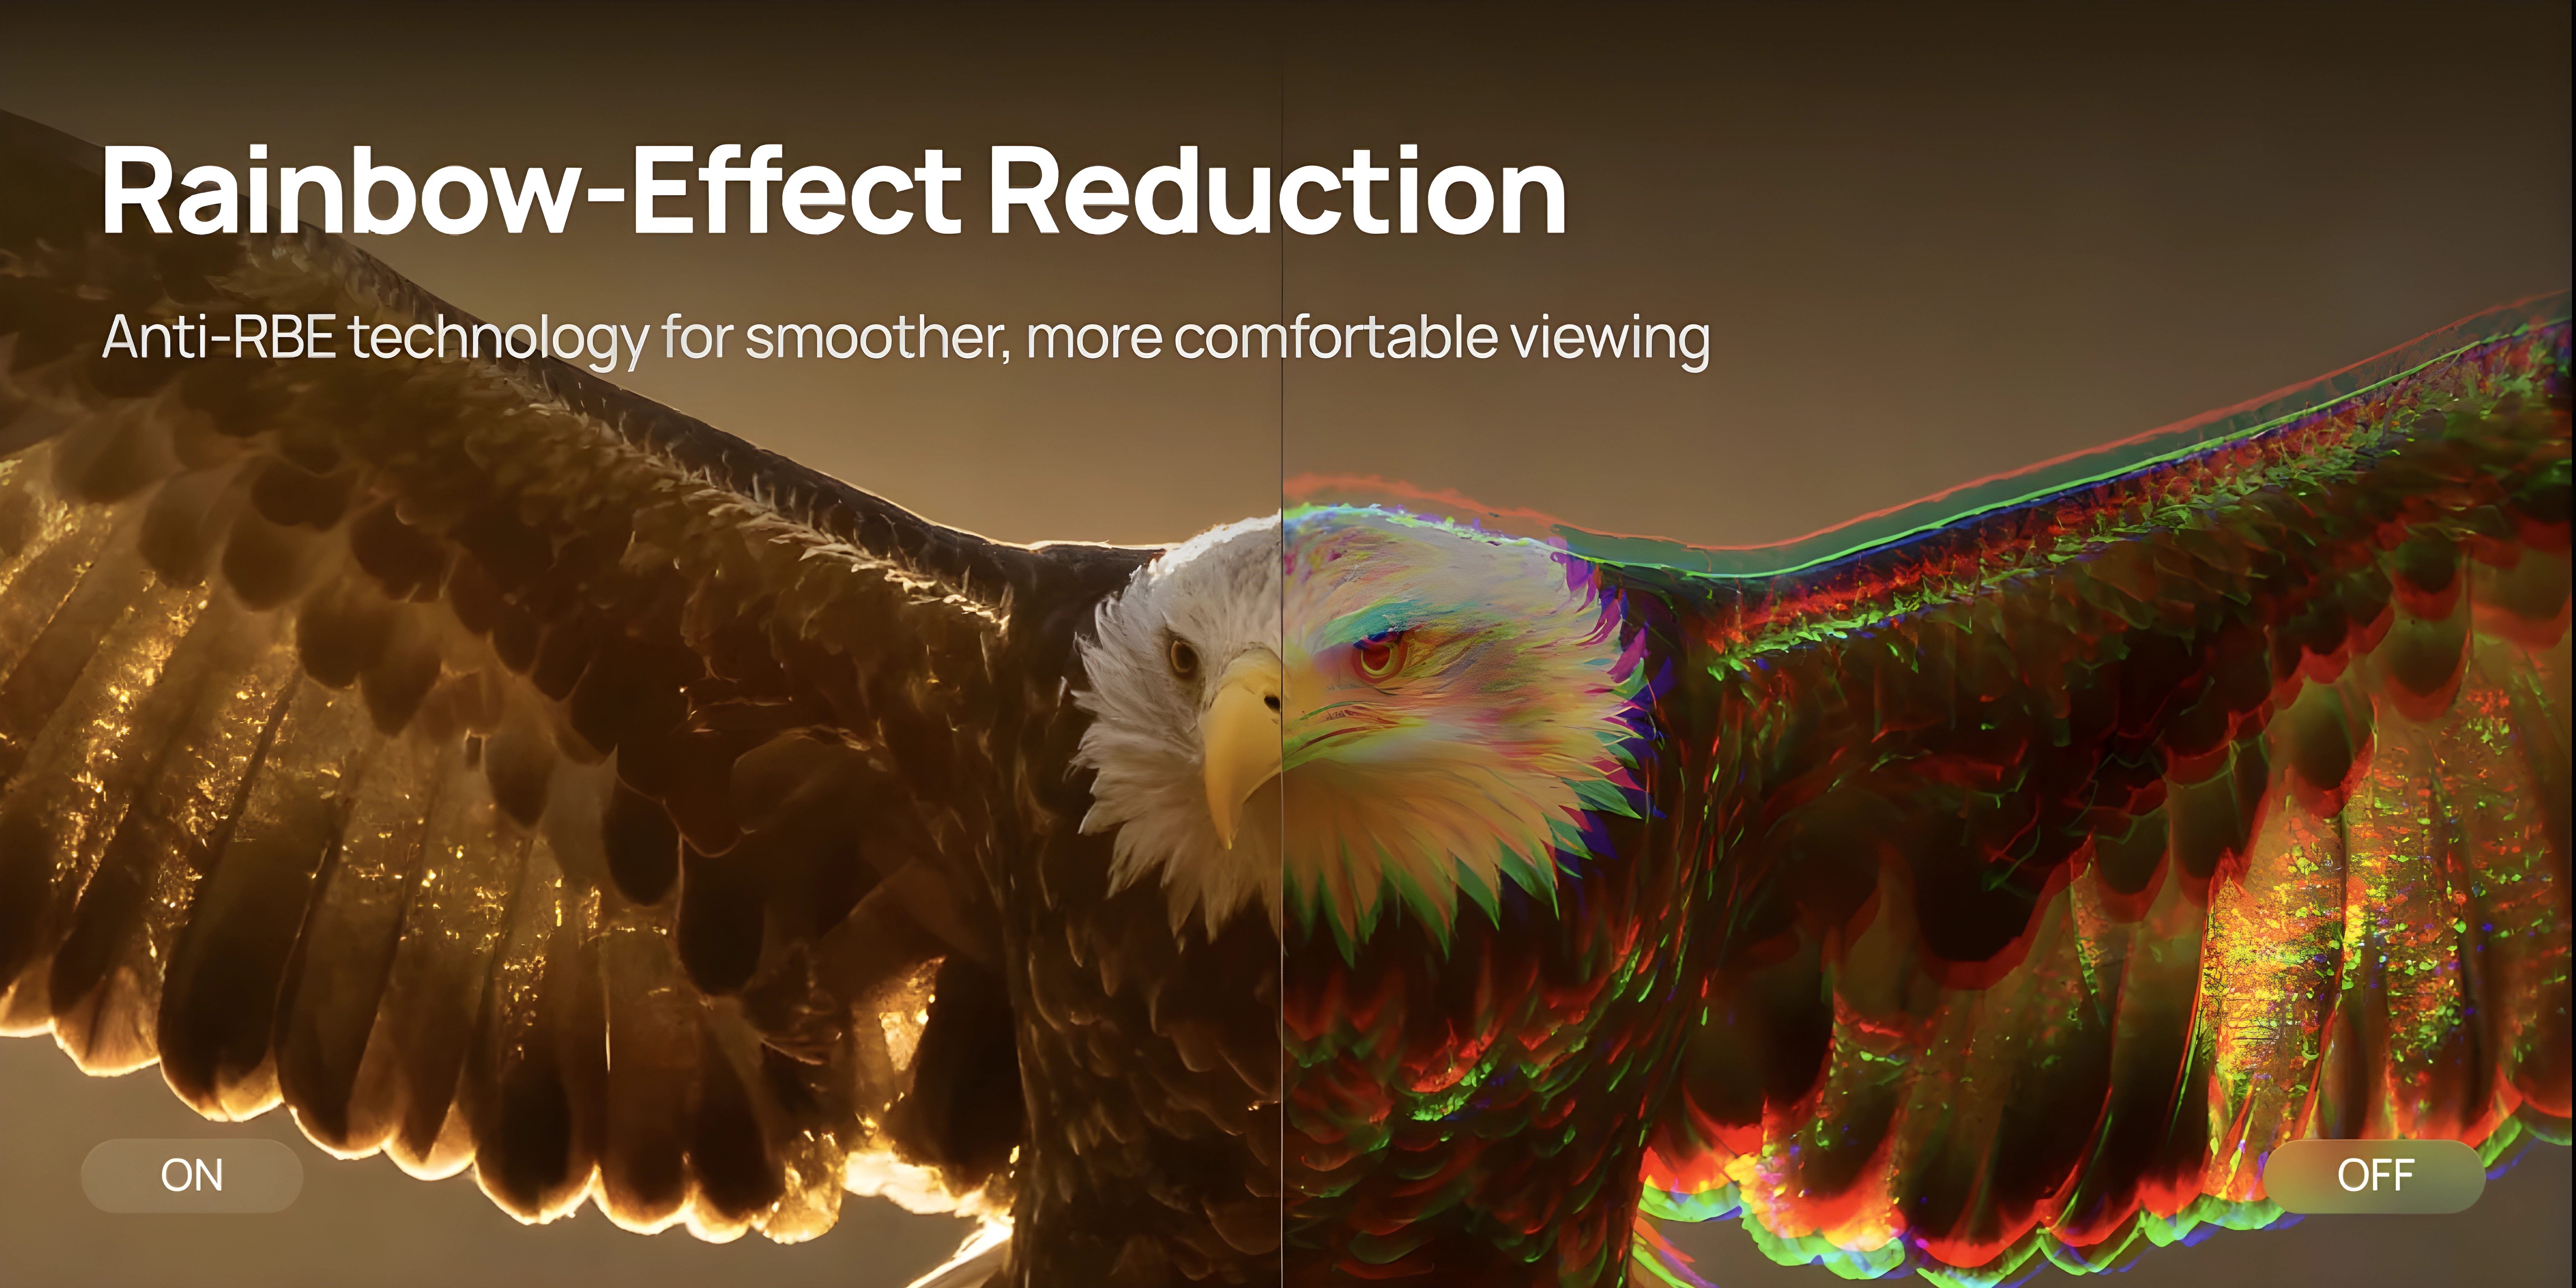
RBE (Rainbow Effect) is an inherent characteristic of single-chip DLP projectors. When the laser colour sequence transitions, some viewers can detect brief flashes of red-blue-green fringing on high-contrast edges. Anti-RBE systems suppress this by increasing the laser pulse rate and shortening the visible portion of each colour transition.
I’ve been thoroughly testing the anti-RBE implementations across three generations of firmware: the original 1.0.56, followed by 1.0.99, and now the current beta 1.2.36. Each has presented a distinct experience.
Firmware 1.0.56: The Champion of Suppression
The initial 1.0.56 firmware proved to be the most effective at RBE suppression. While it introduced noticeably heavy dithering, its ability to reduce the rainbow effect was the best I’ve seen on the TNM. The pulsation rate across all colors was approximately 12×, providing a significantly smoother visual — very close to the Valerion Max implementation.
Firmware 1.0.99: A Step Back in Effectiveness
With the update to 1.0.99, dithering became much less intrusive, but banding appeared. This came at the cost of anti-RBE effectiveness, which noticeably dropped. The pulse rate fell to 8×, making rainbows easier to spot — similar to the 8× pulsation rate observed on Aetherion models.
Firmware 1.2.36: Polished but Not Peak Performance
The current beta introduces a split into Standard and Enhanced modes. Standard is cleaner than 1.0.99, with even less dithering and banding, but still doesn’t match the raw suppression of 1.0.56. Enhanced, unfortunately, adds nothing meaningful in terms of RBE reduction and introduces some yellow/light-green segment artifacts when quickly moving your eyes. Standard maintains an 8× pulsation rate; Enhanced reaches 12×, though not across all colors.
The ultimate sweet spot for XGIMI would be a hybrid mode: the aggressive 12× pulse rate of 1.0.56 combined with the clean dithering and banding suppression of 1.2.36 Standard. Further tuning is absolutely necessary, especially for Enhanced mode.
One more caveat: until native 24 Hz and 23.976 Hz modes arrive — which lower the XPR-Shift frequency — we can’t fully evaluate anti-RBE effectiveness in those modes. In the Valerion Pro2/Max, the XPR-Shift frequency and laser pulsation were both lowered in 24p, highlighting another reason why further improvements are necessary.
The current Standard mode is a solid starting point for the first public retail firmware. Further tuning is necessary, especially for Enhanced.
Anti-RBE’s Acoustic Footprint
One area where the TNM genuinely impresses is its acoustic performance around the anti-RBE implementation. Unlike some previous projectors — notably the Valerion — enabling anti-RBE does not introduce a high-frequency whine or any objectionable noise.
If you look closely at the real-time frequency analysis (RTA) spectrum:
- Enabling Anti-RBE merely causes a subtle shift in the low-frequency acoustic signature, hovering around the 100–300 Hz range. It’s a minor tonal shift under electronic load that completely disappears into the ambient noise floor.
- It introduces absolutely no sharp, screeching spikes in the upper frequencies.
- The distinct high-frequency spikes visible on the graphs are completely static—they remain identical across all operating modes. This allows us to confidently deduce that this specific acoustic hum is generated by the physical actuator of the 4K XPR-Shift hardware itself, rather than the electronic pulse-width modulation of the lasers.
6.4 Image Enhancers
I found a way to take internal screenshots directly on the TNM, which is handy. A word of warning though: a lot of artifacts don’t show up in the captures — forced hidden sharpening, banding, the pink gradient, and blocking are all far less visible or invisible in screenshots than they are on screen. So these aren’t 100% representative of what you actually see. Keep that in mind.
There are four enhancers in the menu.
Super Resolution enhances detail by sharpening edges. It’s a relatively light touch compared to the others, and I can see this being genuinely useful — especially for gaming — if it weren’t for one problem: it stacks on top of the forced hidden sharpening. Together they create an overprocessed mess. If XGIMI removes the hidden processing in a future firmware, this one could actually be worthwhile.
AI Contrast tries to add depth by boosting contrast around bright/dark transitions, with some light sharpening thrown in. The idea is solid, but it’s way too aggressive. It frequently makes the image look flatter by raising shadow detail too much, or gives it that overprocessed “cooked” look. On a Low setting this could be usable, but right now it’s all or nothing. It needs a slider or multiple levels.
Dynamic Contrast only manipulates the gamma curve of the entire image. In bright scenes it raises gamma, in dark scenes it lowers it, trying to pull out a bit more detail. Being a global adjustment, it doesn’t introduce the same kind of localized artifacts as the others, but the effect is still heavy-handed. Honestly, it’s a bit strange that in 2026 a projector at this level does dynamic gamma manipulation worse than what old Oppo players were doing years ago with QDEO processors. You’d hope this could be improved on the FPGA, though it’s possible the processing is baked into the MediaTek SoC and XGIMI can’t do much about it. Hard to say without more info.
Local Contrast has three fixed strengths — Weak, Middle, High. It also manipulates gamma, but works in a more localized way than Dynamic Contrast. It still tends to lift shadow detail too aggressively, especially on High. Same comment applies as with Dynamic Contrast: we had better gamma processing in dedicated video chips a decade ago. Weak is actually borderline usable — the one mode that doesn’t immediately make me want to turn it off.
Compare for yourself
Super Resolution, AI Contrast, Dynamic Contrast, Local Contrast for:
- High brightness scene
- Mid-high scene
- Mid-dark scene
- Dark scene
All four enhancers share the same core problem — they’re tuned too aggressively. Ideally every one of them should have a slider, or at least Low/Mid/High options, with the current behavior being the High setting. On Low, most of these could be useful. Super Resolution has the most potential, but it’s held back by the hidden sharpening. AI Contrast also has promise if they give us a way to dial it back. Local Contrast on Weak is already somewhat usable. Dynamic Contrast feels like a missed opportunity unless the FPGA can be leveraged for something better than the MediaTek default. Whether any of these are worth the artifacts they introduce will depend on the content and your personal tolerance.
- Interactive image comparisons are available in the original article.
7. Noise and Artifacts
7.1 Noise
The TNM is the quietest projector I’ve used at this brightness level — and, honestly, the best combination of size, light output, and silence I’ve come across. At 50 cm, the measured figures speak for themselves.
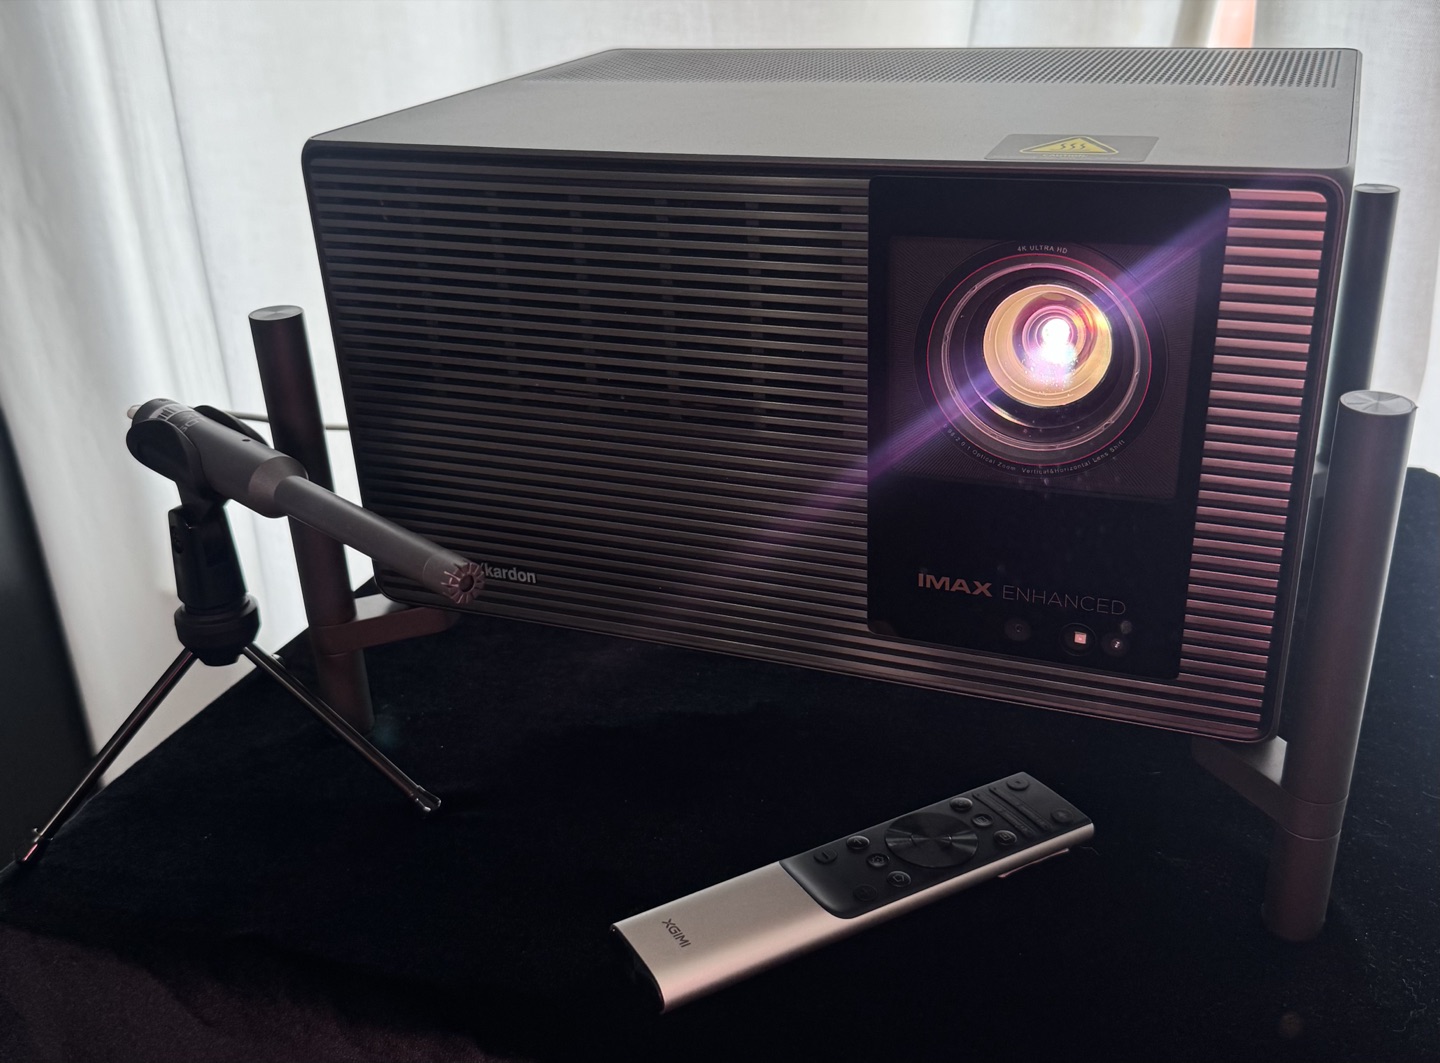
The acoustic performance isn’t a coincidence. Internally, the chassis is divided into several ventilated compartments, each with its own intake path. Air is pulled from multiple points and guided through a single, large exhaust on the bottom of the unit. That bottom‑exhaust layout is debatable from an installation standpoint — it forces you to use the feet and adds to the total height — but from a cooling and noise perspective it’s a very deliberate, functional choice. The airflow moves in a straight, unobstructed path, which lets the fans spin at lower RPM for the same amount of heat removal.
Two other design decisions help considerably. First, the external power supply. By moving a 360W heat source entirely outside the chassis, the internal cooling system only has to manage the laser engine and the processing electronics. Second, the entire hardware platform was engineered from the start to survive the extremes of Laser 10+ and Performance mode. Those modes push the lasers and power delivery well beyond normal operation, so the cooling headroom built in for them means that at standard Laser 10 levels the fans are barely working. There is real margin here, and that margin translates directly into low noise in everyday use.
High Altitude mode spins the fans faster to compensate for thinner air, but it does not push the projector into objectionable territory. The character of the sound changes — you can hear a shift in the fan frequency but the absolute level remains manageable and still quieter than many projectors at their default settings.
Enabling anti‑RBE does not introduce any additional acoustic penalty. There is no high‑frequency whine or change in fan behaviour tied to the RBE reduction itself; a more detailed spectral analysis is available in the Anti‑RBE section of this review.
Noise frequency spectrum — fan profile measured at 50 cm via UMIK-1.
For a bedroom installation or late‑night viewing where silence is non‑negotiable, this is the quietest projector I am aware of that can still deliver this kind of brightness. The cooling system doesn’t just work well — it was overbuilt with real headroom, and that over‑engineering pays off every time you turn it on.
7.2 Artifacts
Rolling Buffer
The most significant artifact on the TNM is rolling buffer — a direct consequence of how the DLPC8455 writes pixels. Instead of updating the entire frame at once, it scans from top to bottom row by row. On static content this is invisible. On fast-moving high-contrast edges it produces a rolling-shutter-like distortion: the top of a moving edge renders differently from the bottom. This is hardware-level behaviour. It can’t be eliminated by settings. Turning off XPR-Shift doesn’t help — the artifact persists even without the shift overlay, which is unexpected. Anti-RBE partially reduces the visible effect. A firmware fix in 1080p mode is theoretically possible and XGIMI is aware of it. The practical impact is real: this is a step backward in motion quality compared to the previous DLPC generation.
Pixel Wobbling (Pixel Shimmer)
A localised flicker of individual pixels on static frames, most visible in certain areas of the image rather than across the whole screen. It is not global “breathing” but a fine, point‑to‑point instability, likely caused by the rolling‑buffer line‑by‑line refresh and subtle timing jitter in the DLPC8455 controller. The artefact appears where pixel transitions are most demanding and can be seen up close on sharp edges or fine patterns.
Blocking
On some motion sequences — particularly in dark or grey scenes — there’s a pattern artifact that resembles a moving grid. Visible without squinting if you know what to look for. It’s a temporal effect that doesn’t capture cleanly in screenshots, but it shows up consistently on certain content.
Static Contour Pattern
On solid uniform fields such as white, grey, or black — there’s a faint spatial pattern present that shouldn’t be there. Visible at closer viewing distances, particularly on grey and white. Whether this is a DMD characteristic or a processing artifact, I’m not certain yet.
Dithering
DLP projectors use temporal dithering to represent intermediate brightness values, and the TNM has more visible dithering than I’d like on dark backgrounds — pixel-level flickering in shadow areas. Enabling anti-RBE makes it more pronounced. This is partly a platform characteristic of 0.47-inch DLP chips, but the level here is on the higher end.
Grayscale Non‑Uniformity
On gray uniformity patterns, faint vertical stripes of green, blue, and red are visible across the screen. They are subtle and only show up on test patterns, not in actual content.
Hidden Sharpening
Sharpness slider at zero does not mean no sharpening. The TNM applies processing that adds halos around edges, causes shimmering on fine patterns, and blooms around small bright objects even at the minimum setting. In GameMode the sharpening changes character (closer to a super-resolution filter) but doesn’t disappear. This is a well-known limitation on several 0.47-inch DLP platforms. Hopefully XGIMI can expose a true off state in a future update.
Black Uniformity
On a full-black pattern there is a 16 vertical blocking element across the entire screen.
Posterization in HDR (DTM)
When Dynamic Tone Mapping is active, some HDR content exhibits visible posterization — smooth gradients, particularly in skies or dimly lit backgrounds, break into distinct bands of colour instead of transitioning smoothly. The effect closely resembles what is seen during HDR‑to‑SDR conversion on players with Dolby VS10. It is content‑dependent and more noticeable with DTM engaged than with static HDR10, likely linked to the tone‑mapping algorithm’s limited bit‑depth processing and aggressive contrast compression. In practice, it appears only on certain challenging scenes and is not a constant distraction, but it is a noticeable artefact when it occurs. A more refined DTM curve or user‑adjustable strength could mitigate it in future firmware.
The good news: XGIMI knows about all of these problems and many of them can be addressed by firmware update. The hardware is exceptional. The lens is reference-grade. The remaining question is whether the firmware can catch up to the quality of the optics.
8. Performance
8.1 Gaming Performance and Motion
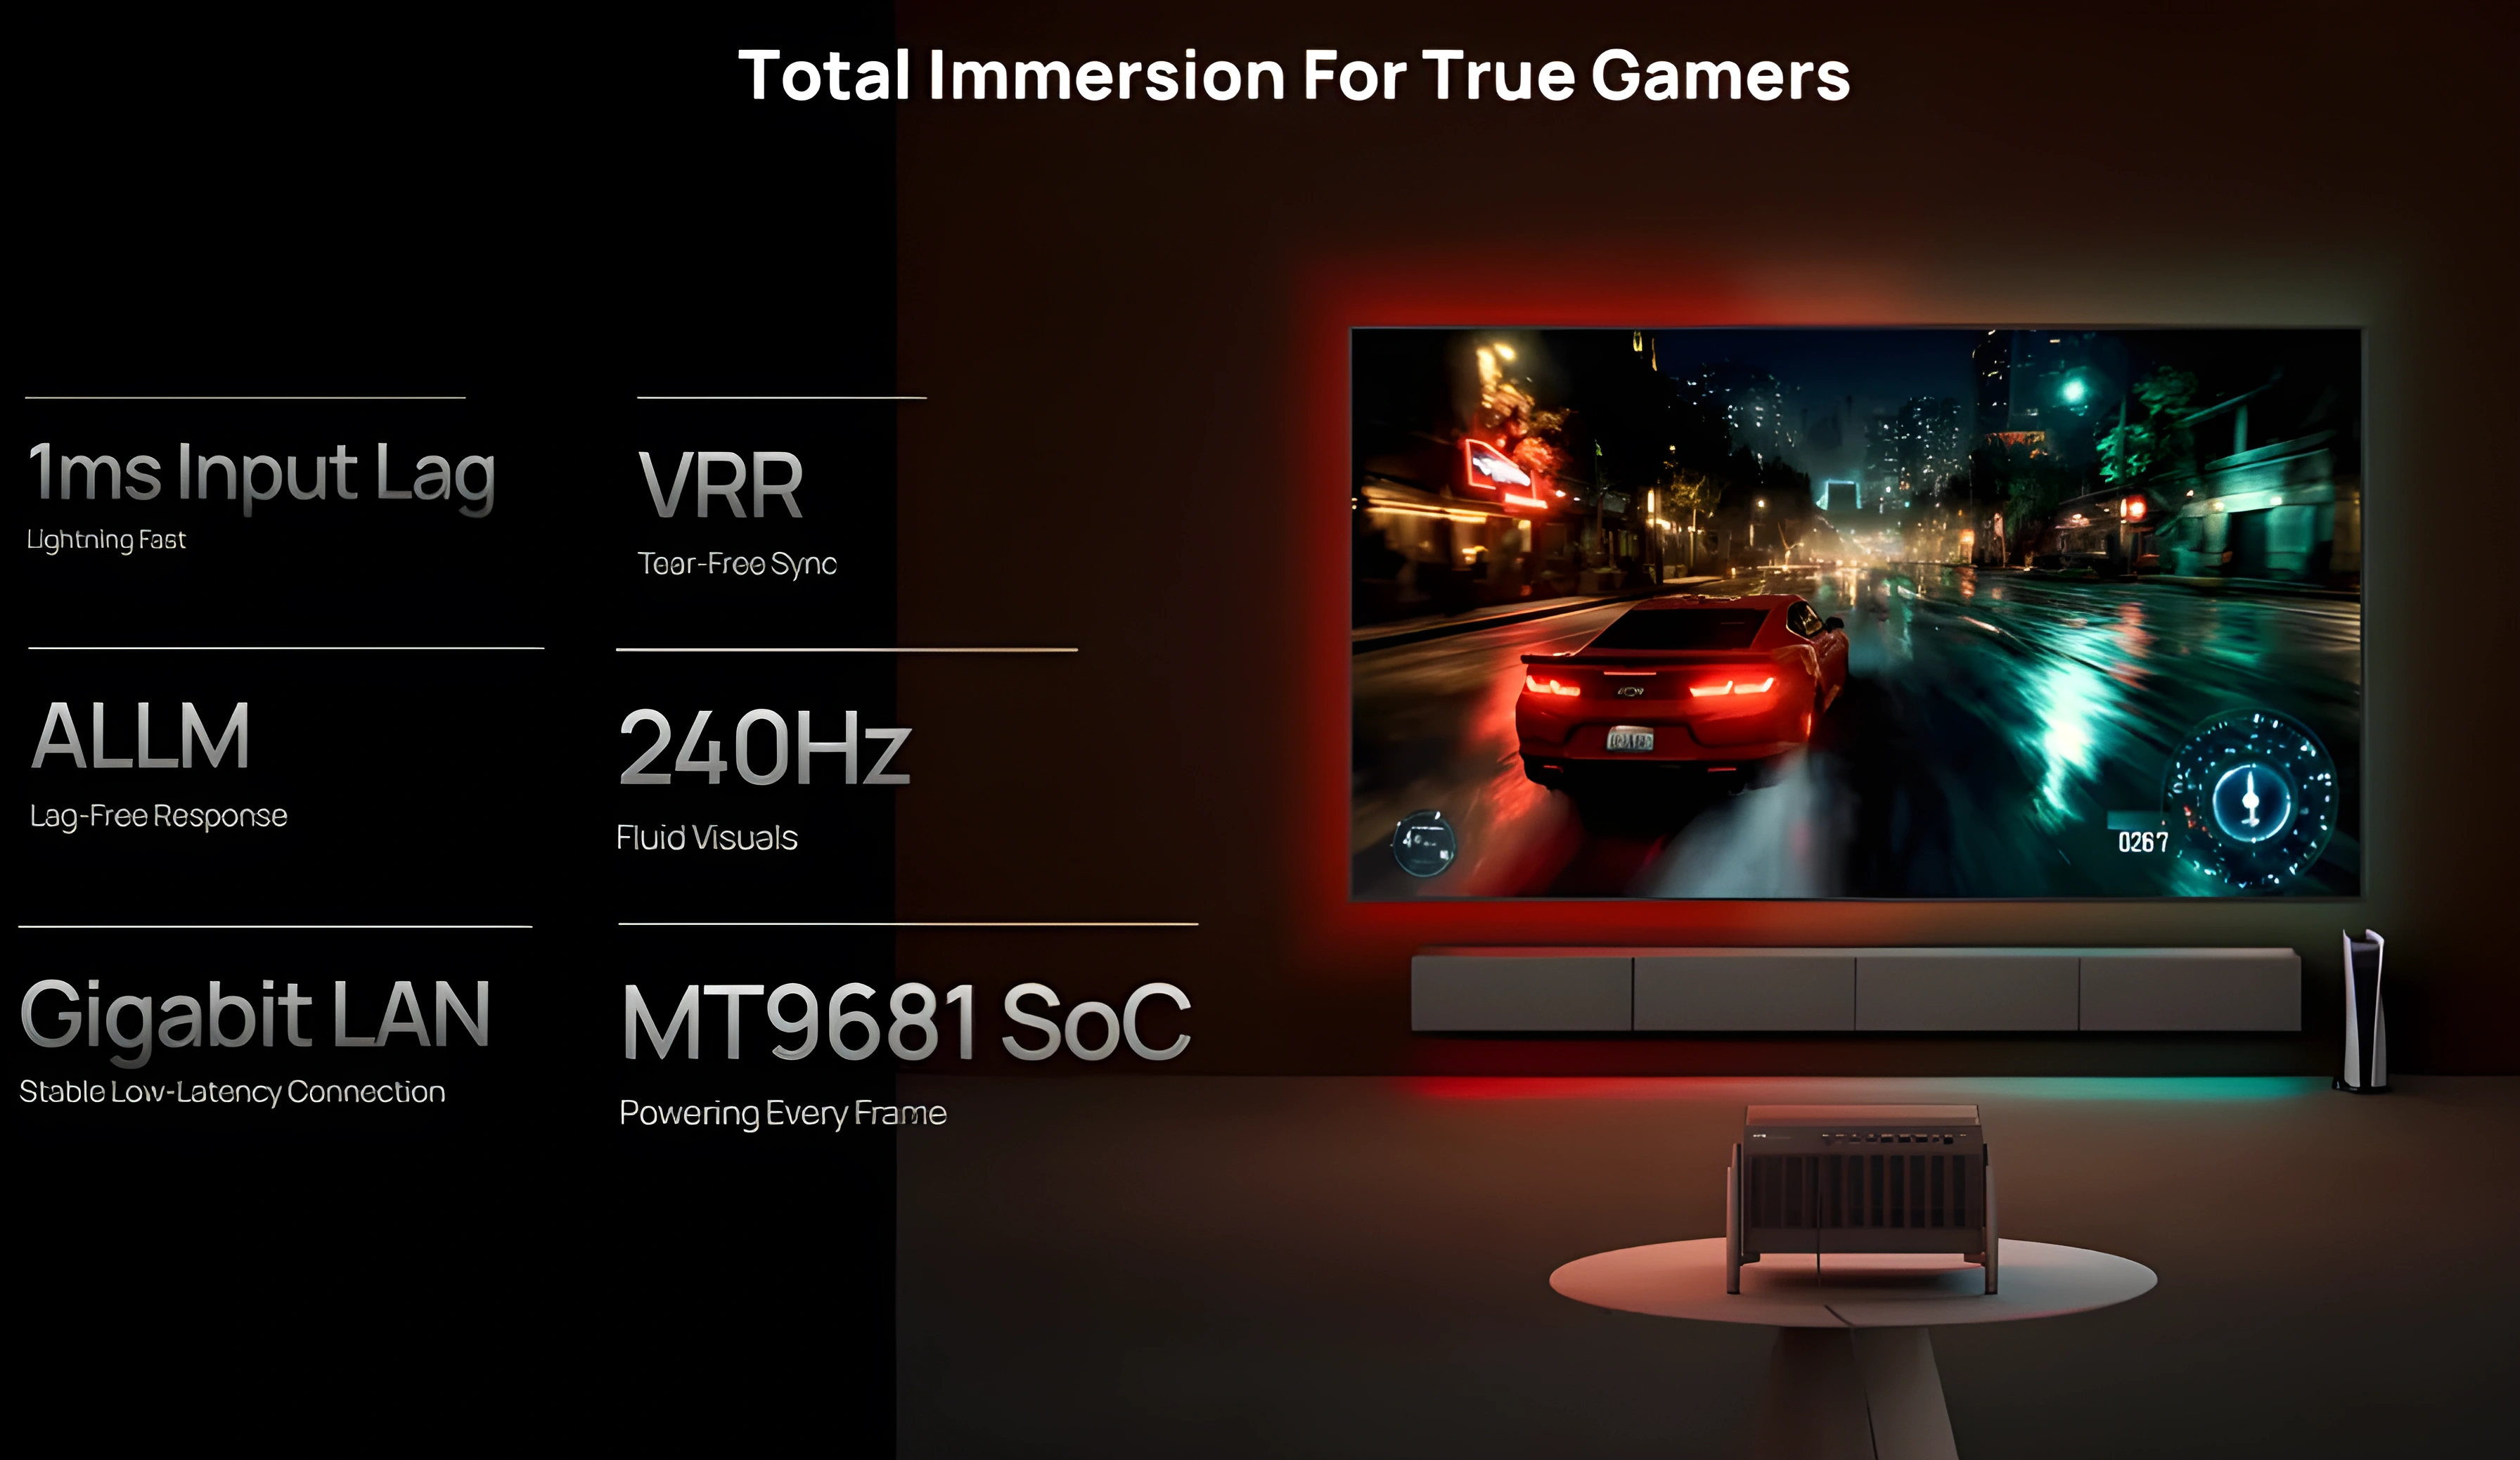
The hardware is there. The software isn’t. Game Mode today means locked picture controls, forced oversaturation presets, and no way to calibrate anything. XGIMI knows about it and is working on fixes — but right now it’s the weakest part of a strong machine.
Input Lag and Motion Clarity
If you try to game in any of the standard picture profiles, you are going to notice a heavy, sluggish delay: input lag sits right in the unplayable 100ms range.
However, switching to GameMode transforms the experience: average latency drops to approximately 16ms at 4K/60 and as low as 4ms at 1080p/240 Hz. The 1080p/240 Hz figure in particular places the TNM among the fastest projectors available.
The DLPC8455 controller draws pixels line by line from top to bottom. This means latency is lowest at the top of the screen (up to 1ms) and rises toward the bottom, where it is similar to older controllers. The average latency is lower overall, which is a genuine improvement, but the trade-off is the rolling buffer, and in gaming this is especially relevant. Fast camera pans with high-contrast edges (a bright object moving across a dark background, for example) can reveal the RBE-like artefacts. Whether the latency benefit outweighs the motion penalty will depend on the types of games played and individual sensitivity.
8.2 Motion in games
In terms of pure motion clarity, the TNM behaves as expected from a fast DLP. At 1080p/120 and particularly 1080p/240, the improvement in fluidity and motion resolution is immediate if the source can deliver real frames at those rates. For high-resolution gaming, 4K/60 with this reference-grade glass lens is an excellent experience, offering the sharpness and crisp detail needed for slower, cinematic titles.
The projector also accepts a 4K/120 Hz input signal, but outputs it at 4K/60 Hz by dropping every other frame (a hardware ceiling). The upside to feeding it a 120 Hz signal anyway? It shaves even more fractions of a millisecond off the overall input latency, making controls feel even tighter.
It also supports VRR and AMD FreeSync Premium in 1080p mode, which is genuinely good for competitive gamers, along with widescreen 21:9 scope gaming.
Chroma: 4:4:4 in Game Mode only
Game Mode is the only mode on the TNM that outputs full 4:4:4 chroma. All other picture profiles use chroma subsampling. The difference is most visible in fine text, UI elements, and sharp colour transitions — exactly the kind of content that fills a game interface. On a QBF sharpness pattern, the result speaks for itself.

QBF pattern, Game mode ON and QBF pattern detail
The Main Drawbacks: Locked Profiles and Hidden Filters
The biggest frustration with GameMode right now is the complete lack of image calibration freedom. The moment you activate it, your standard picture settings are locked down. Instead, you are given a restrictive choice of uncalibrated, genre-based presets (FPS, RTS, RPG, etc.).
None of these modes are anywhere near reference color accuracy. They aggressively jack up color saturation, distort the gamma curve, crank up edge sharpness, and introduce an artificial tint filter over the entire canvas. The result is an image that looks artificially vivid at first glance but quickly reveals itself as inaccurate. Skin tones push toward orange, reds bleed, and shadow detail is crushed or washed out depending on the preset. This is not a minor inconvenience; for anyone who values colour accuracy, it makes Game Mode difficult to use for extended sessions.
Beyond the locked color profiles, a few other quirks persist:
- The Rolling Buffer: As mentioned previously, this hardware-level limitation shows up during gameplay when a bright object moves rapidly across a dark background. Peculiarly, even with XPR-Shift disabled and resolution lowered to 1080p, the rolling buffer effect persists, which is quite odd and theoretically correctable in a future firmware update.
- Super Resolution Sharpening: Hidden sharpening is notably reduced in Game Mode — in fact, it is almost entirely absent compared to the Standard and ISF modes. This is a genuine positive. However, a different sharpening filter appears to be active, behaving similarly to Super Resolution. False contours and edge enhancement can be seen on sharpness test patterns, and the effect is sometimes visible in game HUD elements and fine text.
- DBLE (Dynamic Black) Inheritance: DBLE currently inherits its state from the previous picture mode. If DBLE was enabled before entering Game Mode, it remains enabled, and vice versa. There is no dedicated toggle for DBLE within Game Mode itself. A proper on/off switch for the dynamic system in Game Mode would be a welcome addition in a future firmware update.
The Verdict on Gaming
The raw specs are there — sub-5ms at 1080p/240, 4:4:4, VRR. Once the calibration gets unlocked and the rolling buffer in 1080p mode is properly addressed, this will be genuinely great for gaming. Right now it’s 70% of the way there, and XGIMI is actively working on the remaining 30%.
8.3 Motion in Movies
MEMC and 24p Playback
At the time of this review, the TNM does not yet support native 24p output for film content. The projector internally converts a 24 Hz signal to 60 Hz before processing and display, which introduces the familiar 3:2 pulldown judder — an uneven cadence that is particularly visible on slow panning shots. The workaround available in the current firmware is to use the “Original Frame” setting within the MEMC menu, which engages frame blending to smooth the judder. The result is a softer, less defined image during motion and a compromise that no reference display should require.
XGIMI is actively working on this. Beta firmware builds already exist that output true native 24p with the correct cadence, and the company has indicated that this is a high-priority item. Final public delivery is a matter of time, not speculation, which is encouraging for a projector of this calibre.
The built-in MEMC motion interpolation itself is present but unremarkable. It behaves like most budget motion processors: even on its lowest setting, the soap-opera effect (SOE) appears, along with occasional halo artefacts and breakup around complex moving objects. I do not use it for critical viewing. Given that the TNM has a dedicated FPGA sitting alongside the MediaTek SoC, there is a real opportunity here. A custom interpolation engine — one tuned by XGIMI rather than relying on the off-the-shelf MediaTek implementation — could deliver significantly cleaner results, with fewer artefacts and finer control. Whether the company chooses to pursue that path remains to be seen. For now, the best motion experience will come from an external source that performs the correct pulldown or, soon, from the projector’s own native 24p mode once it reaches public firmware.
8.4 3D Performance: Brilliant Depth, Unfinished Cadence
3D on a projector in 2026 is something of a niche, but the TNM is one of the few current models that makes a genuine case for keeping a 3D Blu-ray collection alive. The experience is not perfect, but it is easily the strongest I have encountered on a laser DLP. To put that in perspective, I still keep a classic Sim2 Lumis projector in my dedicated theater specifically for its legendary stereoscopic performance, so my bar for comparison is exceptionally high.
The Good
- Brightness: Shutter glasses cut perceived luminance by more than half — that’s the death sentence for 3D on most lamp projectors at large screen sizes. At 120–150 inches on a moderate-gain screen the TNM stays punchy. No squinting, no eye fatigue from dimness. That’s a bigger deal than it sounds.
- Sync and ghosting: DLP-Link is bulletproof here. Lock on once and it stays locked — no sync drops, no searching mid-film. Channel separation is clean; ghosting is minimal.
- Color accuracy: Most projectors shift their color balance the moment you switch to 3D. The TNM doesn’t. Color temperature stays consistent, skin tones hold, shadows don’t clip. It behaves like a properly implemented feature, not a checkbox.
- True Native 1080p Resolution: This machine outputs a complete 1080p canvas to each eye. There are no spatial interpolation tricks or scaling compromises at play here, because the XPR pixel-shifter physically parks itself when a 3D signal is detected, revealing the clean, raw pixel structure of the underlying native 1080p DMD chip. That said, SDE on this 0.47” chip is still much higher than on the old 0.95” units.
Where It Falls Short
- Judder & Pulldown Flaws: Where this system stumbles — and it’s a glaring blemish given the strength of the optics — is in its motion processing. The TNM fails to execute a native 5:5 cadence for 24p stereoscopic files. Instead, it subjects cinematic content to a crude 3:2 pulldown routine to reach 60 Hz before pushing it to the eyes, resulting in glaring judder. This stuttering is far more fatiguing in a 3D space, since your brain is already processing spatial depth.
- Lack of Triple-Flash Cadence: The display drives its 3D presentation at a 120 Hz refresh cycle (Dual Flash) rather than the premium 144 Hz (Triple Flash) standard used by high-end legacy cinema gear. That 144 Hz threshold on units like the Lumis was a massive differentiator, virtually wiping out peripheral flicker and allowing for hours of viewing without fatigue. While 120 Hz gets the job done, it can’t quite replicate the glassy smoothness of a true 144 Hz cycle.
- Missing Dedicated RF Expansion: If we are compiling a wishlist for future revisions, adding an external RF emitter port should be a priority. As solid as the DLP-Link implementation is on this machine, the technology remains inherently vulnerable to localized line-of-sight dropouts or environmental lighting interference. Incorporating a dedicated radio-frequency option would elevate a highly competent feature into a flawless, enthusiast-grade solution.
- Interpolation Gaps & Interface Hurdles: Frame interpolation (MEMC) is entirely greyed out once stereoscopic rendering begins. Calculating motion vectors across dual video streams is admittedly resource-intensive, but given the custom FPGA silicon tucked inside this chassis, leaving it out feels like underutilized hardware capacity. On top of that, the projector strips out automatic 3D flag recognition entirely — you have to go into the menu and select the layout format by hand every single time. Picture controls and laser level are locked out in 3D mode as well.
The Verdict on 3D
For a laser DLP, this is the best 3D I’ve seen. The brightness holds up at real screen sizes, sync is solid, and color accuracy in 3D is something I don’t take for granted anymore — most projectors fail badly here.
The judder problem is real and fixable. Get us native 5:5 pulldown and 144 Hz support and there’s nothing left to complain about. The hardware is already there. It just needs the firmware to catch up.
What's great
- Monolithic chassis — premium build, no flex, no creaks
- 15-element all-glass lens, 0.98–2.1× zoom — no separate long-throw lens needed
- Sharpness among the best in the 0.47″ DLP class
- Lens shift best-in-class — generous H/V range, sealed optical block
- Lens memory — functional on beta firmware
- Brightness or contrast — your choice: you can get a very bright or a very high-contrast projector, but not both at once
- ANSI contrast up to 846:1 with shifted lens — one of the best results for a DLP
- Excellent 3D — very bright, solid sync
- Effective anti-RBE Standard mode with no high-frequency whine
- Quietest projector at this brightness level — external PSU and robust cooling pay off
- Excellent DTM — screen-size/gain adjustments help dial it in for your setup
- DBLE delivers genuine dynamic contrast on suitable content — up to 3.5×
Watch out for
- Rolling buffer (hardware) — creates motion artifacts on fast edges; anti-RBE partially compensates
- Image artifacts — blocking, dithering, static contour, grayscale non-uniformity, hidden sharpening; most are firmware-fixable
- Anti-RBE Standard doesn't match firmware 1.0.56's effectiveness; Enhanced adds artifacts without improving suppression
- Game Mode needs a firmware overhaul
- DBLE too conservative — disengages at the slightest peak luminance; slow response
- White field uniformity varies heavily with zoom and iris position
Conclusion
A measurement-backed flagship
The TITAN Noir Max combines genuinely unique characteristics — from its versatile lens to a dual-iris system that substantially improves real-world contrast. A few firmware-fixable shortcomings keep it from perfection, but taken as a whole, this is one of the best home-theater projectors at its price.


