How to Connect MacBook to Projector?
By XGIMI Tech - 2023-07
Connecting your MacBook to a projector offers numerous advantages. It allows you to showcase presentations, videos, and photos on a larger screen, making it ideal for business meetings, classrooms, or events. It facilitates collaboration, enabling you to share content with a broader audience.
This blog list three methods how to connect MacBook to projector, adding versatility and convenience to your computing experience for various purposes.

How to Connect MacBook to HDMI Projector?
In today's fast-paced world, the ability to seamlessly connect your MacBook to an HDMI projector opens up a world of possibilities for presentations, entertainment, and productivity.
Here's a step-by-step guide to help you effortlessly set up the connection:
Step 1. Check Your MacBook's Ports:
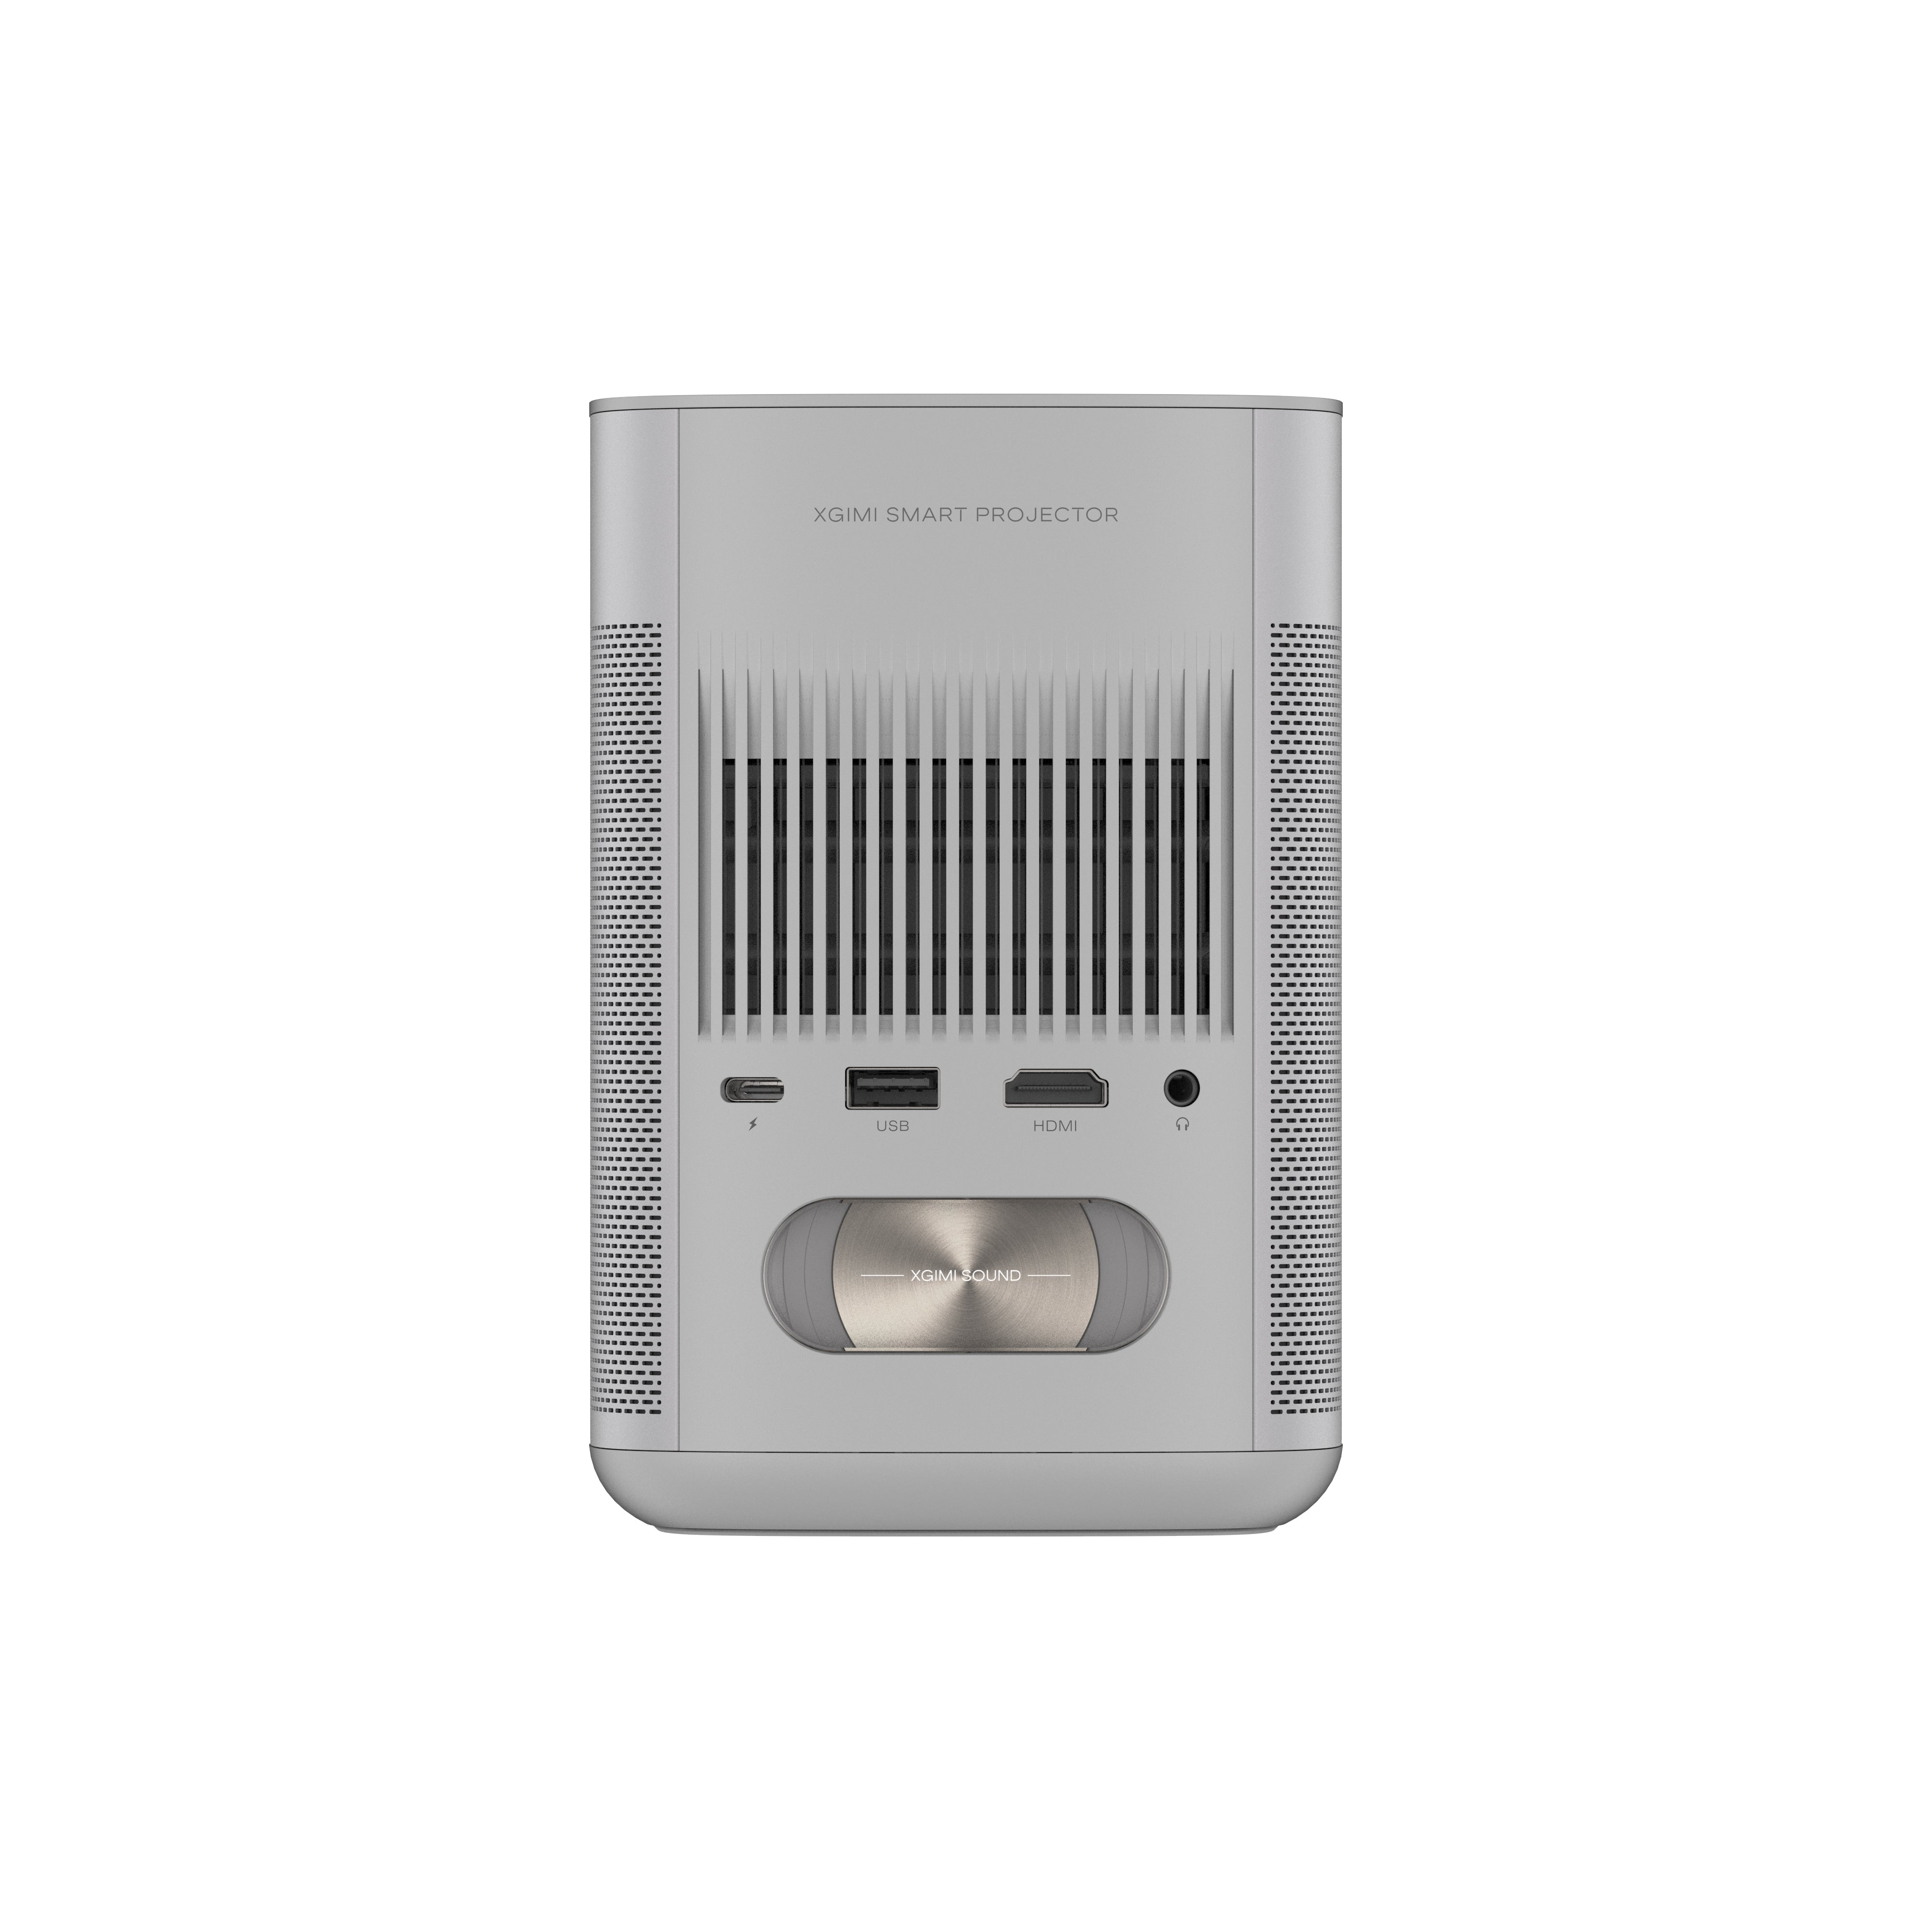
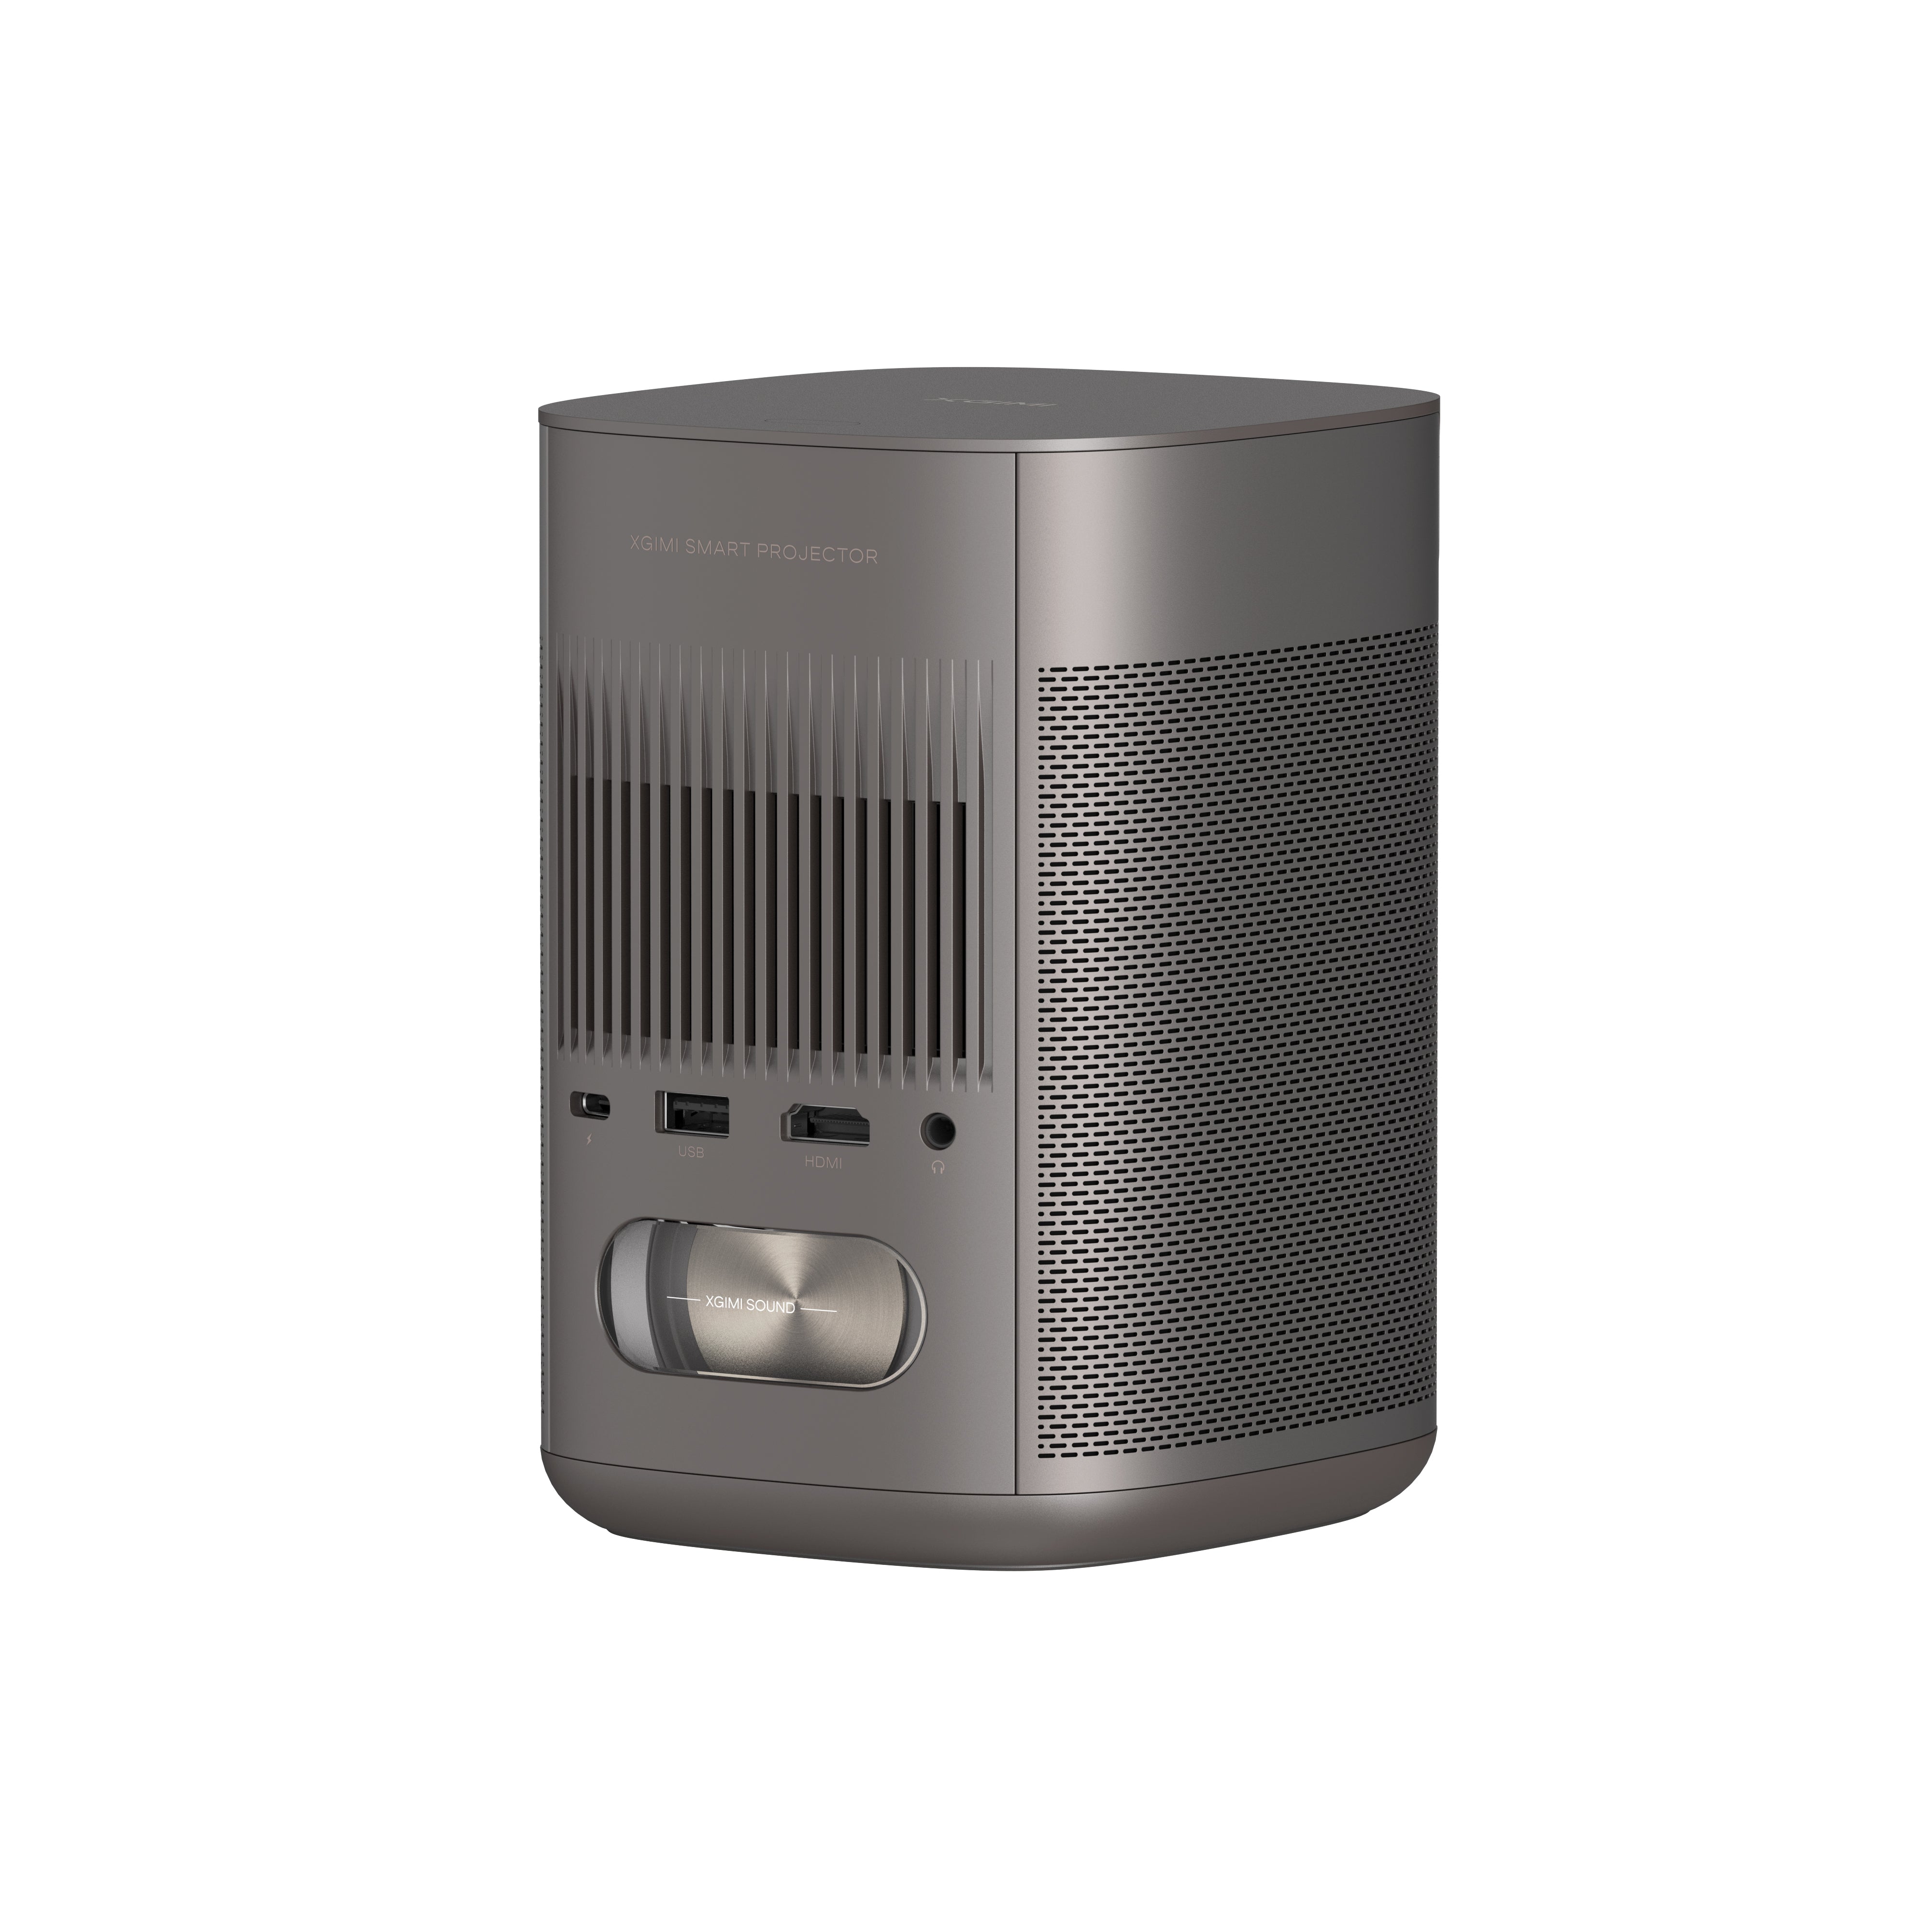
Before embarking on the connection process, familiarize yourself with the ports available on your MacBook. Newer models often feature Thunderbolt 3 / Thunderbolt 4 (USB-C) ports, which can also serve as a display output.
However, older MacBook models might have a standard HDMI port or a Mini DisplayPort, necessitating the use of a specific adapter.
Step 2. Get an HDMI Cable and an HDMI-to-USB-C Adapter:
To begin the setup, gather the necessary equipment—an HDMI cable and the appropriate adapter, if required.
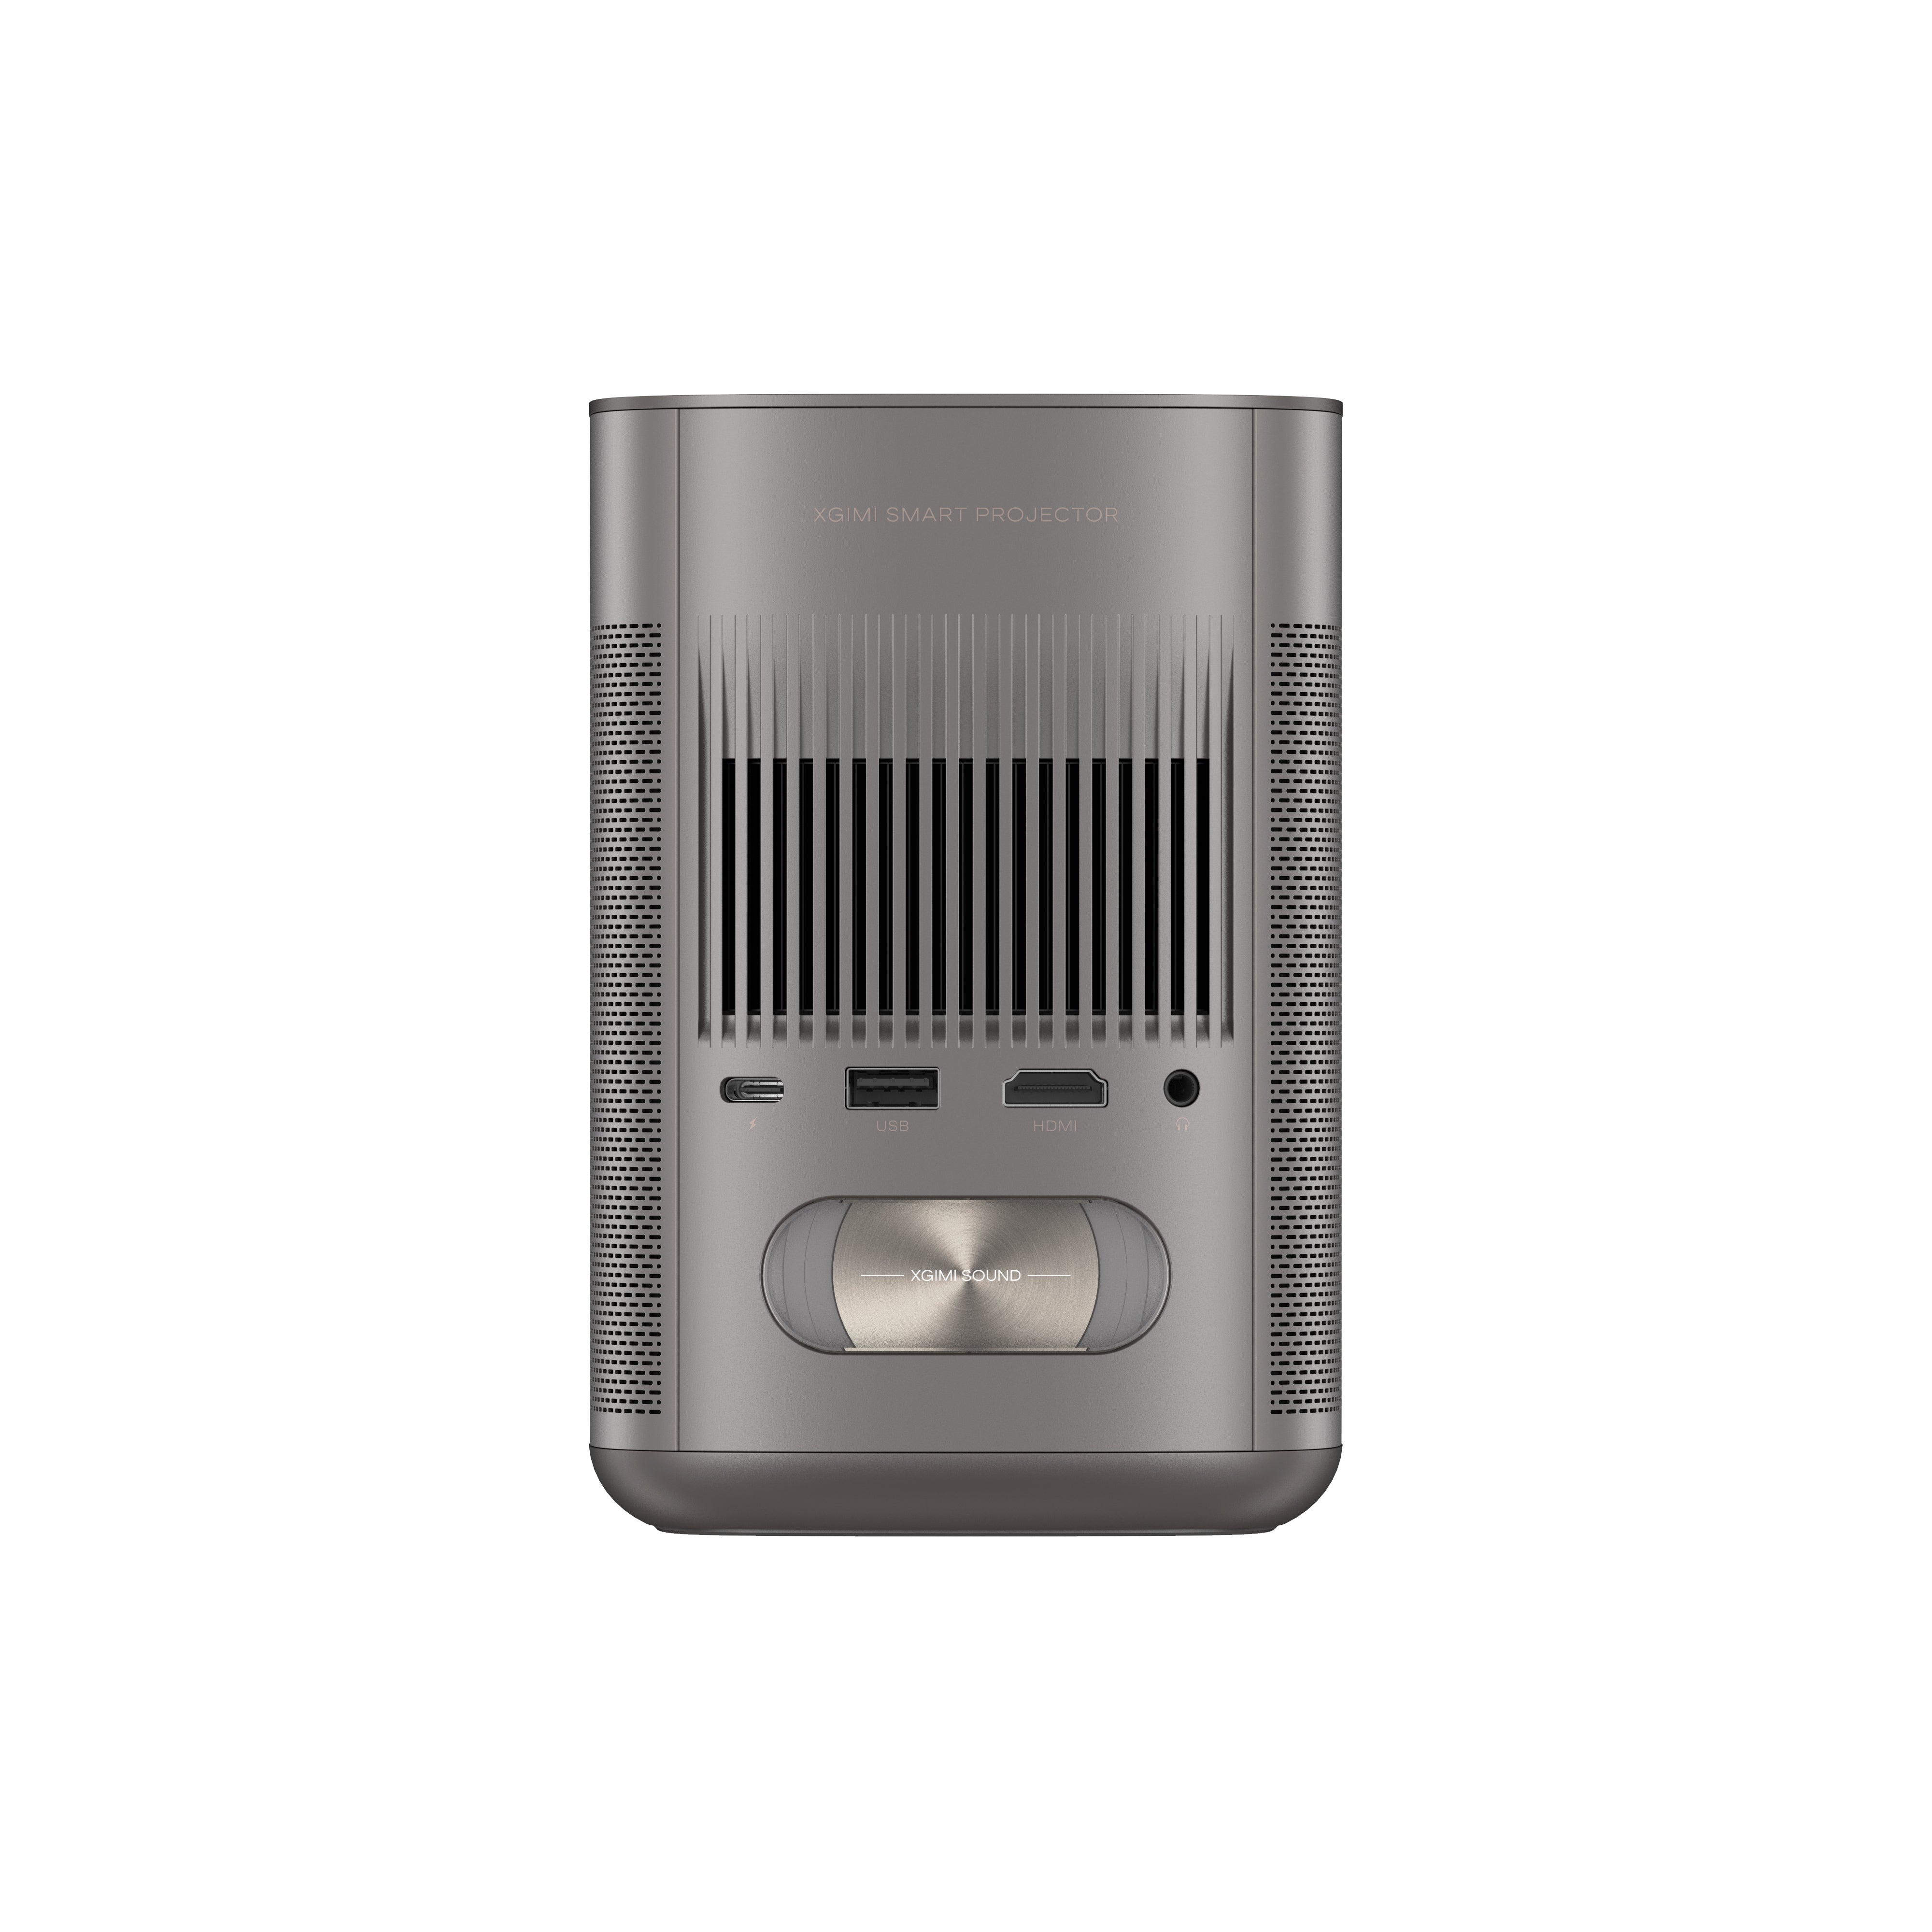
If your MacBook has a built-in HDMI port, you'll only need the HDMI cable. On the other hand, for models with Thunderbolt 3 or Mini DisplayPort, you'll need an adapter to convert the signal to HDMI.
Step 3. Connect the HDMI Cable:
Turn off both your MacBook and the projector before making any connections. Once ready, insert one end of the HDMI cable into the HDMI port on the projector and the other end into the corresponding port on your MacBook or the adapter. Ensure the connections are secure to prevent any interruptions during use.
With the HDMI cable securely connected, power on your MacBook and the projector. Allow both devices a few moments to initialize and recognize the connection.
Step 4. Configure Your MacBook's Display Settings:
In most cases, your MacBook should automatically detect the projector. If not, navigate to the "System Preferences" on your MacBook > "Displays" > "Arrangement" >
① > "Mirror Displays" to show the same content on both screens
② > "Extended Desktop" for separate content on each screen, useful for multitasking during presentations.
Congratulations! You have successfully established the connection between your MacBook and the HDMI projector, unleashing the full potential of your device on a larger screen.
How Do I Connect My Mac to a Projector with USB?
In the ever-evolving world of technology, connecting your MacBook to a projector via USB offers a convenient and straightforward alternative to traditional HDMI connections.
USB projection not only simplifies the setup process but also allows for flexibility in various settings, making it an ideal choice for both professional presentations and casual entertainment.
Let's walk through the step-by-step process to connect your Mac to a projector using a USB cable:
Step 1: Check Your Projector's USB Port
Many modern projectors come equipped with USB ports explicitly designed for connecting devices like laptops and smartphones. Ensure the USB port matches the type of USB cable you have.
Step 2: Prepare a USB-A to USB-C Cable or USB-C to USB-C Cable
To establish the connection, you'll need a compatible USB cable. Depending on the available USB ports on your MacBook and the projector, you might need a USB-C to USB-A cable or a USB-C to USB-C cable. Confirm the required cable type and have it ready for the connection.
Step 3: Connect Your MacBook to Projector
Once you have the appropriate USB cable, power off both your MacBook and the projector before making any connections. Then, plug one end of the USB cable into the USB port on your MacBook and the other end into the USB port on the projector.
Step 4: Adjust Your Display Settings
After connecting the USB cable, power on your MacBook and the projector. Your MacBook should automatically detect the projector. If not, go to "System Preferences" and set up.
How to Connect MacBook to a Projector Wirelessly?
In an era where convenience and mobility reign supreme, connecting your MacBook to a projector wirelessly offers the ultimate flexibility for presentations, media streaming, and collaborative work.
Going wireless means you can move around freely, untethered from physical cables, and seamlessly project your MacBook's screen onto a larger display.
Here's a step-by-step guide to help you achieve wireless connectivity:
1. Check Projector Compatibility:
Ensure your projector supports wireless connectivity. Most modern projectors come equipped with wireless capabilities, but it's essential to verify this feature to avoid any compatibility issues.
2. Prepare Your MacBook:
Make sure your MacBook is connected to the same Wi-Fi network as the wireless projector. A stable and reliable Wi-Fi connection is crucial for smooth wireless projection.
3. Enable AirPlay (For Apple TV):
If you have an Apple TV connected to your projector, enable AirPlay on your MacBook. To do this, click on the AirPlay icon in the menu bar (it looks like a rectangle with an arrow) and select your Apple TV from the list of available devices.
4. Use Mirroring (For Apple TV):
For screen mirroring, ensure the "Mirroring" option is enabled in the AirPlay menu. This will display your MacBook's screen on the projector in real-time.
5. Install Third-Party Apps:
If you don't have an Apple TV but your projector supports wireless projection, you can use third-party apps that facilitate screen mirroring. Apps like Reflector, AirServer, and Mirroring360 allow you to mirror your MacBook's screen to the projector via Wi-Fi.
6. Follow App Instructions:
After installing the chosen app, launch it on your MacBook and follow the on-screen instructions to connect to the wireless projector. These apps typically provide straightforward guidelines for successful wireless projection.
7. Adjust Display Settings:
Once the connection is established, you might need to adjust your MacBook's display settings to optimize the projection resolution and aspect ratio.
By following these steps, you can now enjoy the freedom of wireless connectivity, making presentations, sharing content, and collaborating with others an effortless experience. Embrace the convenience of wirelessly connecting your MacBook to a projector and take your digital interactions to the next level.
Why Is My Mac Screen Not Showing On the Projector?
When you connect your MacBook to a video projector, there might be instances when you encounter issues, and your Mac screen fails to display on the screen. Let's explore some common reasons for this problem and how to troubleshoot them:
1. Incorrect Input Selection
One of the most frequent culprits is selecting the wrong input on the projector. Ensure you have chosen the correct input source that corresponds to the port your MacBook is connected to (HDMI, USB, or wireless).
2. Connection Issues
Check the physical connections between your MacBook and the projector. If you're using cables, make sure they are securely plugged in. For wireless connections, ensure both devices are on the same Wi-Fi network and that the wireless feature is activated on your projector.
3. Display Settings
Incorrect display settings on your MacBook can prevent the screen from showing on the projector. Go to "System Preferences" on your MacBook, click on "Displays," and verify the settings, such as resolution and mirroring options, to ensure they align with your projector's requirements.
4. Mac Compatibility
Incompatibility issues between your MacBook and the projector can also lead to problems. Check the specifications of both devices to confirm they support the type of connection you are trying to establish (HDMI, USB, or wireless). Older MacBooks might require specific adapters for certain connections.
5. Faulty Hardware
Hardware malfunctions can cause the screen projection failure. Try using different cables or adapters to rule out any issues with the accessories. If possible, test your MacBook with a different projector to determine whether the problem lies with the MacBook or the projector.
Troubleshooting: Try These If You Fail to Screen Mirror Your MacBook
● Double-check the input source on the projector and choose the appropriate one for your MacBook's connection.
● Ensure all physical connections are secure and properly inserted.
● Restart both your MacBook and the projector to refresh the connections.
● For wireless connections, verify that both devices are on the same Wi-Fi network and that AirPlay or a compatible third-party app is correctly configured.
● Update your MacBook's software to the latest version, as newer updates often resolve compatibility issues.
● If using adapters, use Apple-certified ones or those from reputable manufacturers to ensure reliable connections.
● Try connecting your MacBook to a different projector or an external display to see if the issue persists, helping identify whether the problem is with the MacBook or the original projector.
● If all else fails, consider seeking technical support or assistance from Apple or the projector manufacturer.
By considering these common reasons and troubleshooting steps, you can resolve the issue of your Mac screen not showing on the projector and resume your seamless presentations or entertainment experiences.
XGIMI Projectors that Support Easy Connections to MacBook
Buy XGIMI projectors for an unparalleled entertainment experience. With stunning visuals, immersive sound, and portability, they transform any space into a captivating theater.
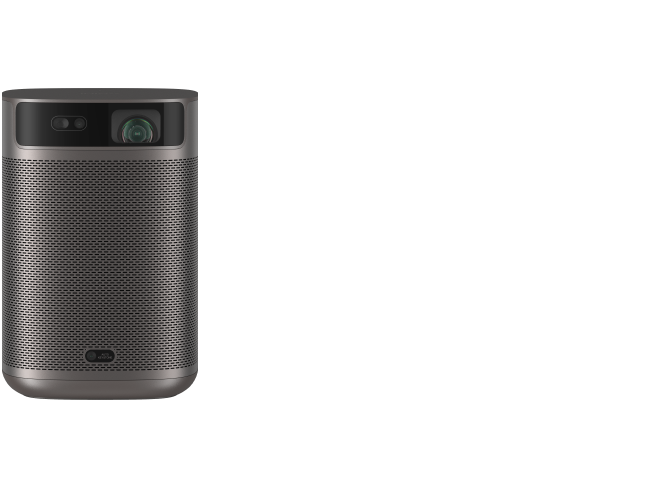
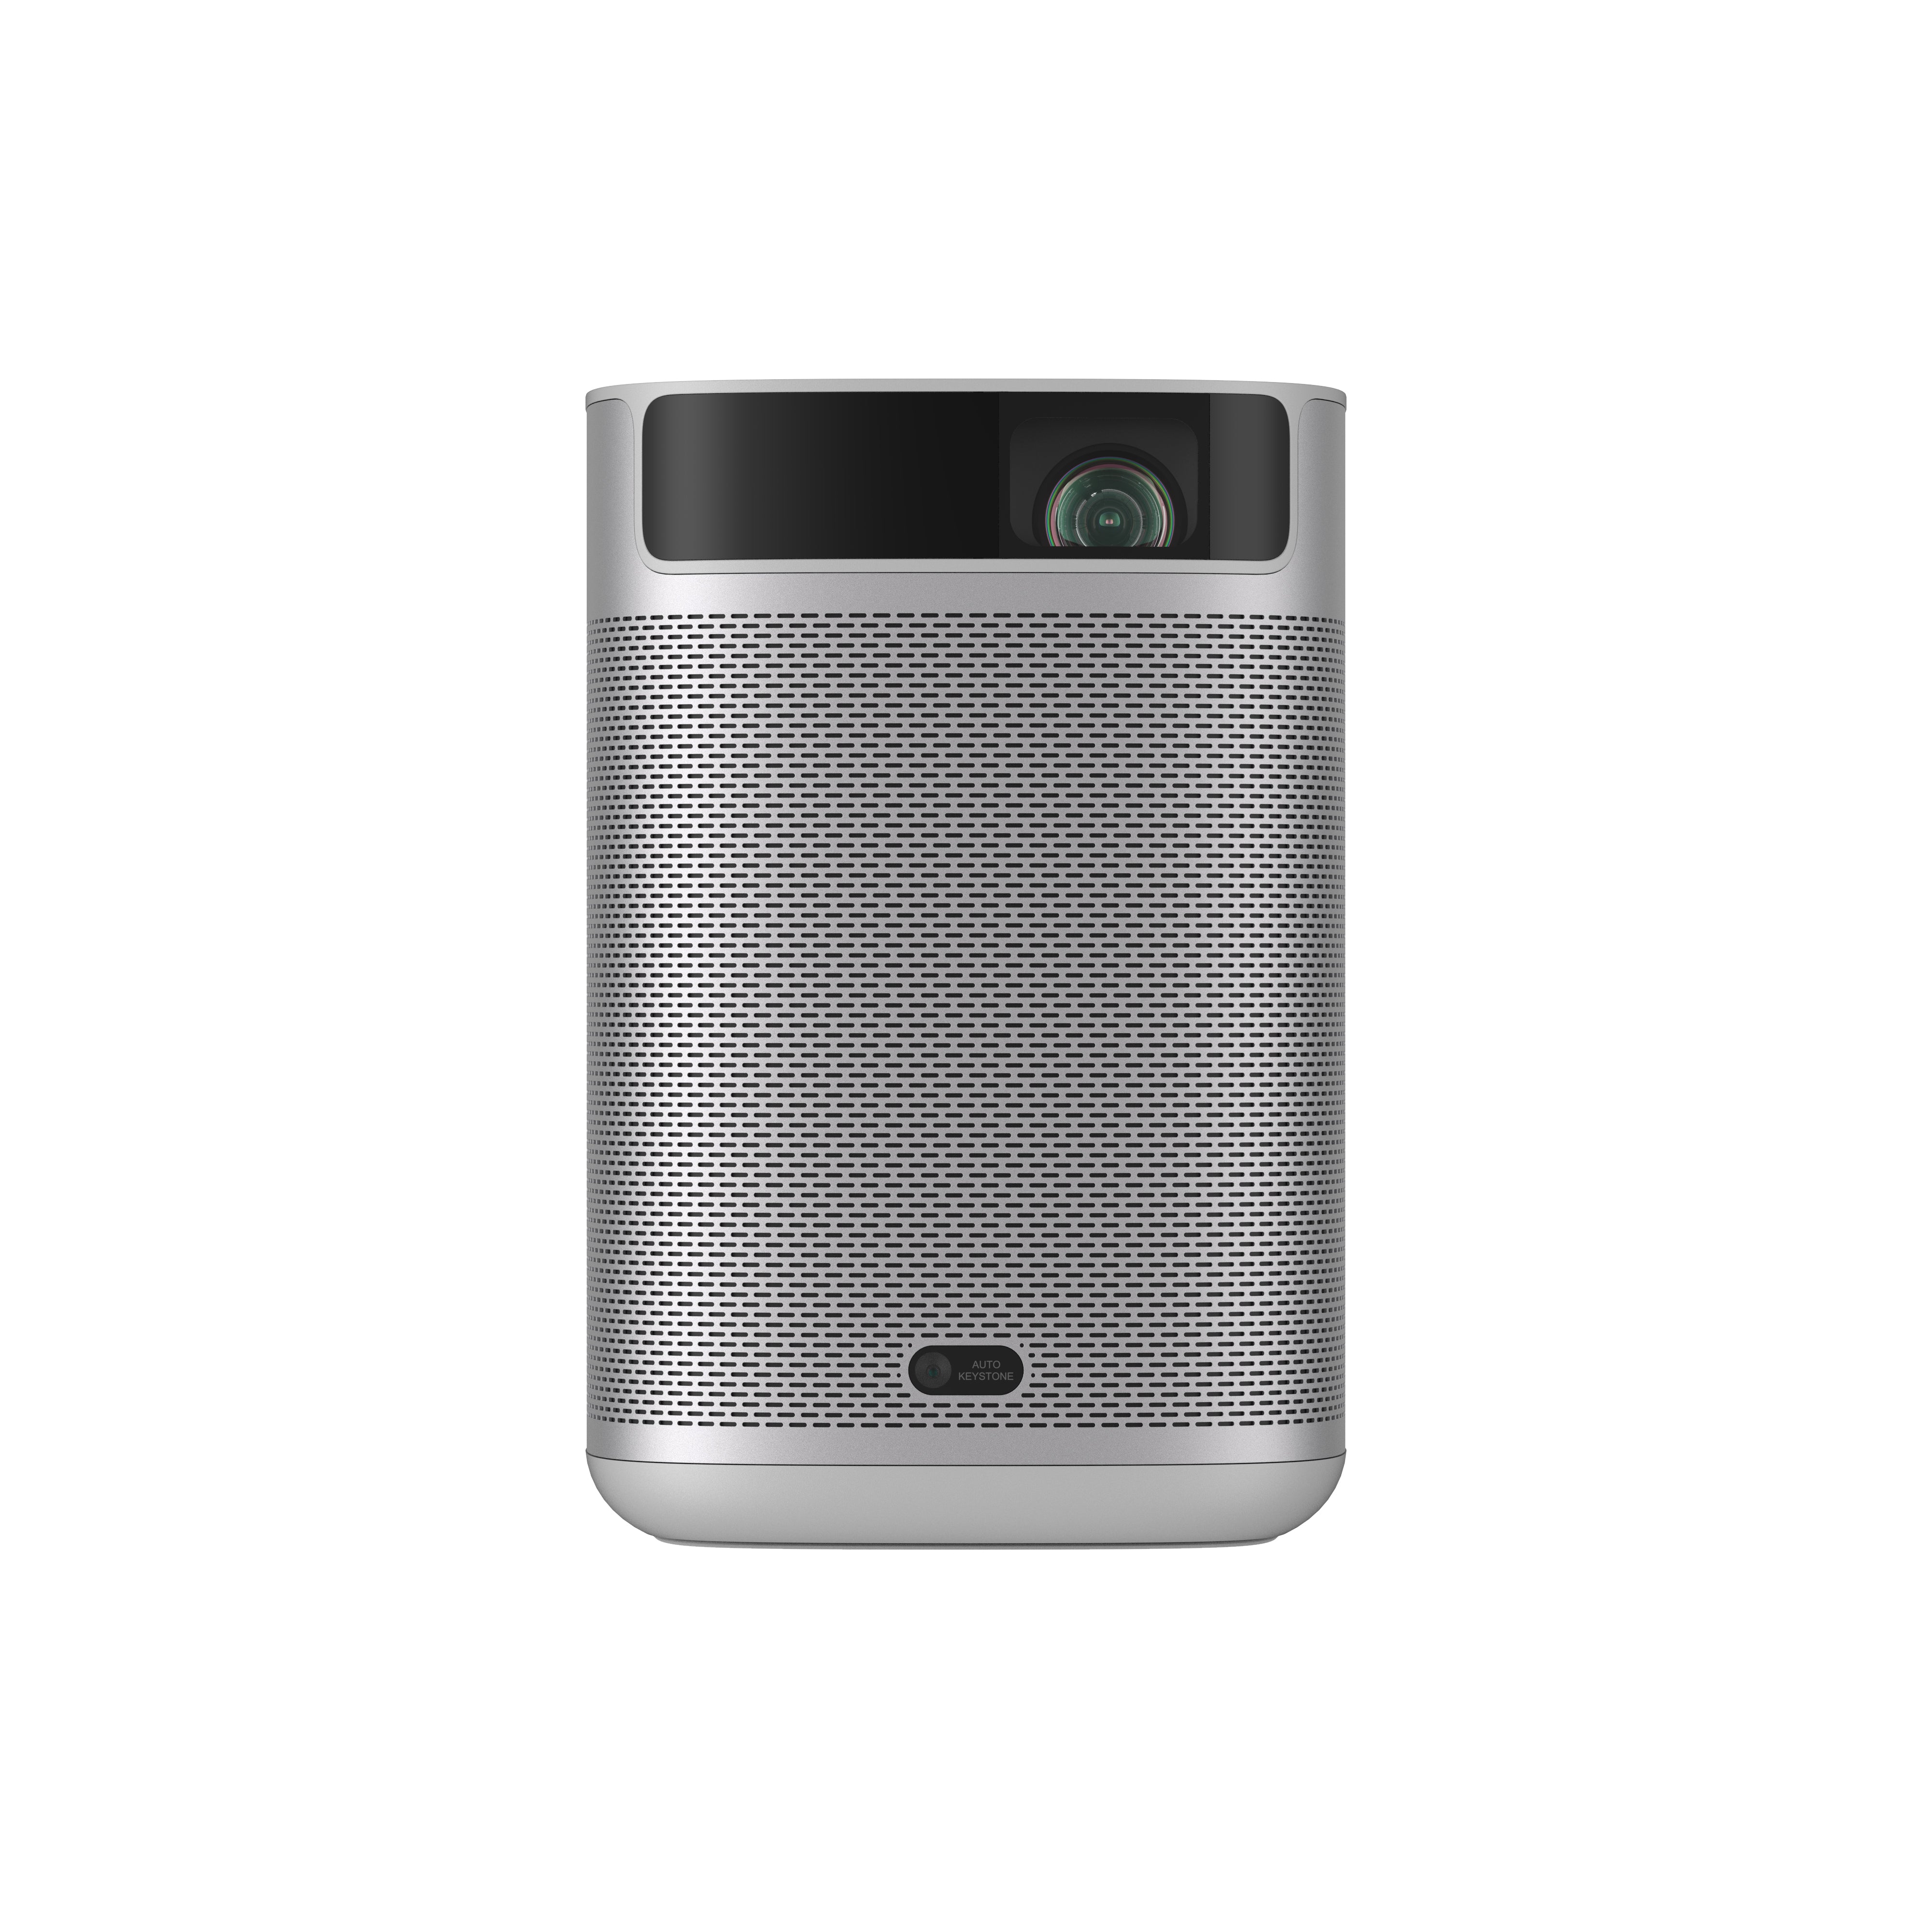
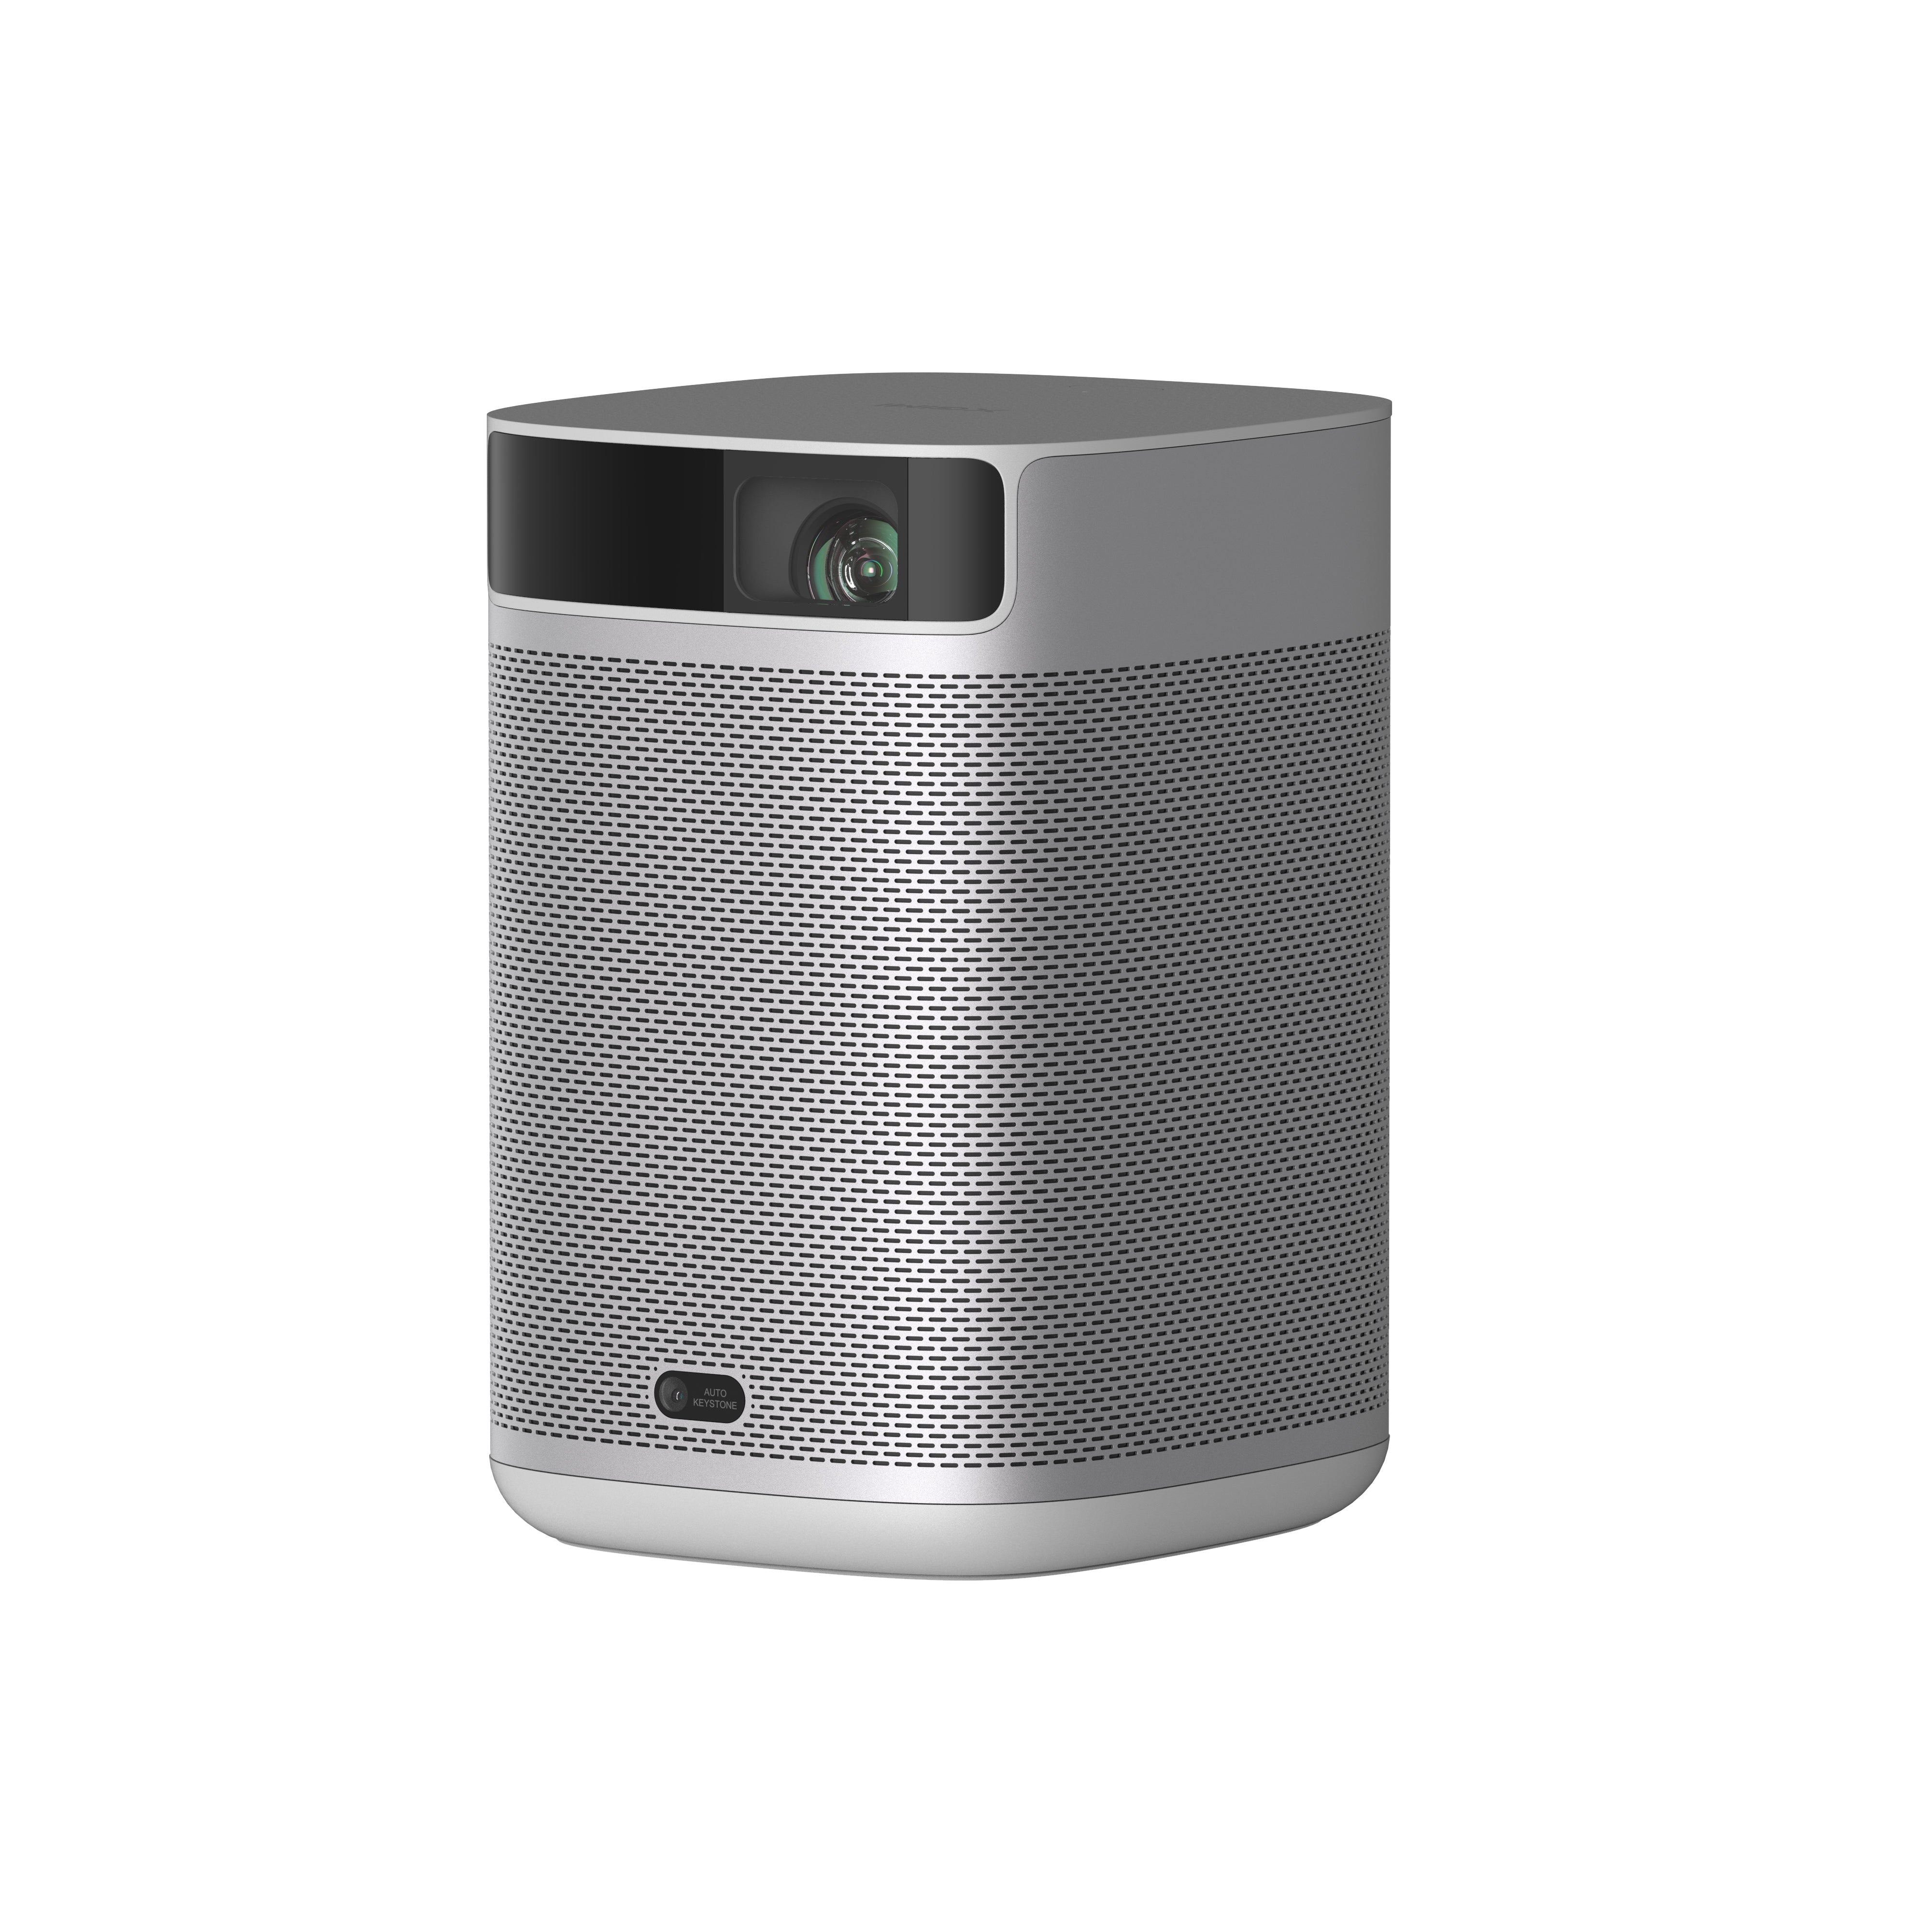
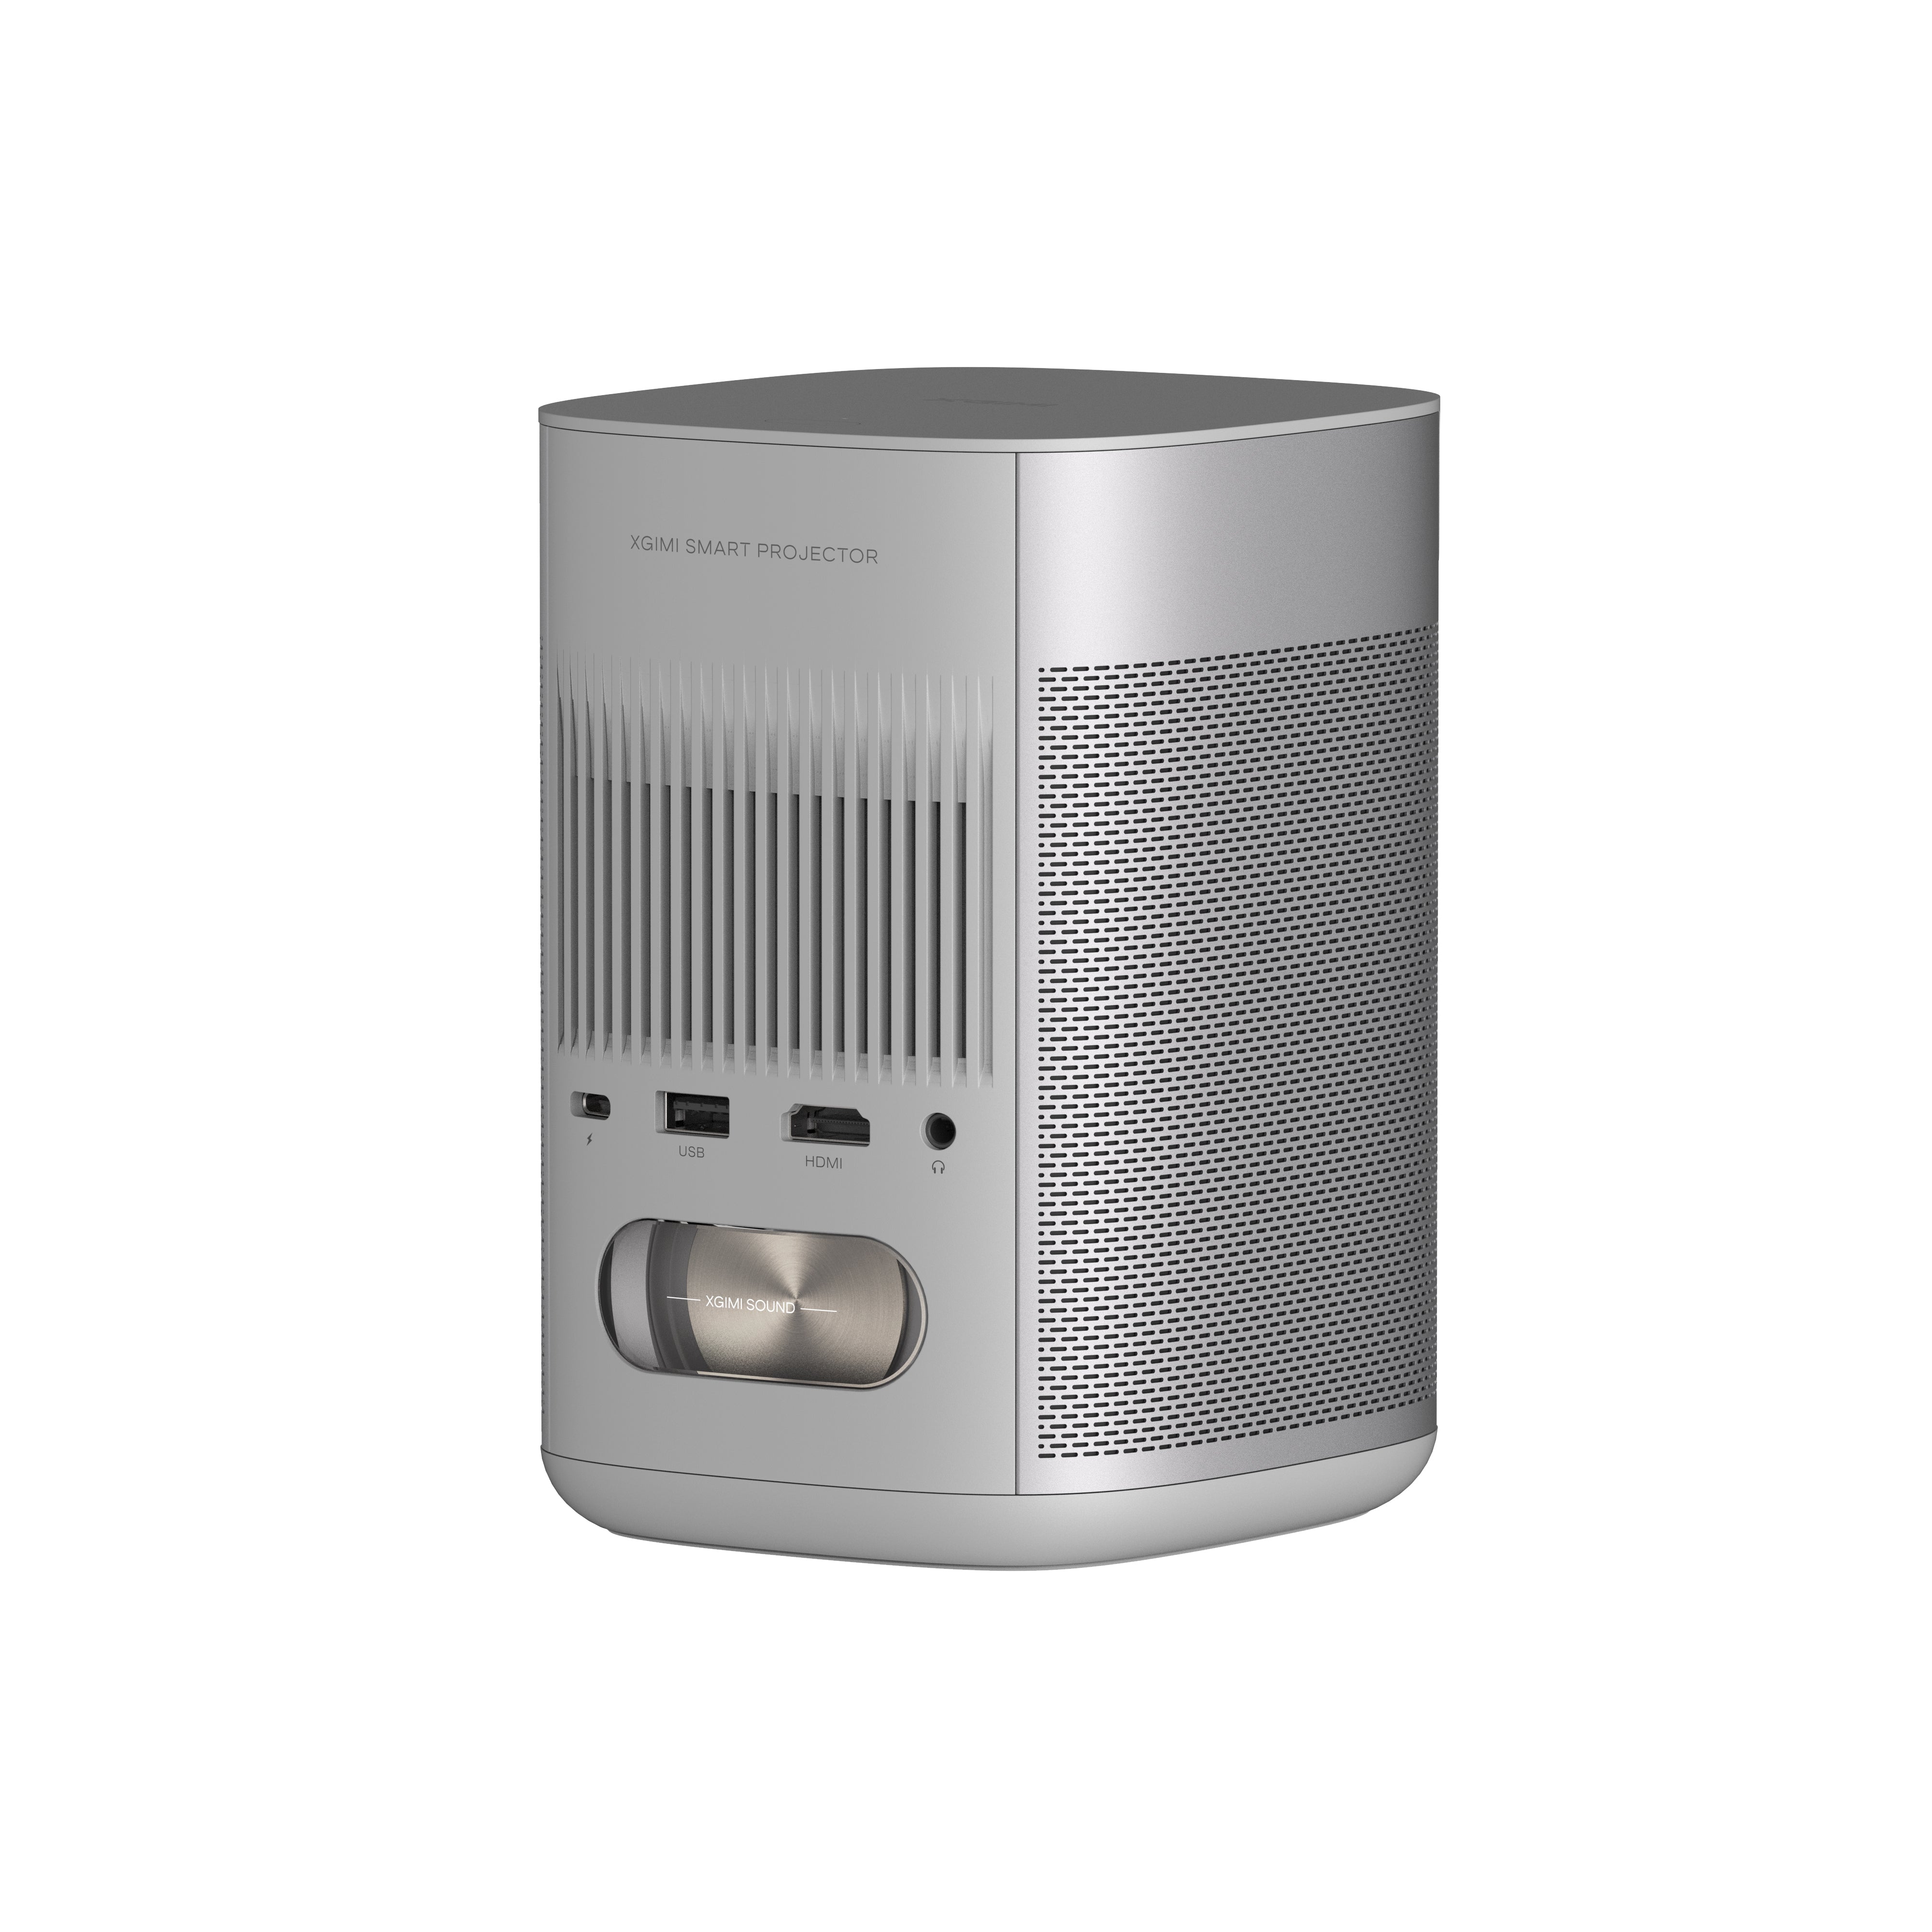
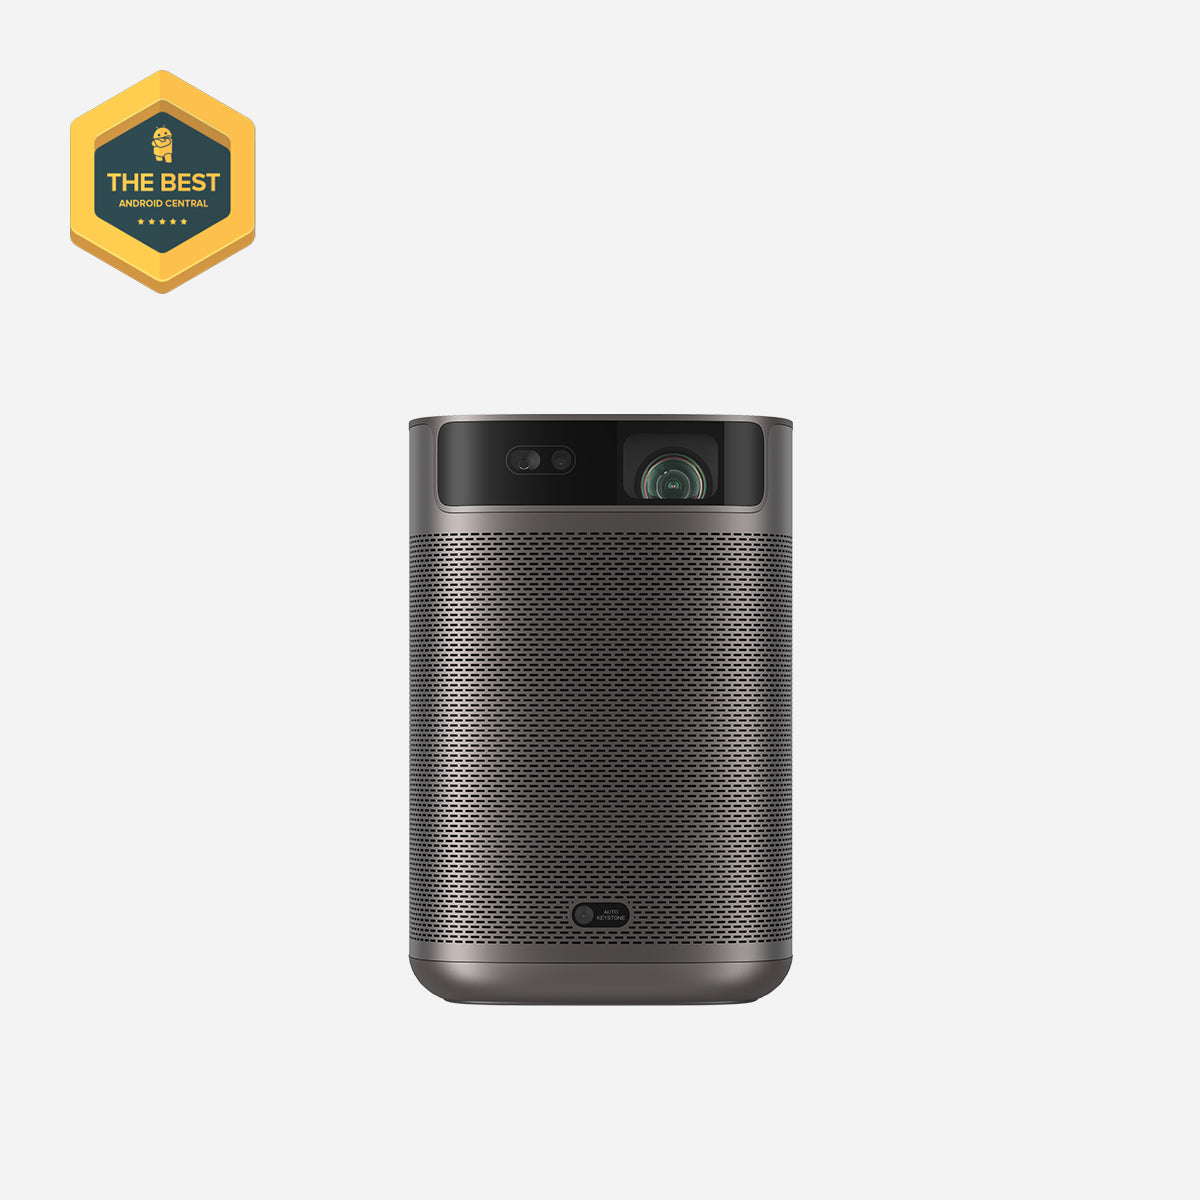
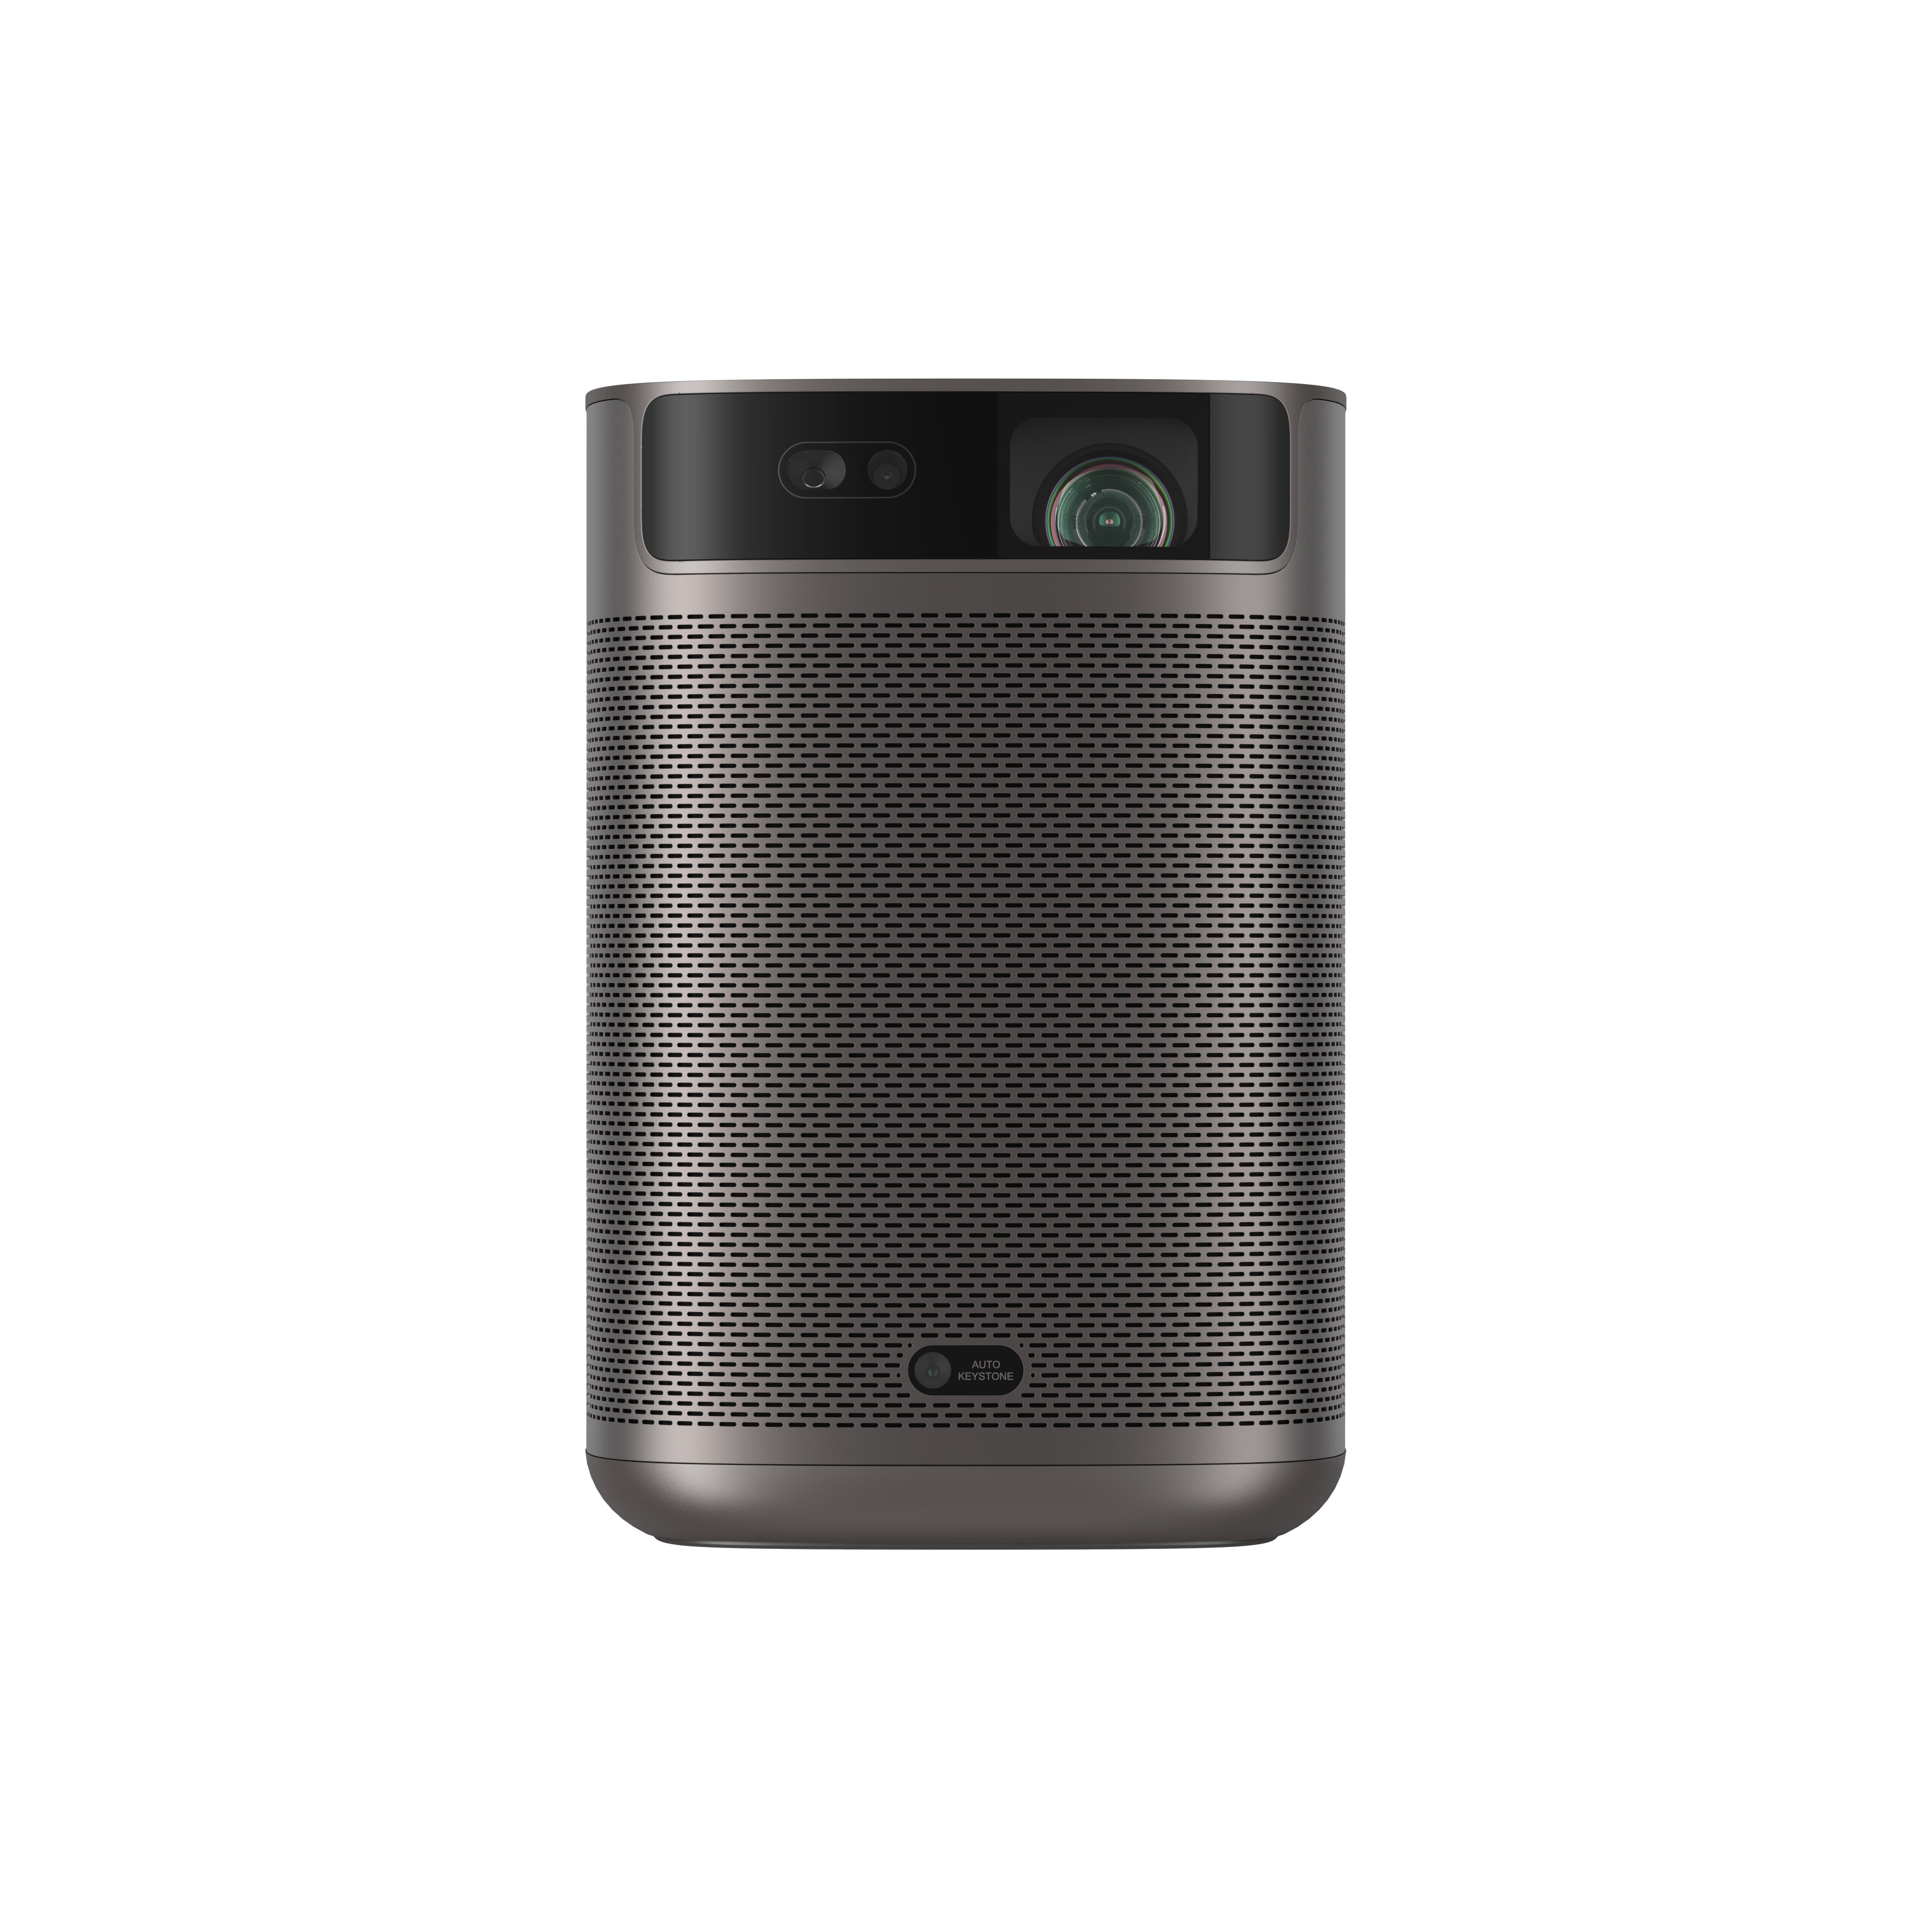
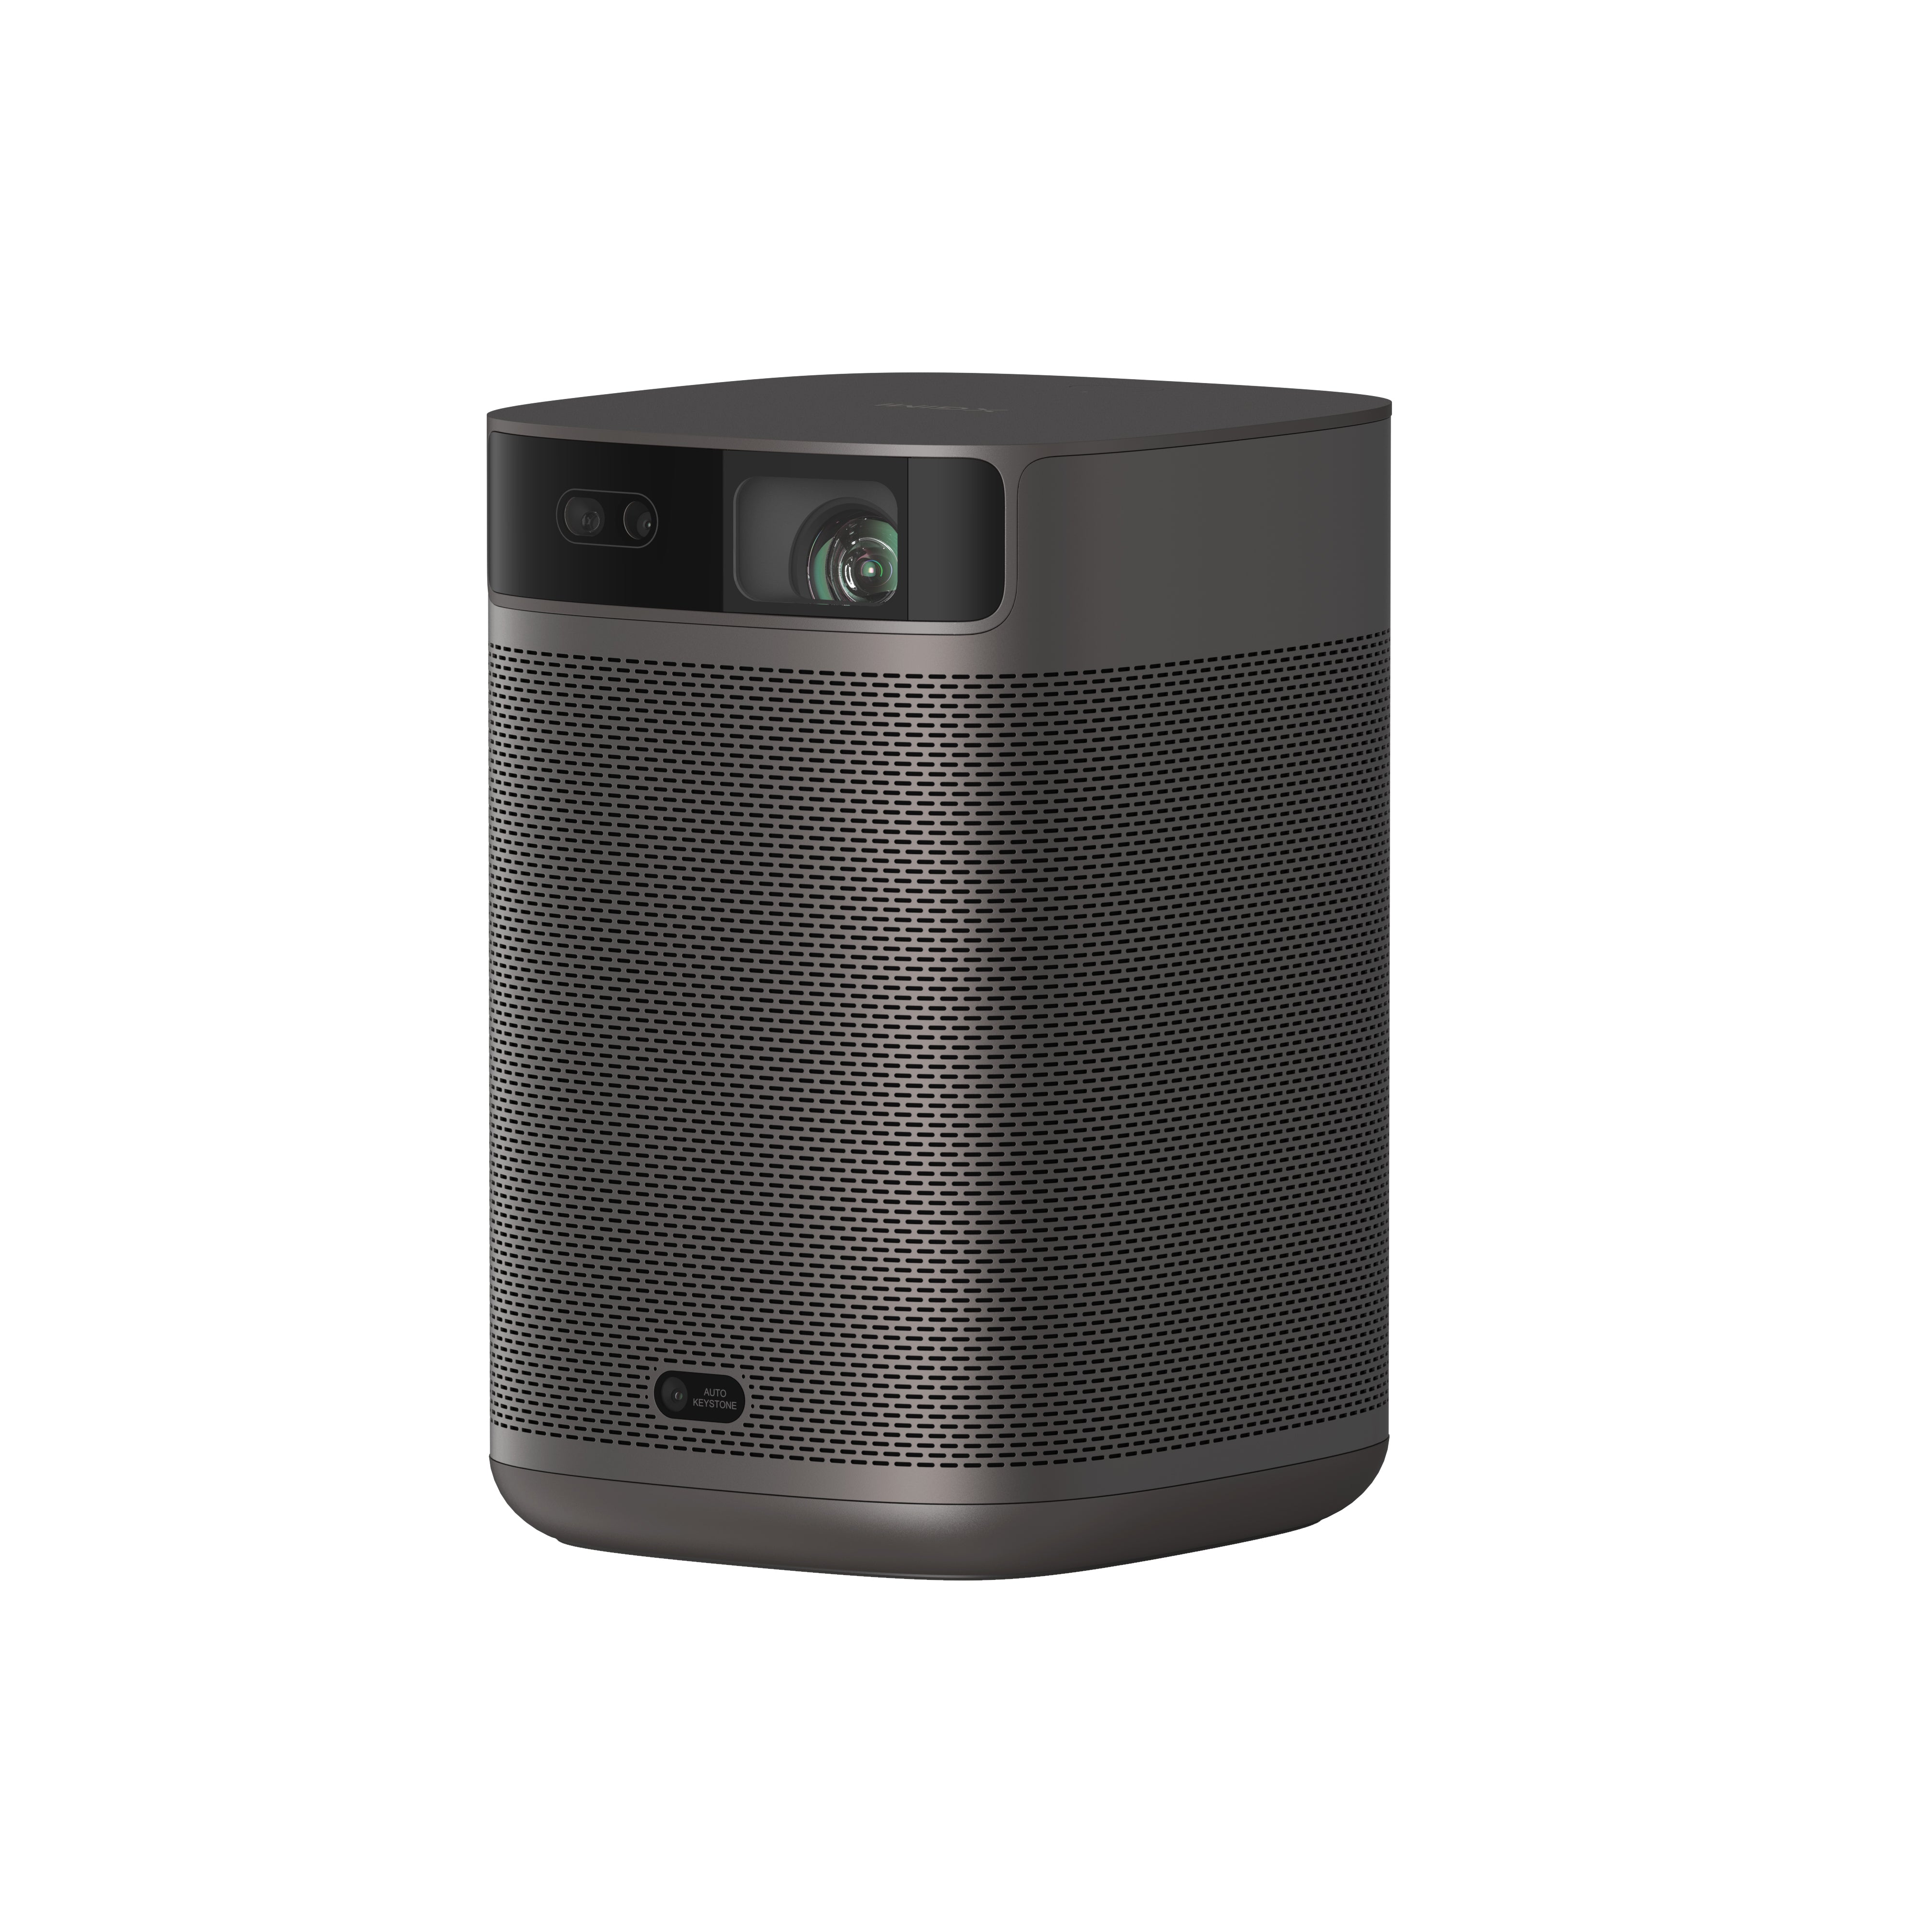
XGIMI MoGo 2 Projector
- Cinematic Visuals for Only $399: MoGo 2's 400 ISO lumens, integrated D65 color temperature standard, and 90% DCI-P3 color gamut offer a cinematic big-screen experience with bright, colorful images.
- Plug and Play: Let MoGo 2 do the work for you. With our industry-leading ISA 1.0 technology, enjoy the easiest projector setup experience.
- Movies on the Go: MoGo 2 connects to your power bank and is easy to move to different rooms or during your outdoor adventures.
- 8W Speakers with Dolby Audio: MoGo 2's built-in dual 8W speakers with Dolby Audio provide impressive sound, helping you immerse in your favorite movies, music, and more!
- Android TV 11.0, Thrilling 3D Movies at Home: MoGo 2 decodes 4K video smoothly and supports 3D content. With the upgraded Android TV 11.0, you get the ultimate user-friendly experience.
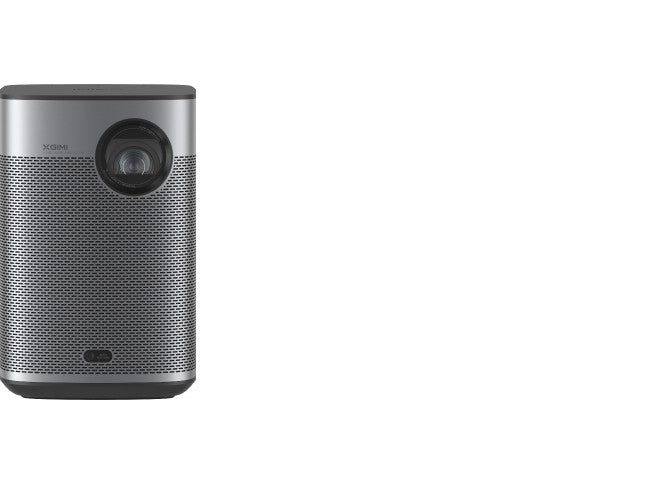
XGIMI MoGo 2 Pro Projector
- Hollywood-Standard Visuals: With 400 ISO lumens, integrated D65 color temperature standard adopted by Hollywood, and a 90% DCI-P3 color gamut, all colors are restored in brilliant, lifelike detail.
- Seamless Setup, Smart Projecting in a Snap: Our new ISA 2.0 technology ensures you never miss a moment of your favorite movies, TV shows, or games.
- 8W Speakers with Dolby Audio: MoGo 2 Pro offers a deeply immersive and cinematic audio experience thanks to its built-in dual 8W speakers with Dolby Audio.
- Smooth Android TV 11.0 and 3D Movies at Home: Decodes 4K video seamlessly and supports 3D content. Moreover, the upgraded Android TV 11.0 provides the ultimate user-friendly viewing experience.
- Movies on the Go: Easily connect MoGo 2 Pro to your power bank, allowing you to move it to different rooms or take it on your next outdoor adventure.
Conclusion
Connecting your MacBook to a projector offers diverse opportunities for presentations, entertainment, and collaboration. Though the process is usually straightforward, encountering issues that prevent the Mac screen from displaying on the projector can happen.
To troubleshoot, ensure correct input selection, check connections, adjust display settings, verify compatibility, and rule out faulty hardware.
Whether through HDMI, USB, or wirelessly, a successful connection enables seamless content sharing on a larger display, enhancing your digital interactions and empowering your MacBook as a versatile tool for communication and creativity.
Product Recommendations
Just Play,
Your Way
Google TV Smart 1080p Projector On-the-Go

Mini Size,
Maximum Entertainment

Mini Remote Control
Enjoy $10 off Your Next Purchase
Be the first to know about any news and sales!


