How to Connect Mac to Projector?
By XGIMI Tech - 2023-05
Welcome to our comprehensive guide on how to connect Mac to projector! Whether you're preparing for an important presentation, sharing media with friends, or enjoying a movie night at home, knowing how to seamlessly connect your Mac to a projector is essential.
This step-by-step tutorial will walk you through the process, ensuring you can effortlessly mirror your Mac's screen and enjoy a larger display.
We'll cover everything you need to know, from the essential equipment like a Mac to projector adapter, to the vital settings you'll need to configure on your Mac for optimal projection.

How to Connect a Mac to a Projector Using a Cable?
Connecting your Mac to a projector using a cable is a straightforward process that allows you to display your Mac's screen on a larger projection surface.
Follow these steps to set up your Mac with a projector using a cable:
1. Check Your Mac's Ports and Prepare the Compatible Cable
Start by identifying the video ports available on your Mac and the corresponding port on the projector. Ensure you have the right adapter that matches the ports on both your Mac and the projector.
● Thunderbolt 3 or 4(USB-C): All Models of the Apple Mac Series for sale now
● HDMI Output: MacBook Pro, Mac mini, Mac Studio, Mac Pro
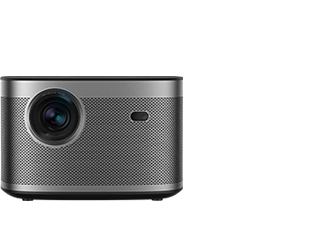
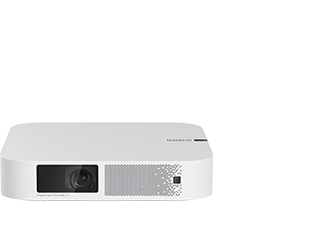
● HDMI Input: Modern Smart Projectors (XGIMI projectors have one or dual HDMI ports)
● VGA Input: Old Projector Models, High-end Business Projectors
For Macs with Thunderbolt 3 or 4 (USB-C) ports, use a USB-C to HDMI or USB-C to VGA adapter. For models with an HDMI port, connect to your smart projector using an HDMI-to-HDMI cable.
Note: For accurate and up-to-date product details, please refer to the product page.
2. Power Up the Projector:
Turn on the projector and ensure it is properly connected to a power source. If required, select the correct input source on the projector to match the port you'll be using for the connection.
3. Connect the Adapter to Your Mac and Projector
Plug one end of the adapter into the appropriate video output port on your Mac. If you're using a USB-C adapter, make sure it goes into the Thunderbolt 3 / 4 (USB-C) port.
Attach the other end of the adapter to the corresponding input port on the projector. For example, if you're using an HDMI adapter, connect it to the HDMI input on the projector.
4. Configure Mac Projector Settings:
Your Mac should automatically detect the projector. However, if the display doesn't appear on the projector, go to "System Preferences" on your Mac, then select "Displays." In the Displays settings, click the "Arrangement" tab, and ensure the "Mirror Displays" option is checked to enable screen mirroring.
5. Adjust Resolution and Display Preferences:
In the same "Displays" settings, you can adjust the resolution and other display preferences to optimize the projection. Make sure to select the appropriate resolution that matches the projector's capabilities for the best image quality.
With everything set up, play a video, open a presentation, or share any content on your Mac to test the connection. It should now appear on the projected screen.
By following these steps and using the right Mac to projector adapter, you can easily connect your Mac to a projector using a cable. This connection method is perfect for business presentations, educational purposes, or enjoying media with a larger audience on a projector's screen.
How to Connect a Mac to a Projector Wirelessly (With or Without Wi-Fi)?
Connecting your Mac to a projector wirelessly provides the flexibility to present and share content without the constraints of cables. You can achieve this through Wi-Fi or using specific technologies like AirPlay or Miracast.
Follow these steps to connect your Mac to a projector wirelessly:
Method 1: Using Wi-Fi
1. Ensure both your Mac and the projector support Wi-Fi connectivity: Some projectors come with built-in Wi-Fi capabilities, while others may require a separate wireless adapter.
2. Connect Your Projector and Mac to the Same Wi-Fi:. Refer to the projector's manual for instructions on how to do this.
3. Open Mirror Displays on Mac: On your Mac, go to "System Preferences," then select "Displays." Click the "Arrangement" tab and ensure the "Mirror Displays" option is checked to enable screen mirroring.
4. Adjust Display Preferences: In the "Displays" settings, you can adjust the resolution and other display preferences to optimize the projection for the best visual experience.
Now that both devices are on the same Wi-Fi network and screen mirroring is enabled, your Mac should automatically detect the projector. The projected display should appear on the projector screen.
Method 2: Using AirPlay (For Apple TV or AirPlay-compatible Projectors)
1. Connect the Apple TV to the projector via HDMI: Ensure your projector is either an Apple TV or has built-in AirPlay compatibility. Make sure both the Apple TV and your Mac are connected to the same Wi-Fi network.
2. Enable AirPlay on Mac: On your Mac, click the AirPlay icon in the menu bar (a rectangle with an arrow). Select your Apple TV or AirPlay-compatible projector from the drop-down menu.
3. AirPlay Mirroring: Toggle on the "Mirroring" option from the menu to enable screen mirroring. Your Mac's display should now appear on the projector screen.
4. Adjust Settings (Optional): If needed, you can access "Displays" settings in "System Preferences" to adjust the resolution and other display preferences.
Method 3: Using Miracast (For Miracast-compatible Projectors)
1. Check Miracast Support: Verify that your projector supports Miracast. If not, you may need to use a Miracast adapter that plugs into the projector's HDMI port.
2. Connect Miracast Adapter: Connect the Miracast adapter to the projector's HDMI port, and ensure it is powered on.
3. Enable Screen Mirroring: On your Mac, go to "System Preferences," then select "Displays." Click the "Arrangement" tab and check the "Mirror Displays" option.
4. Start Mirroring: Your Mac should detect the Miracast adapter or Miracast-compatible projector. Select it from the available devices, and your Mac's display will be wirelessly mirrored on the projector screen.
5. Adjust Settings (Optional): If required, access "Displays" settings in "System Preferences" to optimize the resolution and display preferences for the best projection quality.
Further Reading: How to Connect Chromebook to Projector?
Tips to Optimize Your Mac’s Display for Projector Presentations
Presenting from your Mac through a projector requires more than just plugging in a cable. By properly configuring your display settings and understanding macOS's presentation features, you can eliminate technical hiccups and deliver seamless, polished presentations that keep your audience engaged.

1. Exploring Presentation Apps and Software on macOS
macOS offers a variety of powerful presentation apps and software that can enhance your presentation experience. The most prominent application for creating and delivering presentations on Mac is Apple's Keynote. Here's how to get started:
● Create a Presentation: Launch Keynote and start a new presentation. Choose a theme or customize the design according to your preferences.
● Add Content: Use the intuitive interface to add text, images, videos, charts, and other multimedia elements to your slides. Arrange them in a visually appealing manner.
● Rehearse Your Presentation: Keynote allows you to rehearse timings, which can be helpful during live presentations. It ensures smooth transitions between slides and helps you pace your speech.
● Presenter Notes: Utilize the presenter notes section to include additional information, reminders, or cues that only you can see while presenting.
● Presenter Display: When you connect your Mac to a projector, Keynote offers a "Presenter Display" mode. This mode shows your current slide, next slide, presenter notes, and a timer, helping you stay on track during your presentation while your audience sees only the slides.
2. Taking Advantage of macOS Tools for Annotations and Highlighting
When presenting on macOS, you can use built-in tools to annotate and highlight content directly on your slides. Here's how:
● Annotations with Preview: Open your presentation in Preview (macOS's default PDF viewer). Click on the "Markup Toolbar" to access tools like text box, shapes, and drawing tools. Annotate and highlight content as needed.
● Screen Capture Annotations: Use the macOS "Screenshot" tool (Shift + Command + 4) to take screenshots during your presentation. Before capturing, press the Spacebar to switch to "Window Capture" mode, allowing you to annotate specific windows or elements.
3. Utilizing Presenter Tools and Features (such as Keynote)
Keynote, being a powerful presentation software, provides several built-in features to enhance your performance as a presenter:
● Presenter View: When your Mac is connected to a projector, Keynote's "Presenter View" allows you to see your current and upcoming slides, presenter notes, and a timer on your Mac screen. This setup enables you to maintain a smooth flow throughout your presentation while keeping your audience engaged.
● Magic Move: This Keynote feature enables seamless transitions between slides, creating an elegant and dynamic effect during your presentation.
● Interactive Charts: Keynote's interactive charts let you add charts and graphs that can be manipulated during the presentation, making data-driven points more engaging.
● Animations and Builds: Use Keynote's animations and build effects to reveal content gradually, keeping your audience focused and interested.
● Keynote Remote: If you have an iPhone or iPad, you can use the Keynote Remote app to control your presentation wirelessly, moving to the next slide or accessing presenter notes without being tied to your Mac.
By leveraging these macOS features, presentation apps like Keynote, and the various tools available, you can elevate your presentation skills and deliver engaging and impactful content to your audience. Remember to use the earlier steps on connecting your Mac to a projector and configuring settings to ensure a seamless presentation experience.
Connect Mac to XGIMI Projectors for Various Applications
Immerse yourself in stunning visuals and crystal-clear audio with XGIMI projectors:
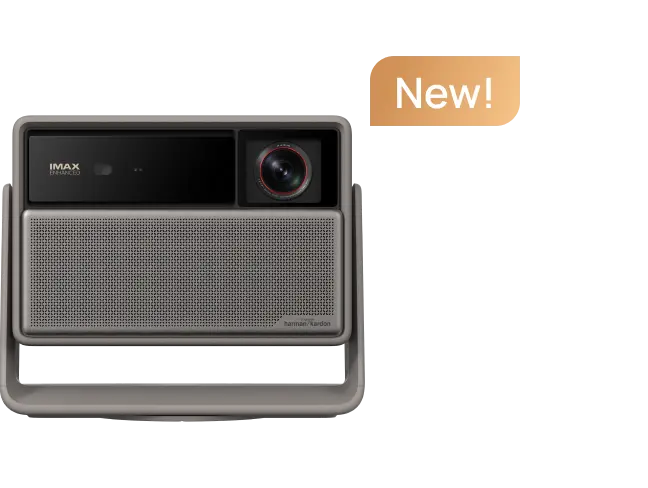
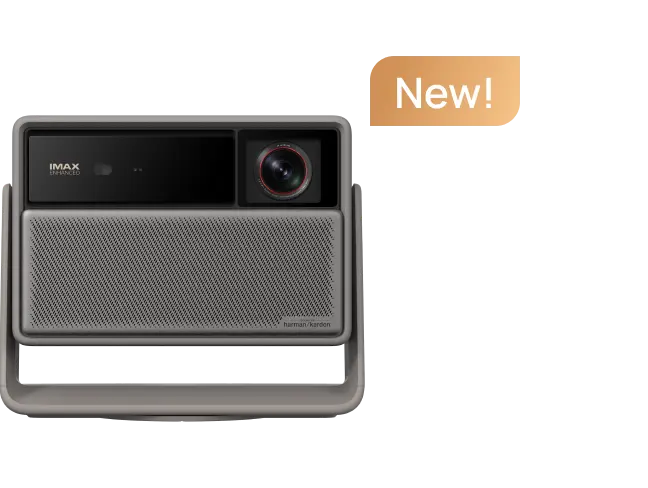
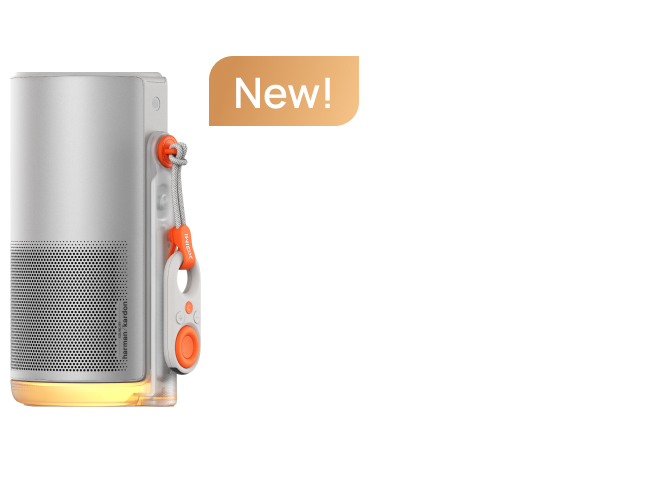
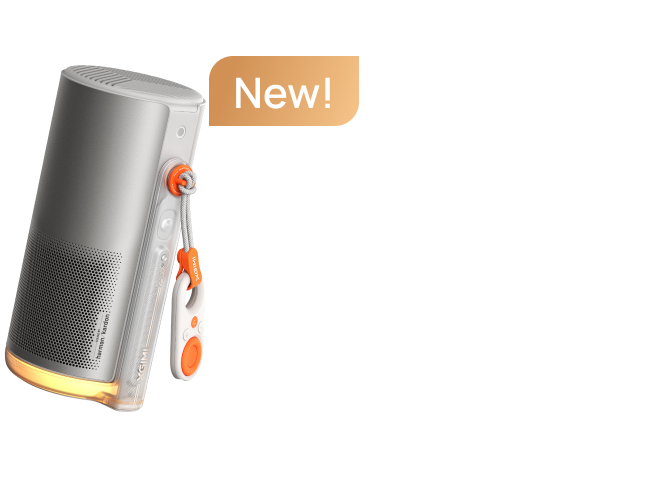
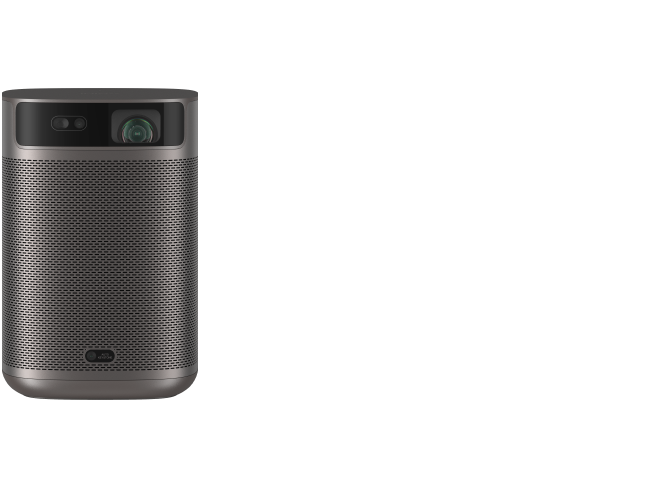
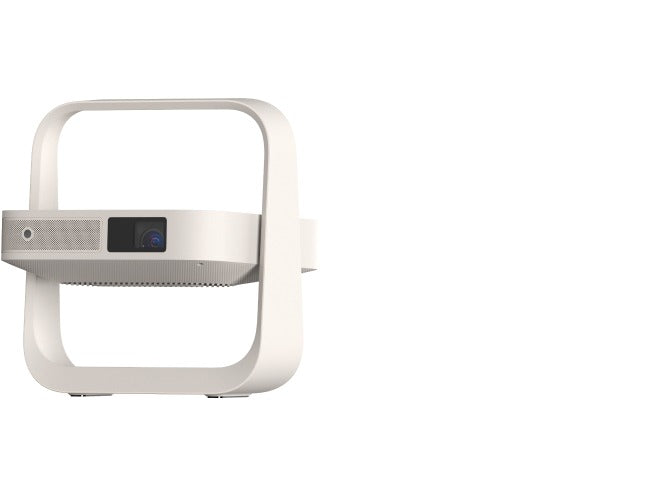
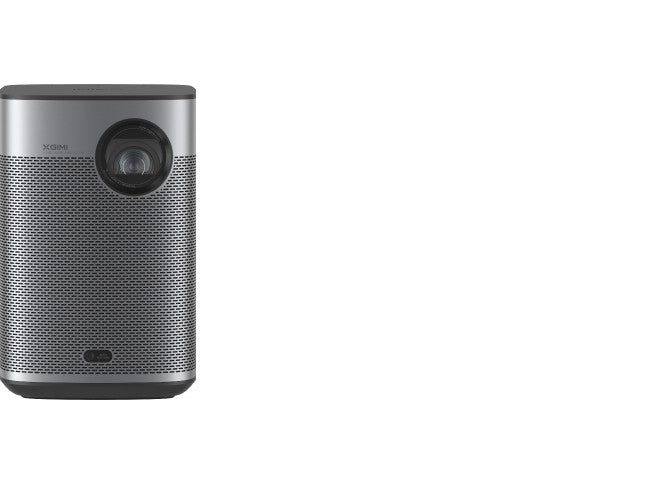
1. XGIMI MoGo 3 Pro Portable Projector with HDMI for Business Trip
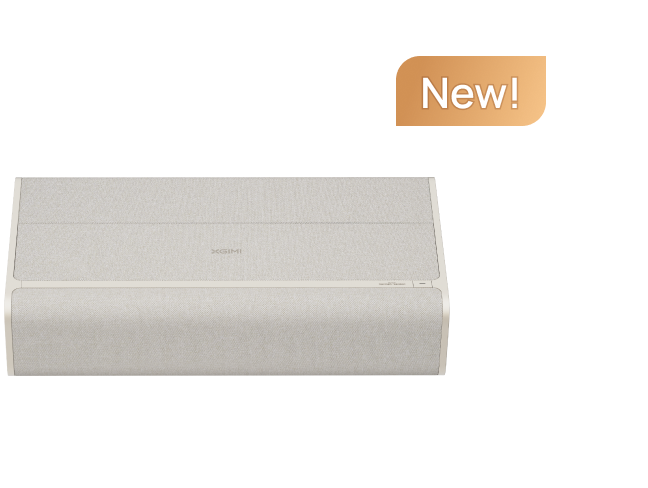
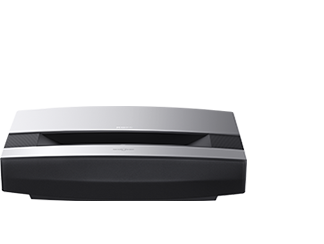
2. XGIMI AURA 2 Ultra Short Throw Projector 4K for Big Conference Room
Conclusion
Whether connecting Mac to projector via cables or wirelessly, these tools and techniques elevate your presentation experience, leaving a lasting impact on your viewers. Embrace the power of your Mac, and let your presentations shine with professionalism and innovation.
Harnessing the full potential of macOS for presentations empowers you to deliver captivating and seamless displays to your audience. Utilize presentation apps like Keynote for creative content, employ macOS tools for annotations, and take advantage of presenter features to enhance your performance.
Product Recommendations
Just Play,
Your Way
Google TV Smart 1080p Projector On-the-Go

Mini Size,
Maximum Entertainment

Mini Remote Control
Enjoy $10 off Your Next Purchase
Be the first to know about any news and sales!


