How to Connect Computer to projector?
By XGIMI Tech - 2023-08
Most projectors, including the XGIMI projectors, offer a wide range of connection options, from HDMI and USB-C to wireless access via Wi-Fi or Bluetooth. This makes it easy for users to connect their computers, tablets, smartphones, gaming consoles, and more.
Although having several options to view your favorite computer content sounds nice, it can also be a bit confusing when attempting to connect. So, in this article, we'll provide the most common connection options and explain how to connect computer to projector.

What Do I Need to Connect My Projector?
To connect your computer to a projector, you'll need a few key items. First, check what ports are available on both devices—common connections include HDMI, VGA, DisplayPort, USB, or wireless options. For wired setups, choose a compatible cable based on the ports you have.
It's also important to check the availability of connections on your computer and projector. An adapter may be needed if your computer and projector have different connectors.
Basic Hardware Checklist:
● Laptop or desktop computer
● A Smart Projector
● Appropriate connection cable (HDMI, USB, DisplayPort, etc.)
● Adapters (if necess
How to Connect Projector to Computer? 7 Methods Explained
There are several ways to connect a computer to a projector. Below are the most common methods along with easy steps to get you up and running.
Method 1: VGA (Video Graphics Array)
● Plug one end of a VGA cable into your computer and the other into your projector.
● Turn on both devices.
● Set the projector’s input source to VGA.
● On your computer, go to display settings and adjust resolution if needed.
● Play a file to confirm the connection and adjust projector settings (brightness, contrast) for the ideal image.
Method 2: HDMI
● Connect both devices (computer/laptop & projector) with a high-quality HDMI cable.
● Turn on both devices.
● Choose the HDMI input on the projector.
● Go to your computer's display settings and choose duplicate or extend display mode.
● Open any content to test.
Method 3: DisplayPort
● Use a DisplayPort cable to connect the computer and projector.
● Power on both devices.
● Select DisplayPort (DP) as the projector input.
● Adjust display settings on your computer.
● Test the connection by playing a video or running a file.
Method 4: DVI (Digital Visual Interface)
● Get a DVI-D or DVI-I cable that matches your ports.
● Connect both devices while powered off.
● Turn them on and set the projector input to DVI.
● Configure your computer's display settings if needed.
Method 5: Wireless (Wi-Fi or Bluetooth)
● Ensure both devices support wireless connections and are on the same Wi-Fi network.
● Turn on Wi-Fi/Bluetooth on your computer and projector.
● Search for available devices on your computer and select your projector.
● Follow any prompts to confirm pairing.
● Choose to duplicate or extend your screen, then play a file to test.
Method 6: USB-C or Thunderbolt
● Use a USB-C or Thunderbolt cable to connect both devices.
● Turn on the projector and select the correct input source.
● On your computer, go to display settings and choose video output to the projector.
● Open a file to test the connection.
Method 7: Using an Adapter or Converter
● Identify the available ports on both devices.
● Choose the appropriate adapter or converter (e.g., USB-C to HDMI).
● Connect the adapter between your computer and projector.
● Turn on both devices and select the matching input.
● Adjust your computer’s display settings and test the connection.
Further Reading: How to Connect Phone to Projector?
When to Connect a Computer to a Projector?
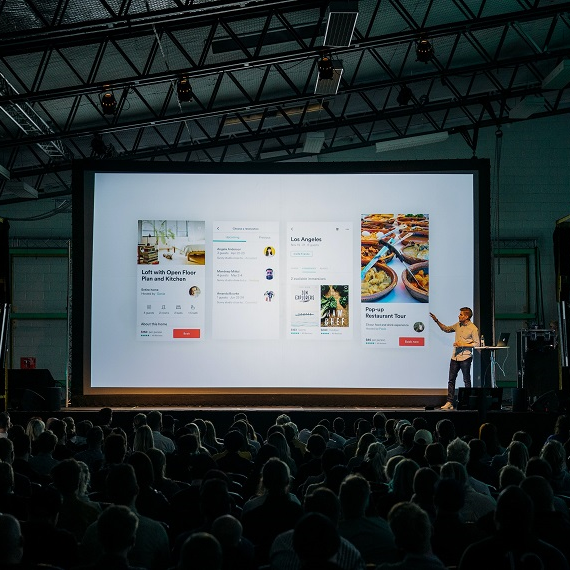
Hooking up your computer to a projector is not just limited to the classroom anymore. Whether you’re running a training session, giving a business pitch, or hosting a movie night, connecting your device to a projector takes your content to the next level.
It lets you share slides, videos, graphics, and more on an enormous screen, making everything easier to see and way more impactful. Creatives and artists can also showcase visuals on a grand scale during exhibitions for truly immersive viewing.
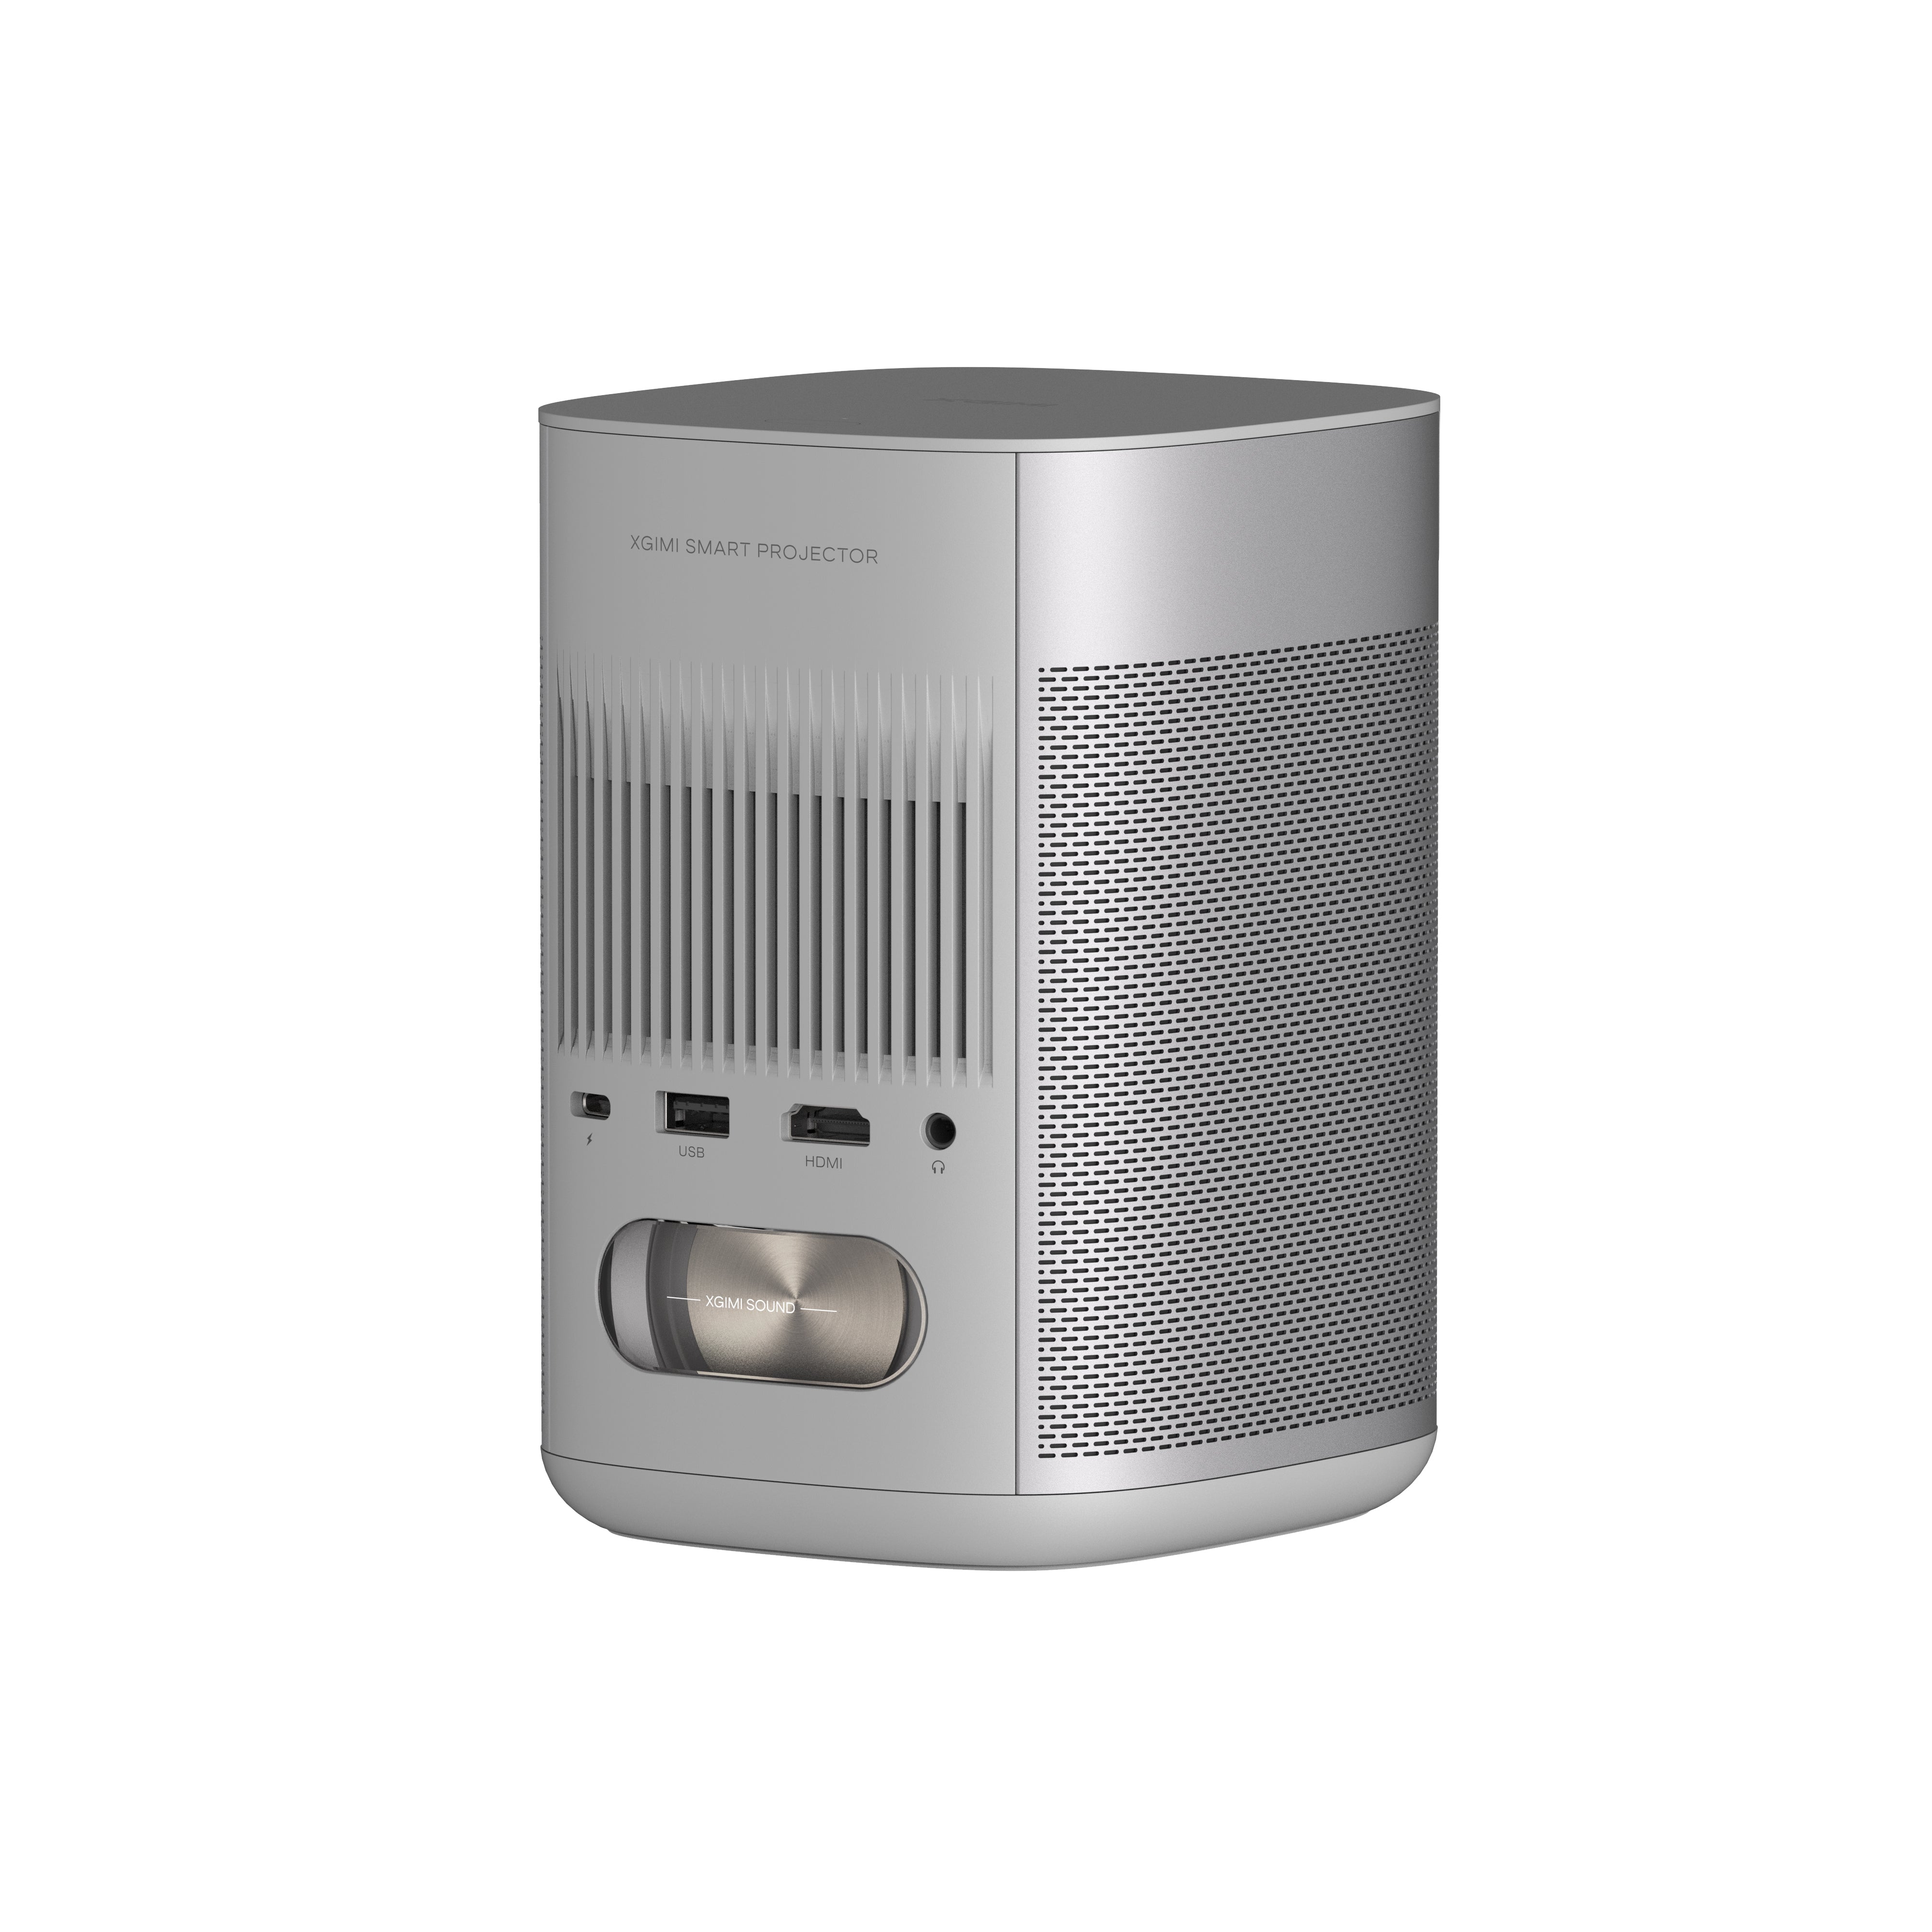
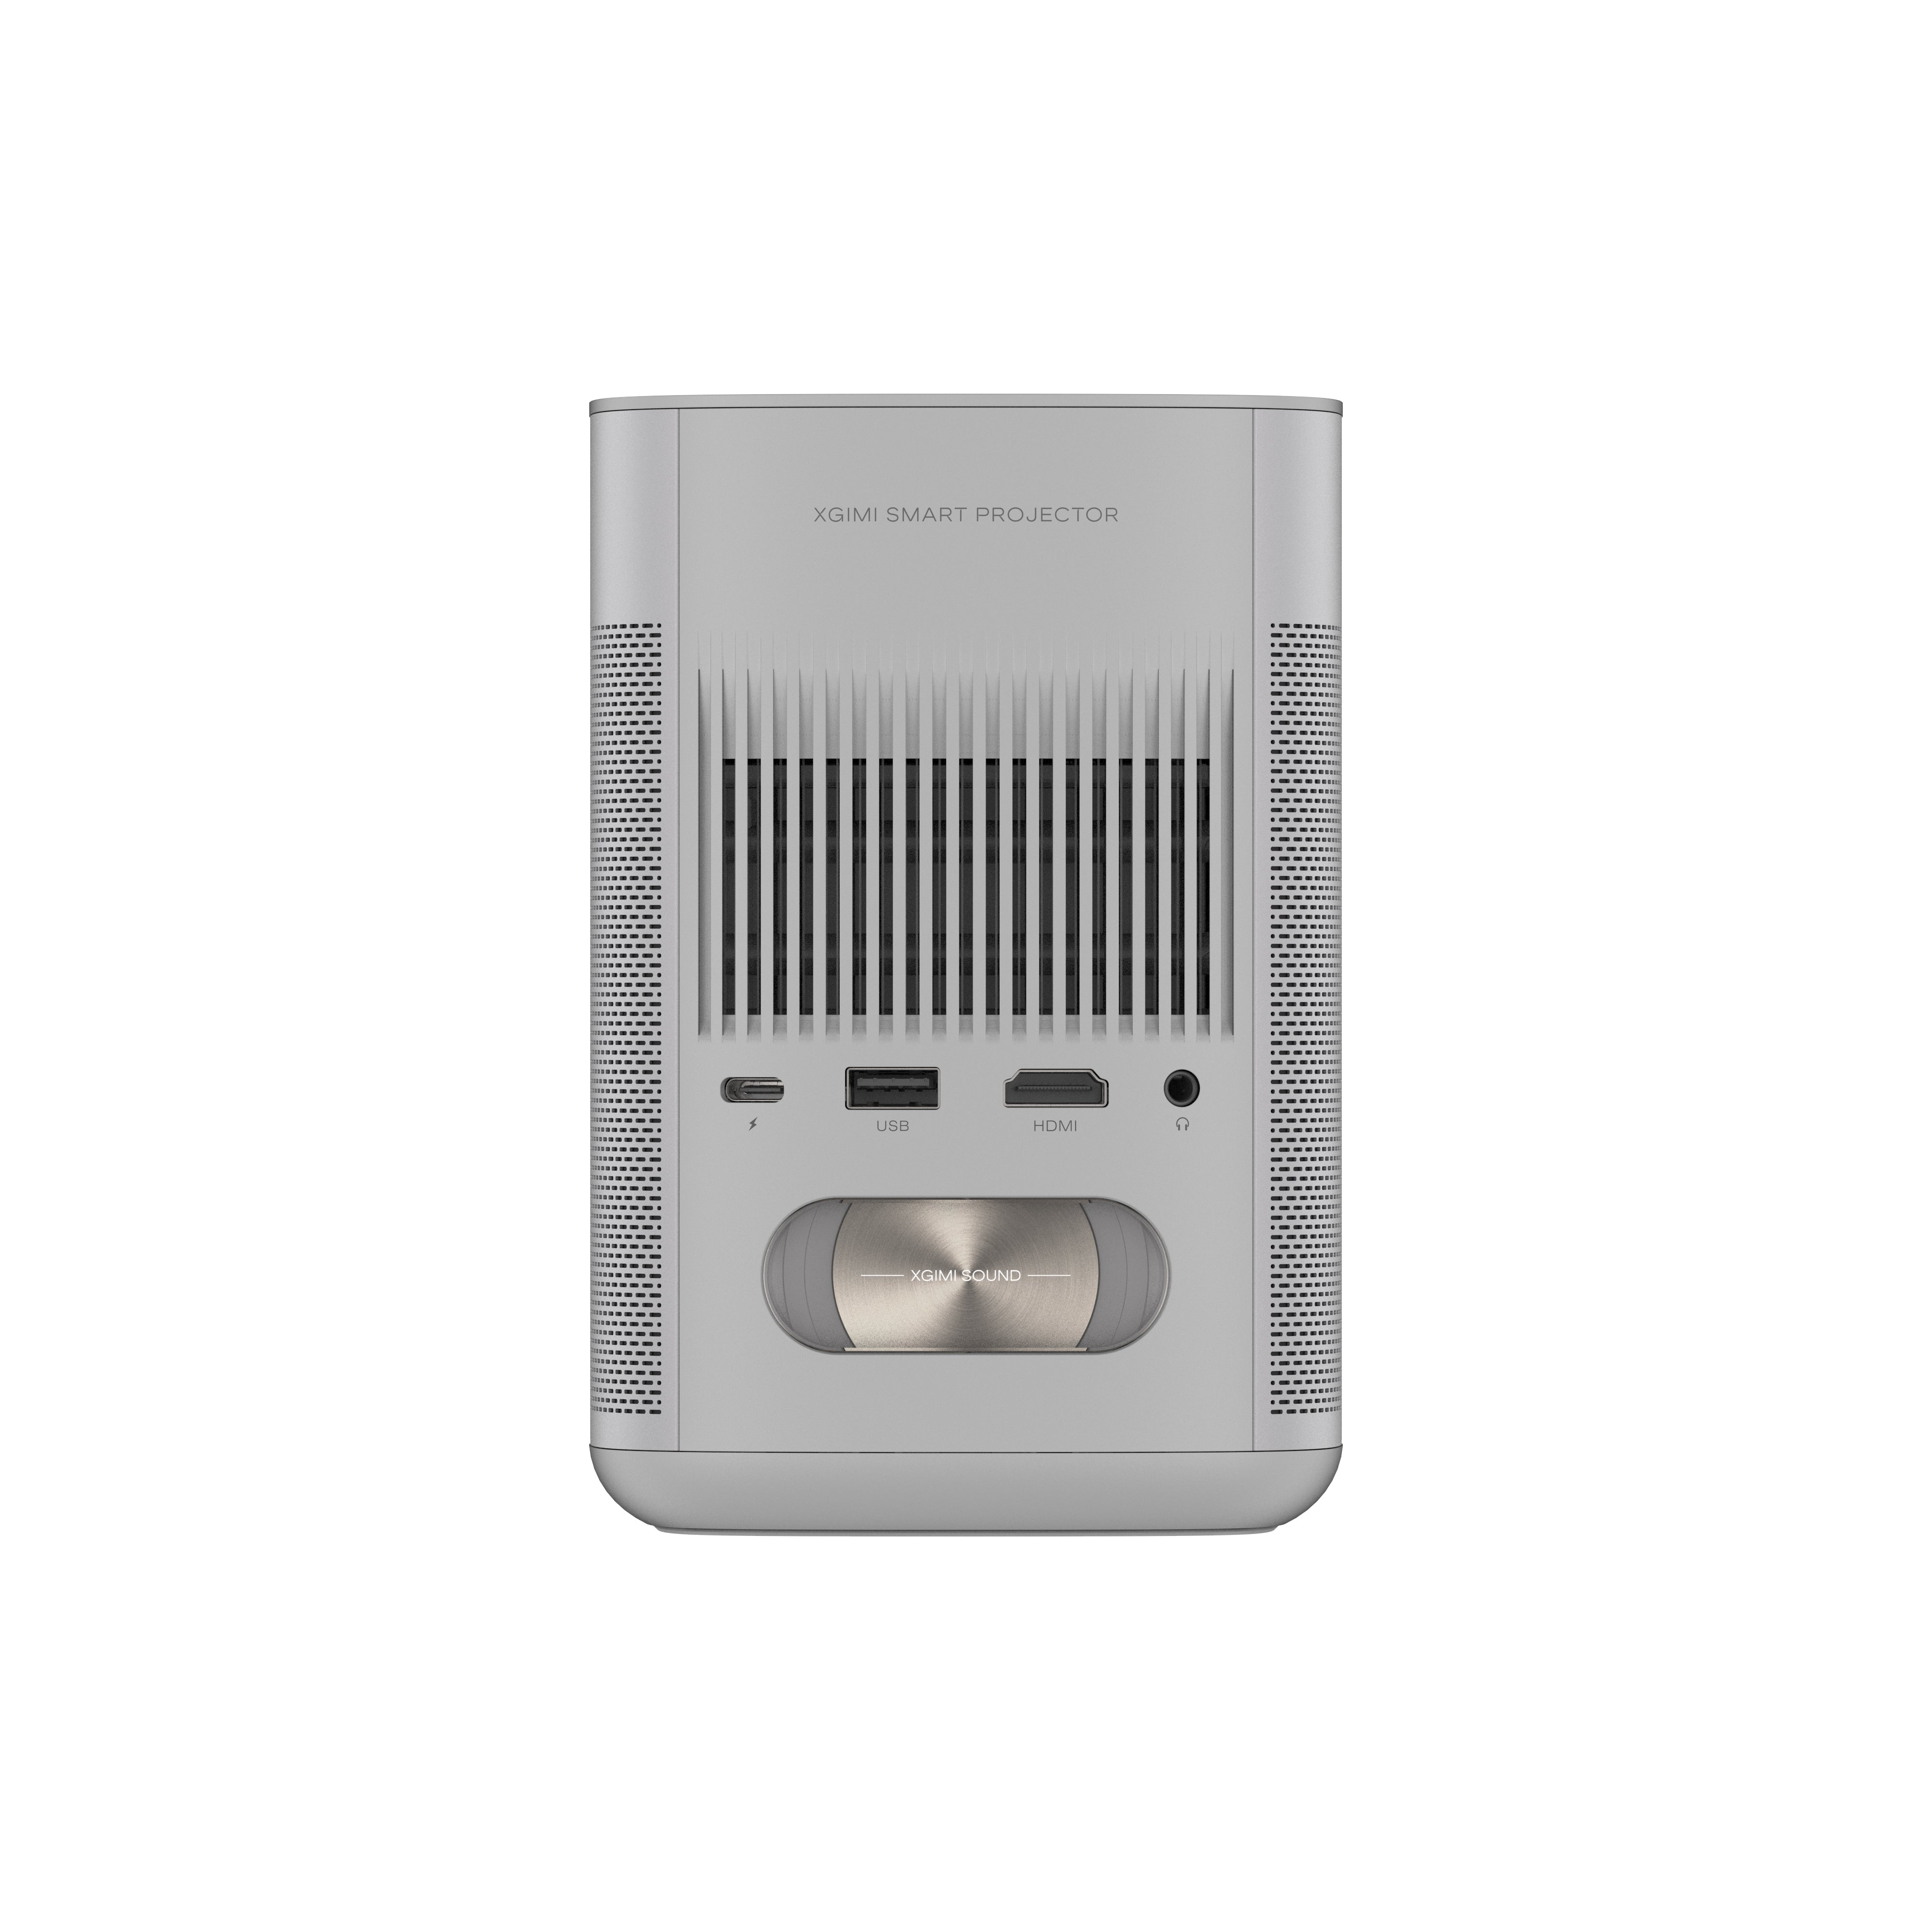
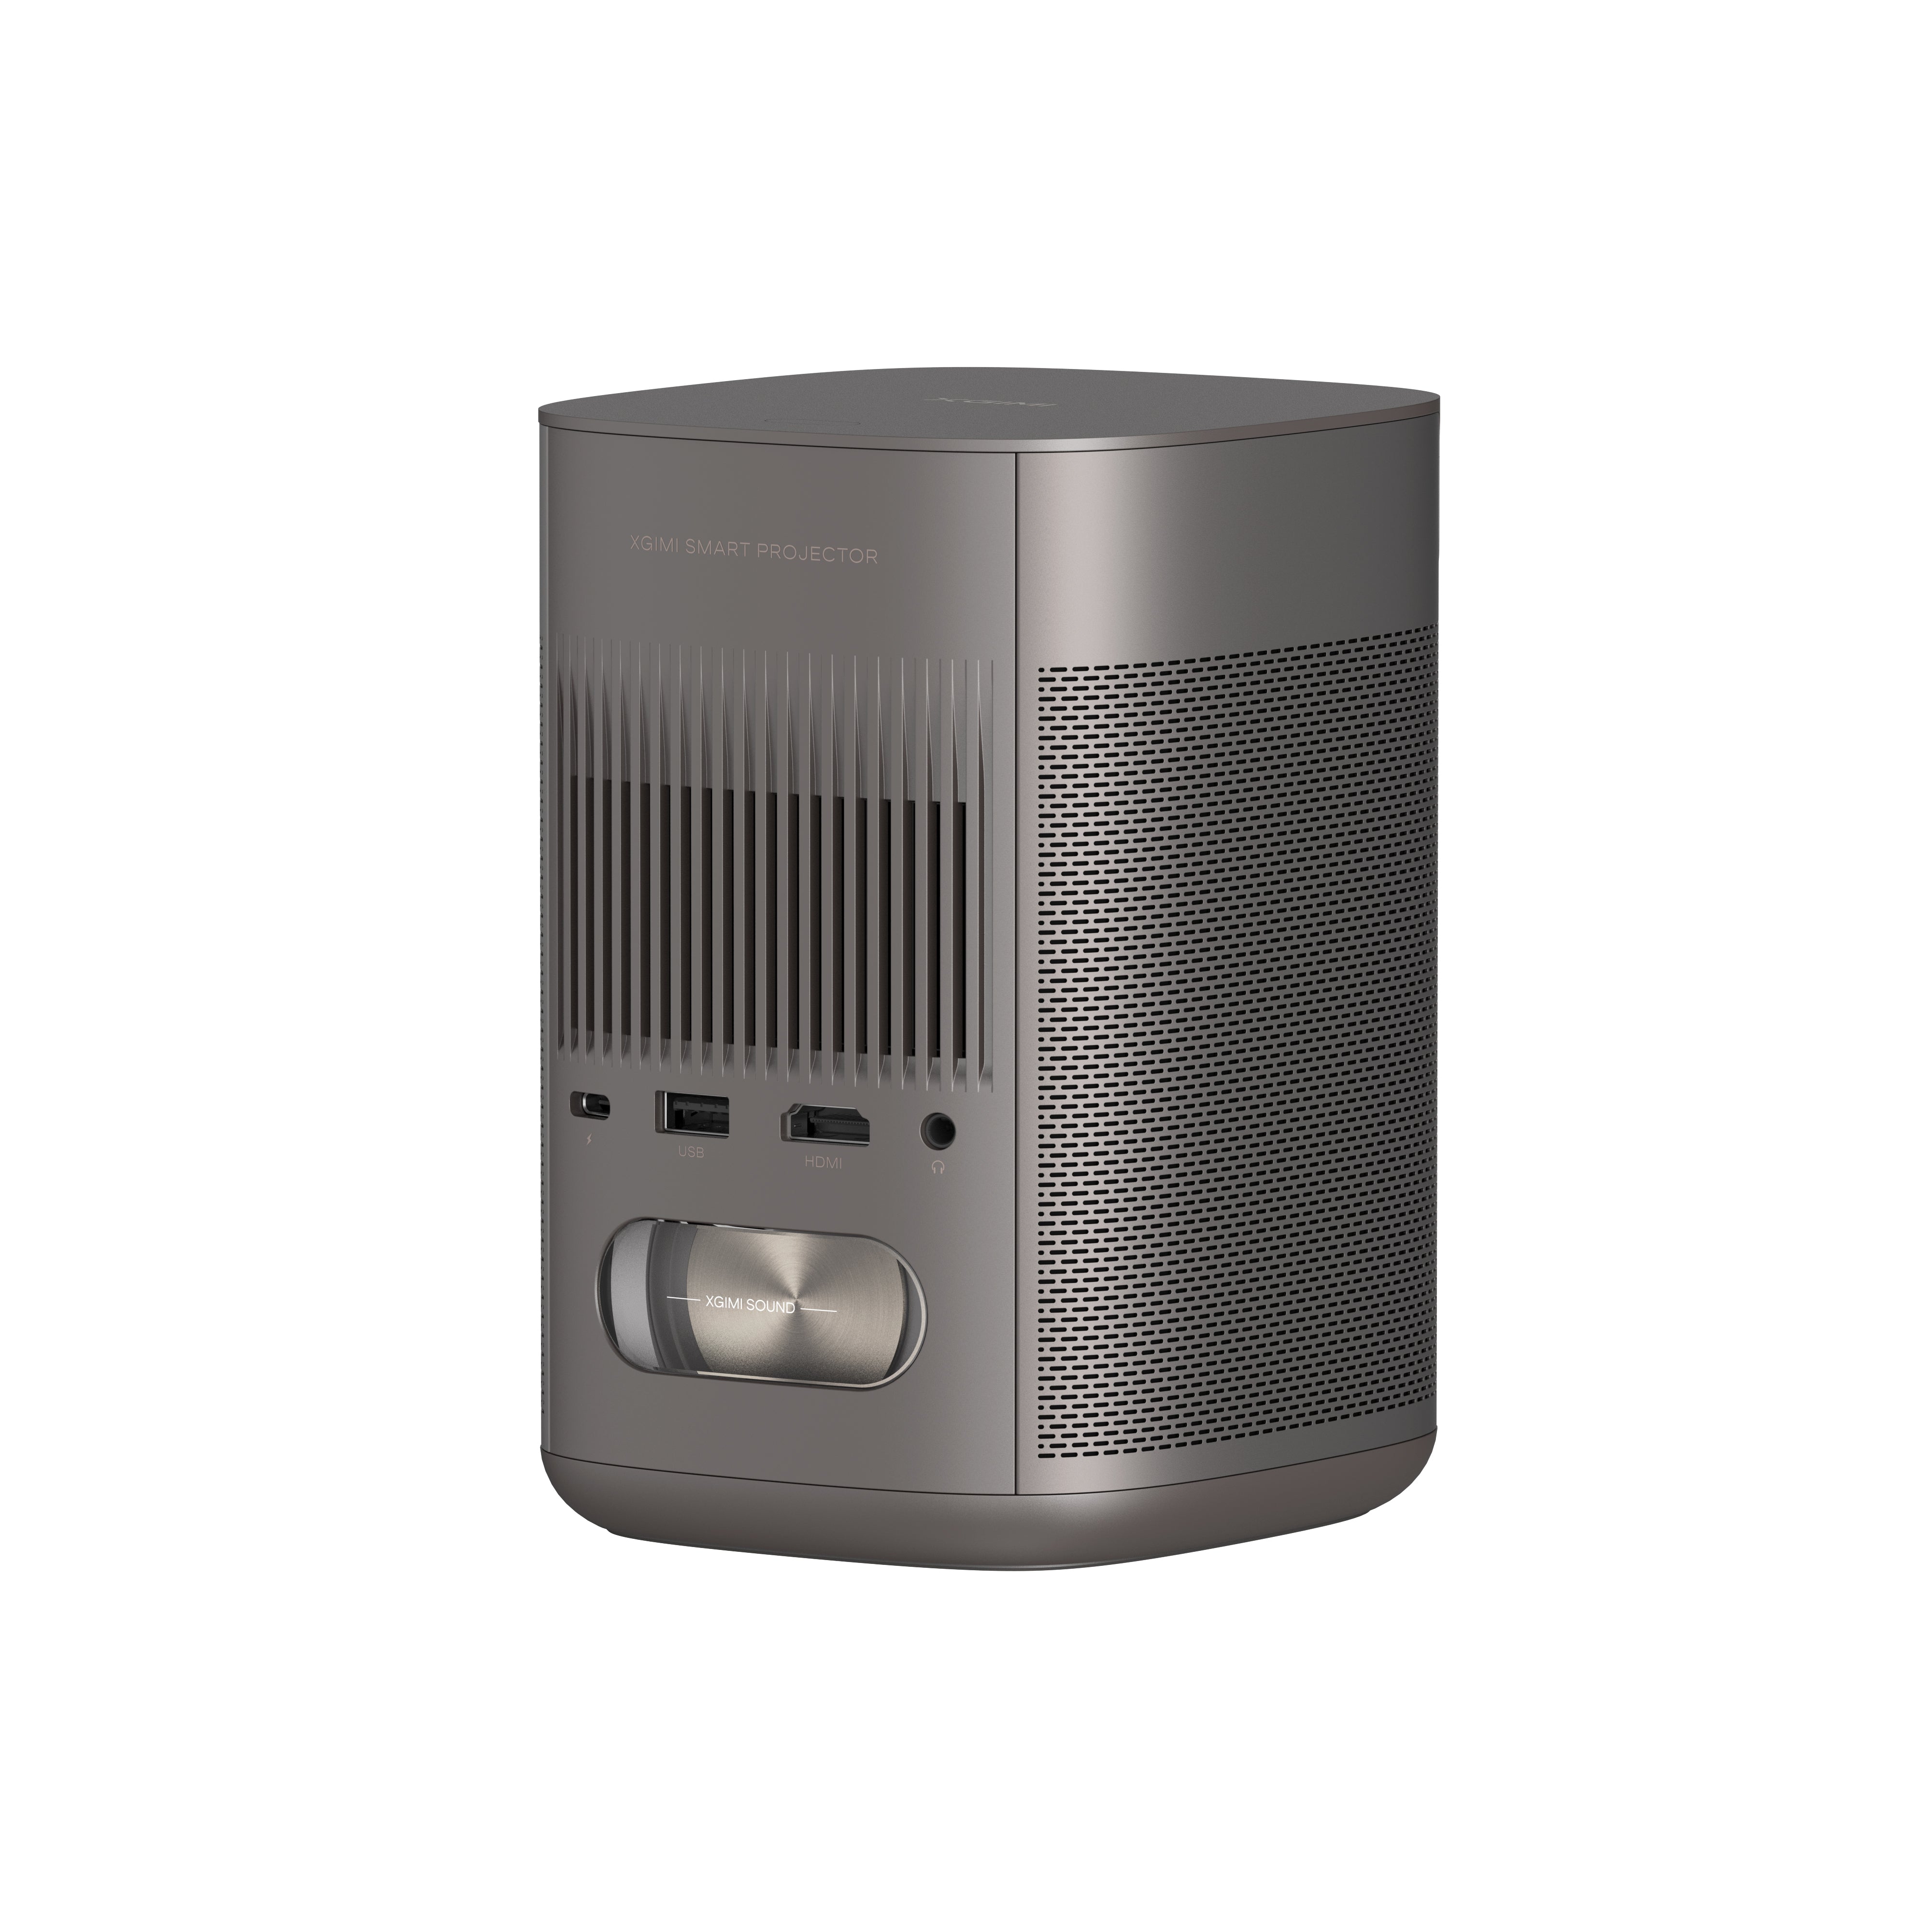
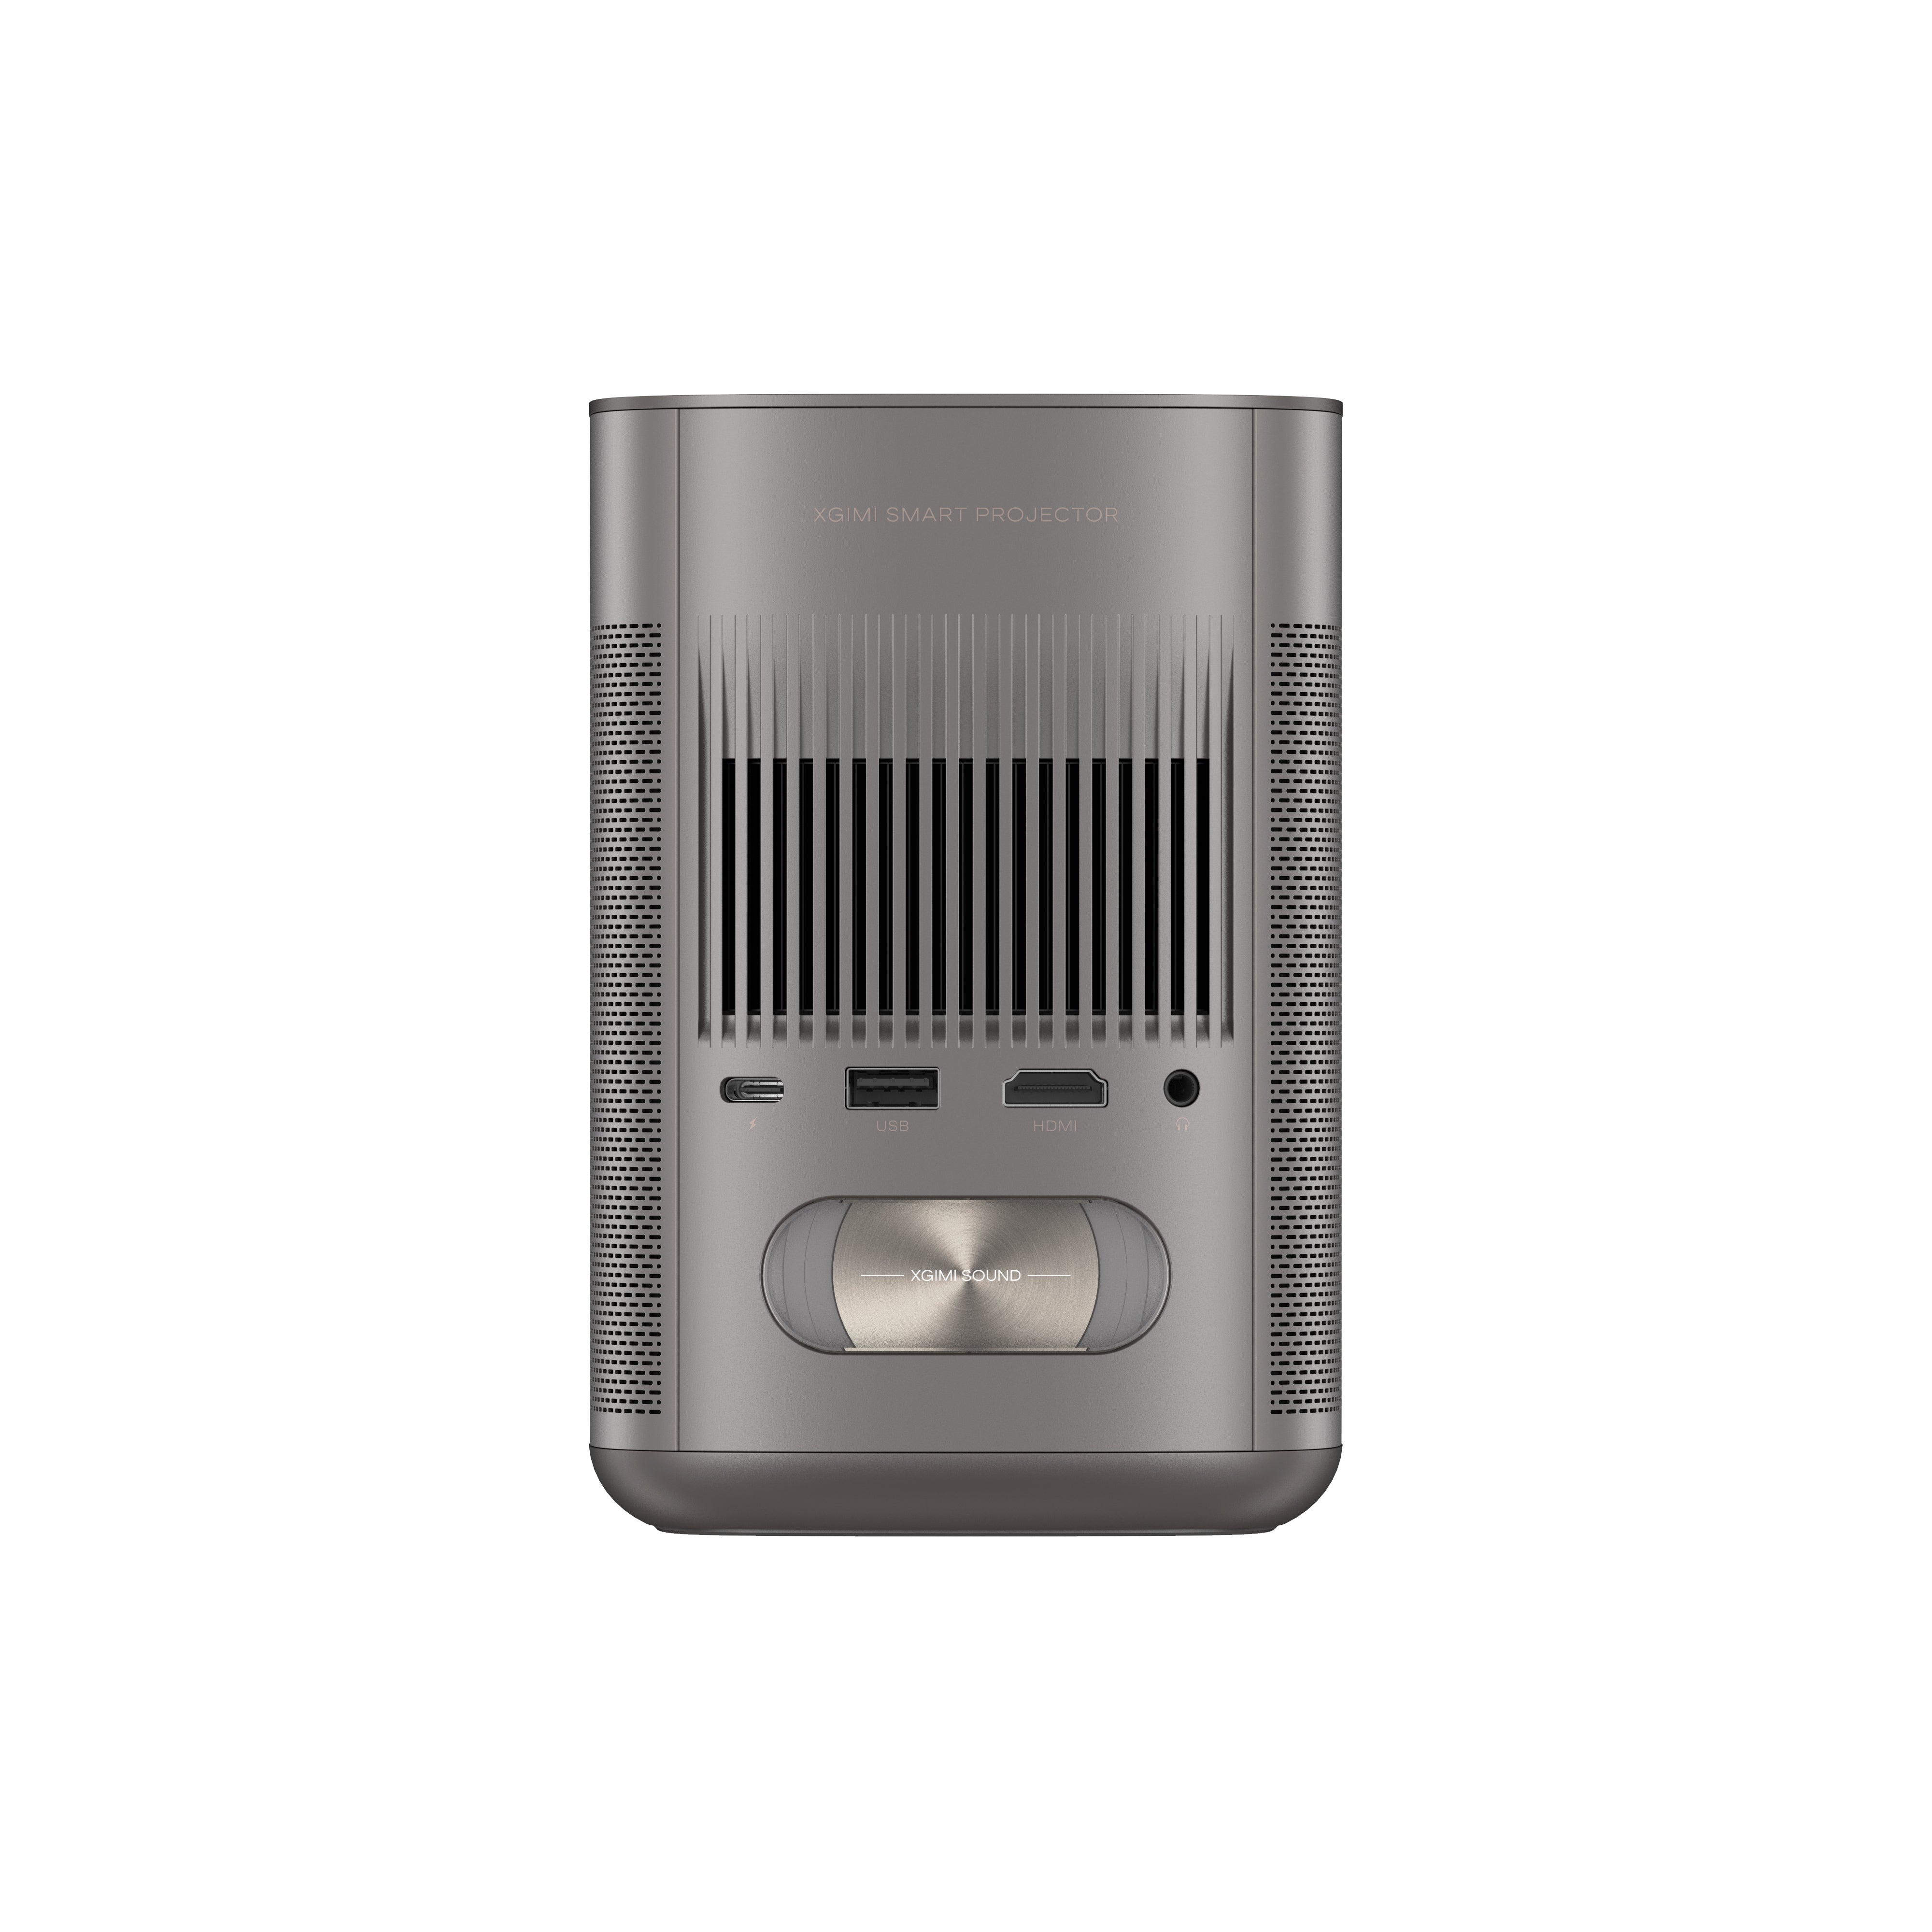
As mentioned above, connectivity options can vary. Most XGIMI models feature HDMI, USB, LAN, and Audio (3.5 mm) ports, as well as wireless compatibility via Wi-Fi and Bluetooth. This range provides convenient flexibility for not just connecting laptops but many other modern devices.
With an XGIMI portable projector, you can enjoy true cinematic views right from the comfort of your home. Easily project your favorite TV series, video games, and more. Got something saved on your laptop? Just plug it in with an HDMI cable, for example, and enjoy it on full screen.
Connecting your computer to a projector is a practical solution for better visibility, easier collaboration, and enhanced visual presentations, allowing you to communicate effectively and enjoy multimedia content on a large screen.
Elevate Your Viewing Experience with XGIMI Projectors
Unleash vivid visuals and entertainment on-the-go. Don't miss out on the ultimate cinematic adventure. Grab your XGIMI projectors now and enjoy the future of portable projection.
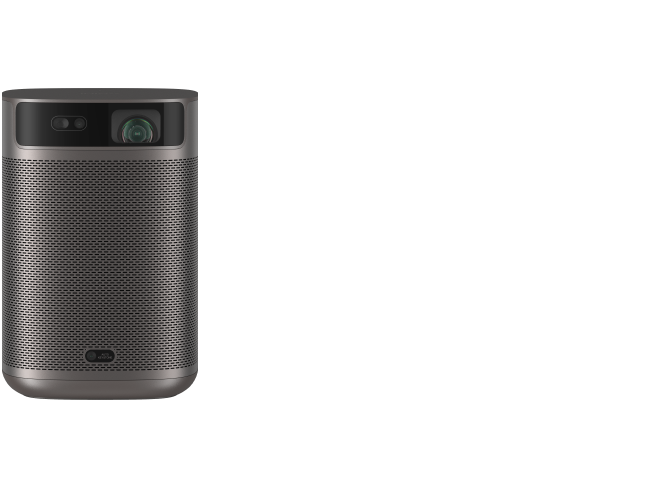
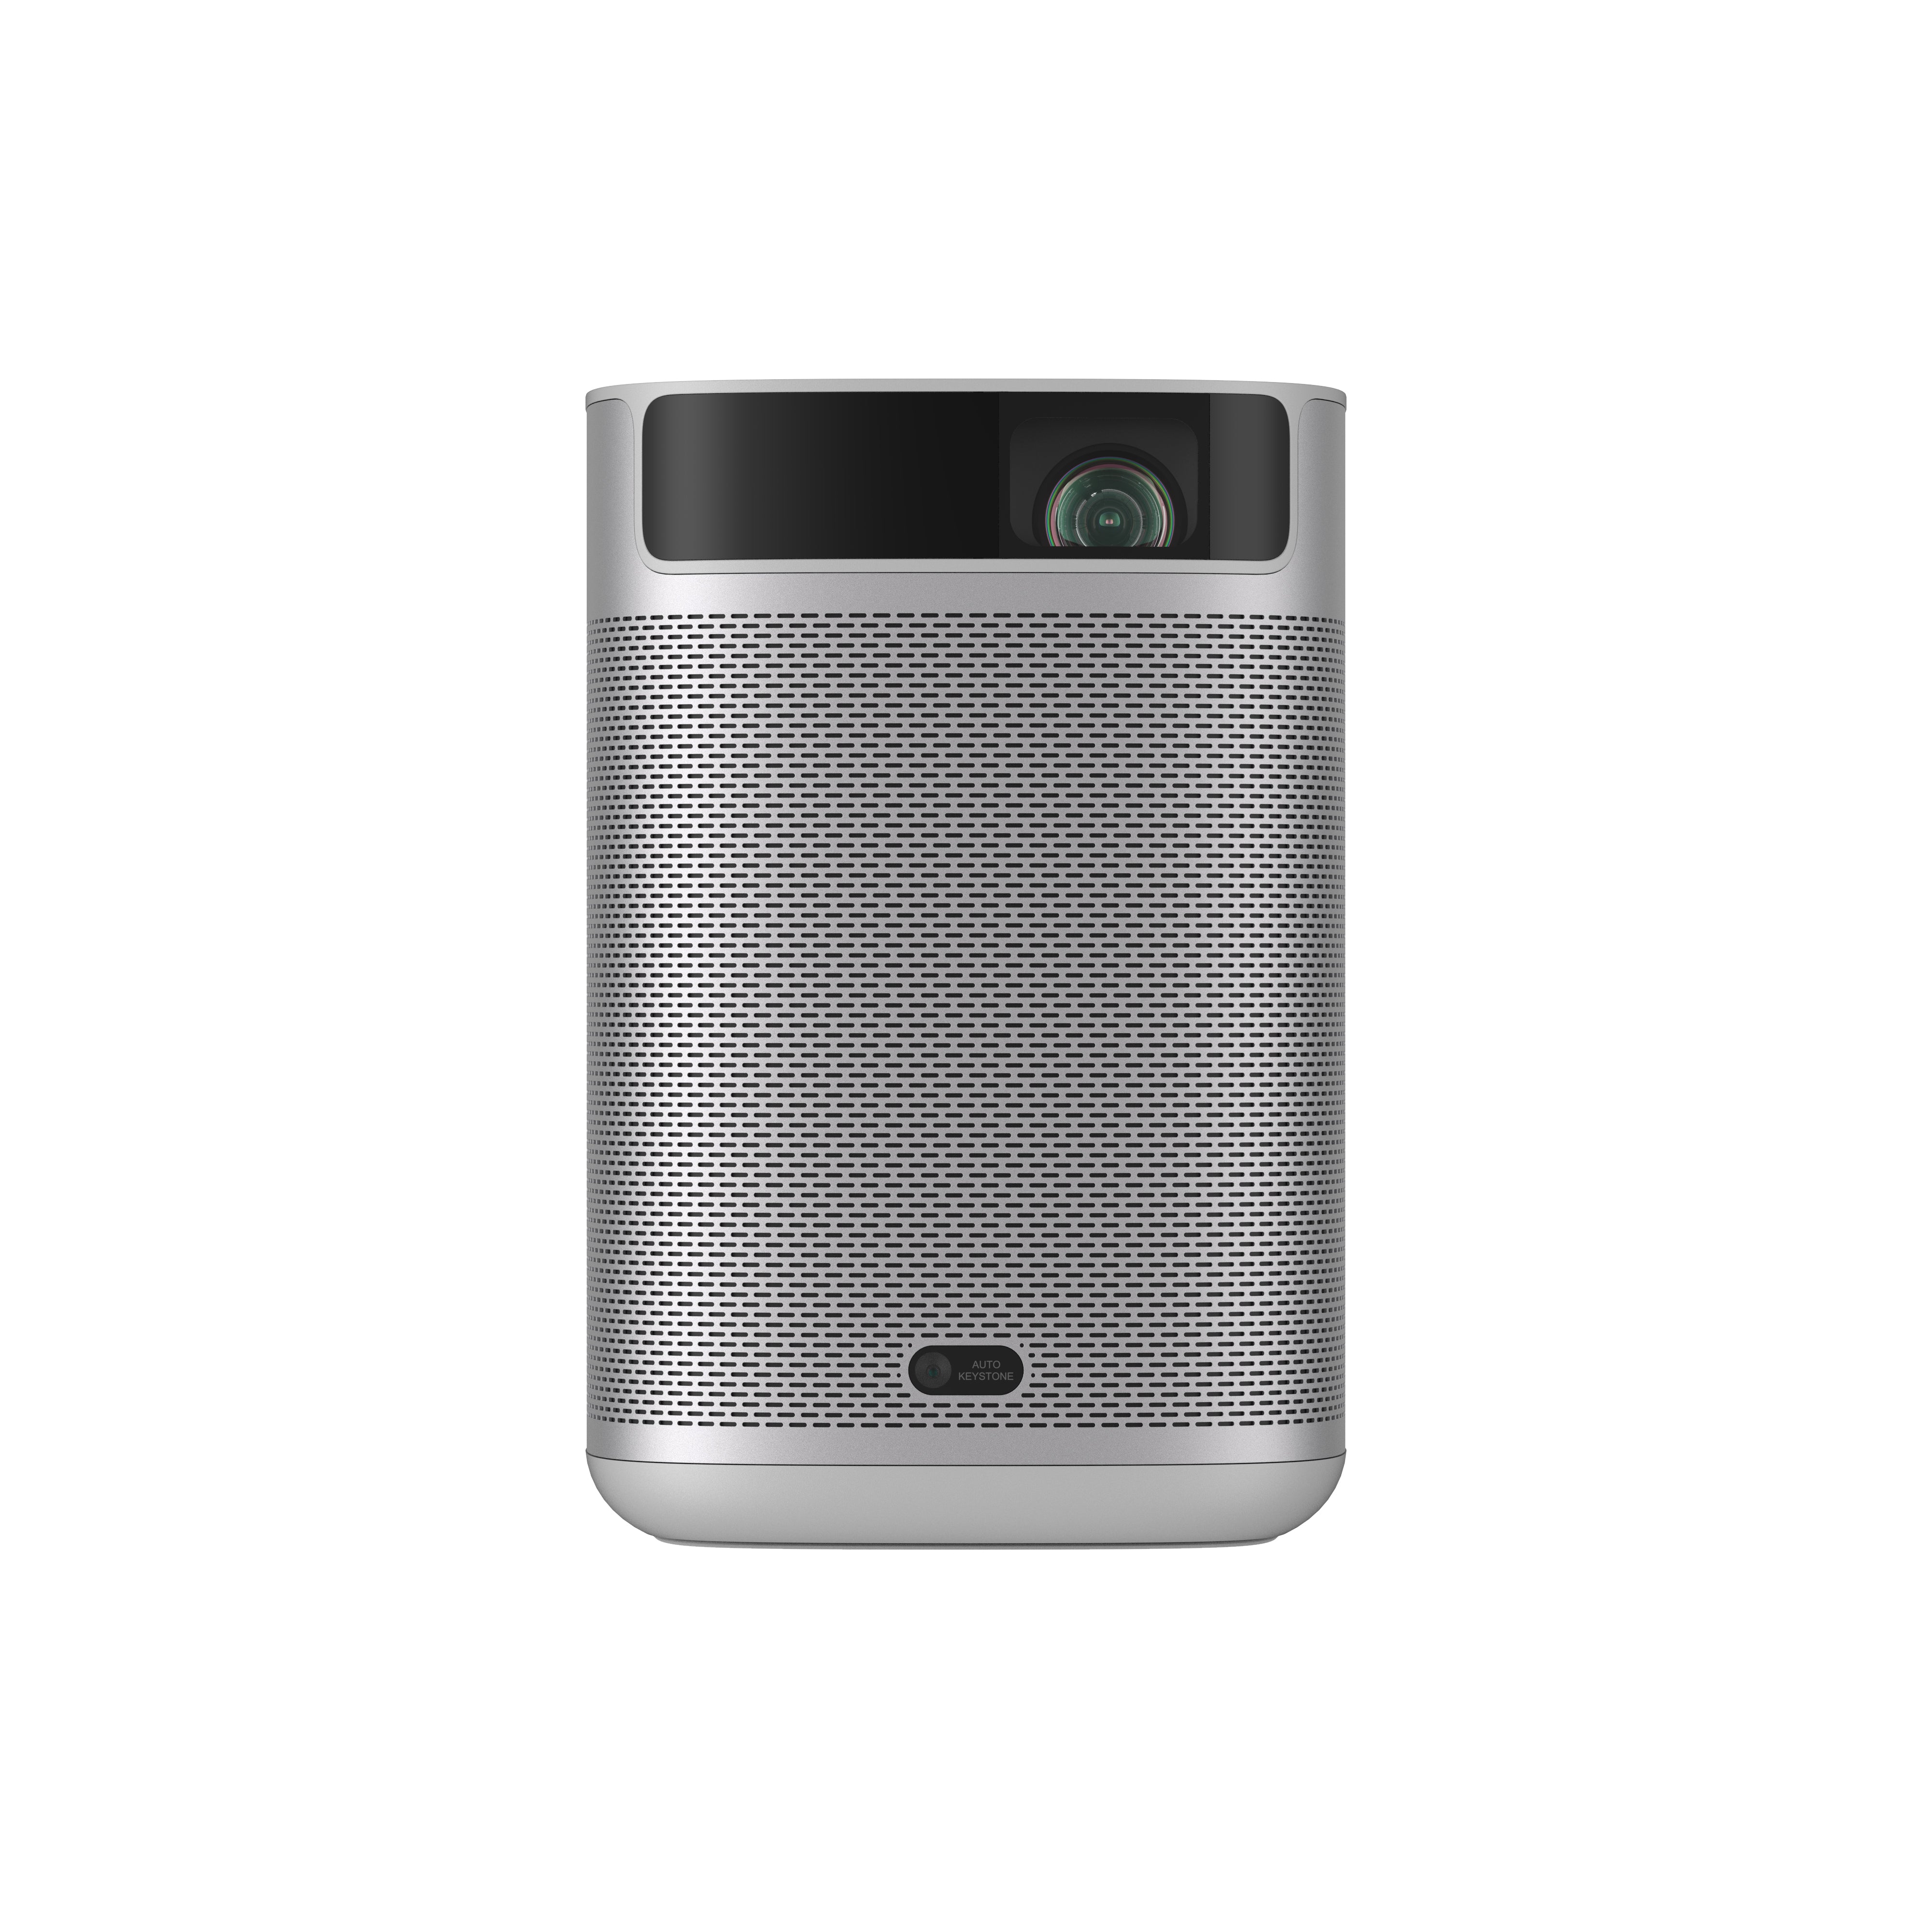
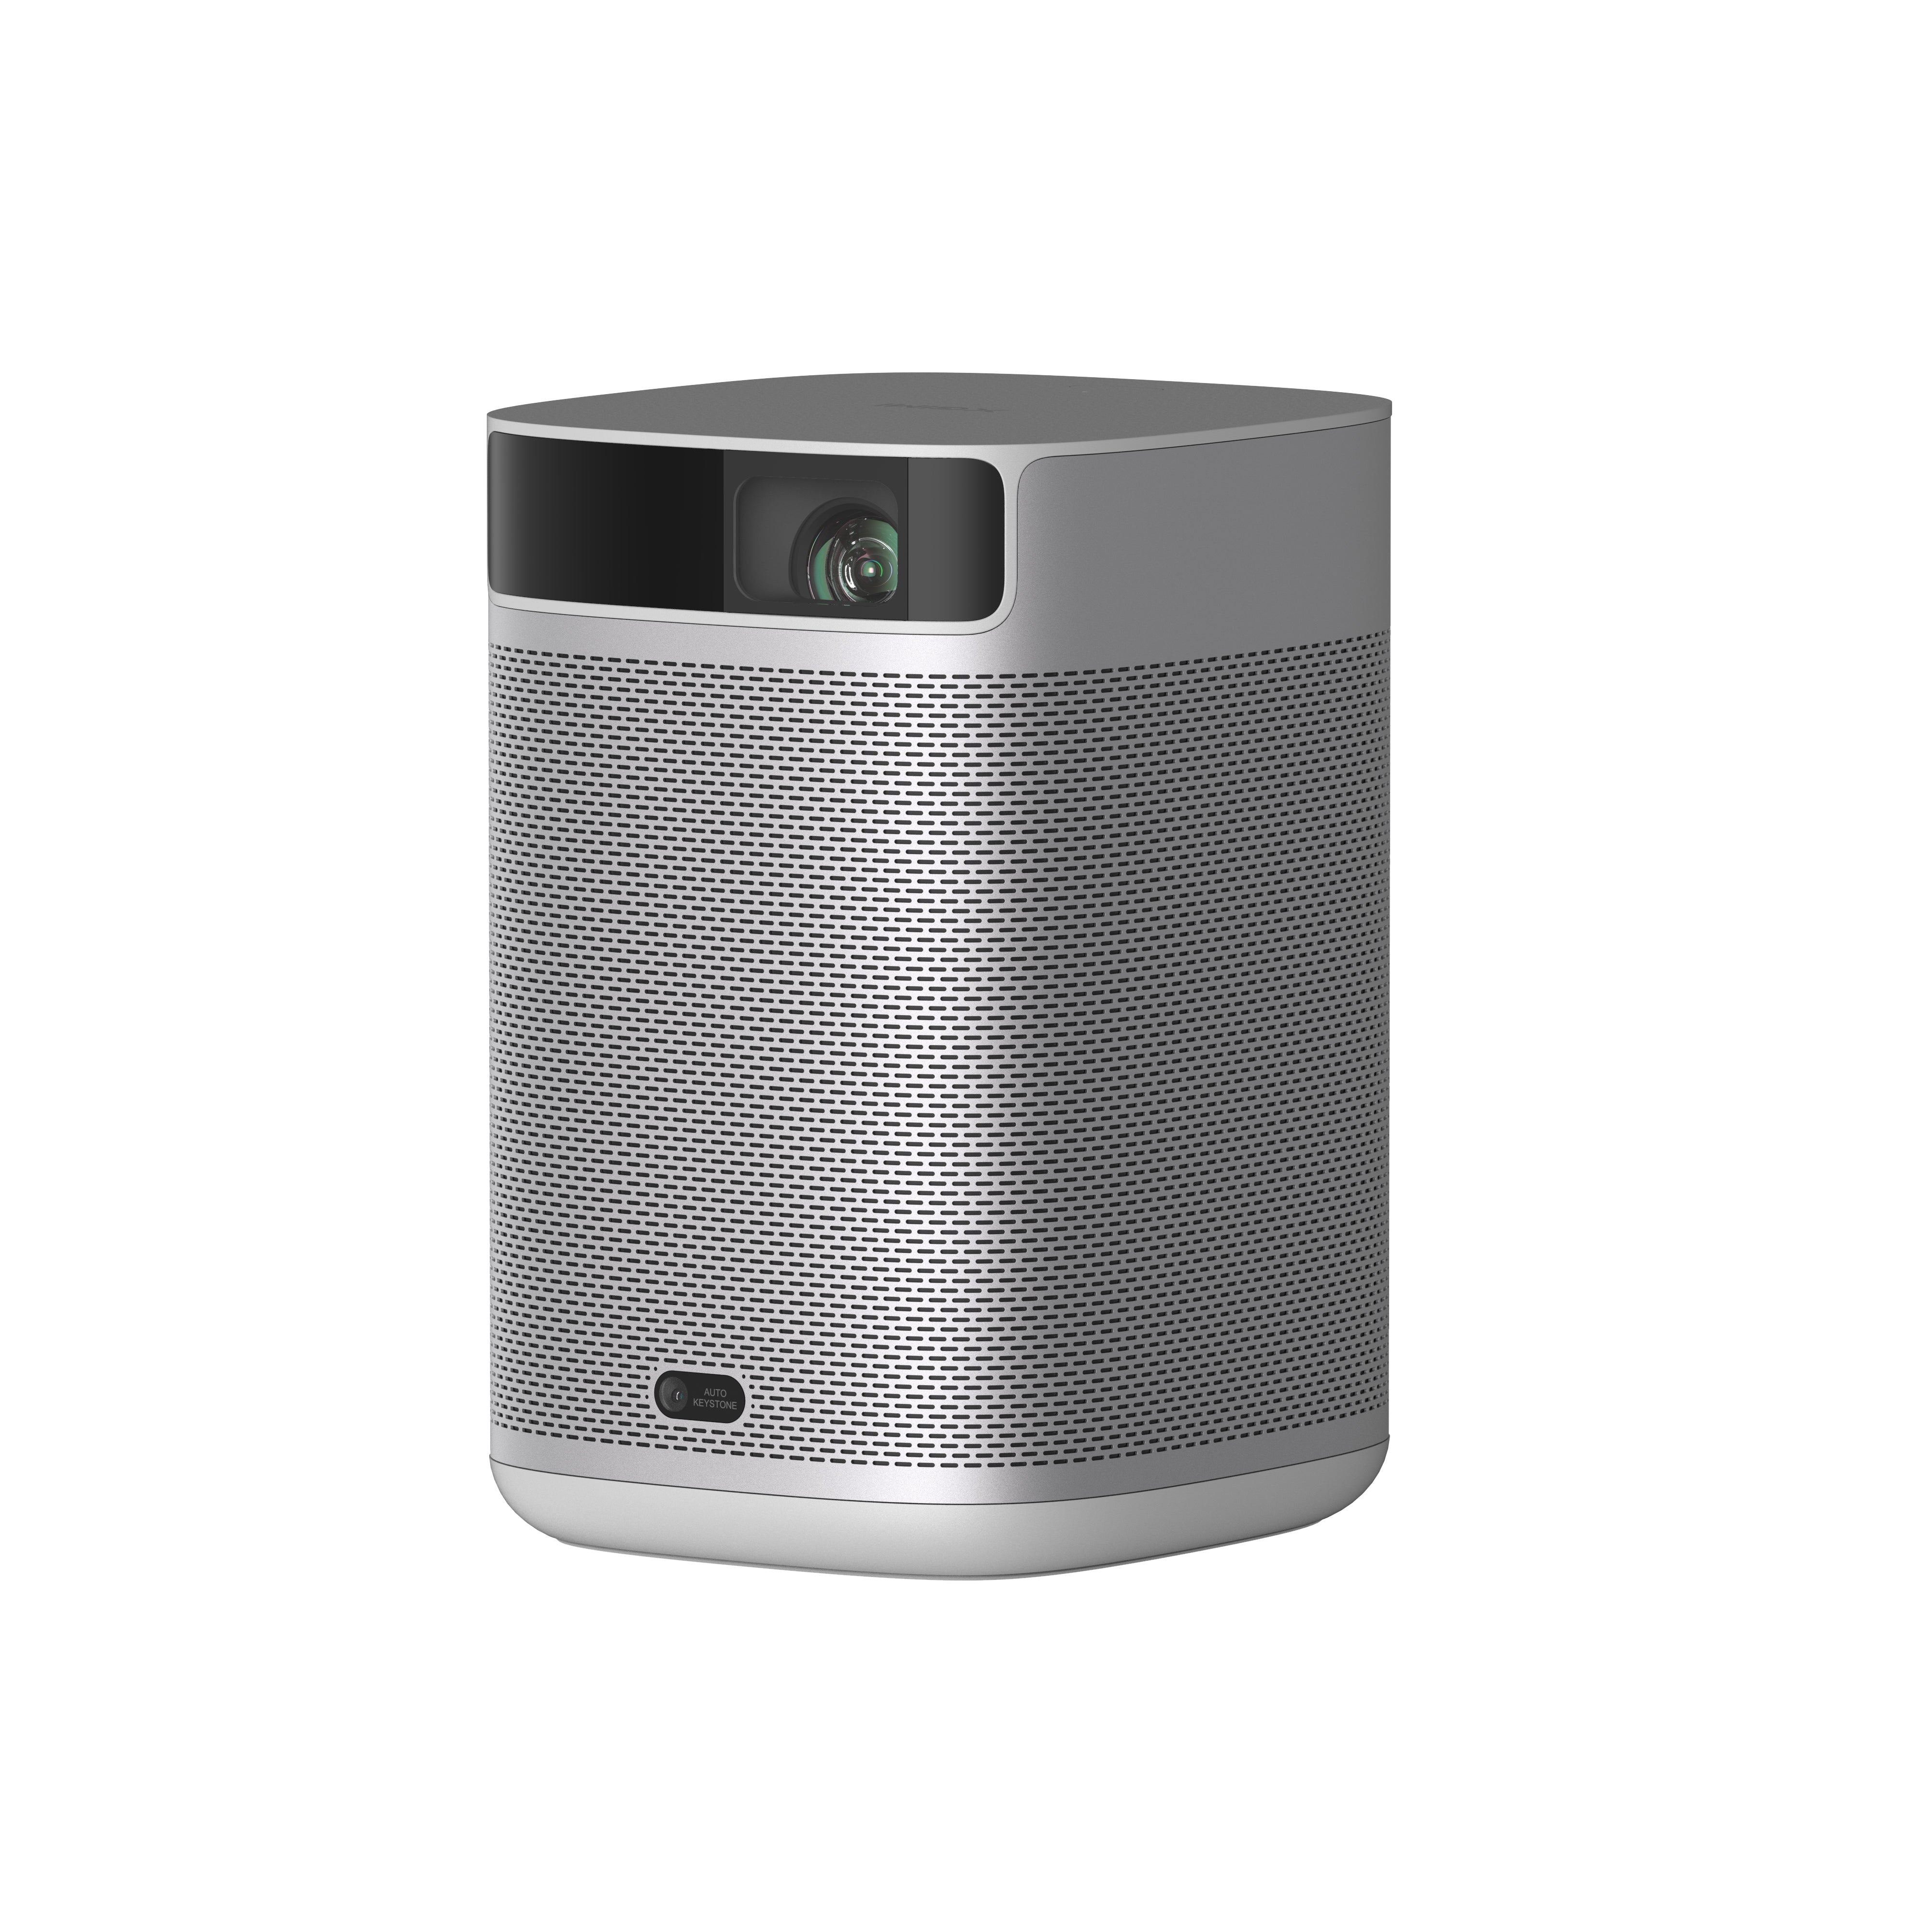
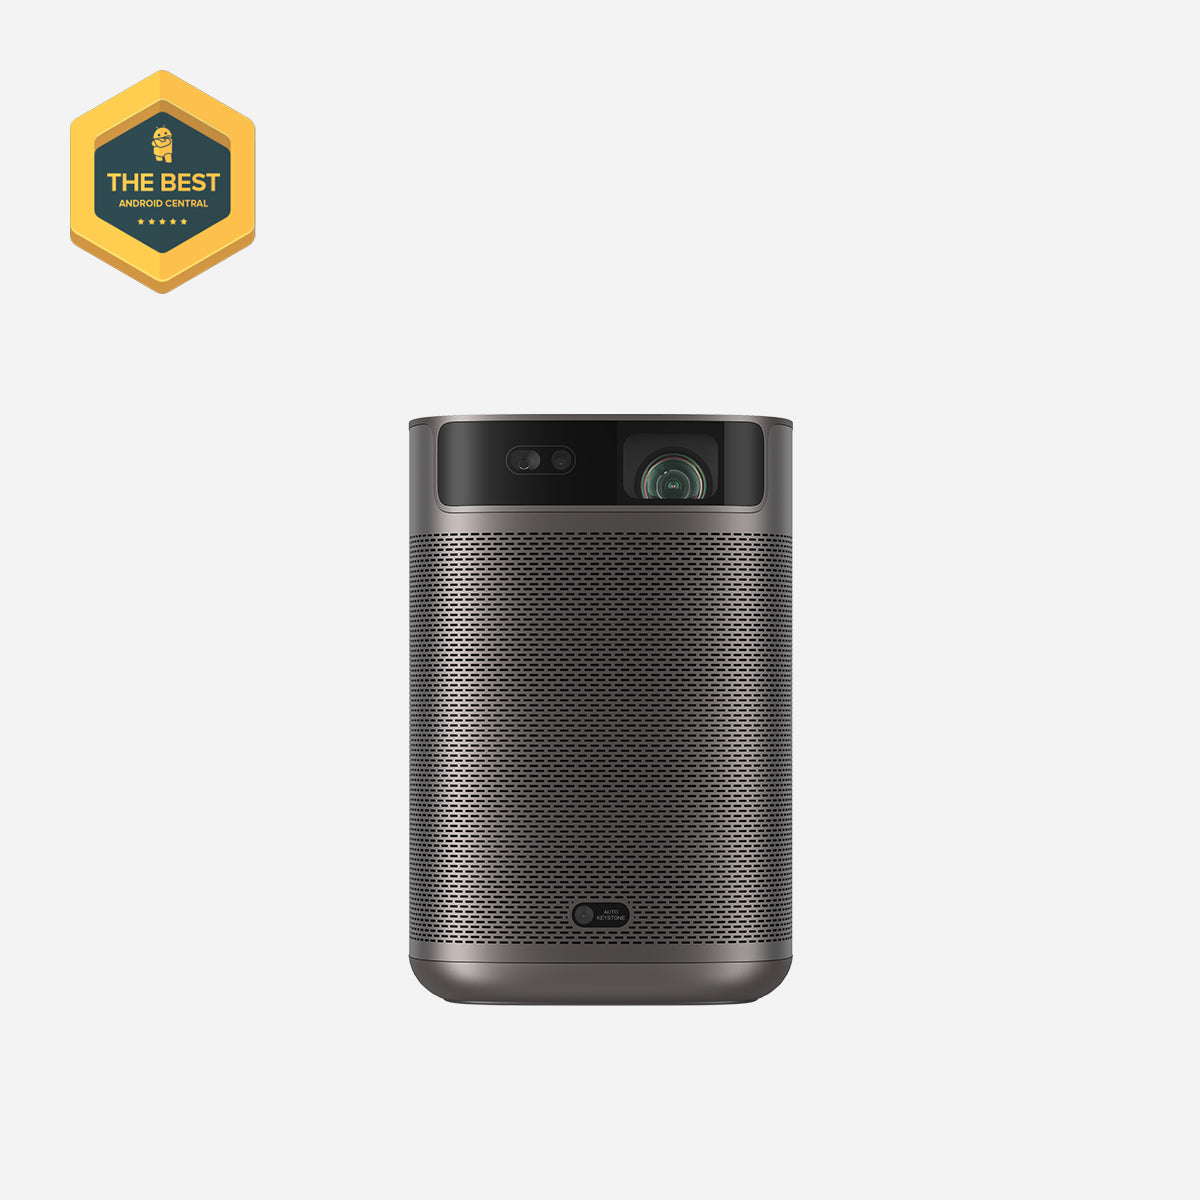
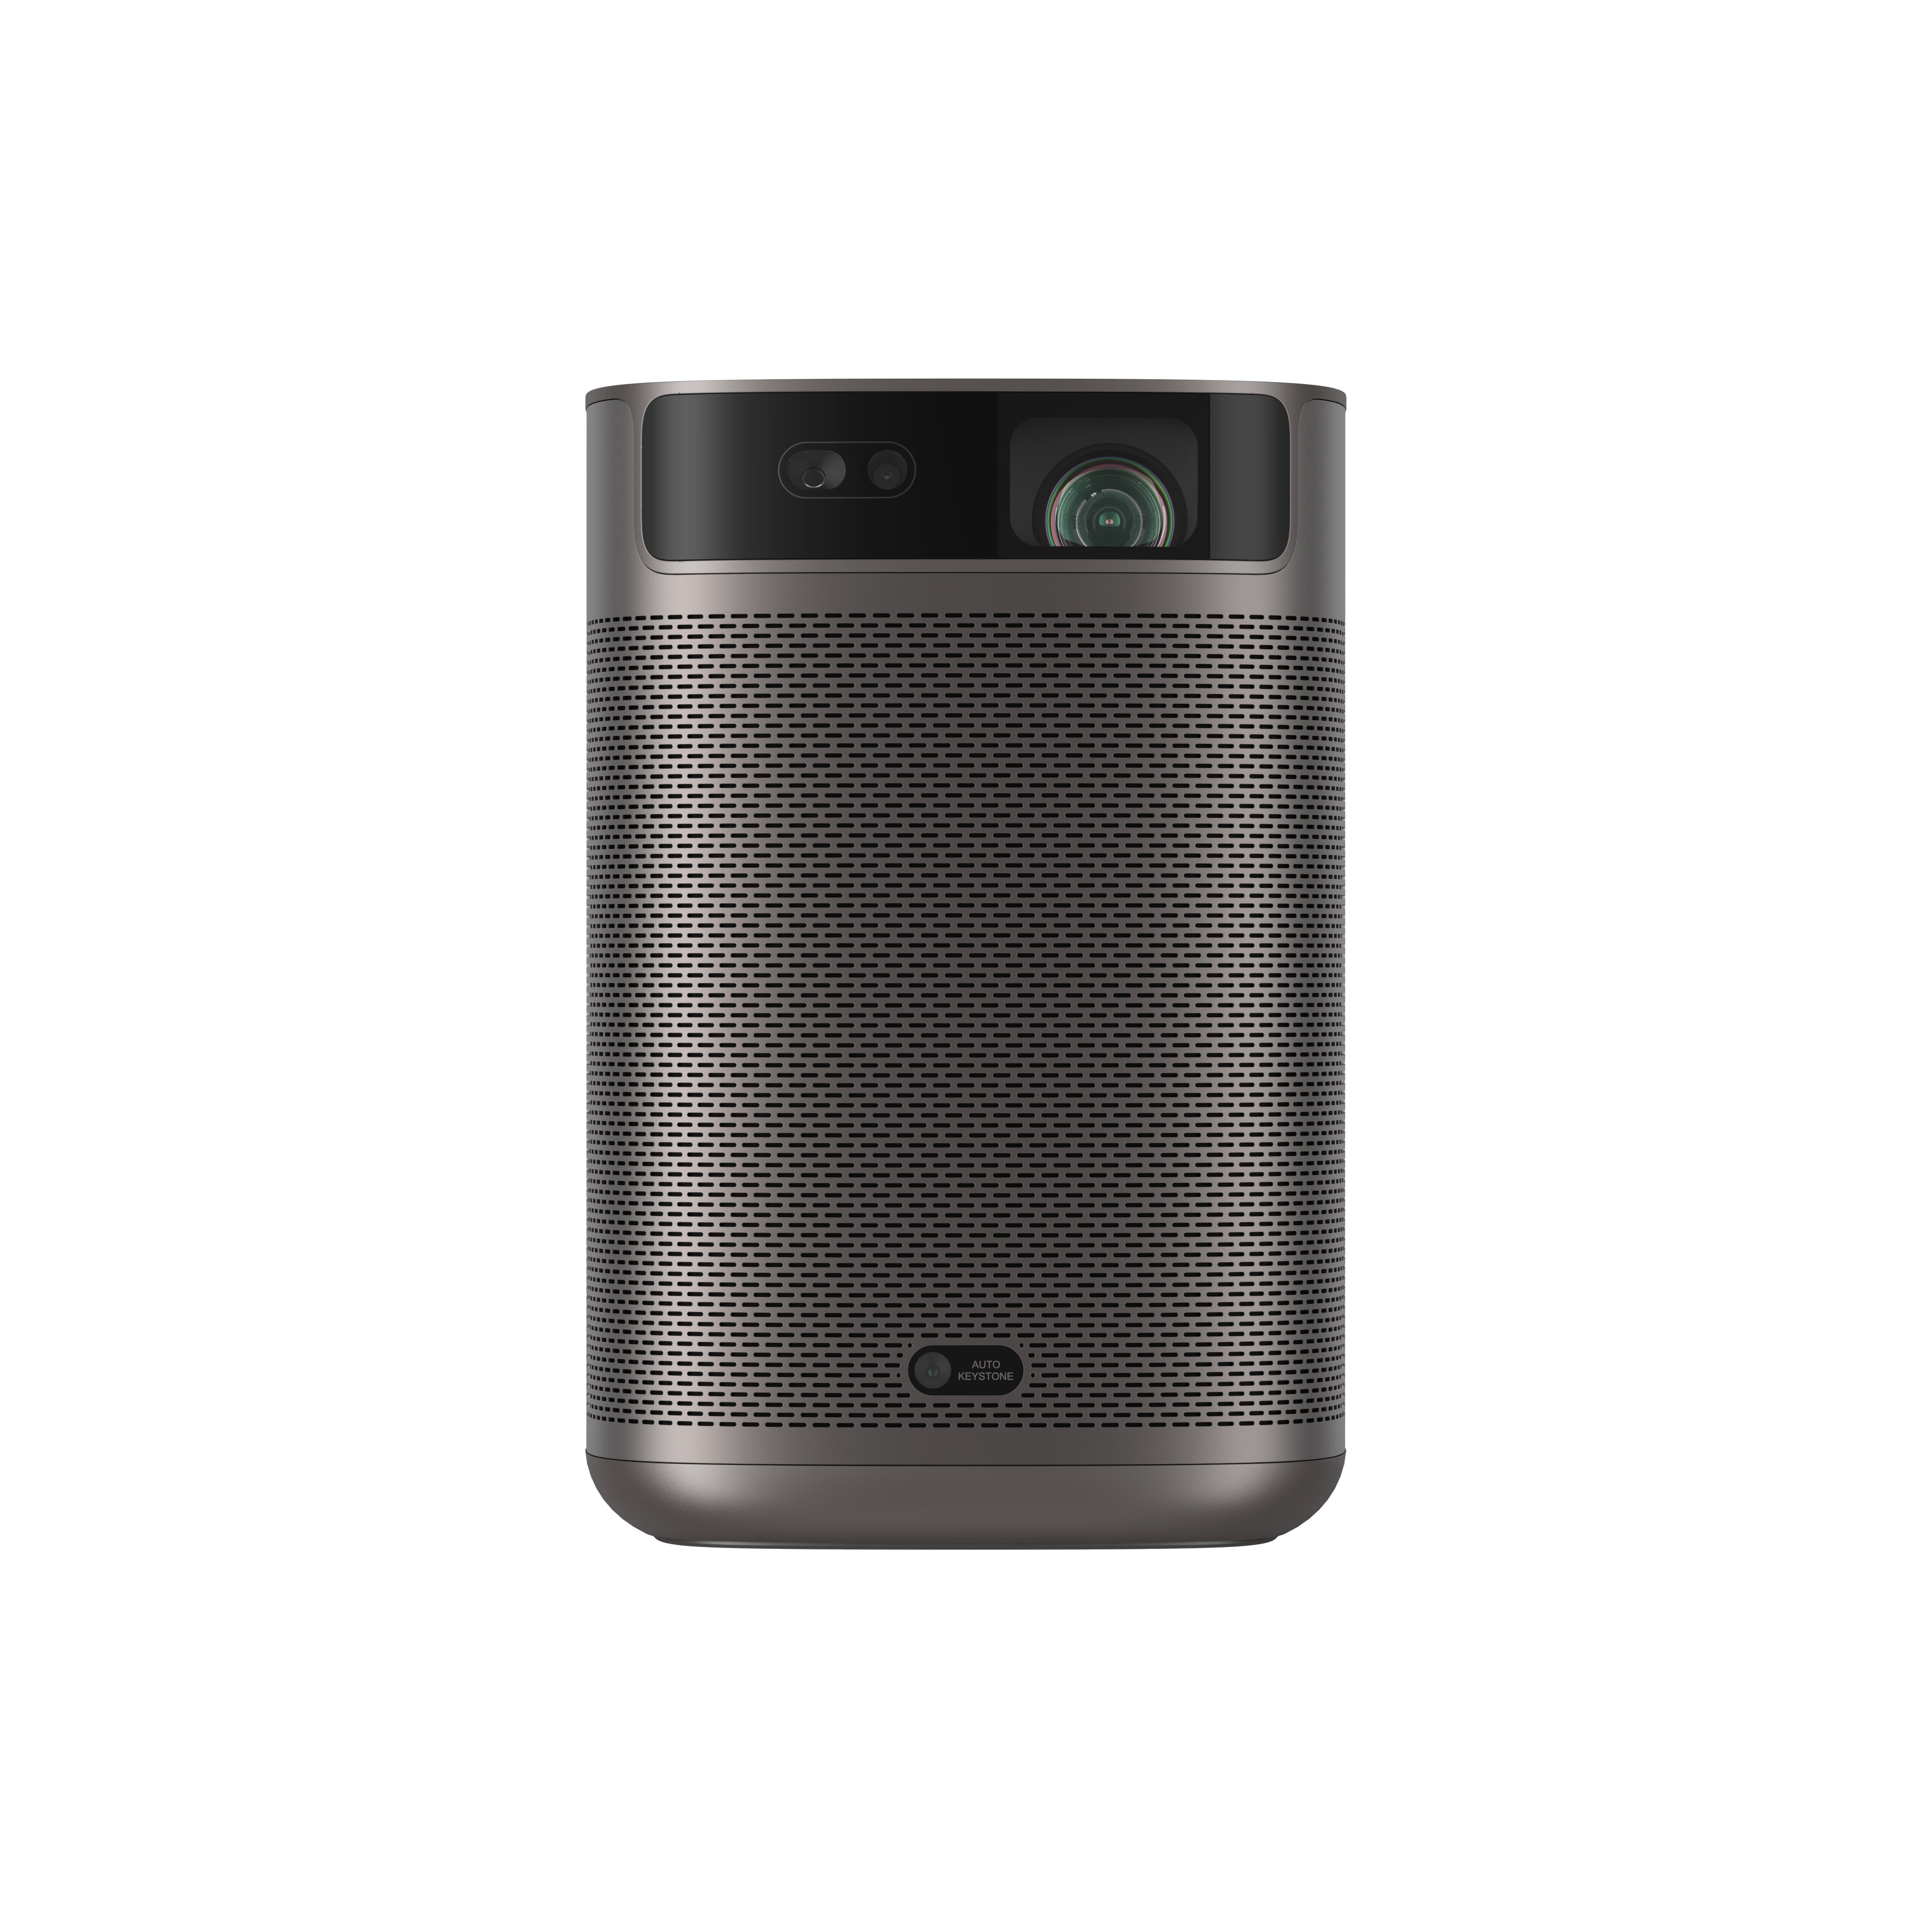
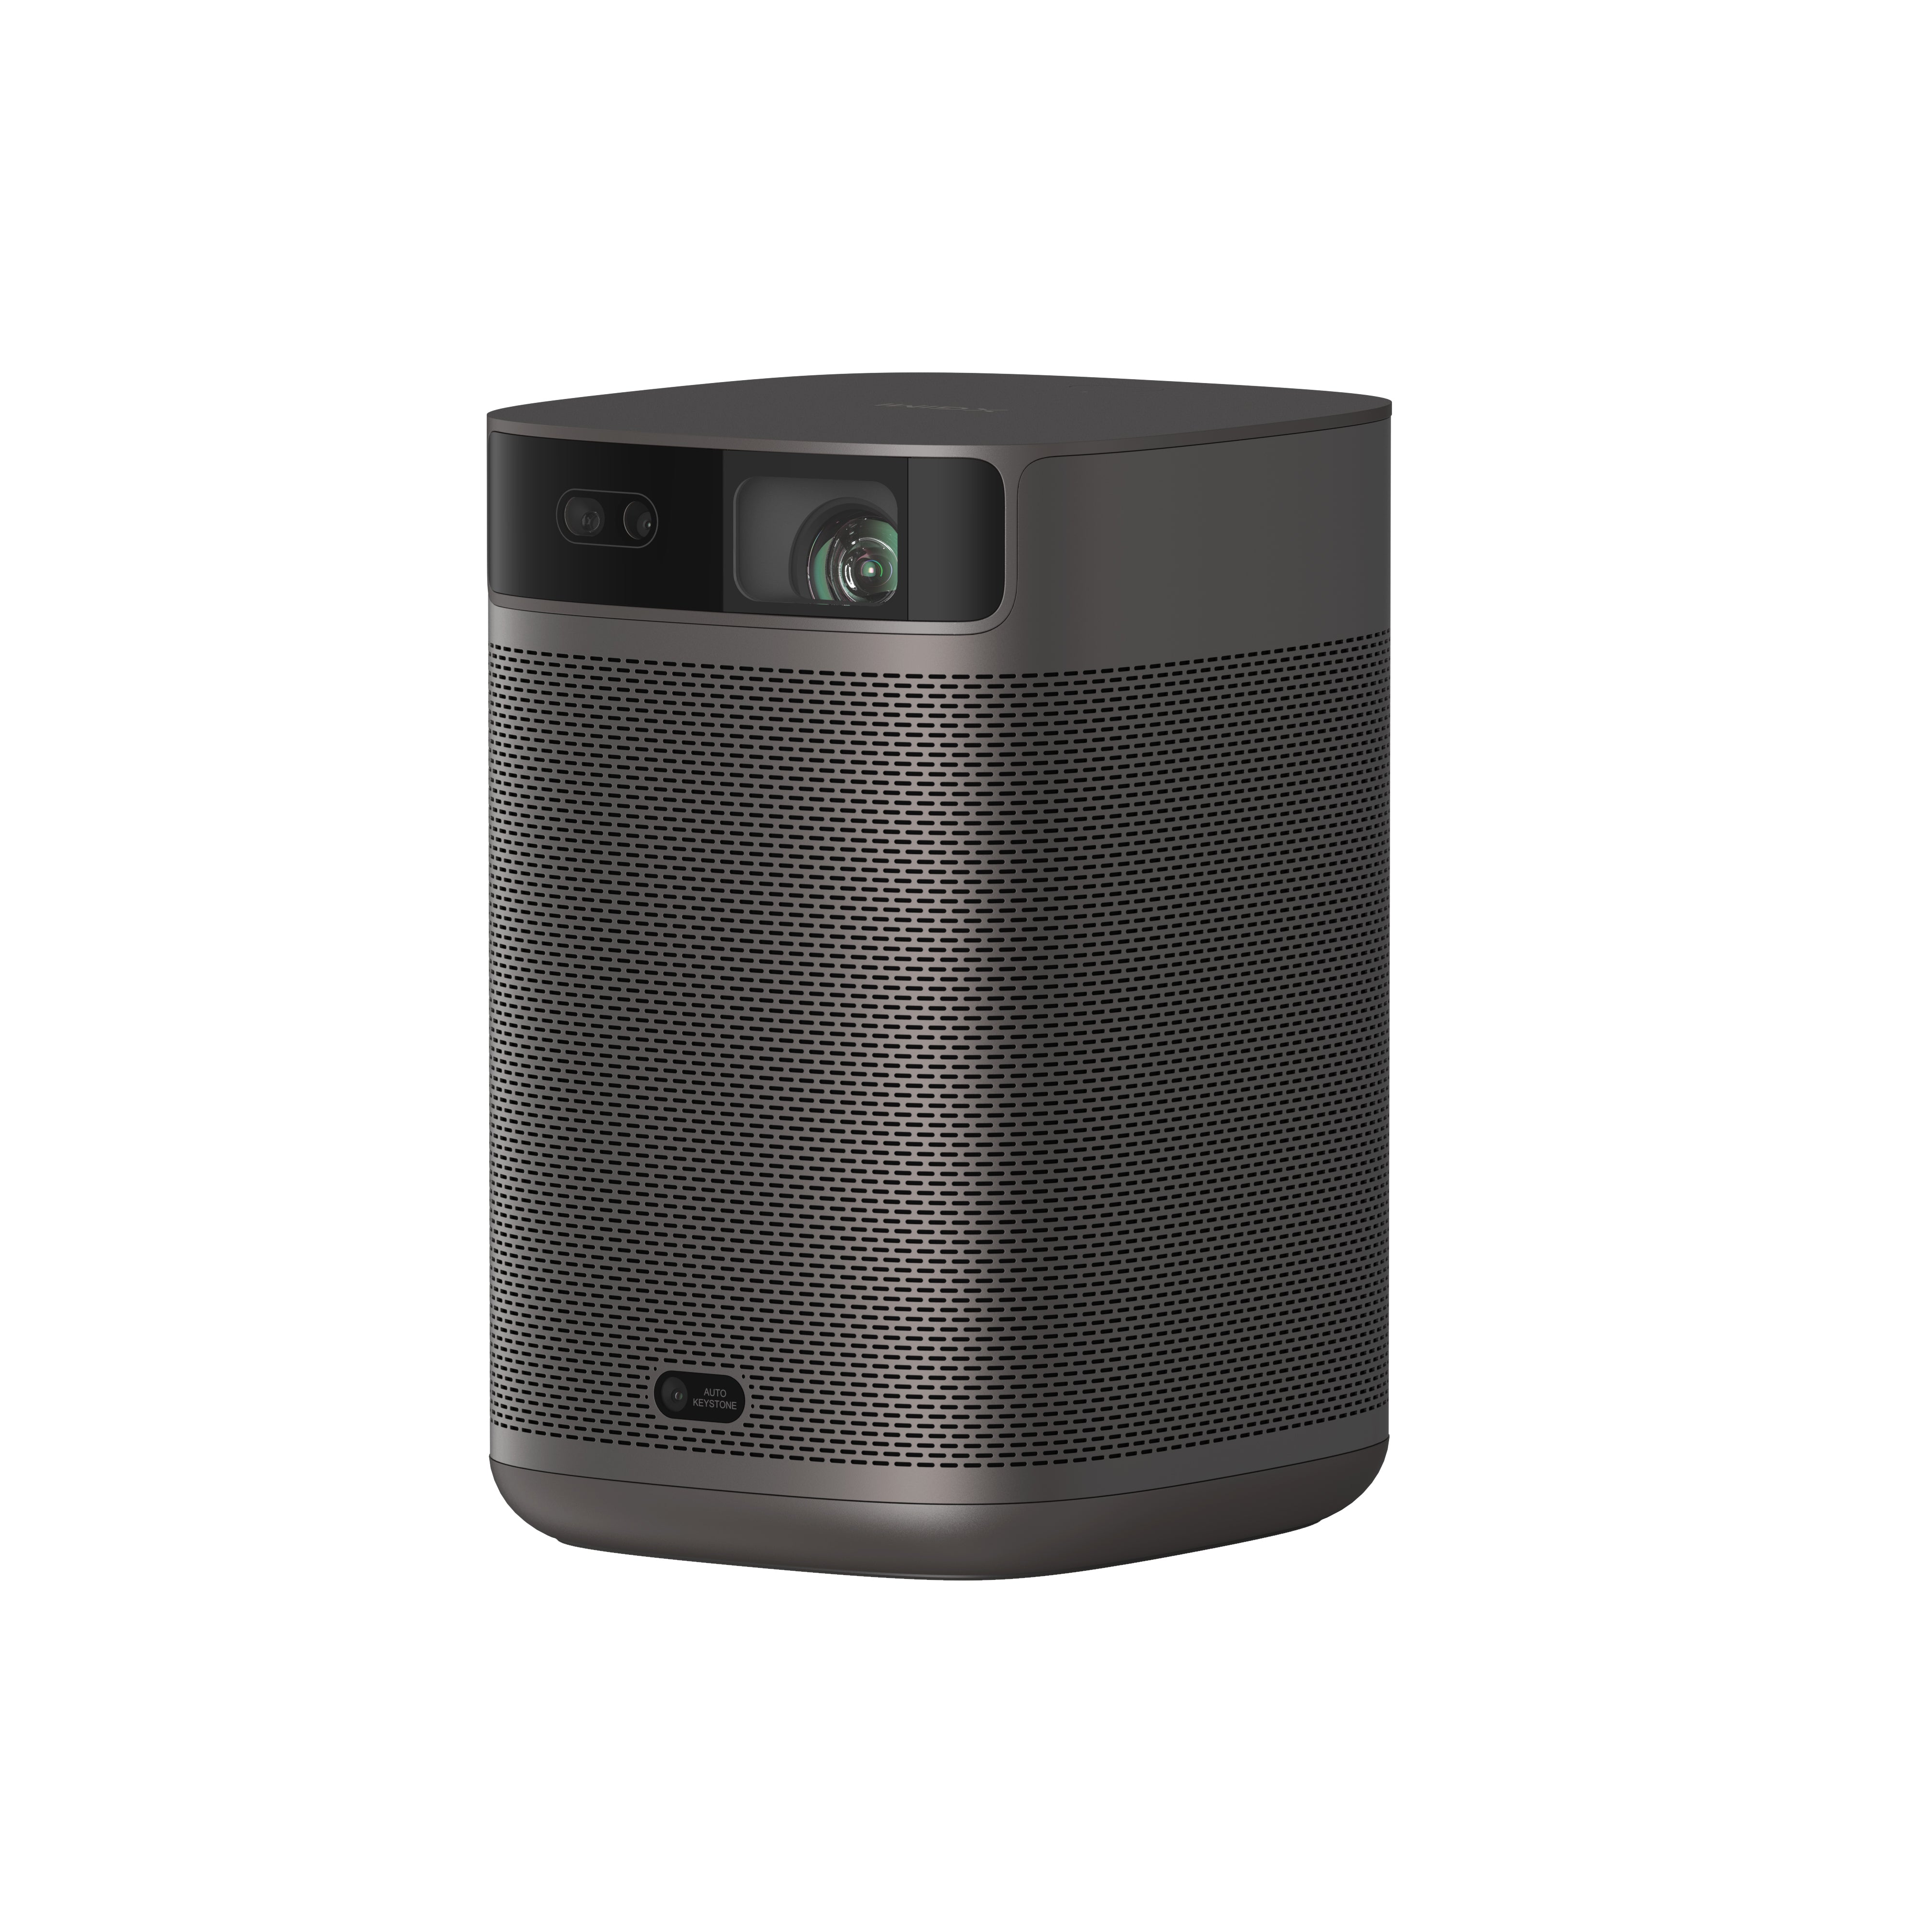
XGIMI MoGo 2 Portable Video Projector 720p
- Cinematic Visuals: MoGo 2's 400 ISO lumens, integrated D65 color temperature standard, and 90% DCI-P3 color gamut offer a cinematic big-screen experience with bright, colorful images.
- Plug and Play: Let MoGo 2 do the work for you. With our industry-leading ISA 1.0 technology, enjoy the easiest projector setup experience.
- Movies on the Go: MoGo 2 connects to your power bank and is easy to move to different rooms or during your outdoor adventures.
- 8W Speakers with Dolby Audio: MoGo 2's built-in dual 8W speakers with Dolby Audio provide impressive sound, helping you immerse in your favorite movies, music, and more!
- Android TV 11.0, Thrilling 3D Movies at Home: MoGo 2 decodes 4K video smoothly and supports 3D content. With the upgraded Android TV 11.0, you get the ultimate user-friendly experience.
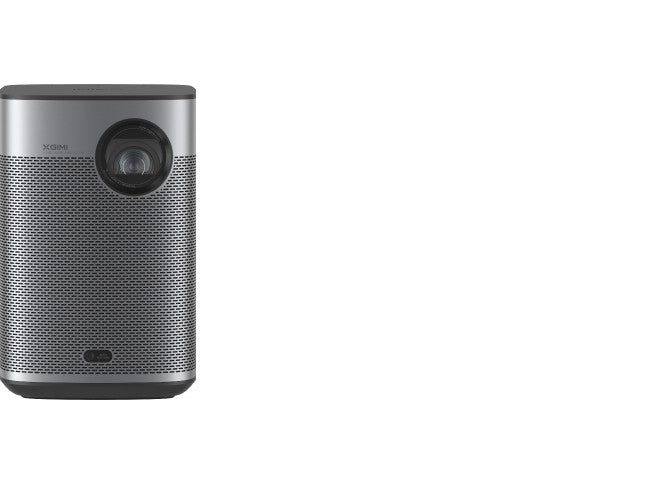
XGIMI MoGo 2 Pro 1080p Portable Projector
- Hollywood-Standard Visuals: With 400 ISO lumens, integrated D65 color temperature standard adopted by Hollywood, and a 90% DCI-P3 color gamut, all colors are restored in brilliant, lifelike detail.
- Seamless Setup, Smart Projecting in a Snap: Our new ISA 2.0 technology ensures you never miss a moment of your favorite movies, TV shows, or games.
- 8W Speakers with Dolby Audio: MoGo 2 Pro offers a deeply immersive and cinematic audio experience thanks to its built-in dual 8W speakers with Dolby Audio.
- Smooth Android TV 11.0 and 3D Movies at Home: Decodes 4K video seamlessly and supports 3D content. Moreover, the upgraded Android TV 11.0 provides the ultimate user-friendly viewing experience.
- Movies on the Go: Easily connect MoGo 2 Pro to your power bank, allowing you to move it to different rooms or take it on your next outdoor adventure.
Final Takeaway
Connecting your computer to a projector is easy—just choose the method that best suits your setup, whether wired or wireless. Check your projector’s ports, select the right input source, and follow the simple prompts that may follow. For the best results, always refer to your user manual and enjoy immersive, big-screen entertainment in minutes.
Product Recommendations
Just Play,
Your Way
Google TV Smart 1080p Projector On-the-Go

Mini Size,
Maximum Entertainment

Mini Remote Control
Enjoy $10 off Your Next Purchase
Be the first to know about any news and sales!


