


Imagine this: it’s a weekend evening, and you’re cozily nestled on a soft sofa. The room lights dim, and your projector beams a bright light onto a white wall, quickly forming a stunning, large-sized image. It’s a great movie, and every detail on screen is crisp and vivid—pulling you into another world. With its unique appeal, XGIMI projectors have become a favorite among home theater lovers, offering a cinema-like experience without leaving home.
Getting the best projection image at home is easier than you think. XGIMI projectors are equipped with highly automated image correction features. Below are some useful tips and techniques to help you fine-tune your setup for the best picture quality:

1. Choose the Right Projector Placement
• Projection Distance
The projection distance affects how large your image will be. Most XGIMI projectors, like the MoGo and Elfin Flip series, have a throw ratio of 1.2:1. This means you’ll need a distance of about 2.6 meters (8.5 ft) to project a 100" image. The farther the distance, the larger the image; the closer the distance, the smaller the image.
Some high-end models, such as the HORIZON Ultra, support optical zoom with a throw ratio of 1.2–1.5:1, giving you more flexibility to adjust image size without sacrificing quality.
There are also ultra short throw projectors, like the AURA 2, which can project a 100" image from just 17.8 cm (7 in) away. So, if you want that perfect big-screen experience, choosing the right distance is key.
• Projection Angle
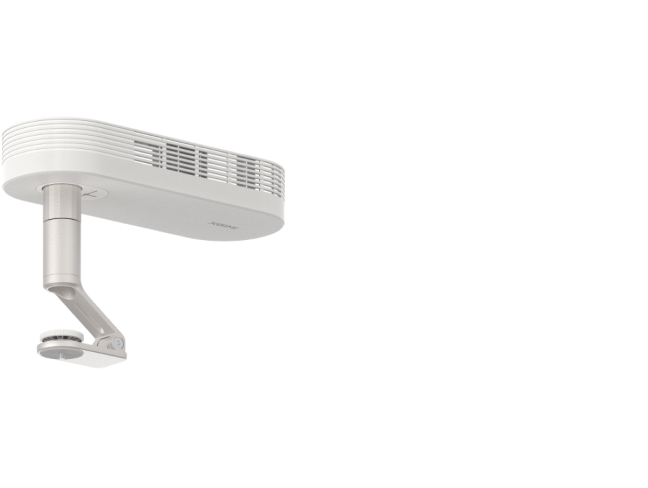
If you’re aiming for a perfect image with no distortion or cropping, try to keep your projector facing the wall or screen head-on—this is called front projection. You can use ceiling mounts or floor stands to achieve this.
However, it’s common to place the projector beside a sofa or on a bedside table, which results in side projection. In that case, try to minimize the angle to reduce image distortion.
2. Fine-Tune Your Image with Keystone Settings
Once you've set up your XGIMI projector, it will automatically correct the image and focus for you. Some models even support intelligent obstacle avoidance and automatic screen alignment. But if you like to fine-tune things yourself or your projector isn’t adjusting properly, here are some handy features you can use:
• How to Avoid Obstacles on the Wall?
Thanks to advanced sensors and algorithms, XGIMI projectors can detect wall obstacles like paintings, light switches, or corners and automatically avoid them for better image positioning.
To enable this, go to: Settings > Projector > Keystone > Keystone settings, then turn on Intelligence Obstacle Avoidance.
 • How to Align with a Projection Screen?
This feature lets the projector detect the borders of your screen and automatically align the image for a perfect fit.
To enable this, go to: Settings > Projector > Keystone > Keystone settings, then turn on Intelligence Screen Alignment.
Tips: Make sure the initial projection image fully covers the screen area. If it doesn’t, the projector won’t be able to align the edges correctly.

• Want to Adjust Image Size Manually?
After using smart functions like obstacle avoidance or screen alignment, manual adjustments are usually unnecessary. But if needed, you can fine-tune the image size:
To enable this, go to: Settings > Projector > Keystone > Image Zoom, then use the left/right buttons on the remote to adjust the size.
To reset to the default size, go to: Settings > Projector > Keystone > Screen Restore.

3. Optimize and Maintain Your Viewing Environment
• Control Ambient Light
Lighting can make a huge difference. Try to reduce ambient light as much as possible. Use blackout curtains or turn off the lights while watching. During the day, drawing the curtains will greatly enhance the contrast and color vibrancy of the image.
• Use the Right Screen
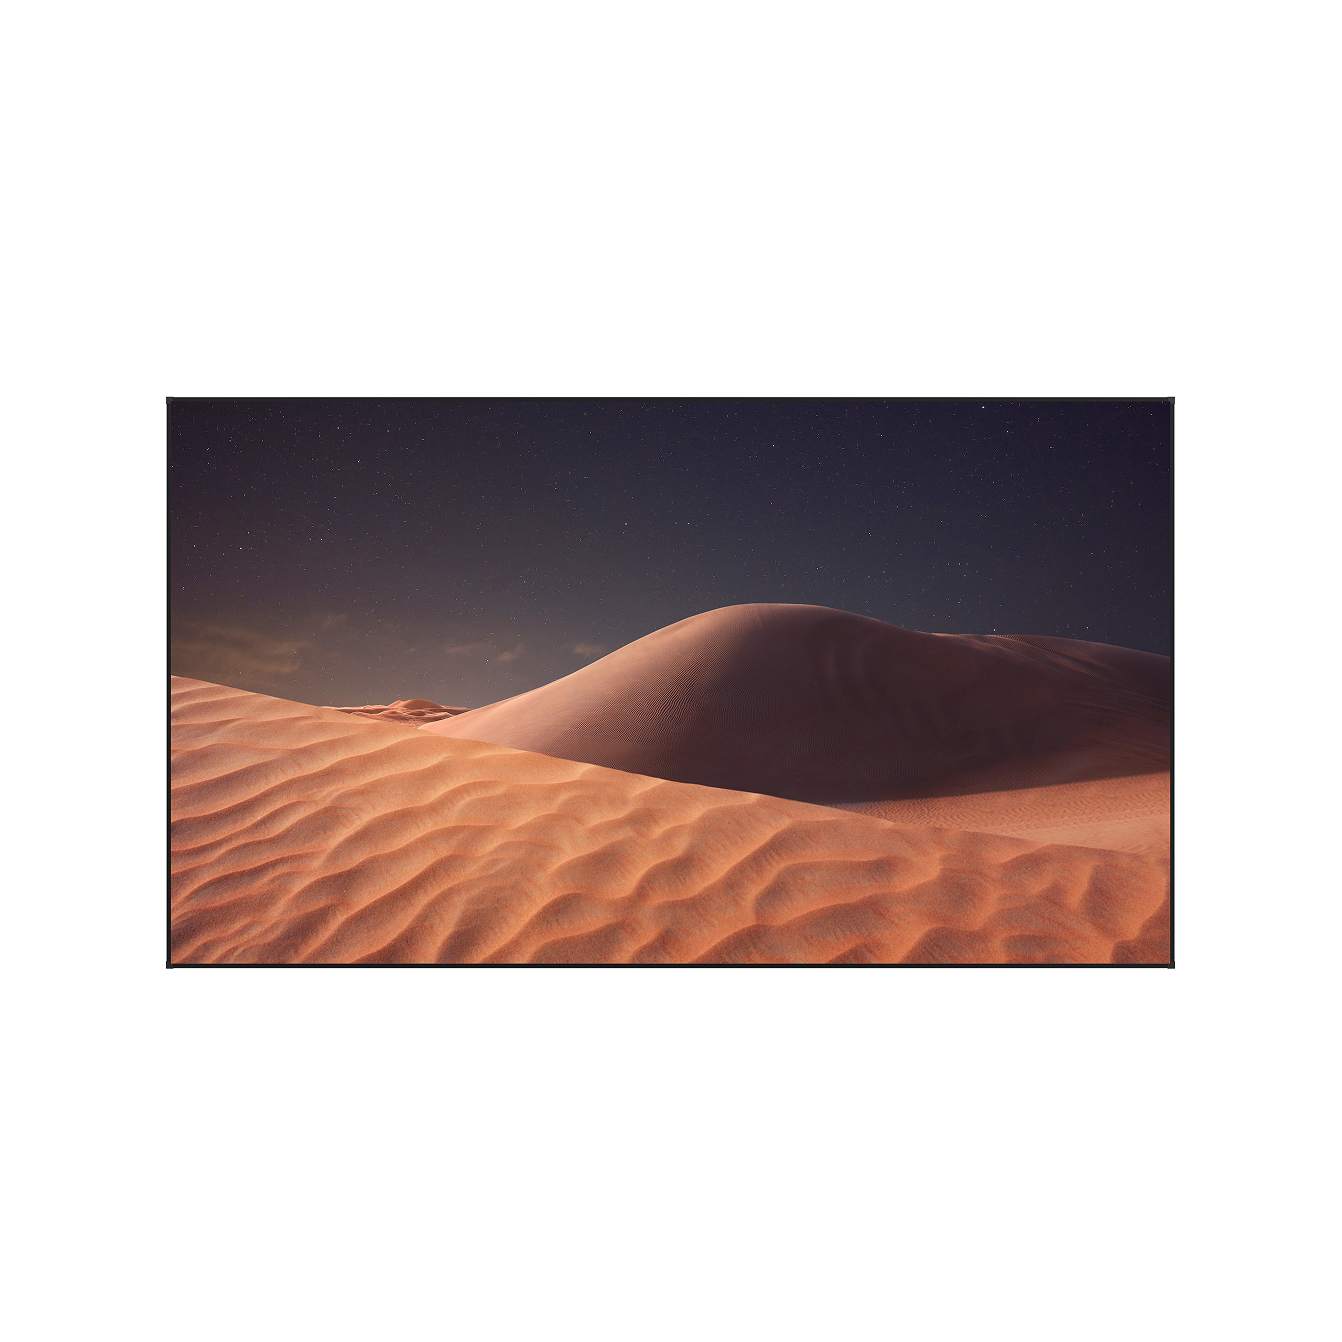
The type of screen also affects picture quality. If your room has a lot of light, consider a light-rejecting screen. If your wall isn’t suitable for projection, a simple white screen (photon screen) will do. A screen size of 80–100 inches is ideal for most setups.
Final Thoughts
XGIMI projectors are designed with user convenience in mind, making it easy to enjoy a high-quality image without complicated setups. With intelligent features like auto-focus, keystone correction, and screen alignment, you can sit back and let your projector do the work.
Whether you're enjoying a movie, a show, or playing games, a well-optimized projector setup can turn your living room into a mini theater. With these tips, you're just a few steps away from creating your own immersive home cinema experience.


