How to Connect Apple TV to a Projector?
By XGIMI Tech - 2023-08
Connecting Apple TV to projector is a simple way to amplify your media consumption. By utilizing the right cables and ensuring compatibility, you can seamlessly stream your favorite content on a larger screen.
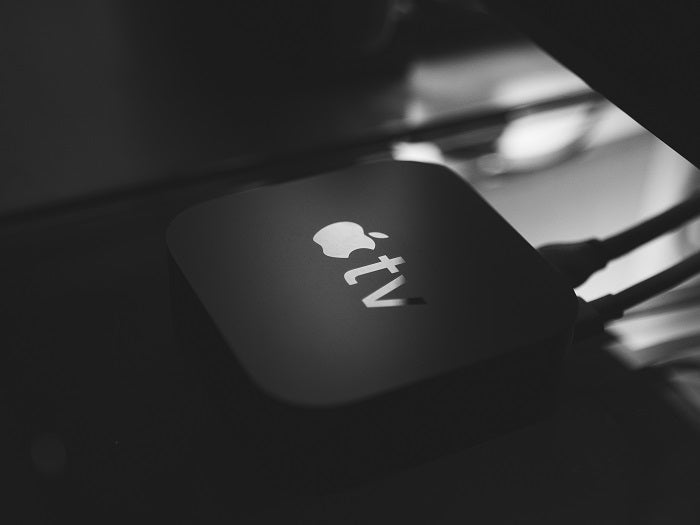
What is Apple TV? Wikipedia notes that "Apple TV is a digital media player and a microconsole developed and marketed by Apple. It is a small piece of networking hardware that sends received media data such as video and audio to a TV or external display."
This guide outlines the steps to connect Apple TV to a projector, enhancing your viewing experience and expanding your entertainment possibilities.
1. Connect Apple TV to a Projector with an HDMI Cable
Connecting your Apple TV to a projector is a fantastic way to enjoy your favorite movies, TV shows, and presentations on a big screen. By following these simple steps, even if you are a novice, you can set up your Apple TV with a projector using an HDMI cable for an immersive viewing experience.
Step 1: Power on Both Devices
Before you start the connection process, ensure your Apple TV and projector are powered on and ready to use. Check that they are connected to a power source and turned on.
If you need help with how to power on your Apple TV or projector, refer to their respective user manuals for guidance.
Step 2: Locate HDMI Ports on Apple TV and Projector
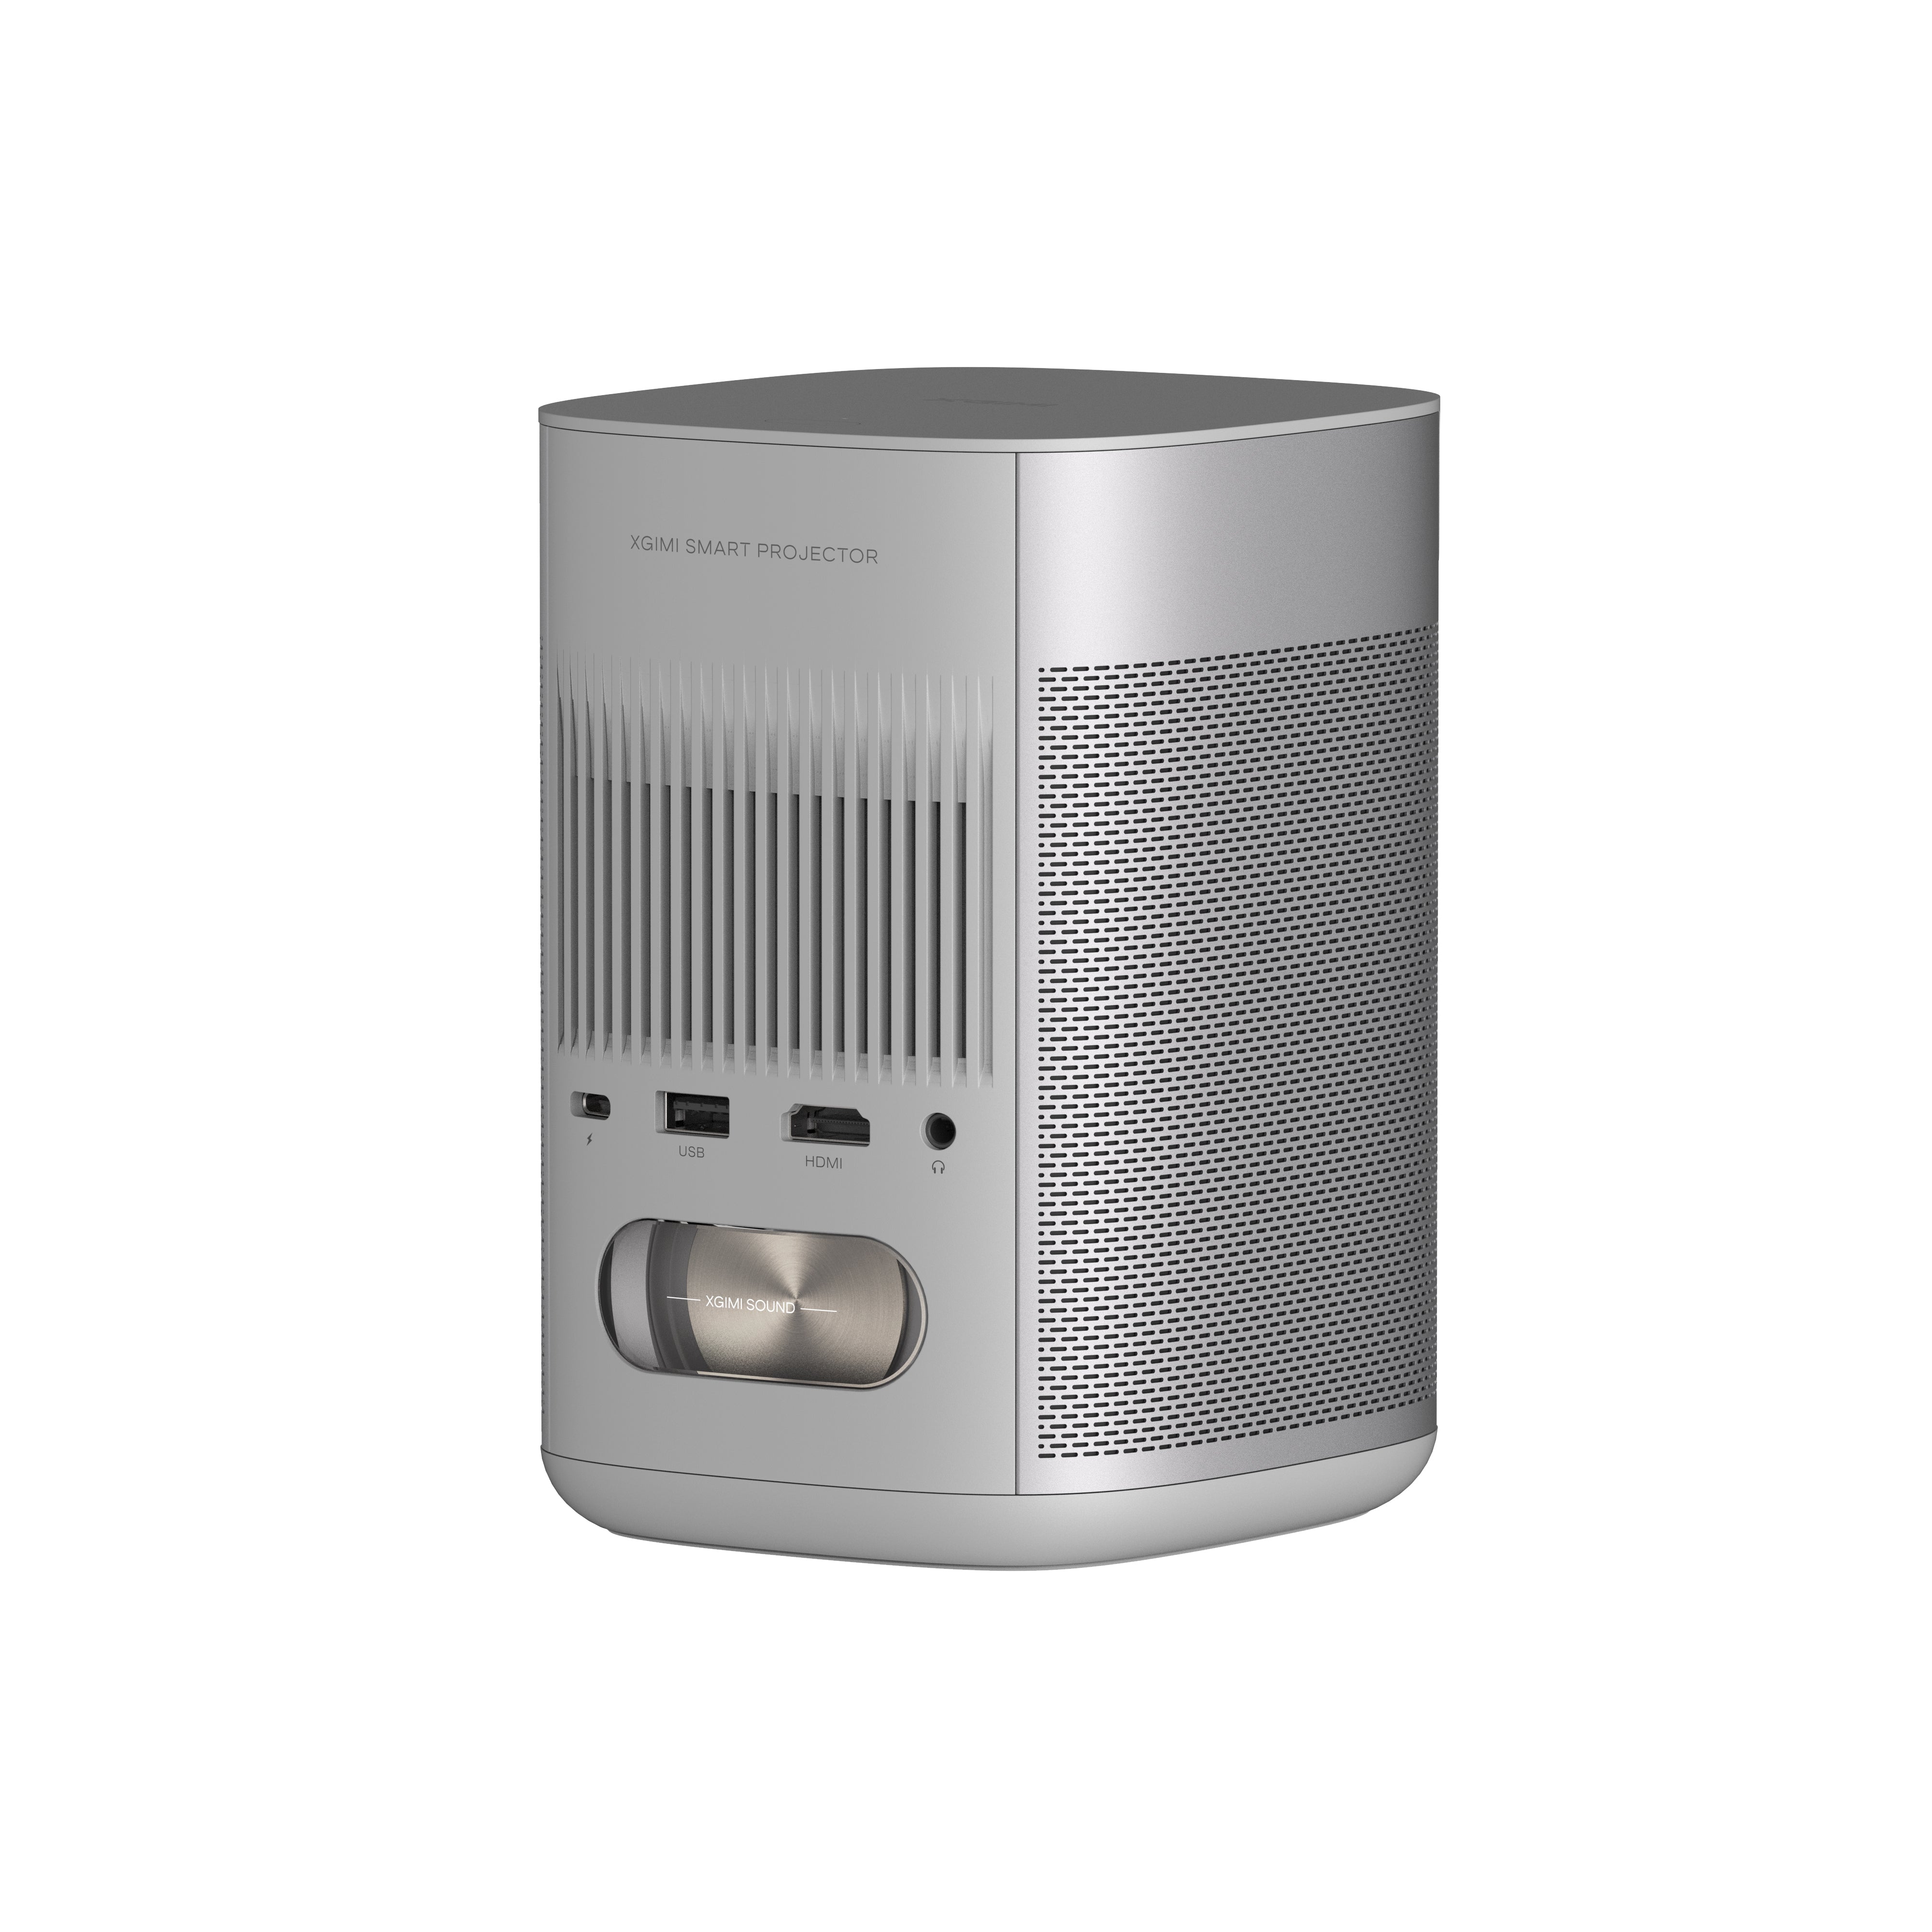
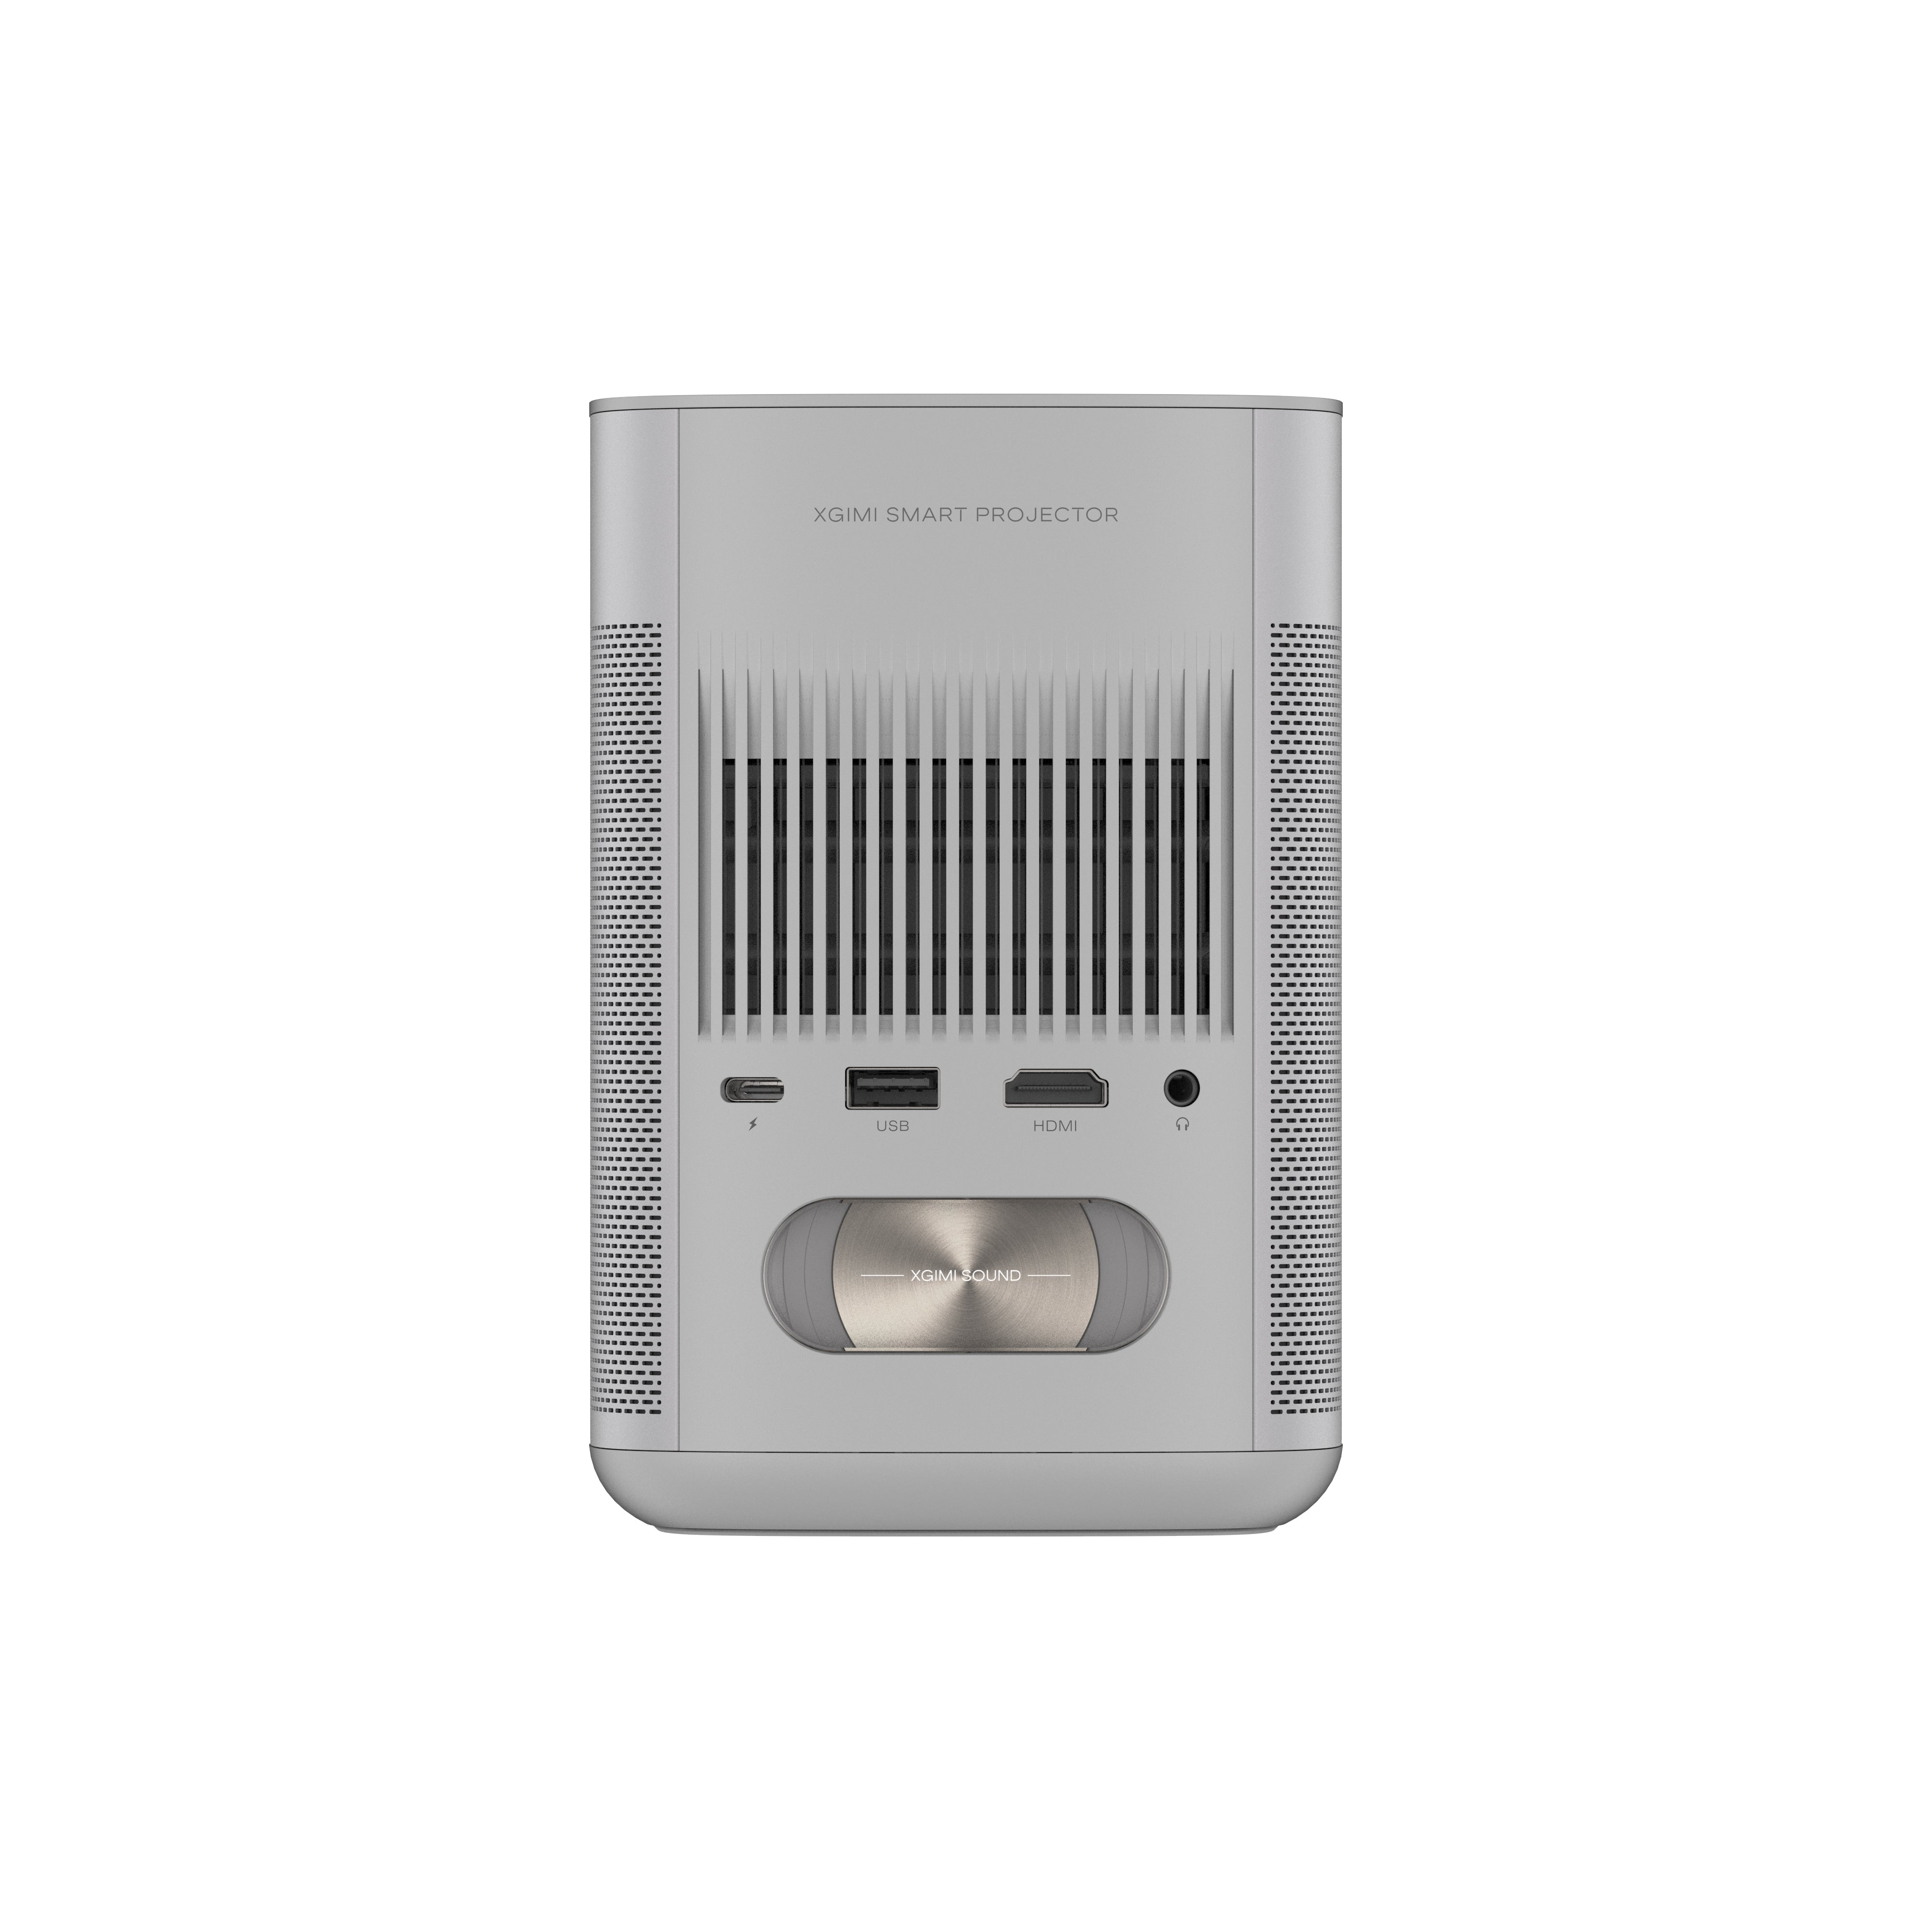
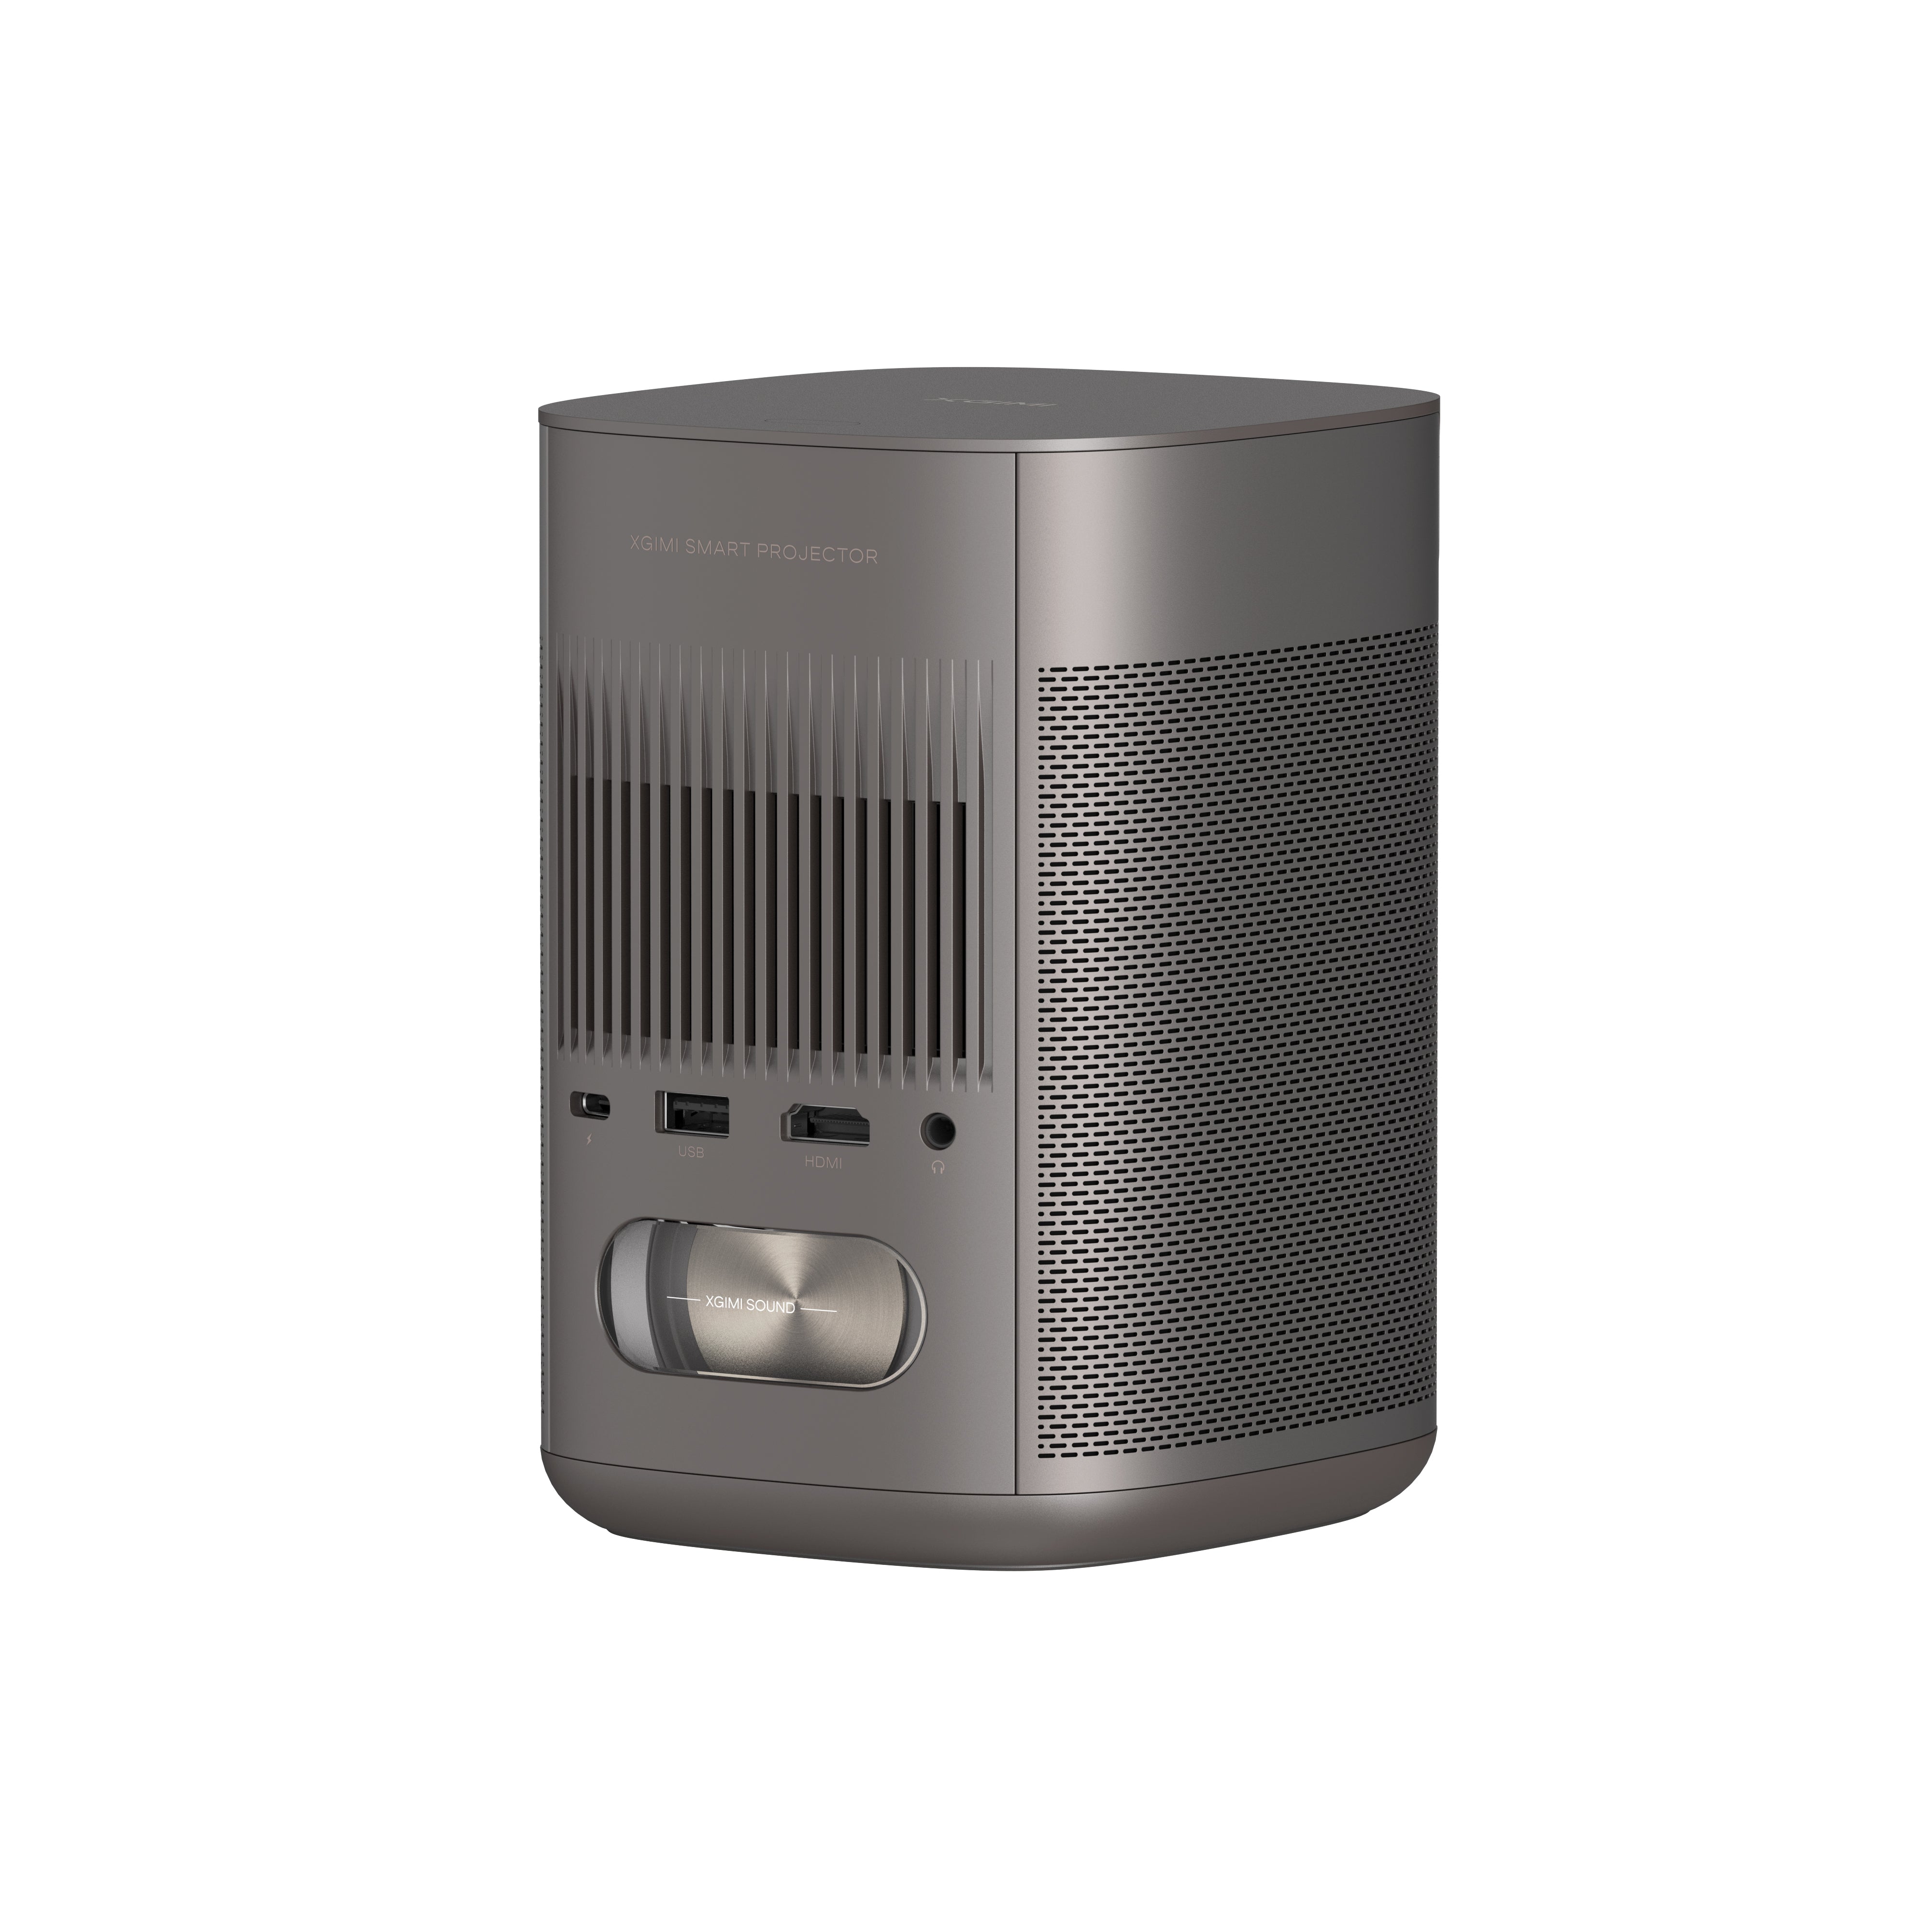
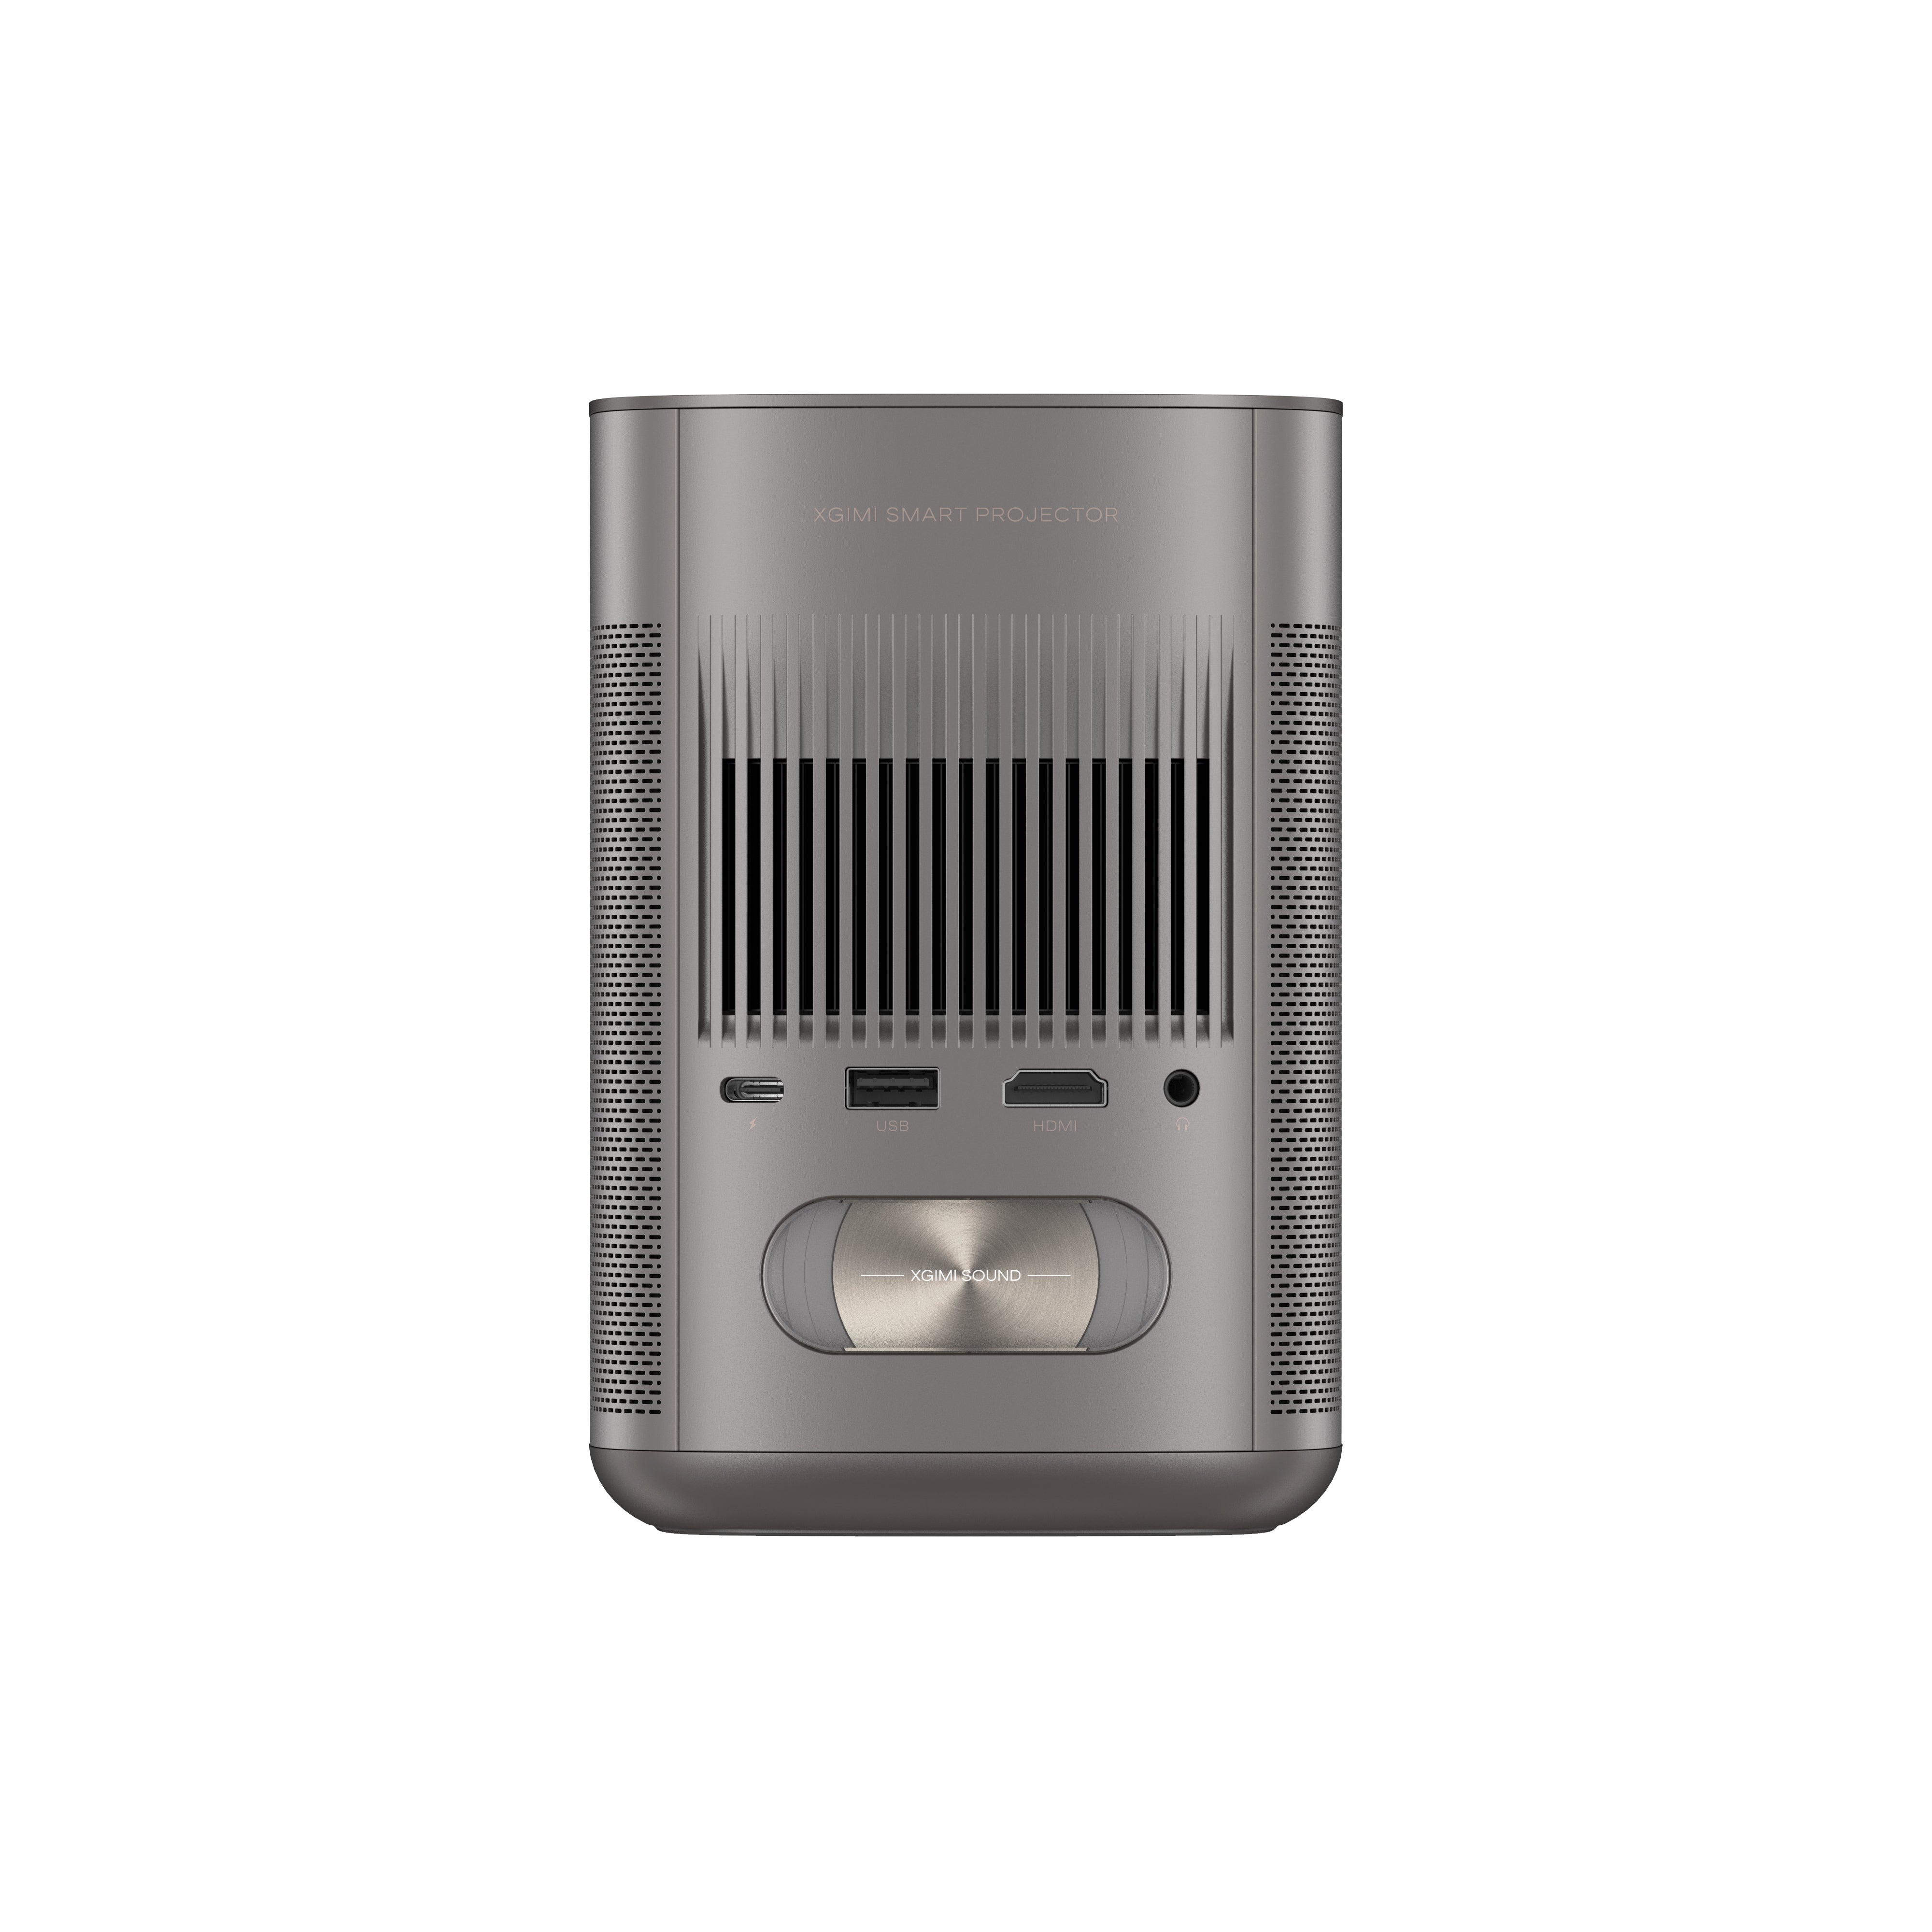
You'll find an HDMI output port on the back of your Apple TV. Take note of its location. A small rectangular port allows you to transmit audio and video signals.
Now, look at your projector, either on the back or side, and find the HDMI input port. It is usually labeled "HDMI" and is identical in shape to the HDMI cable's plug.
Step 3: Connect Apple TV and Projector with an HDMI Cable
Take one end of the HDMI cable and insert it firmly into the HDMI output port on your Apple TV. Make sure it fits securely to avoid any loose connections.
Then, plug the other end of the cable into the HDMI input port on your smart projector. Make sure it's snugly connected.
Step 4: Select the Correct HDMI Source on the Screen
Once the HDMI cable is securely connected between the Apple TV and projector, use your projector's remote control or on-screen menu to select the correct HDMI source. This will display the output from your Apple TV on the projector screen.
Use the remote's arrow keys or buttons to navigate the menu and select the appropriate HDMI input. Depending on your projector model, the HDMI source might be labeled "HDMI 1," "HDMI 2," or something similar.
With these steps completed, your Apple TV is now successfully connected to your projector, and you can start enjoying your content on the big screen. Adjust the audio settings if necessary, and have a great time with your enhanced viewing experience.

2. Connect Apple TV to VGA Projector with an Adapter
If your projector doesn't have an HDMI input, you can still connect your Apple TV using a HDMI adapter. Some old models are still using the VGA port for video input. Follow these steps for a successful setup:
Step 1: Purchase a VGA to HDMI Adapter
Visit an electronics store or search online for a VGA to HDMI adapter compatible with your projector and Apple TV. Getting a suitable adapter is crucial to ensure a smooth and reliable connection.
Step 2: Power off Both Devices
Before the setup, ensure your projector and Apple TV are powered off. Unplug them from their power sources to avoid any potential electrical issues.
Step 3: Connect the Adapter to the Projector
Locate the VGA output port on your projector. It is typically blue and has three rows of pins. Take one end of the VGA cable and insert it securely into the VGA output port of your projector.
Step 4: Connect the Adapter to Apple TV
You'll find the VGA input on the other end of the VGA cable. Connect this end to the VGA input of the VGA to HDMI adapter. Ensure that the connection is firm and stable.
Step 5: Connect the HDMI end of the Adapter
Next, take the HDMI end of the VGA to HDMI adapter and plug it into the HDMI output port of the adapter. The HDMI port on the adapter should be similar to the HDMI cable's plug.
Step 6: Power on Both Devices
Now that all the connections are in place, power on your projector and Apple TV. Wait for them to fully boot up before proceeding to the next step.
Step 7: Select the Correct Input Source
Using your projector's remote control or on-screen menu, choose the input source corresponding to the HDMI connection you established through the VGA to HDMI adapter. This will display the output from your Apple TV on the projector screen.
Step 8: Configure Display Settings
Once the connection is established, you may need to adjust the display settings on your Apple TV to ensure the best image quality. Navigate to the Apple TV settings and configure the resolution and aspect ratio to match your projector's capabilities.
With these steps completed, your Apple TV is now successfully connected to your projector without using an HDMI cable. You can enjoy your content on the big screen and make the most of your Apple TV features. Adjust the audio settings if necessary, and have a great time with your enhanced viewing experience.
3. FAQs
Further Reading: How to Cast iOS Devices to Projector? Wired and Wireless Ways Included.
Q1: What type of cables are needed to connect an Apple TV to a projector?
You will need an HDMI cable to connect an Apple TV to a projector. HDMI (High-Definition Multimedia Interface) cables transmit high-quality audio and video signals, making them ideal for connecting devices like Apple TV to projectors. Ensure that the HDMI cable you choose is of good quality and has the appropriate length to reach your Apple TV and projector.
Q2: Can You connect Apple TV to your projector wirelessly?
It is possible to connect an Apple TV to a compatible wireless projector using a wireless HDMI transmitter and receiver set. However, the HDMI cable for wired connection is the most stable and reliable way.
If your projector is a smart model that already supports AirPlay or has built-in streaming apps, you can simply stream content directly to it. For example, XGIMI MoGo 3 Pro and MoGo 4 have built-in Google TV system with Netlifx, Hulu, Prime Video, and so on. In this case, the projector itself works like an Apple TV, so you don’t really need an additional Apple TV device or HDMI connection.
Q3: How do I adjust the settings on my projector to ensure a good connection?
To ensure a good connection and optimal display quality, follow these steps:
1. Power on your projector and Apple TV.
2. Use the projector's remote control or on-screen menu to select the correct input source corresponding to your established HDMI connection (e.g., HDMI 1 or HDMI 2).
3. Adjust the aspect ratio and resolution on your projector to match the capabilities of your Apple TV. Setting the aspect ratio to 16:9 and the resolution to a minimum of 1920x1080 (Full HD) is recommended for most content.
4. Use the projector's focus and zoom controls, if available, to adjust the image size and clarity for your viewing environment.
Adjusting these settings correctly ensures a good connection and achieves the best possible picture quality on your projector screen.
Q4: What type of projector is best for connecting to an Apple TV?
Any projector with an HDMI input is suitable for connecting to an Apple TV. However, for the best viewing experience, consider a projector with high resolution, brightness, and color accuracy. Look for projectors that support at least Full HD 1080p (1920x1080) resolution or higher for crisp and clear visuals.
Additionally, projectors with higher brightness (measured in lumens) are better for rooms with more ambient light, while those with better color accuracy provide more vibrant and true-to-life colors.
Q5: What additional equipment may be needed to connect an Apple TV to a projector?
In most cases, an HDMI cable is all you need to connect an Apple TV to a projector. However, you'll require a VGA to HDMI adapter if your projector lacks an HDMI input. Make sure to get a compatible adapter to ensure smooth signal transmission. Additionally, ensure both your Apple TV and projector have access to power sources, and for wireless connections using AirPlay, a stable Wi-Fi network is necessary.
Elevate Your Entertainment with XGIMI Portable Projectors!
From outdoor movie nights to business presentations, our projectors offer unmatched versatility and quality. Experience HD visuals anywhere you desire. Take the cinematic experience with you – call now and embark on a journey of immersive entertainment with XGIMI portable projectors!
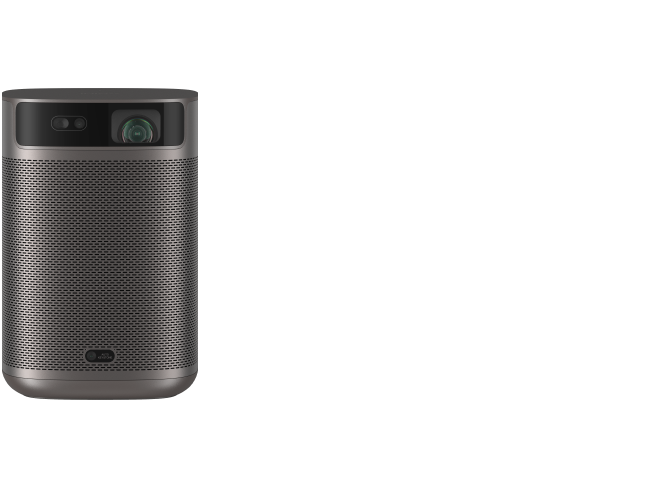
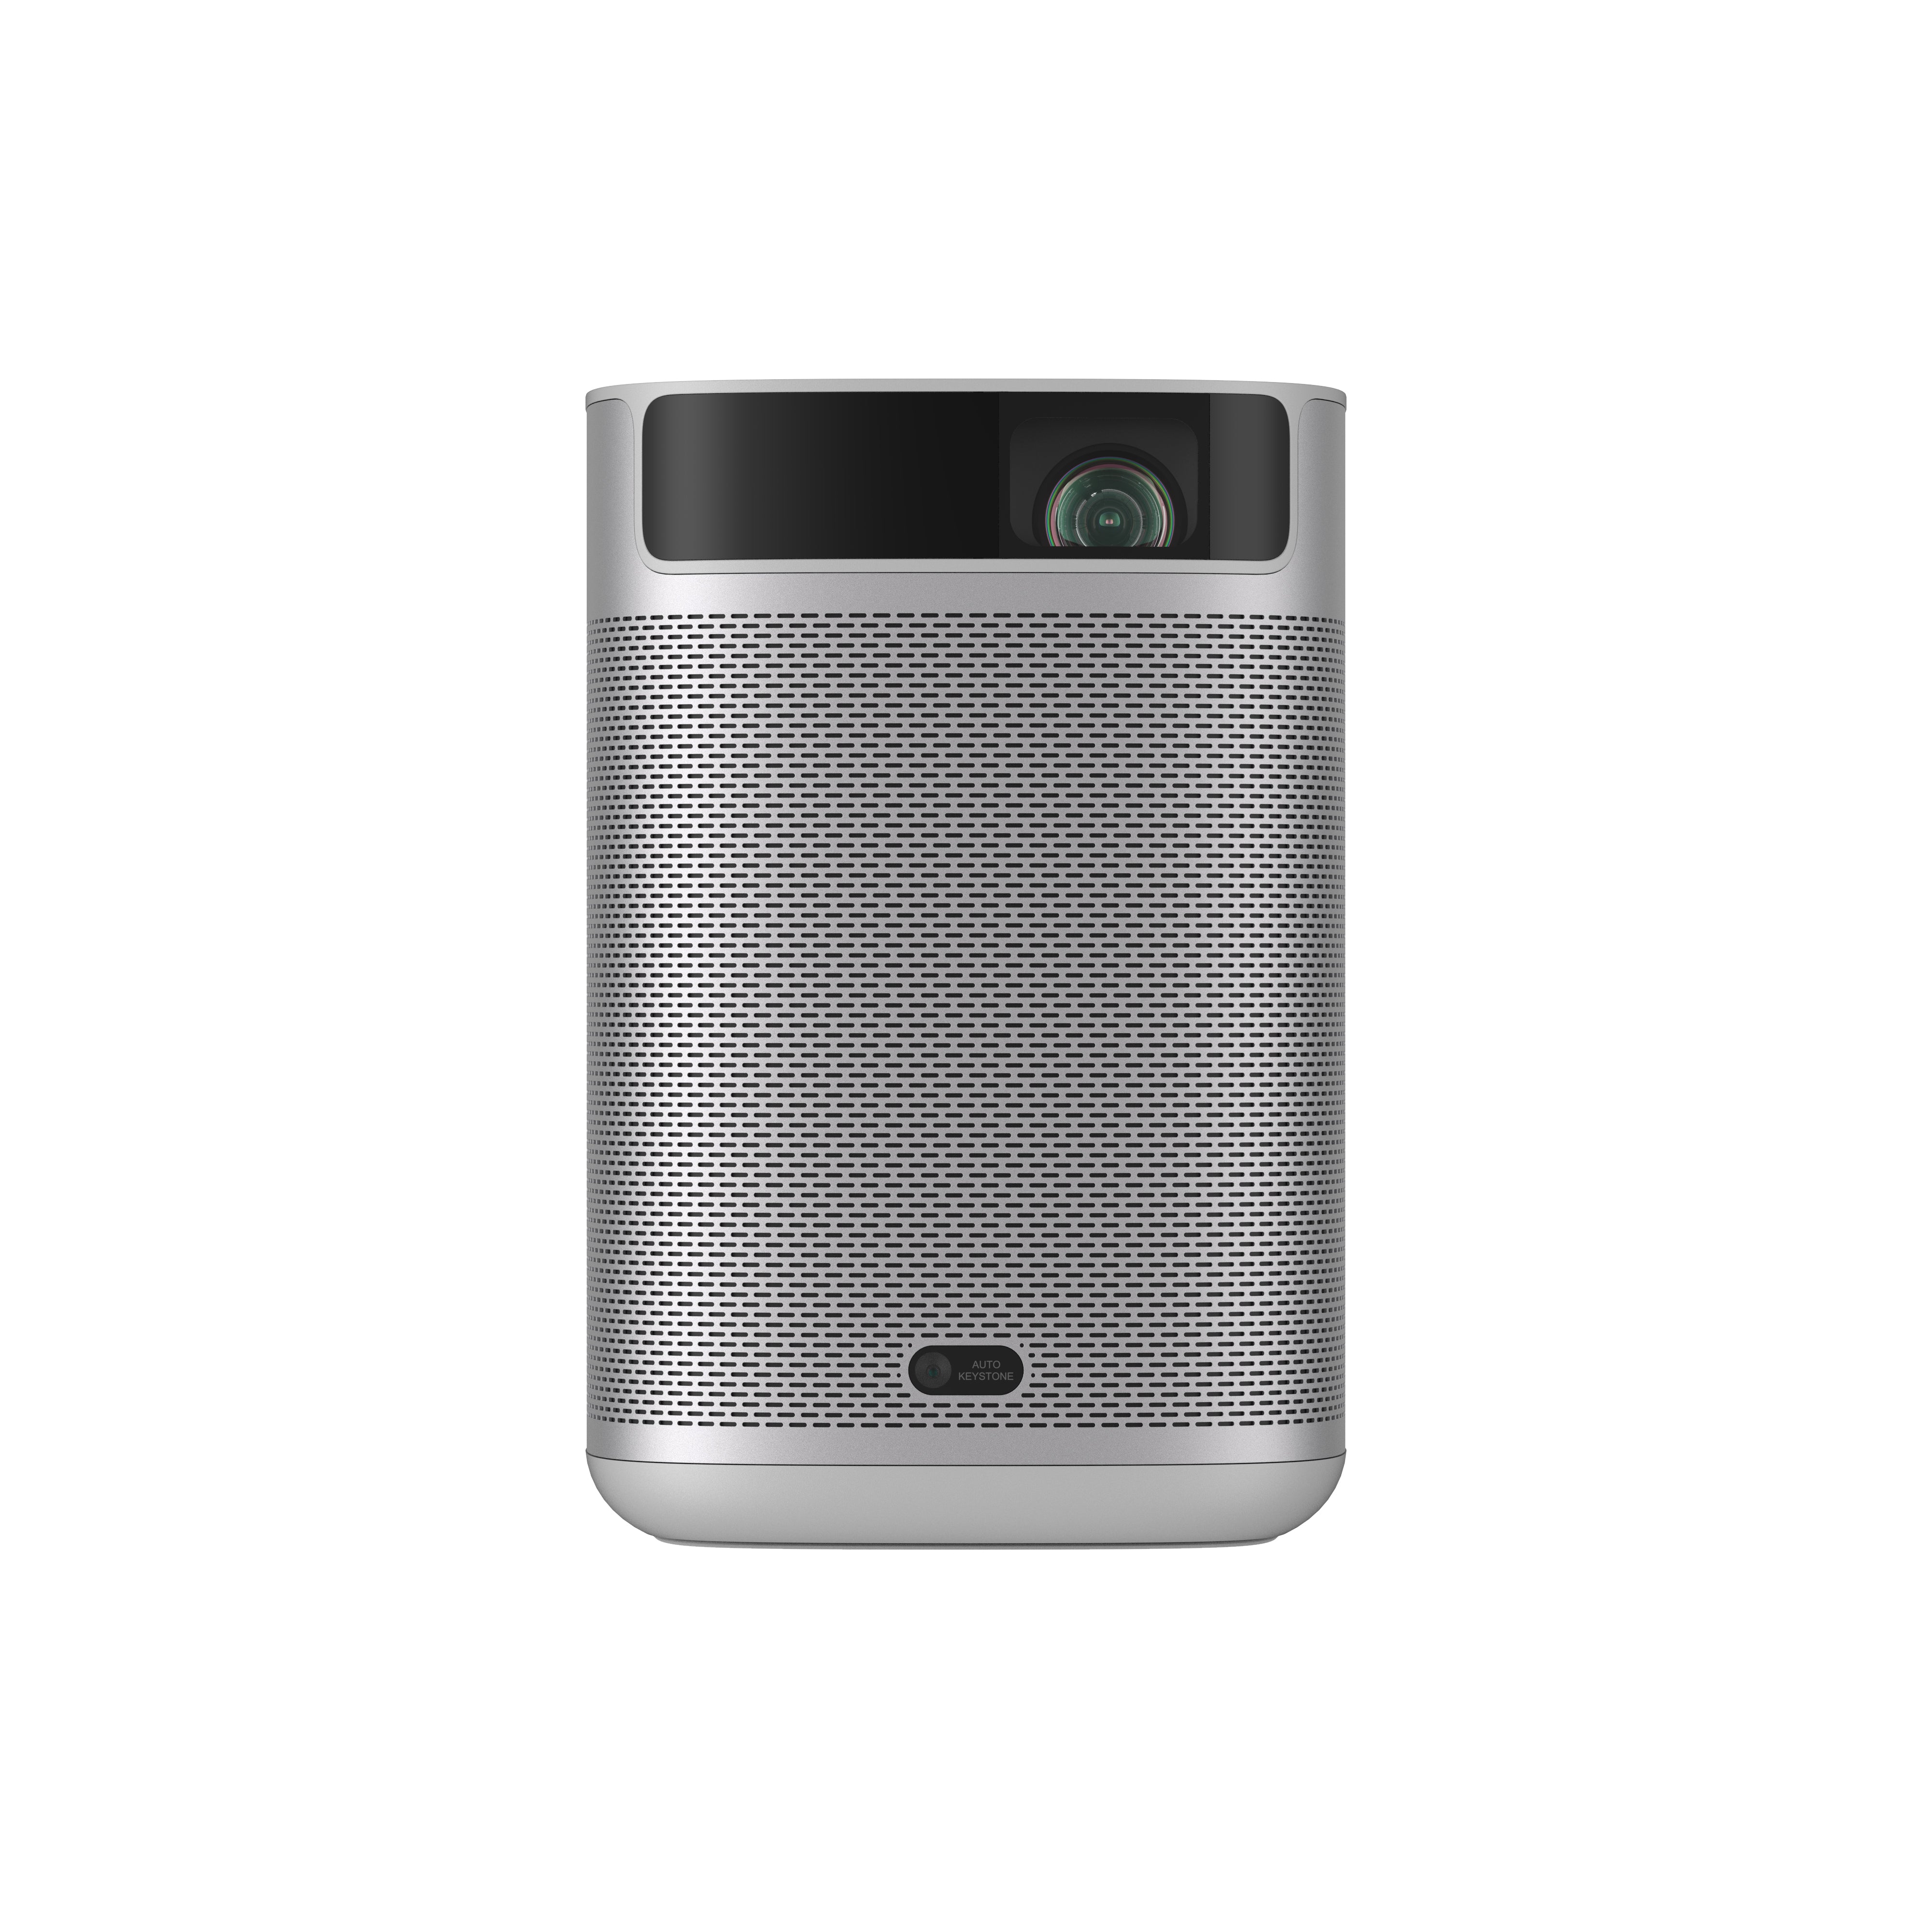
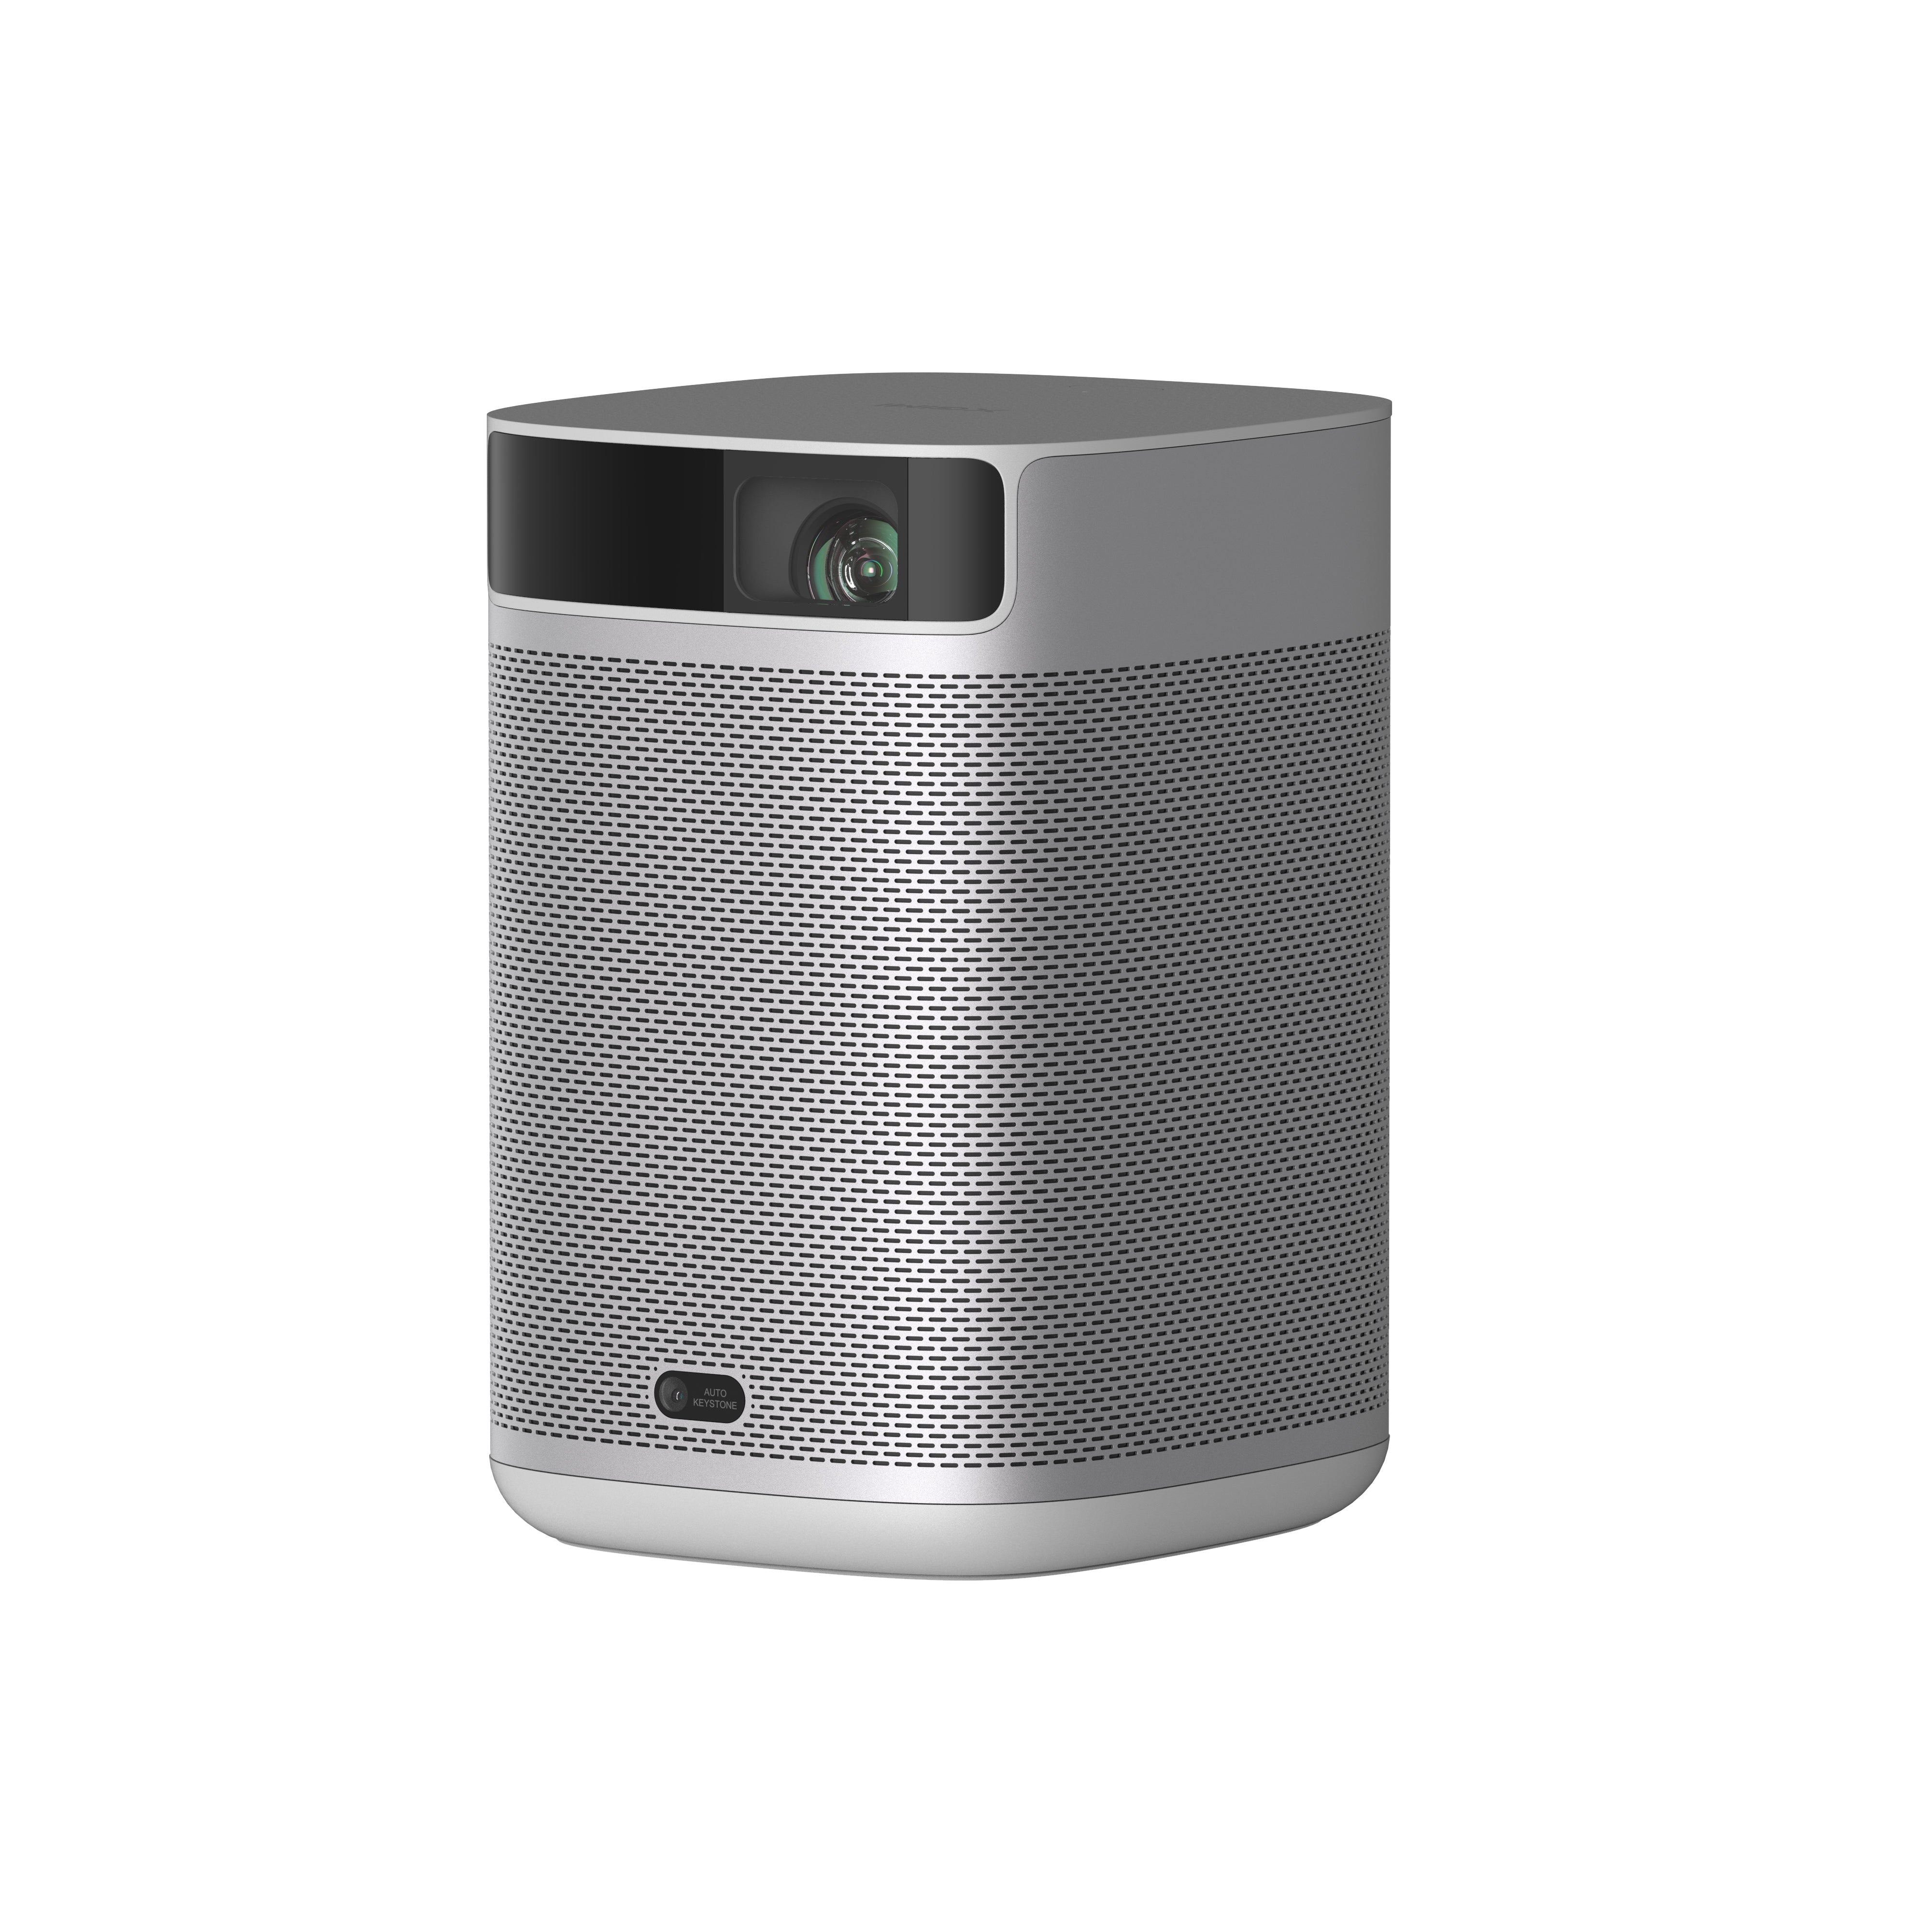
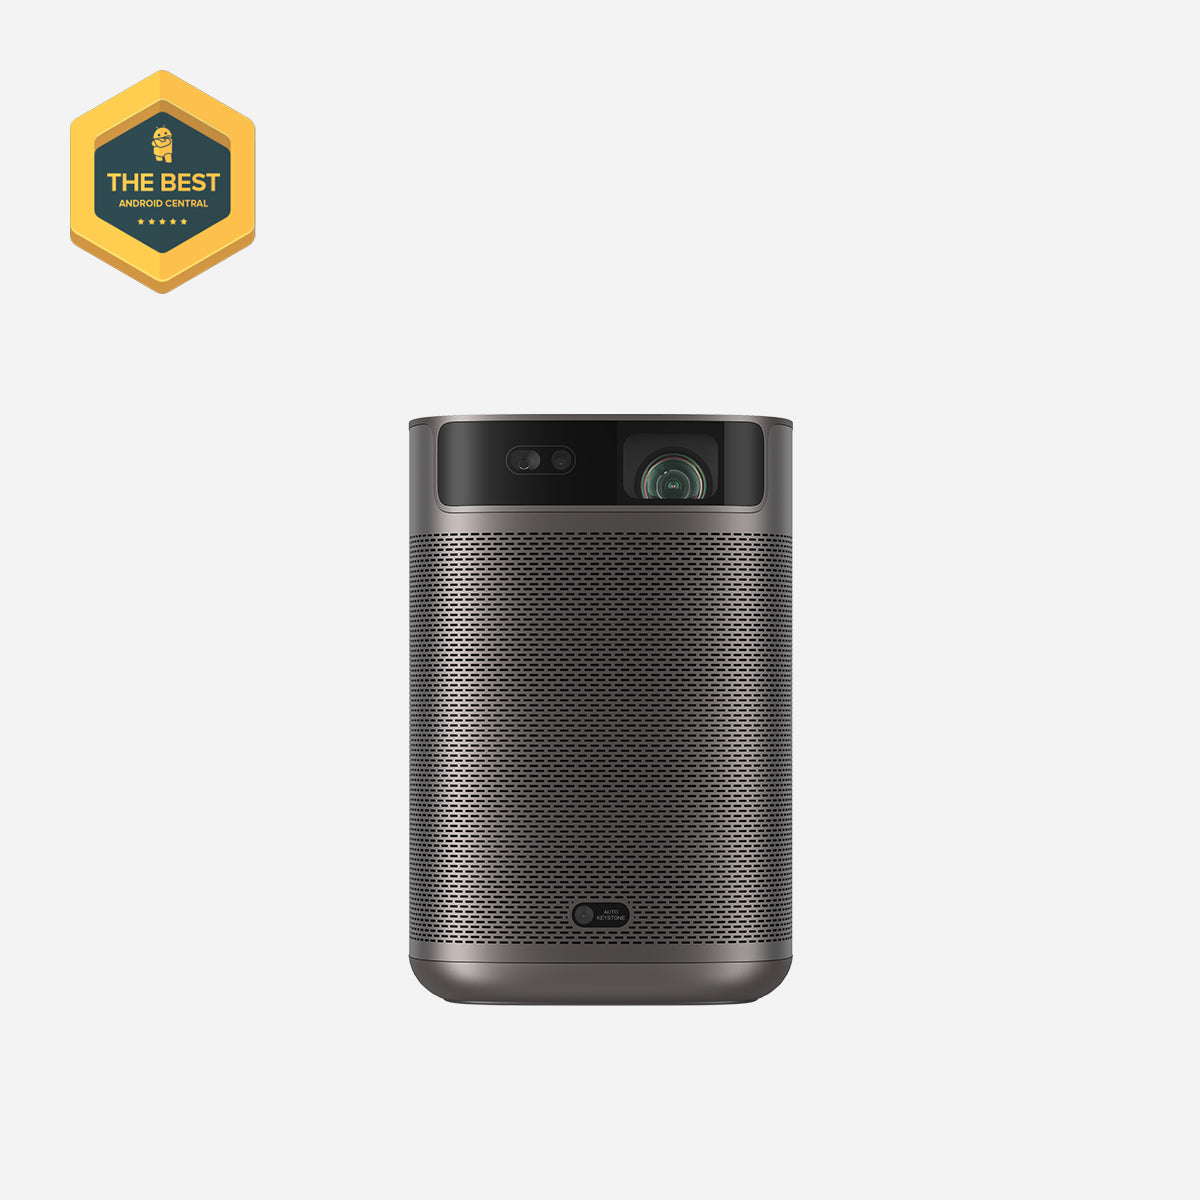
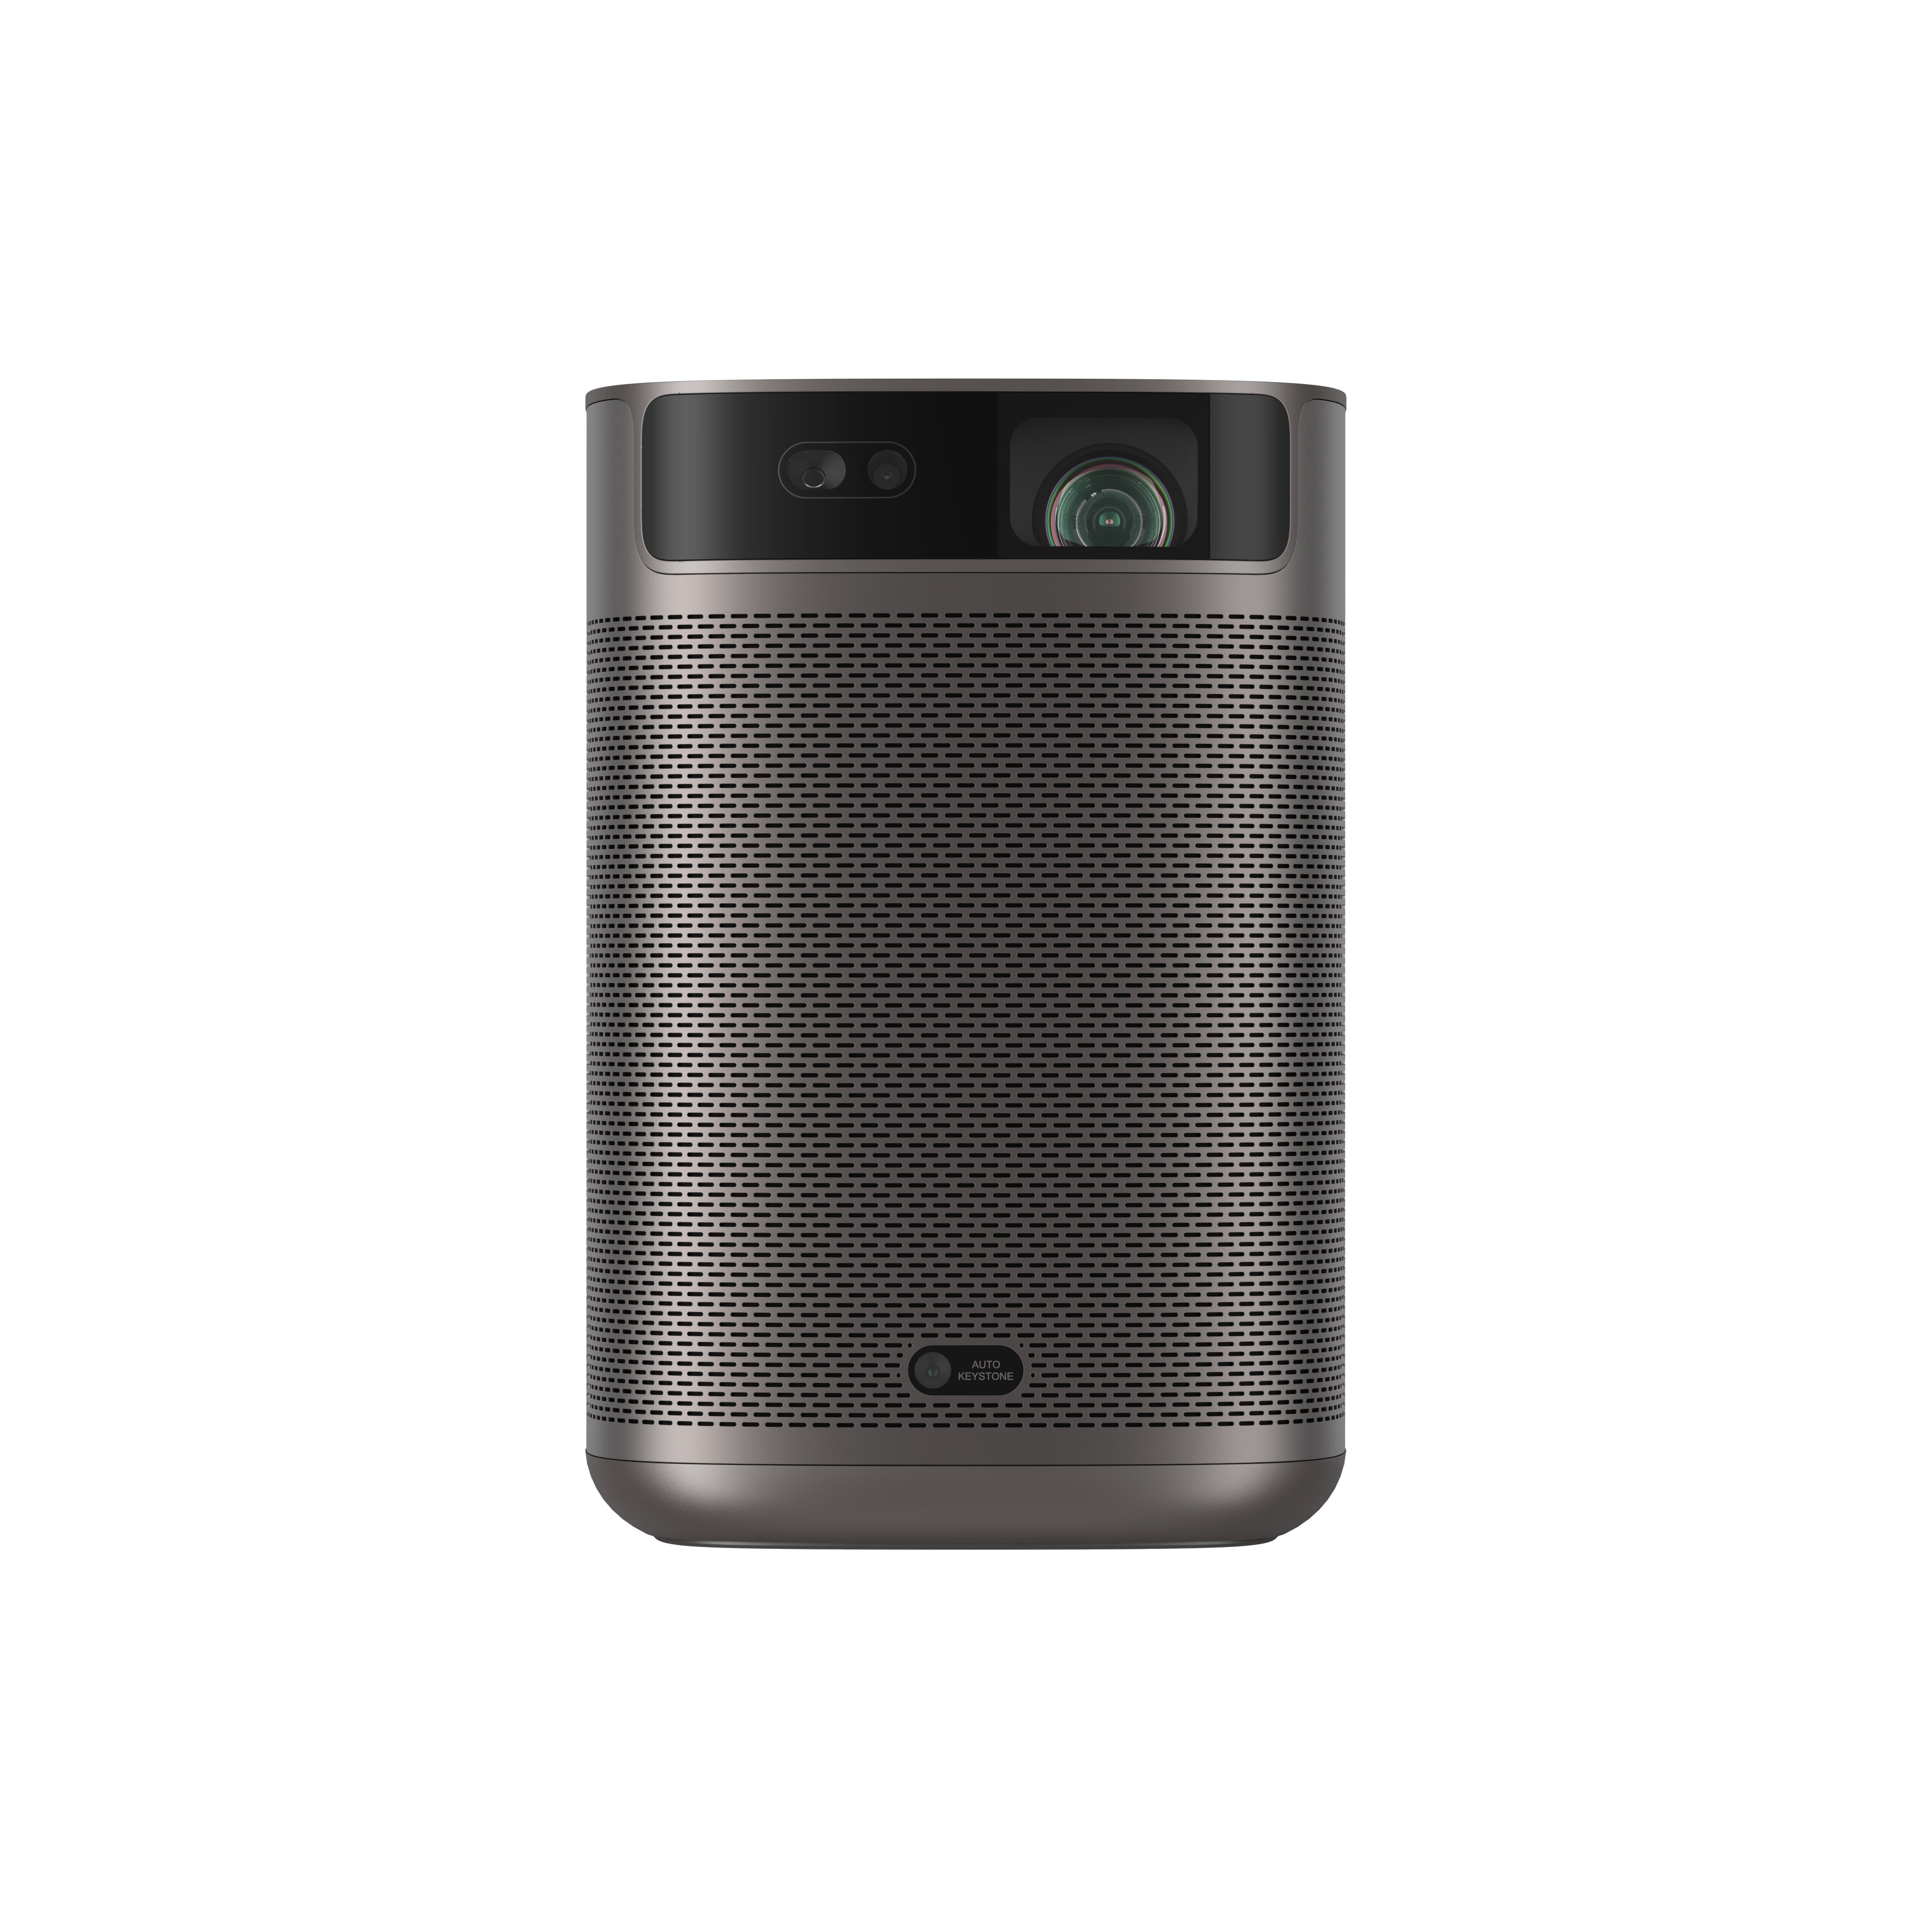
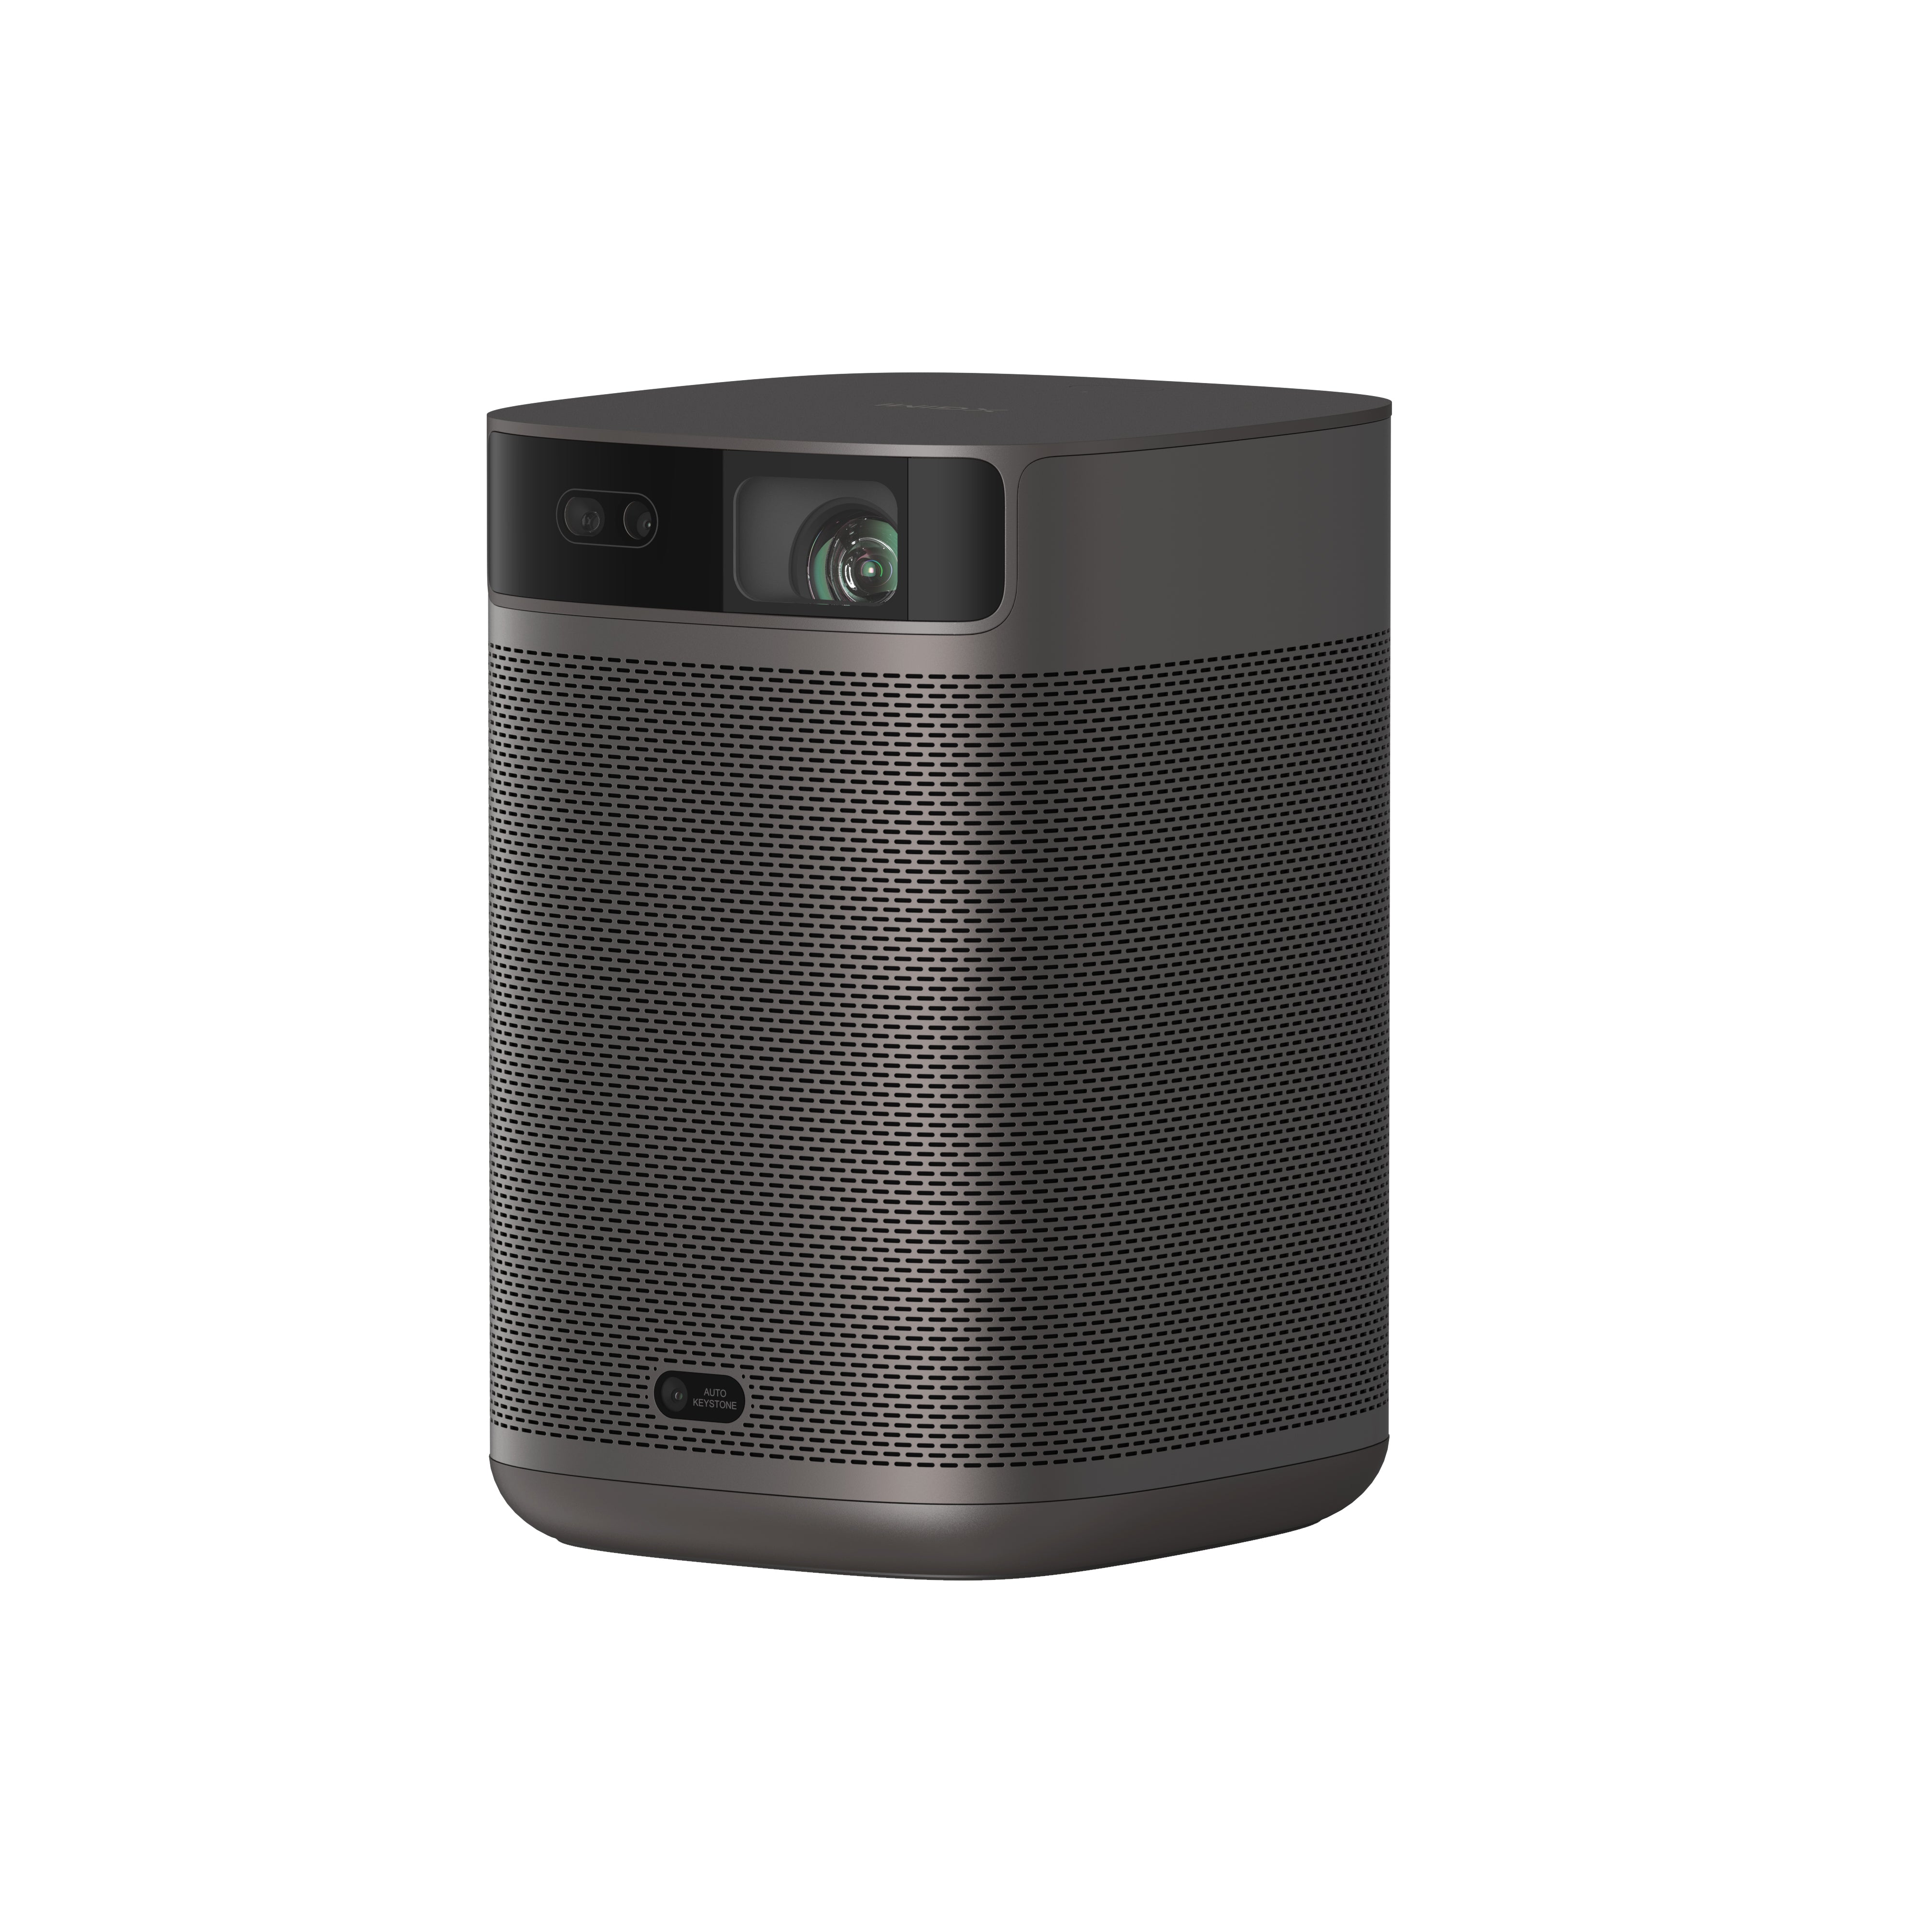
XGIMI MoGo 2
- Cinematic Visuals for Only $399: MoGo 2's 400 ISO lumens, integrated D65 color temperature standard, and 90% DCI-P3 color gamut offer a cinematic big-screen experience with bright, colorful images.
- Plug and Play: Let MoGo 2 do the work for you. With our industry-leading ISA 1.0 technology, enjoy the easiest projector setup experience.
- Movies on the Go: MoGo 2 connects to your power bank and is easy to move to different rooms or during your outdoor adventures.
- 8W Speakers with Dolby Audio: MoGo 2's built-in dual 8W speakers with Dolby Audio provide impressive sound, helping you immerse in your favorite movies, music, and more!
- Android TV 11.0, Thrilling 3D Movies at Home: MoGo 2 decodes 4K video smoothly and supports 3D content. With the upgraded Android TV 11.0, you get the ultimate user-friendly experience.
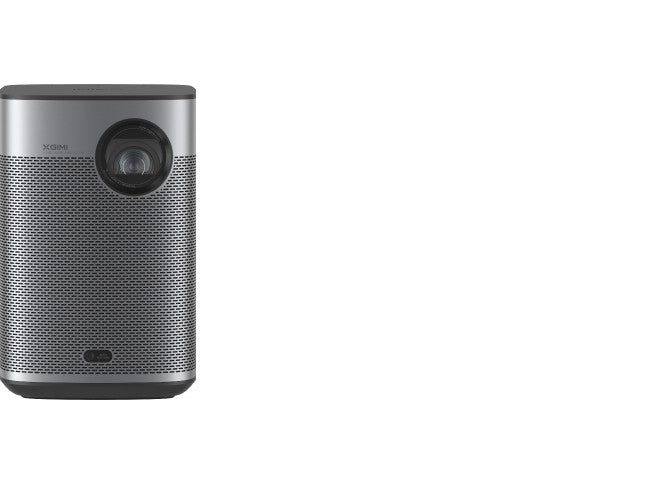
XGIMI MoGo 2 Pro
- Hollywood-Standard Visuals: With 400 ISO lumens, integrated D65 color temperature standard adopted by Hollywood, and a 90% DCI-P3 color gamut, all colors are restored in brilliant, lifelike detail.
- Seamless Setup, Smart Projecting in a Snap: Our new ISA 2.0 technology ensures you never miss a moment of your favorite movies, TV shows, or games.
- 8W Speakers with Dolby Audio: MoGo 2 Pro offers a deeply immersive and cinematic audio experience thanks to its built-in dual 8W speakers with Dolby Audio.
- Smooth Android TV 11.0 and 3D Movies at Home: Decodes 4K video seamlessly and supports 3D content. Moreover, the upgraded Android TV 11.0 provides the ultimate user-friendly viewing experience.
- Movies on the Go: Easily connect MoGo 2 Pro to your power bank, allowing you to move it to different rooms or take it on your next outdoor adventure.
Conclusion
In conclusion, linking your Apple TV to a projector is a seamless process that magnifies your streaming experience. Utilize the appropriate cable, ensure projector input compatibility, and adjust settings as needed.
With this connection, enjoy a larger-than-life display for your favorite content, whether it's movies, games, or presentations. Dive into a world of enhanced visuals and make the most of your Apple TV and projector combo.
Product Recommendations
Just Play,
Your Way
Google TV Smart 1080p Projector On-the-Go

Mini Size,
Maximum Entertainment

Mini Remote Control
Enjoy $10 off Your Next Purchase
Be the first to know about any news and sales!


