


Why Your Projector Image Isn't Uniformly Sharp
If your projector image looks crisp and detailed in the center but soft or blurry around the edges, you are not alone. This common issue usually stems from the interplay between your setup geometry, the projector's lens design, and how focus is applied across the entire image field. In many cases, this can be improved through careful alignment and positioning, while persistent edge softness often signals the need for higher-grade optical components or intelligent correction features. For more on this topic, see Why Is My Projector Blurry on the Edges? Keystone and Focus Fixes.
Understanding the root causes helps you decide whether a few adjustments will solve the problem or whether it's time to consider a projector with advanced lens systems and automatic setup technologies that maintain uniform sharpness more reliably.
Common Causes of Sharp Center but Blurry Edges
Projectors can appear sharp in the middle yet softer at the sides or corners when geometry, focus, or lens limitations are not balanced across the whole image. Several factors frequently contribute to this uneven sharpness.
One major culprit is extreme keystone correction. When a projector sits at an angle to the screen, it produces a trapezoidal image known as keystone distortion. Digital keystone correction straightens the shape by resampling the image into a smaller area of the display chip. As this technical paper on homography in camera-projector systems explains, keystone primarily addresses geometry rather than optical focus. This pixel remapping process can reduce overall crispness, leaving edges looking softer even if the center stays sharp.
Incorrect throw distance also plays a significant role. Every projector has an optimal range for screen size and distance. Operating outside this range makes uniform focus harder to achieve. Projector manuals consistently note that throw distance affects image size and focus uniformity; if the unit sits too close or too far for the chosen screen size, the edges often fall out of the ideal focal plane.
Lens quality is a fundamental factor. Many consumer models use optics that may exhibit field curvature, where the focus plane is slightly curved rather than perfectly flat. This means when the center is in focus, the edges are slightly out of focus, and vice versa. Premium projectors with higher-grade glass elements and better optical correction are designed to minimize these aberrations and maintain more consistent edge-to-edge performance.
Finally, alignment and mounting issues compound the problem. If the projector is not level, centered, or perpendicular to the screen, manual focus adjustments tend to favor the center while leaving the edges soft. Even a slight tilt can move the corners of the image out of the lens's depth of field.

Myths About Projector Focus Issues
Several widely repeated ideas can lead users down the wrong troubleshooting path.
- Myth: More keystone correction will always fix blurry edges. Reality: Keystone corrects shape distortion but does not improve optical sharpness. Aggressive digital correction can actually soften the image further because it stretches and interpolates pixels unevenly.
- Myth: All projectors should deliver perfect edge-to-edge sharpness regardless of setup. Reality: Sharpness depends heavily on alignment, throw distance, screen flatness, and lens design. Even high-quality units can show some softness in challenging placements.
- Myth: Blurry sides mean the projector is defective. Reality: Most edge blur stems from installation geometry or operating the lens outside its comfortable range rather than a hardware failure.
- Myth: Digital correction equals optical quality. Reality: While helpful for convenience, digital tools cannot fully compensate for physical limitations in the underlying lens system.
How to Troubleshoot and Fix Edge Blur on Your Current Projector
Before assuming you need new hardware, follow a systematic approach. Start with the basics and work outward.
First, ensure the projector sits as square and level as possible to the screen. Reduce or eliminate keystone correction by physically repositioning the unit. As manufacturer setup guides emphasize, focus and keystone solve different problems—focus sharpens the image while keystone corrects shape. Set focus only after achieving the best possible physical alignment.
Check your throw distance against the projector's specifications. The image should fall comfortably within the recommended range for your screen size. If you must stretch the image far beyond the ideal zone, edges will likely remain soft no matter how you adjust focus.
For manual focus models, a common heuristic to balance field curvature is to focus on a point about one-third of the way from the center toward the edge. This often provides a better "average" sharpness across the entire screen than focusing solely on the dead center. Using a high-contrast test pattern with a grid or text in the corners can help you find this balance.
Verify that the screen is perfectly flat and that the projector is not tilted or mounted unevenly. Small angular differences can create noticeable focus variations across the frame.
If these steps do not resolve the softness, the limitation may lie in the projector's optical design rather than your setup.
When Setup Fixes Are Not Enough: Time to Upgrade?
Certain situations make edge blur difficult to eliminate through adjustment alone. If your room forces angled placement, frequent repositioning, or heavy reliance on digital keystone, even careful troubleshooting may deliver only partial improvement.
This is where projectors with intelligent optical systems and automatic alignment shine. Technologies that combine precise autofocus, automatic keystone and screen fitting, and high-quality glass elements can maintain more uniform sharpness with less manual effort.
For example, models featuring ISA Technology use advanced sensors and algorithms to detect the screen, adjust geometry, and optimize focus automatically. This reduces the need for aggressive digital correction that can soften edges.
Consider upgrading if:
- Your current projector requires constant keystone adjustments to fit your space.
- The room layout prevents square-on placement, forcing the lens to work at extreme angles.
- You frequently move the unit between locations and need fast, reliable recalibration.
- Edge softness persists despite optimal alignment and throw distance, especially if you notice "color bleeding" (chromatic aberration) at the corners.
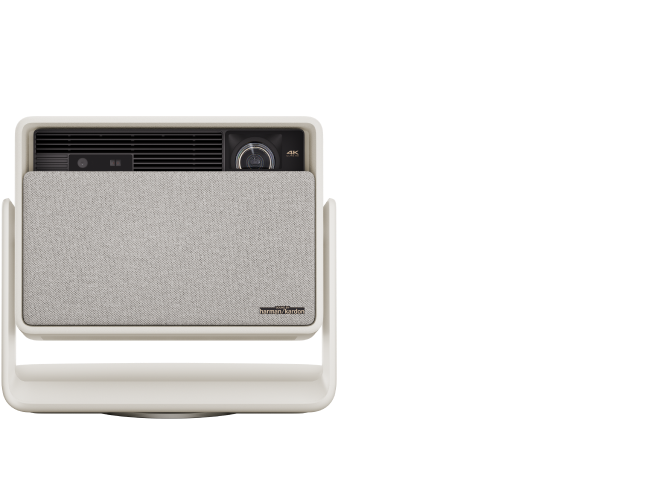
Premium options in the HORIZON S Series or 4K Projectors collection often incorporate these smarter correction systems alongside superior lenses designed for better field uniformity.
Where Edge Blur Is More Likely Fixable vs Better Solved by Upgrading
Illustrative only: heuristic risk levels based on common projector behavior.
View chart data
| Category | Troubleshoot Score | Upgrade Recommended |
|---|---|---|
| Square Alignment | 5 | 1 |
| Heavy Keystone | 1 | 5 |
| Wrong Throw Distance | 2 | 4 |
| Angled Ceiling Mount | 1 | 5 |
| Budget Lens Model | 1 | 5 |
| Portable Frequent Move | 3 | 3 |
Heuristic risk levels based on common projector behavior and troubleshooting logic: alignment should be checked first; keystone mainly corrects geometry rather than optical blur; throw distance and mounting angle can amplify edge softness; lens quality and frequent repositioning can limit edge sharpness. Not measured data.
Choosing a Projector with Better Edge-to-Edge Sharpness
When evaluating new models, look beyond resolution and brightness. Pay close attention to the projector's throw ratio, available correction methods, and whether it uses premium optical components.
Projectors designed for flexible placement with minimal keystone needs generally deliver more consistent sharpness. Automatic systems that handle focus, geometry, and screen alignment in one step tend to preserve edge detail better than manual adjustments alone.
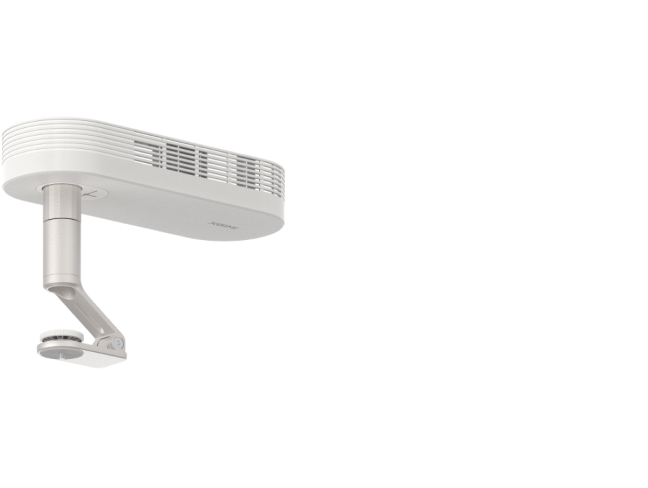
For home theater enthusiasts, options like the HORIZON Ultra combine high brightness, advanced optics, and intelligent screen adaptation for more uniform performance across the frame. Portable users may prefer models such as the Halo+ (New) that maintain good sharpness even when moved between rooms.
Before purchasing, measure your room and calculate the required throw distance. Choose a model whose native throw range fits your space without forcing extreme angles or heavy digital correction.

Practical Checklist for Uniform Sharpness
Use this step-by-step audit to diagnose and improve your setup:
- Physical Alignment: Position the projector as close to perpendicular to the screen as possible and minimize keystone usage.
- Throw Range: Confirm the screen size and distance fall within the manufacturer's recommended throw range.
- Leveling: Level the projector carefully and ensure it is centered horizontally and vertically.
- Test Patterns: Use a focus test pattern or high-contrast grid image rather than relying on the center of a movie scene.
- Balanced Focus: Adjust focus while viewing both center and edge details simultaneously. Look for "moiré patterns" or blurred text in the corners as indicators of where to stop.
- Optical Assessment: If edges remain soft after optimal alignment, evaluate whether your current model’s lens quality meets your needs.
Following this sequence helps separate setup-related blur from inherent optical limitations.
When to Consult Professionals or Consider Alternatives
In rare cases, persistent edge blur may indicate a hardware issue such as a damaged lens element or misaligned internal components. If basic troubleshooting and repositioning produce no improvement, contact the manufacturer’s support for guidance.
For most users, however, the combination of careful installation and a projector equipped with modern optical correction delivers the uniform sharpness needed for an immersive viewing experience.
This article discusses projector setup and image quality for comfort and enjoyment. It is not technical diagnostic advice for hardware repair. If you experience ongoing issues with your device, consult the manufacturer or a qualified technician.
By understanding the physics behind edge blur and choosing equipment that matches your room conditions, you can move from frustration to a consistently sharp, edge-to-edge picture that makes every movie night more enjoyable.


