


Calculating the right throw distance is the single most important step to avoid buying a projector that simply won't fit your room or screen. By understanding your projector's throw ratio and doing a quick multiplication, you can predict exactly where to place the unit so the image fills your screen perfectly without constant readjustment or quality loss.

This beginner-friendly guide walks you through the definitions, the simple formula, real-world examples, and practical checks you can do before purchase. Whether you're setting up in a small apartment, living room, or dedicated media space, these steps help you choose the right model and placement the first time.
What Is Throw Distance and Why Does It Matter?
Throw distance refers to the physical distance from the projector lens to the screen surface. It directly determines how large the projected image will be. Place the projector too close and the image may be smaller than your screen; too far and it becomes oversized or spills beyond the edges.
For new buyers, this measurement often causes the most confusion during planning. A mismatch leads to frustration, keystone distortion from awkward angles, or the need to reposition furniture. Getting it right ensures sharp, properly sized visuals from day one.
Many first-time owners assume any projector will work at any distance. In reality, each model has a designed range. Understanding this upfront prevents purchasing a unit that forces you into uncomfortable setups or compromises image quality.
Understanding Throw Ratio: The Key Specification
Throw ratio is the relationship between throw distance and image width, typically expressed as a number like 1.2:1. It tells you how far the projector must sit from the screen to produce a given image width.

A lower throw ratio (such as 0.5:1) indicates a short-throw projector that can create a large image from a short distance. Higher ratios (2.0:1 or above) are long-throw models that need more space. Standard throw projectors usually fall between 1.2:1 and 2.0:1.
As this official throw ratio explanation from Epson notes, the ratio helps you estimate placement before installation. Check your chosen model's specification sheet for its exact throw ratio or range (many include zoom for flexibility).
The Simple Formula for Calculating Throw Distance
The basic equation is straightforward: Throw Distance = Throw Ratio × Image Width.
First, determine your desired screen size. For a 16:9 aspect ratio screen, a 100-inch diagonal screen has an approximate width of 87 inches (or 7.25 feet). A 120-inch screen is roughly 104 inches wide (8.7 feet).
Example: For a projector with a 1.2:1 throw ratio and a 100-inch screen:
Throw Distance = 1.2 × 7.25 feet ≈ 8.7 feet.
This means the projector should sit about 8.7 feet from the screen for a perfect fit. Always convert units consistently (inches or feet) and verify the exact width for your screen size using an online calculator.
If your projector has a throw ratio range (for example, 1.2-1.5:1 due to zoom), calculate both ends to find the flexible placement window. This range lets you fine-tune based on your room layout.
Common Throw Ratio Types and When They Fit Best
Different throw types suit different rooms. Short-throw projectors excel in tight spaces where you cannot place the unit far back. They minimize shadows from people walking in front and work well on tabletops near the screen.
Standard throw models offer the most flexibility for typical living rooms and home theaters with moderate depth. They balance ease of placement with image performance.
Long-throw projectors are ideal for larger rooms or rear-projection setups but can be impractical in apartments or bedrooms with limited depth.
The choice often flips based on your available room depth versus the required distance for your target screen size. Measure your space from the intended screen wall to the farthest practical projector position, then compare against the calculated needs. For more on this topic, see How to Calculate the Optimal Projection Distance for Different Room....
Practical Example: Using a Projector Calculator in Your Room
Let's apply this to a common scenario. You want a 120-inch screen in a living room with 12 feet of available depth.
Using the formula for a standard 1.5:1 throw ratio projector:
Image width ≈ 8.7 feet, so Throw Distance ≈ 1.5 × 8.7 ≈ 13 feet.
This exceeds your 12-foot depth, so a standard or long-throw model may not fit without a smaller screen or repositioning. Switching to a short-throw model with 0.6:1 ratio gives: 0.6 × 8.7 ≈ 5.2 feet — easily fitting your room.
Online projector calculators simplify this. Input your screen size and model specs to see recommended distances instantly. They help confirm whether a specific projector suits your space before buying.
Always add a small buffer (6-12 inches) for mounting adjustments, cables, and minor alignment.
Visualizing Throw Ratio Ranges and Screen Sizes
Projector Throw Ratio Ranges and Example Placements
Illustrative ranges and simple placement examples for common home-theater screen sizes. Values are approximate and based on standard throw-ratio conventions, not a specific projector model.
View chart data
| Category | Typical throw ratio range | 100-inch screen: distance range (ft) | 120-inch screen: distance range (ft) |
|---|---|---|---|
| Short-throw | 0.5 | 4.4 | 5.3 |
| Standard throw | 1.2 | 8.7 | 10.4 |
| Long-throw | 1.5 | 10.8 | 12.9 |
Sourced from common industry throw-ratio conventions (short-throw below about 1.0:1, standard roughly 1.2:1-2.0:1, long-throw above about 2.0:1) and simple screen-width conversions for 16:9 100-inch and 120-inch screens. Distances shown are approximate and should be checked against the exact projector spec sheet.
This chart shows illustrative placement ranges. Use it as a planning aid, then verify with your specific model's manual.
Common Setup Mistakes to Avoid
Placing the projector off-center without lens shift often forces excessive keystone correction, which can soften image edges or reduce resolution. Keystone correction can improve image shape, but it does not replace correct projector placement.
Ignoring zoom range is another frequent error. Many projectors offer 1.2x or 1.5x zoom, expanding the usable distance window. Always check the full throw ratio range in the specs.
Another pitfall is assuming the projector can sit anywhere. Real rooms have furniture, seating, and pathways that reduce usable depth. Measure actual clear space rather than wall-to-wall distance.
If the image appears sharp in the center but blurry at the edges, incorrect throw distance or alignment is often the culprit. Repositioning within the recommended range usually resolves this.
How to Choose the Right Projector for Your Space
Start by measuring your room depth and deciding on screen size. Then select a throw type that fits within that constraint.
Use this quick checklist:
- Measure available projector-to-screen distance (accounting for mounts or shelves).
- Choose desired screen diagonal and calculate required width.
- Look up the projector's throw ratio range.
- Verify the calculated distance falls within your room's capabilities.
- Consider ceiling mount, floor stand, or portable placement options for flexibility.
For apartment dwellers with limited depth, prioritize short-throw or ultra-short-throw models. Families in larger living rooms have more options with standard throw projectors.
Don't buy if the required distance places the projector in a walkway, blocks seating, or leaves no buffer for adjustments. Also avoid if your room forces extreme off-axis angles without lens shift support.
Our guide on how to choose the right home projector for your space includes additional factors like brightness and resolution that pair well with throw distance planning. For more on this topic, see Projector Brightness Standards and Measurement: A Comprehensive Ref....
Mounting and Installation Tips for Optimal Placement
Once you know the distance, decide on mounting. Ceiling mounts keep the unit out of the way but require precise positioning at the calculated distance. Floor stands or portable options offer flexibility for renters or multi-room use.
Check our projector setup and installation options for step-by-step guidance. Proper alignment at the correct throw distance minimizes the need for digital corrections that can impact quality.
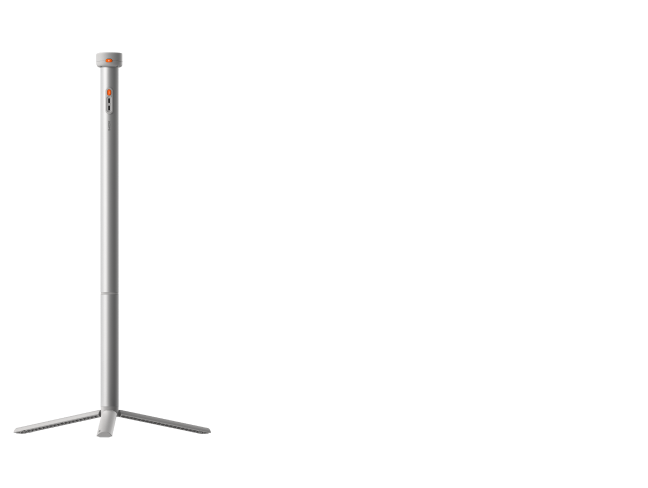
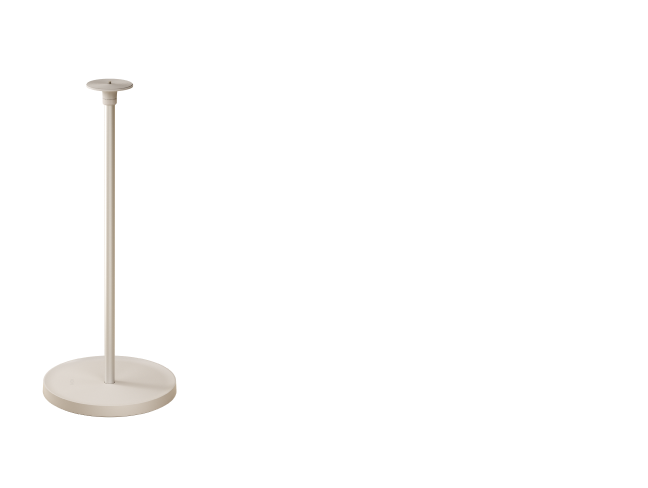
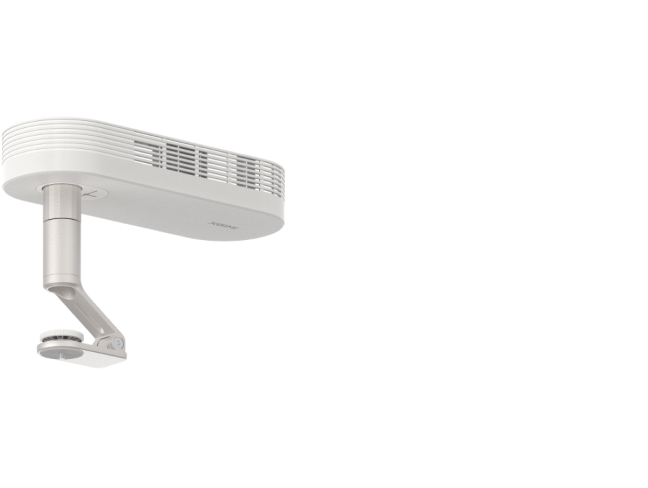
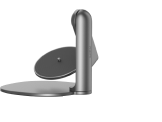
For ceiling installations, our XGIMI Ceiling Mount provides stable, adjustable support. If you prefer floor placement, consider the XGIMI Floor Stand Ultra for easy height and angle adjustments.
Final Checks Before You Buy or Install
Always download the exact specification sheet for your projector model. Test the calculation with both minimum and maximum throw ratios if zoom is available.
Visit the room at night with a tape measure and mock the setup using a bright lamp or temporary projector if possible. This reveals real-world issues like shadows or cable routing that calculations miss.
Remember that these calculations are illustrative and depend on the specific projector. Consult the manufacturer's manual for precise numbers.
This article only discusses comfort and setup advice for projector placement. It does not constitute technical specifications or installation services. If you experience persistent setup issues or have unique room constraints, consult a professional installer or the product manufacturer.
By mastering throw distance calculations, you'll confidently select and position your projector for the best viewing experience in your specific space.
Related Resources
Explore more in our projector technology and specifications section or browse home projectors suited for various room sizes.


