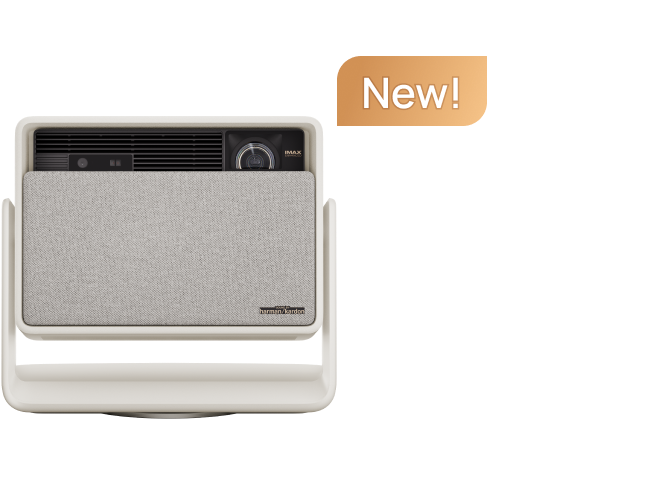
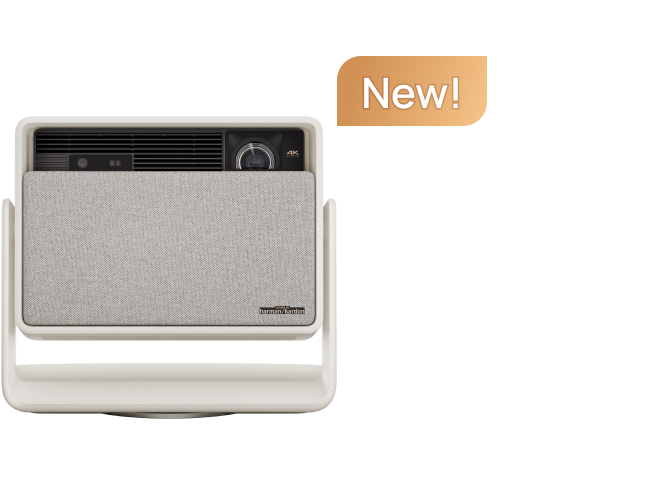
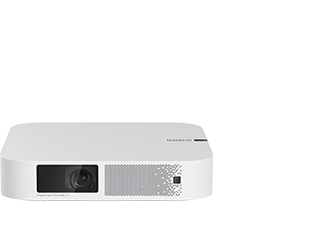
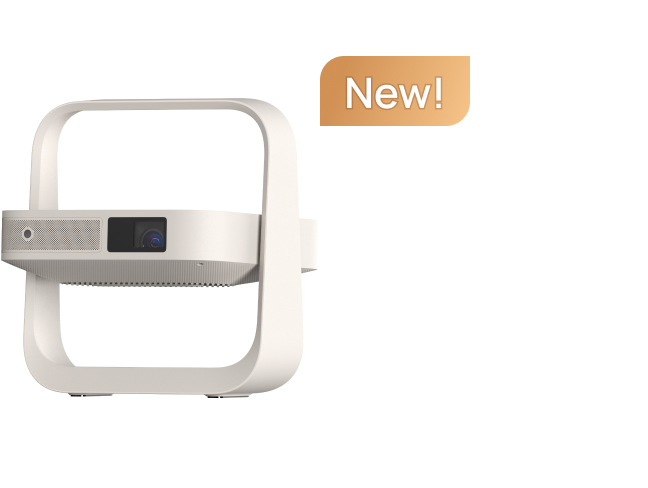
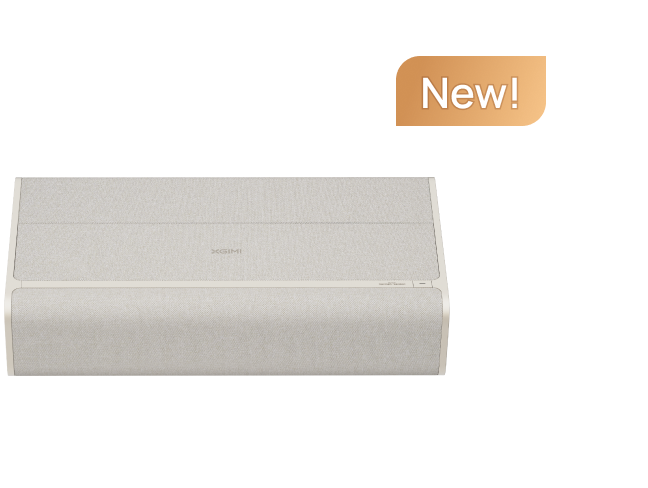
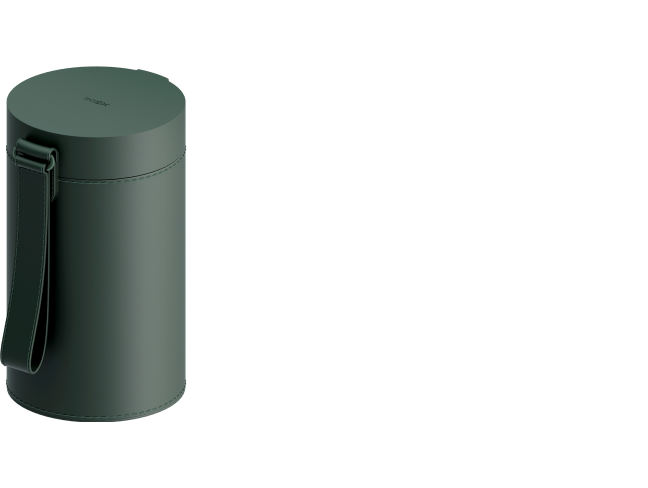
Elfin Flip
User Guide
Download Manual Document
Warranty Status
Check your product warranty
User Guide
Download Manual Document
Warranty Status
Check the warranty of your product
Troubleshooting & Support
① Connect the power supply and rotate the body to reveal the power button.
② Press the power button to turn on the projector.
③ Rotate the body to a suitable angle and enter viewing mode.
Sleep:
(a) Press the power button on the remote control for the projector to enter sleep mode.
(b) Press the power button on the projector body for the projector to enter sleep mode.
Shutdown:
(a) Long-press the power button on the remote control, select "Shutdown" from the on-screen menu, and the projector will power off.
(b) Press the power button on the projector body for 5 seconds to turn off the power.
Go to "All settings" -- "Projector" -- "Projector Type".
The throw ratio describes the distance from the lens to the screen (throw) to the screen width. When the distance from the lens to the screen is the same, the smaller the projection ratio is, the larger picture the projector can throw.
Throw Ratio: 1.2:1
The Elfin Flip series projects up to 200 inches, which meets various projection requirements. For the best viewing experience, we recommend using a 80''-150'' screen size.
Aspect Ratio: 16:9
Blog:
How Throw Ratio Helps You Achieve the Ideal Screen Size?
ISO lumens is a more stringent standard, meaning that the product complies with the standards of GB 32028-2015 and ISO/IEC 21118:2020(E). Each brightness mode may impact actual brightness levels.
For more information, please refer to: global.xgimi.com/pages/luminance-testing-method
The Elfin Flip supports Eco Mode.
Eco Mode limits the screen brightness to 50%. It does not limit the volume.
Users can manually turn on Eco Mode by going to "All Settings" -- "General" -- "Advanced settings" -- "Eco Mode ".
Yes. The Elfin Flip series supports 1080P HDR 10 decoding.
To enable Auto Focus:
1. Press the "Focus" button on the XGIMI remote control to focus the image automatically;
2. Go to "All Settings" -- "Image correction" -- "Focus" -- "Auto Focus on Startup-on/off"; "Auto Focus upon Motion-on/off".
The Elfin Flip series supports both automatic and manual focus.
Use the remote control focus button to focus: Press and hold for manual focus. Use the left and right buttons of the D-pad for manual focus.
Yes.
The Elfin Flip series supports both automatic vertical and horizontal keystone correction and manual vertical and horizontal keystone correction( ±40 Degrees), allowing users to set up their device where they desire with incredible ease.
For further adjustment, please use the 4-point manual keystone correction feature.
To enable Auto Keystone Correction:
Click the“Quick settings”button on your XGIMI remote control,Select "Auto keystone correction".
Yes.
The Screen zoom feature allows you to alter the Elfin Flip series's screen based on your specific needs.
To enable Screen zoom:
Click the“Quick settings”button on your XGIMI remote control,Select "Zoom & Shift".
When the Intelligent Screen Alignment feature is enabled, Elfin Flip series will automatically adjust the projected image to match a 16:9 or 16:10 screen size.
To enable Intelligent Screen Alignment:
1. Go to "All Settings" -- "Image correction" -- "Image correction settings" -- "enable Auto screen alignment".
2. Click the“Quick settings”button on your XGIMI remote control,Select "Auto keystone correction".
3. For any further adjustment to the projection image, please select "Manual keystone correction" to adjust the four points and the size of the frame.
Tips:
① The default screen of the projector needs to cover the entire projection screen surface;
② The image projected on the projection screen needs to be larger than half of the default image;
③ A projection screen with a black border is required.

When the Intelligent Obstacle Avoidance feature is enabled, Elfin Flip series will automatically scale the projected image to avoid obstacles in the projection area.
To enable Intelligent Obstacle Avoidance:
1. Go to "All Settings" -- "Image correction" -- "Image correction settings" -- "enable Intelligent obstacle avidance".
2. Click the“Quick settings”button on your XGIMI remote control,Select "Auto keystone correction".
3. For any further adjustment to the projection image, please select "Manual keystone correction" to adjust the four points and the size of the frame.
Tips:
① Only avoid obstacles around the projection screen;
② Need enough adjustable space for keystone correction;
③ Do not use the Intelligent Obstacle Avoidance function on striped/patterned wallpapers;
④ Keep most of the projected image on the same wall.
The Elfin Flip series offers DLNA feature, feel free to cast your favorite entertainment apps - movies, music, videos from your Android or iOS devices (DLNA supported Apps).
1. On Home Page, click "All apps", then select "Projection assistant".
2. Select "DLNA" and stay on this page.
3. Ensure your phone and projector are on the same network.
4. Open the media apps on the external devices and search for Elfin Flip series to connet via DLNA feature.
For Android device users, you can screen mirror via below steps:
1. On Home Page, click "All apps", then select "Projection assistant".
2. Select "Miracast" and stay on this page.
3. Open Android settings, select Cast or Wireless display.
4. Select device name to cast.
For iOS device users, you can screen mirror via below steps:
1. On Home Page, click "All apps", then select "Projection assistant".
2. Select "MagiCast" and stay on this page.
3. Open "Cast Screen" in any iPhone/iPad/MacBook and make sure its under the same WiFi signal with the projector.
Yes.
Elfin Flip series offers one HDMI port for external connection, which makes the screen mirroring much easier for any daily usage.
Yes.
Elfin Flip series offers one HDMI port for external connection. Customers are free to install any TV stick for more streaming apps.
Tip:
The projector is equipped with a USB 2.0 port, with an output voltage of 5V and an output current of 500mA. If it cannot meet the power supply requirements of your TV stick, please configure a separate power supply head for your TV stick.
While in the HDMI source page:
1. Click the“Quick settings”button on your XGIMI remote control,Select "All settings" -- "Signal sourse" -- "HDMI settings" -- "HDMI mode".
2. Choose Compatible mode/Enhanced Mode.
The projector requires DC power supply and does not support ordinary power banks.
Yes.
Elfin Flip series is equipped with 16GB of internal storage. For local files or media sources, it's recommended to use an external USB/hard drive.
(The USB flash drive should be not more than 256GB, and the hard drive should be not more than to 2T)
Yes.
The Elfin Flip series supports Bluetooth 5.1, allowing you to search and connect with any Bluetooth device.
To begin pairing:
1. Click the“Quick settings”button on your XGIMI remote control,Select "Bluetooth & Accessories".
2. Add more devices.
3. Scan Bluetooth devices.
1. On Home Page, click "All apps".
2. Select "Bluetooth music" and stay on this page.
3. Search the Device name of the projector on your phone to connect.
Yes.
Elfin Flip series offers an HDMI ARC port for external connection, which makes the audio transferring much easier for any daily usage.
Please connect the external device to the HDMI ARC port.
While you are connecting the amplifier, XGMI OS will switch the sound output automatically.
No, Elfin Flip series doesn't support AUX(3.5mm).
Press "Quick settings" button on the remote control to open the shortcut menu-- "Network & Internet".
Elfin Flip series doesn't support application installation.
Elfin Flip series comes with a pre-installed licensed Netflix app. You can access it by choosing "Netflix" on the projector's home page.
Elfin Flip series doesn't support browsing doc files or PPT.
Elfin Flip series doesn't support using a smartphone to navigate its interface.
No.
Please don't install any firmware which is not adapted for Elfin Flip series. XGIMI official website offers the coresponding site for firmware download.
For further instrucrions, please contact XGIMI service team.
Please follow the steps below to check for new updates:
1. Please ensure your WiFi connection is stable.
2. Go to "All Settings" -- "General" -- "About" -- "System update" -- "Online update" -- "Check for updates".
Tip: Please avoid stopping the update process or disconnecting the WiFi until it is complete.
Go to "All Settings" -- "General" -- "About" -- "Device info".
There, you'll find the Device model, SN(serial number), and System version (firmware version).
No, Elfin Flip does not have a bulit-in battery.
Elfin Flip series doesn't support 3D.
Yes.
To enable the CEC feature:
Go to "All Settings" -- "Signal source" -- "CEC control" -- "CEC Control-on/off".
1. Please place the remote control within 10cm of the device.
2. Press the“Back”and“Home”buttons on the remote control simultaneously until the indicator light begins flashing. This means that the remote control has entered the pairing mode.
3. When a "Ding" sound is heard, the connection is successful.
Note: If the pairing fails, it will exit after 30 seconds, please repeat the above steps after the exiting.

The XGIMI remote makes everything simple:
1. Power button: turn on/off via simple one-click.
2. Mute button: mute projector via simple one-click.
3. Media shortcuts: quickly open streaming media.
4. Menu button: allows you to open a function-specific menu.
5. Focus button: enables the Auto Focus feature; press and hold to enter the manual focus page.
6. Input button: enters HDMI resource page.
7. Back button: quickly directs you back to a previous screen.
8. Quick settings: shortcut for projector setups--Auto keystone correction/Auto focus/Wi-Fi/Bluetooth/XGIMI Wall/All settings.
9. Home button: returns to the home page from any screen.
10. Volume button: adjusts volume up/down.

User Guide
Elfin Flip Manual - V1.0
2024/9/6 | 4.99 MB | Multilanguage
Title
Last Updated
Size
Language
Download
Get Support from Us
Hours of operation (Central time): from 9:00am to 9:00pm during Monday to Sunday
Live Chat
What can we help with?
Call Us
Please tell us your issue
Email Us
Tell us how we can help
Can't reach us above? Contact our team directly at service-usa@xgimi.com.
Which devices do you need help with
Get support, find answers, download drivers, manuals, and more!
AURA
HORIZON Pro
HORIZON
Elfin
H2
Halo+
Halo
MoGo Pro+
MoGo Pro
MoGo
MoGo 2 Pro

MoGo 2

HORIZON Ultra

MoGo 3 Pro
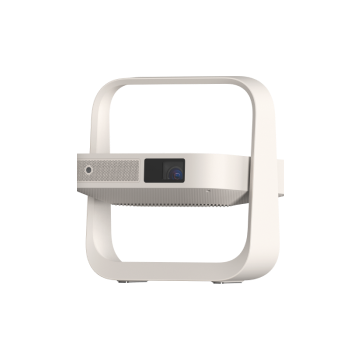
Efin Flip

Halo+ (New)

AURA 2

MoGo 2 Plus

HORIZON S Pro

HORIZON S Max

$20
OFF
$15
OFF
It’s not too late! Use code at checkout to save on your purchase. Complete your order now!
Use code at checkout for a limited-time discount on selected projectors (MoGo 2, refurbished units not included). Copy now!


