Why Is My Screen Shadowy After Keystone Correction?
By XGIMI Tech - 2022-05
Ensuring your projector displays an excellent picture is important to the immersive viewing experience. However, operating certain functions to achieve said experience can sometimes lead to unforeseen issues.
Shadowy images seen beyond the edges of the projected screen, discoloration, or multiple images moving fast is regarded as shadowing.
Albeit normal, it is essential to note that after using features like keystone correction, the above-mentioned screen distortions do not indicate an issue with your projector.

*Shadows will appear on the screen after using keystone correction
Why Projector Shadowing is Not a Product Issue
As mentioned above, shadowing is a common occurrence with projector displays but is not a sign of a faulty device. In fact, for most industrial projector products, projecting from the side using DLP or 3LCD technology may lead to onscreen shadows after keystone correction.
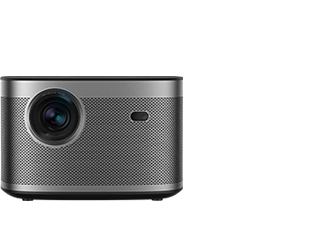
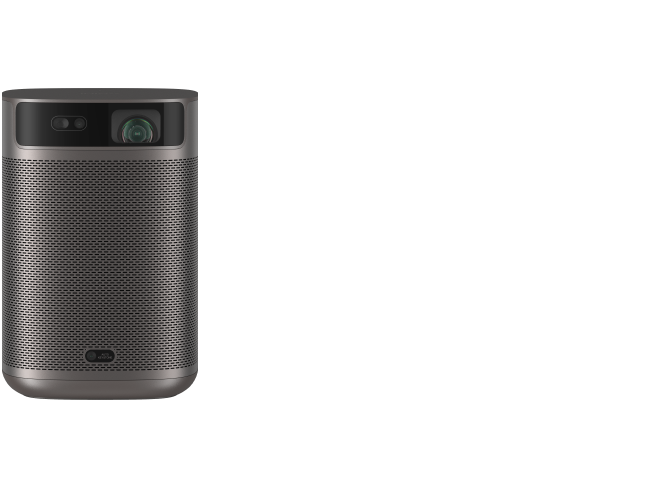
The reason why? First of all, projection from the side does not cause shadows, the shadows of the picture are brought about by the correction. Yes, some companies produce bulky devices with large enough internal spaces for the lens to move more freely inside. Consequently, keystone correction is performed through the lens shift function. With no image cropping needed, shadowing is nonexistent. Still, these products are usually bulkier and more expensive. Most, for example, are 8x the size of the XGIMI HORIZON Pro and 3x the price.
Most users set up their projectors at home, and in this case, the device blends in better with their space if it is compact and portable. So, home projectors have certain volume restrictions. To complete the small build while ensuring a low product price, the projector lens inside is limited in movement. Consequently, keystone correction can only be performed through advanced software.
Keystone correction software crops the distorted image and removes redundancies in the display, resulting in a square picture created by magnification, cropping, etc. Although keystone software adjustment may sometimes cause the cropped image to become a shadow, it is the best solution to ensure you’re consistently provided with the ideal square image and that XGIMI products work seamlessly in the home.
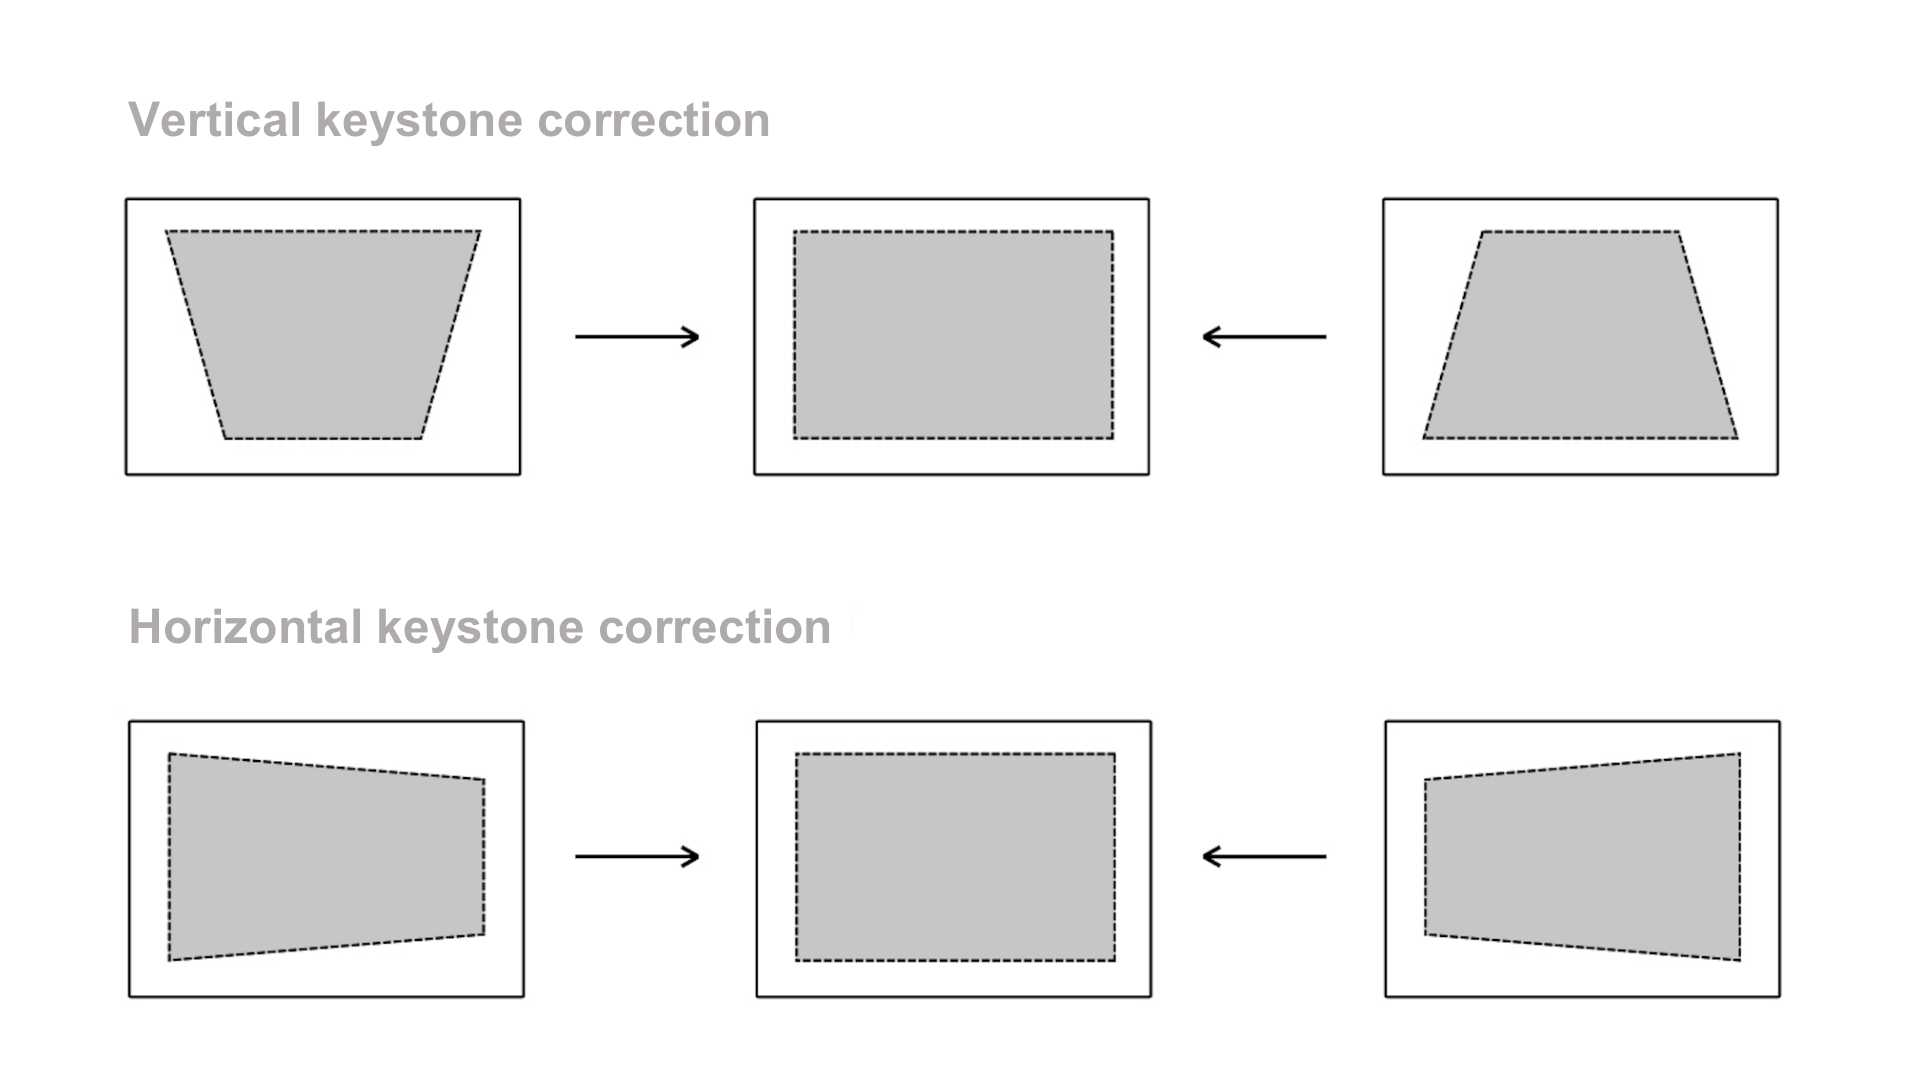
*Keystone correction diagram
How XGIMI Optimizes Keystone Correction Performance
Keystone correction is a must-have function for home projection. However, this feature can be troublesome for ordinary users. XGIMI has been committed to lowering the threshold of projector use, providing customers with a simpler, more accurate and intelligent device. This inspired us to be the first to launch the MAVII system in 2021.
Let’s take a closer look at how XGIMI’s Intelligent Screen Adaption (ISA) technology works:
It's not easy to make projectors as easy to use as TVs, but we have always insisted on innovation and always lead the industry. Since 2015, XGIMI has consistently ushered in new, ground-breaking devices.
Prevention and Solutions
When you notice a shadowy or darkened screen after performing keystone correction on your projector, there are several prevention and solution methods you can employ to improve the image quality. Consider the following steps:
1. Optimal Projector Placement and Alignment:
-Ensure the projector is positioned perpendicular to the screen, minimizing the need for excessive keystone correction.
-Mount the projector at the correct height and distance to maintain proper alignment and reduce distortion.
2. Utilize Lens Shift or Physical Adjustments:
-If your projector has lens shift functionality, use it to make precise adjustments without resorting to keystone correction.
-Explore physical adjustments such as adjusting the projector's tilt or using adjustable mounts to achieve the desired alignment.
3. Adjust Screen Position and Angle:
-Properly position and align the screen to complement the projector's placement.
-Make sure the screen is flat and taut, avoiding any wrinkles or sagging that may cause shadows or distortions.
4. Address Ambient Light Sources and Room Lighting:
-Reduce or eliminate direct light sources that may be causing interference and shadows on the screen.
-Adjust room lighting to create an optimal viewing environment, avoiding excessive brightness or contrast imbalances.
5. Consider Alternative Solutions:
-Experiment with digital keystone correction options provided by some projectors. These options digitally adjust the image without distorting the overall picture quality.
-Explore advanced projection technologies that offer built-in image correction features, such as geometric correction or pixel mapping.
Enjoy $10 off Your Next Purchase
Be the first to know about any news and sales!


